
Let’s Chat: When Frozen Ground Beef Gets a Bit Suspicious
Alright, so you know those days you’re digging through the freezer looking for dinner ideas (or trying to avoid the grocery store just one more night) and you find some long-forgotten ground beef packed in the back? Yep, been there. Funny story—once, my little cousin tried to help and pulled out what he swore was ‘that mystery meat with the ice freckles on it.’ Turns out, he wasn’t far off. Because honestly, frozen ground beef can be a gamble. If you spot certain things on it, it might be time to just cut your losses and start fresh. Let’s talk about what those warning signs actually look like, and hey, if your meat’s still good, I’ll share my go-to beef skillet—nothing fancy, just hearty, tasty, and forgiving if you get distracted halfway.


Why This Will Win Over Your Crew (or at Least Not Get Complaints)
I make this skillet meal when I’ve got a curveball coming—late soccer practice, forgot to meal-prep, you get the idea. My family basically expects it every other Tuesday (it’s become that kinda tradition). They love it because it’s filling, not too fussy, and if there are leftovers, the flavors get even better by morning. Oh, and it’s also a lifesaver when you realize you should have tossed some beef instead of cooking it… been there, too. (Don’t ask about the gray stuff! Just trust me.)
The Tell-Tale Signs: When To Toss Your Frozen Ground Beef
- Giant Ice Crystals: We’re not talking a little frost. I mean slabs of ice that make your beef look like an arctic fossil. That usually means big thaw-refreeze action or it’s just been in there way too long.
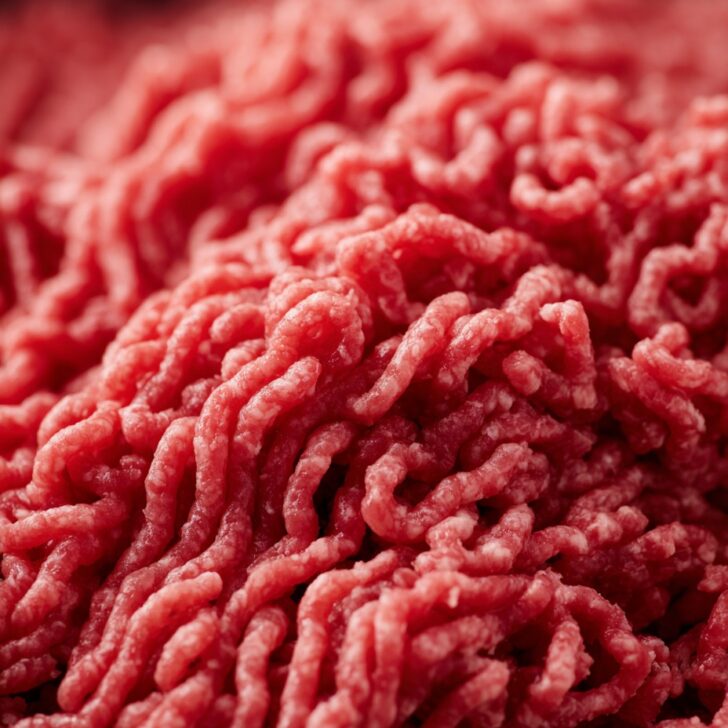
- Gray or Brown Patches: Okay, so a little color change is normal, but if it’s looking more like a biology experiment, skip it. Especially if it's kind of green around the edges (ew!).
- Strange, Sour, or Musty Smell: Give it a cautious sniff after defrosting. If you recoil and think “old socks in July,” just toss it. No badge of honor for powering through spoiled beef.
- Sticky or Slimy Texture: If, after thawing, the beef is sticky in a weird way or kind of slimy—not just a bit wet from melting—yeah, that’s nature saying “no way.”
If It’s Still Good: Cozy Beef and Veggie Skillet (From My Random Freezer Finds)
Here’s What You’ll Need (Give or Take)
- 1 pound (about 450g) ground beef (sometimes I use ground turkey if that’s what’s defrosted. Grandma swears by the local butcher but grocery store stuff works)
- 1 medium onion, chopped (red, white, yellow, whatever you’ve got)
- 2 cloves garlic, minced (I use the jar stuff when I’m lazy, don’t judge!)
- 1 bell pepper, diced (green is classic but any color cheers it up)
- 2 cups frozen mixed vegetables (sometimes I just toss in carrots and peas—use up what’s in the bottom of the freezer)
- 1 can diced tomatoes (14 oz, with juices—fire-roasted if you wanna get fancy)
- 1 cup beef broth or water (I’ve totally used water and just added an extra pinch of salt)
- 1 teaspoon dried Italian seasoning (I’ve been known to just throw in a random smattering of basil and oregano instead—don’t overthink it)
- Salt and pepper, to taste
- 1 tablespoon olive oil or any cooking oil (if you remember, otherwise your nonstick pan might save you)
Directions: Loosely Speaking
- Heat up a good sturdy skillet over medium-high. Add the oil. (Or—if you forgot, just toss the beef right in, it’ll still work. Not that I ever do that...)
- Toss in the ground beef. Break it up with your spatula. Brown it all around. I usually sneak a taste at this point—just make sure it’s fully cooked first! Drain off some fat if there’s a ton. (But if you forget, honestly, it just adds ‘flavor’.)
- Add onions and garlic. Cook till the onions get soft and slightly see-through. If they start browning, relax—it’s all good, that just means flavor.
- Bell pepper jumps in next. Stir it all up. Give it about 3 minutes. It’s okay if bell peppers stay a bit crunchy; that’s how I like them anyway.
- Toss in the frozen veggies and the can of tomatoes (including juices). Stir, stir, stir. Looks a bit weird right now, huh? Don’t worry, it comes together.
- Pour in the broth (or water), sprinkle in the seasoning, and add salt and pepper. Turn the heat down to medium-low. Let it all simmer, lid on, for about 10-12 minutes. Maybe give a lazy stir halfway. (If you wander off and forget, it probably won’t hurt anything unless your heat’s way up.)
- Take off the lid, let it thicken for another few minutes if it looks too soupy. Then it’s done! Taste and adjust seasoning if you want. Or don’t—it’s pretty forgiving.
A Few Notes (I Learned These the Hard Way)
- If the beef came form the freezer and you spot any of the warning stuff above—ice slabs, funky colors, or weird sticky bits—just throw it out. Not worth the risk.
- You can use fresh veggies, but personally I like the convenience of frozen (plus no chopping when you’re tired!).
- Soupier than you like? Just let it simmer longer. Or—here’s a weird one—stir in a handful of instant potatoes to thicken. Works shockingly well.
Variations: Things I’ve Tried
- I’ve swapped in ground chicken. Good in a pinch, but not my favorite. The flavor is milder, so toss in extra garlic if you do this.
- Once, I diced up a sweet potato and added it. Took forever to cook but added a fun twist.
- Tried adding a splash of Worcestershire—tasted great, but my youngest said it ‘smelled like rainboots.’ Your call!
Equipment: Use What You’ve Got
I think a big nonstick skillet is easiest—you get less sticking, obviously. But if you’re using a regular pan and things start catching, just add a splash more broth or water... or scrape it up and call it ‘developing flavor.’ Wooden spoon is classic, but honestly, whatever you’ve got handy.


How I (Try) to Store It
If you actually have leftovers, pop them in an airtight container in the fridge. Should be fine for up to 3 days, though honestly, in my house it never lasts more than a day! Oh, and it actually tastes even better the next morning—seriously, throw a fried egg on top for breakfast and thank me later.
How We Serve It (Don’t Judge)
Some nights, I pile it onto rice (white, brown, whatever’s cooked); other times, it goes with crusty bread for dipping. My aunt likes it over mashed potatoes (which is a total win), and once my kid dunked tortilla chips in it—surprisingly good. We’re not fussy folks.
Things I Wish I Knew The First Time
- I once tried to speed up the simmering stage and ended up with crunchy carrots mixed with watery tomato soup. Give it the full simmer; patience is a virtue (or at least, a necessity).
- Don’t skip tasting before serving. I always think, ‘It’s fine’—then regret the blandness. Salt and pepper save the day.
FAQ (From Friends, Family, and That One Neighbor)
- "Can I use beef that’s a year old from the freezer?" Technically, probably, but be ruthless. If you see the ice slabs or gray madness, just don’t risk it.
- "Does the skillet freeze well?" Oh, absolutely. Just cool it first, toss in a freezer bag, then reheat in the microwave or pan. (It’s so homespun it survives anything.)
- "Can I skip the tomatoes?" Sure, you’ll just have a drier skillet. Maybe add extra broth, but I kinda miss the tangy flavor when I do this.
- "How can I make it spicier?" Toss in chili flakes, hot sauce, or even a few diced jalapeños. Or go gentle—depends if you want the family breathing fire.
- "Do I have to use Italian seasoning?" No way! I’ve thrown in taco seasoning once and honestly, that was a good night.
So to sum it up: when in doubt about your beef, be safe not sorry. If it passes the sniff and sight test, this skillet’s your answer to “what’s for dinner?”—and a cozy one at that. Now, if you’ll excuse me, I need to fish some mystery meat out of my own freezer (and probably toss it...)
Ingredients
- 1 pound (about 450g) ground beef (sometimes I use ground turkey if that’s what’s defrosted. Grandma swears by the local butcher but grocery store stuff works)
- 1 medium onion, chopped (red, white, yellow, whatever you’ve got)
- 2 cloves garlic, minced (I use the jar stuff when I’m lazy, don’t judge!)
- 1 bell pepper, diced (green is classic but any color cheers it up)
- 2 cups frozen mixed vegetables (sometimes I just toss in carrots and peas—use up what’s in the bottom of the freezer)
- 1 can diced tomatoes (14 oz, with juices—fire-roasted if you wanna get fancy)
- 1 cup beef broth or water (I’ve totally used water and just added an extra pinch of salt)
- 1 teaspoon dried Italian seasoning (I’ve been known to just throw in a random smattering of basil and oregano instead—don’t overthink it)
- Salt and pepper, to taste
- 1 tablespoon olive oil or any cooking oil (if you remember, otherwise your nonstick pan might save you)
Instructions
-
1Heat up a good sturdy skillet over medium-high. Add the oil. (Or—if you forgot, just toss the beef right in, it’ll still work. Not that I ever do that...)
-
2Toss in the ground beef. Break it up with your spatula. Brown it all around. I usually sneak a taste at this point—just make sure it’s fully cooked first! Drain off some fat if there’s a ton. (But if you forget, honestly, it just adds ‘flavor’.)
-
3Add onions and garlic. Cook till the onions get soft and slightly see-through. If they start browning, relax—it’s all good, that just means flavor.
-
4Bell pepper jumps in next. Stir it all up. Give it about 3 minutes. It’s okay if bell peppers stay a bit crunchy; that’s how I like them anyway.
-
5Toss in the frozen veggies and the can of tomatoes (including juices). Stir, stir, stir. Looks a bit weird right now, huh? Don’t worry, it comes together.
-
6Pour in the broth (or water), sprinkle in the seasoning, and add salt and pepper. Turn the heat down to medium-low. Let it all simmer, lid on, for about 10-12 minutes. Maybe give a lazy stir halfway. (If you wander off and forget, it probably won’t hurt anything unless your heat’s way up.)
-
7Take off the lid, let it thicken for another few minutes if it looks too soupy. Then it’s done! Taste and adjust seasoning if you want. Or don’t—it’s pretty forgiving.
Approximate Information for One Serving
Nutrition Disclaimers
Number of total servings shown is approximate. Actual number of servings will depend on your preferred portion sizes.
Nutritional values shown are general guidelines and reflect information for 1 serving using the ingredients listed, not including any optional ingredients. Actual macros may vary slightly depending on specific brands and types of ingredients used.
To determine the weight of one serving, prepare the recipe as instructed. Weigh the finished recipe, then divide the weight of the finished recipe (not including the weight of the container the food is in) by the desired number of servings. Result will be the weight of one serving.
Did you make this recipe?
Please consider Pinning it!