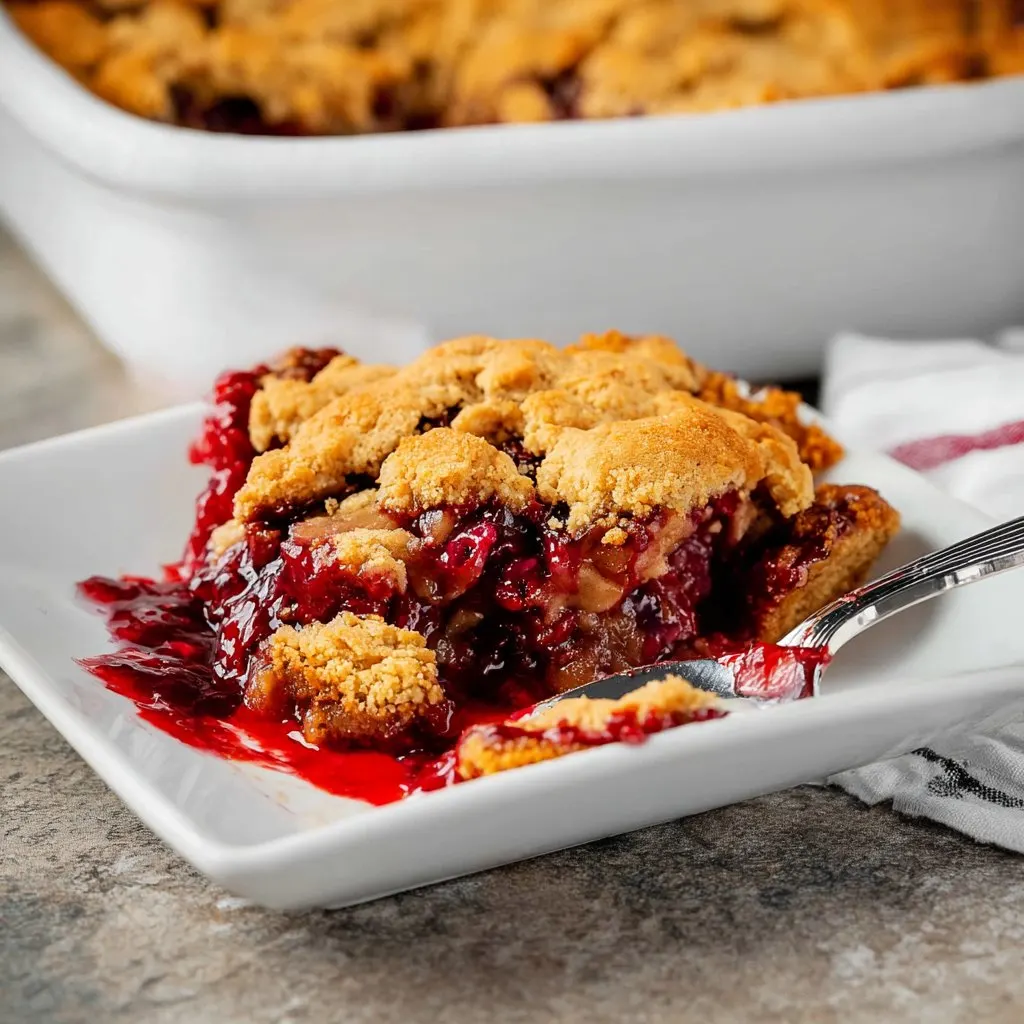
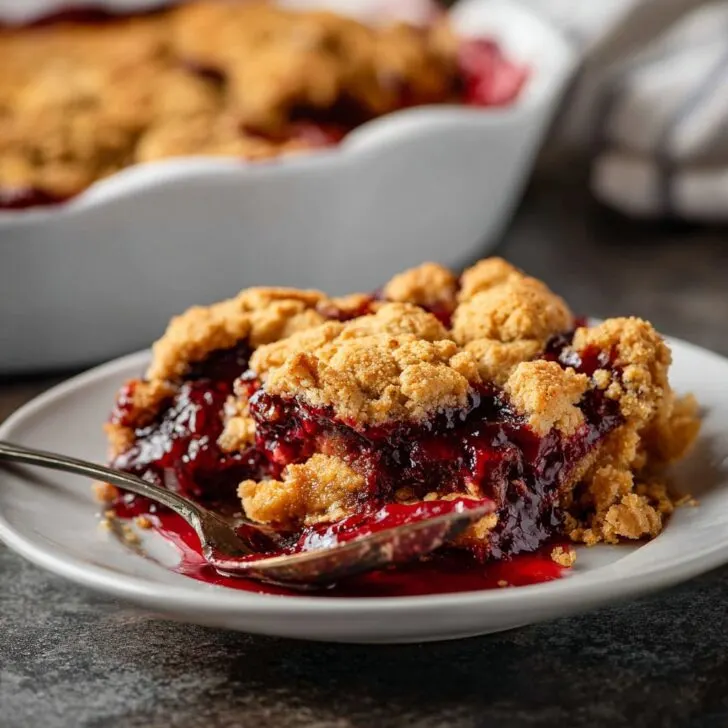
Okay, hear me out. Peanut butter and jelly, but in cobbler form. I made this on a rainy Tuesday when everyone was grumpy and the dog had stolen a sock again, and by the time it came out of the oven we were all quiet, just spooning warm, jammy bites into bowls like civilized people. It smells like a school lunch grew up and got a fancy sweater. Not that fancy though, we are still using a single mixing bowl.
I first baked this after my cousin texted me a photo of a half eaten PB and J cupcake and I thought, I want that comfort but less frosting, more cozy. The batter is basic on purpose, the peanut butter gets melty and toasty, and the jelly turns into little ruby pockets that make you do a happy nod. Also yes, I do sneak a taste off the edge, who would not.
Why I keep making this even when I should probably clean the fridge
I make this when we want dessert and I do not want to fuss with a mixer. My family goes bonkers for it because it tastes like childhood but also like a proper cobbler. And it is flexible. If the jelly looks a bit strange when it melts, do not panic, it always settles into the batter. I used to over swirl and it got muddy, but now I just dot it around and let the oven do the work. Also, if you have a cranky day, stirring warm peanut butter is weirdly therapeutic.
(Tiny gripe I solved) I used to microwave the peanut butter too hot and it seized up into a stubborn blob. Now I just warm it gently. Patience, buddy.
What you will need, plus the swaps I actually use
- 1 stick unsalted butter, about 115 g
- 1 cup all purpose flour, 120 g or so
- 3 by 4 cup granulated sugar, 150 g
- 1 teaspoon baking powder
- 1 pinch fine salt
- 3 by 4 cup milk, any kind, about 180 ml
- 1 teaspoon vanilla extract, optional but I like it
- 3 by 4 cup creamy peanut butter, gently warmed until loose
- 1 by 2 to 3 by 4 cup jelly or jam, grape or strawberry are classics, but use what makes you smile
- 1 handful roasted peanuts, chopped, optional for crunch
- 1 tablespoon turbinado sugar, optional for a crunchy top
Swaps I actually use:
- I sometimes use brown sugar for half the white when I want a deeper flavor.
- If I am out of milk, a mix of yogurt and water works fine, about two thirds yogurt to one third water.
- My grandmother always insisted on a certain grape jelly, but honestly any decent jam or jelly works. If it is very firm, warm it a bit so it drops off the spoon.
- Crunchy peanut butter is great too. Just watch for extra salt.
Let us bake it, no need to be fussy
- Heat the oven to 350 F or 175 C. Put the butter in a 9 by 9 inch baking dish and slide it into the oven to melt while you mix the batter. Keep an eye on it. We want melted, not browned, though a touch of browning is tasty.
- In a bowl, whisk the flour, sugar, baking powder, and salt. Add the milk and vanilla. Whisk until mostly smooth. A few tiny bumps are fine. This is where I usually sneak a taste and then remember there is raw flour, do not be like me.
- Pull the hot dish of melted butter out and set it on a heat safe surface. Pour the batter right into the butter. Do not stir it together. The butter will creep up the sides and that is good.
- Warm the peanut butter just until it moves easily. I use 15 second bursts in the microwave, stirring in between. Dollop it by spoonfuls over the batter. It will sink a bit. That is the plan.
- Do the same with the jelly. Dot it here and there. Resist the urge to swirl more than a lazy figure eight or two. Too much and the colors go muddy.
- Sprinkle on the chopped peanuts and turbinado sugar if using. Looks a bit messy now, right. Do not worry if it looks a bit weird at this stage, it always does.
- Bake for 35 to 45 minutes, until the top is golden, the edges are deep and toasty, and the center is set with a soft jiggle. If you tap the pan and it ripples like a water bed, give it five more minutes.
- Cool 15 minutes so it can settle. Its best a little warm, when the jelly is still glossy.
Notes from the many pans I have made
- If your jelly is very sweet, cut the sugar in the batter to 1 by 2 cup. I learned that on a very late Sunday when we wanted seconds and it was a bit much.
- Salt matters. A tiny pinch brings the peanut butter forward.
- Actually, I find it works better if I do not over fill the pan. Two thirds full gives you taller pockets and less spill.
- Use a light colored pan if you can. Dark pans brown faster on the edges and fooled me once into pulling it early.
Variations I tried, the good and the oops
- Swirl of chocolate. I melted a small handful of chocolate chips and drizzled over the top. It was lovely and rich, though you taste less peanut butter.
- Raspberry lemon. Raspberry jam with a teaspoon of lemon zest in the batter. Bright and cheerful.
- Almond butter and apricot. Very good, more grown up somehow.
- Oat crumble topping. I tried to add a crumb layer once and it turned heavy. Tasted fine, texture was odd. I would skip that.
Gear I grab, and what to do if you do not have it
- 9 by 9 inch baking dish. Glass or metal. I say a metal pan is essential for crisp edges, but on second thought, a glass dish works just fine.
- Medium bowl and a whisk. If you have no whisk, a fork and a minute of extra elbow grease does the job.
- Small microwave safe cup for warming peanut butter. No microwave. Set the cup in a bowl of hot water for a few minutes.

Storage, though it rarely comes to that
Cover and keep at room temperature up to 1 day, then refrigerate up to 3 days. Rewarm gently in a low oven or a quick zap. I think this tastes better the next day, the flavors settle in, but honestly in my house it never lasts more than a day.
How we serve it when we are impatient
A big spoonful in a bowl with vanilla ice cream. Or a splash of cold cream. My kids like a drizzle of warm jelly on top, which is both chaotic and delightful. On birthdays we add sprinkles. Because why not.
Pro tips learned the long way
- I once tried rushing the melting butter step and just tossed cold butter in the pan. It did not distribute and the corners were dry. Melt it first.
- I over swirled the jelly once and it turned grayish. Dot, then stop. The oven makes prettier swirls than we do.
- A heavy hand with peanut butter can make the center dense. Stick to the amount listed, then add peanuts for extra peanut oomph.
- Sift if your flour is clumpy. You can also whisk it well. Lumps of dry flour are no fun to bite into.
Quick digression that made me smile
I keep a tiny spoon just for jam. It is older than me, a wee thrift store find with a crooked handle. Every time I use it for this cobbler, I think about the person who had it before and if they also stole tastes form pans like I do.
Helpful bits if you want to nerd out a little
If your batter sometimes bakes up tough, it could be how you measure flour. This guide on how to measure flour is simple and genuinely useful. Curious about what makes a cobbler a cobbler. The cobbler vs crisp explainer clears it up without fuss. And if you are debating jam vs jelly vs preserves, I like this friendly rundown on Food52.
FAQ I have actually been asked
Can I use natural peanut butter. Yes, but stir it really well so the oil is mixed in. If it is very runny, chill it a few minutes so it drops in thicker dollops.
What size pan works if I do not have 9 by 9. An 8 by 8 inch will make it a bit thicker, add a few minutes bake time. A 9 by 13 works for a double batch, which is a party move.
Can I make it gluten free. Probably. Use a good cup for cup blend and add a tablespoon of milk if the batter looks too thick. It should pour like pancake batter.
Is jelly better than jam here. Depends on what you like. Jelly gives cleaner pockets. Jam has fruit bits, which I love. If your jam is very chunky, chop larger fruit pieces.
Can I reduce the sugar. Yes, go to 1 by 2 cup in the batter if your jelly is sweet. It will be less glossy but still lovely.
Do I need to toast the peanuts first. You do not have to, but toasting makes them taste more peanuty. Five minutes in the oven while it preheats is plenty.
How do I know when it is done. Look for golden top, bubbling edges, and a center that no longer looks wet. A skewer will come out mostly clean with a little jelly streak, which is perfect.
