
Alright, Let's Talk About These Brownies (and My Messy Kitchen)
You know those days when you just need something chocolatey and you don't want to fuss with weird ingredients or get all fancy? That's when I reach for this fudgy brownies recipe with a crackly top; it's a lifesaver and also my undoing because, honestly, I can't stop eating them. The first time I baked these, I managed to get cocoa powder everywhere—including on the dog, but that's another story. Anyway, these brownies have become my go-to for birthdays, breakups, or just when the weather looks a bit grim. (Full disclosure: they never last long enough to make it to the next day.)
Why You’ll Love This (Or At Least, Why I Do)
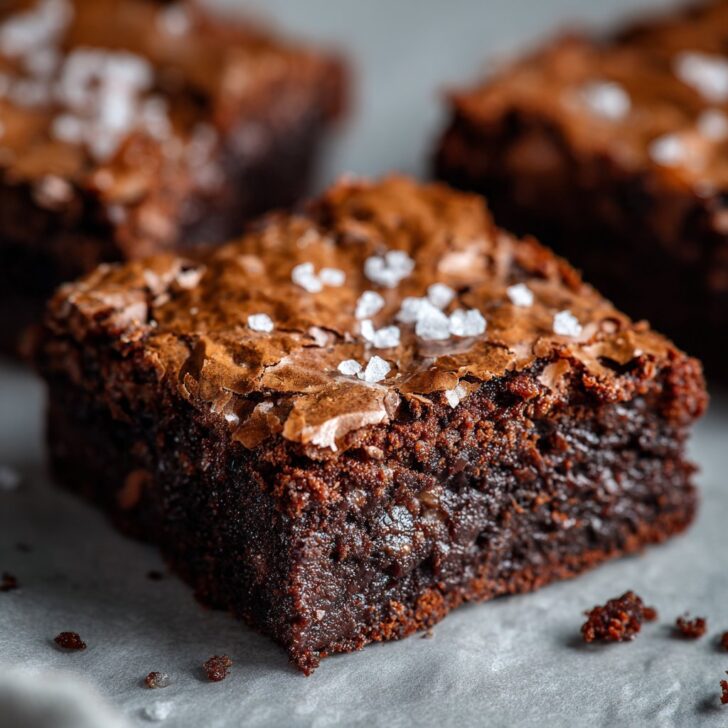
I make these when I want to impress my friends but don’t actually want to work that hard. My family goes wild for them because they’ve got that shiny, crackly top, but underneath? Total gooey, fudgy bliss. (My secret weapon for getting people to help with the washing up, honestly.) Once I tried using less sugar to be “healthy” and, look, I regretted it—sometimes you just need the real deal. Oh, and if you’ve ever struggled with brownies being too cake-like, this recipe is for you. Or at least for me. The only frustration? Waiting for them to cool before slicing. Torture!
What You'll Need (And What I Sometimes Sub In)
- 200g (about 1 cup) dark chocolate, chopped (I’ve used semi-sweet chocolate chips when I ran out; works fine!)
- 115g (½ cup) unsalted butter (Salted is okay, just skip the extra pinch of salt)
- 250g (1 ¼ cups) granulated sugar (Caster sugar if I’m feeling fancy. Brown sugar gives a caramel twist.)
- 2 large eggs (My neighbour’s backyard eggs always seem to make them richer, but supermarket eggs are just grand)
- 1 teaspoon vanilla extract (Or a splash more if you’re ‘measuring’ like me)
- 65g (½ cup) plain flour (All-purpose for my American pals. I once used self-raising by accident—don’t.)
- 25g (¼ cup) unsweetened cocoa powder (Dutch process or natural, both work. I don’t stress about the brand.)
- A pinch of salt (Unless you used salted butter, see above)
How I Actually Make Them (With Tangents)
- Preheat your oven to 180°C/350°F. Line an 8-inch square tin with baking paper. I once forgot the paper, and it was, let’s say, a challenge to get them out. Don’t skip this.
- Melt the butter and chocolate together in a saucepan over low heat, stirring often. Sometimes I use a bowl over a pan of simmering water if I’m feeling posh, but the microwave does the job if you go slow (maybe 30-second bursts). This is also the stage where I sneak a taste because who’s watching?
- Let the chocolate mixture cool for 5 minutes. (Or a bit longer if you’re patient. I’m not.)
- Whisk in sugar, then add the eggs one at a time, mixing well after each. The batter will look a bit odd at first—don’t panic, it comes together. Stir in vanilla.
- Sift in the flour, cocoa, and salt. Fold gently, just until combined. If you see a few streaks, that’s actually fine. Overmixing makes tough brownies. Learned that the hard way.
- Pour the batter into your tin. Smooth the top—sometimes I don’t bother and my brownies end up a bit lopsided, but that’s character, right?
- Bake for 22–28 minutes. I start checking at 22, looking for a crackly top and a slight wobble in the middle. A skewer should come out with moist crumbs, not wet batter. If you wait until it’s totally clean, you’ve missed peak fudgy-ness.
- Leave to cool completely in the tin. This is the step I always want to skip, but they slice way better if you wait. (Sometimes I just can’t.)
Notes from My Brownie Experiments
- Once I used a glass dish instead of metal and they took ages to bake through. Use a metal tin if you can.
- If your brownies sink a bit in the middle, that’s normal and, to be honest, makes for the best gooey bites.
- I tried doubling the recipe in a 9x13 pan; it worked, but the edges got a bit crispy. Still good with ice cream though.
Variations I’ve Tried (Some Winners, Some Not)
- Chopped walnuts or pecans stirred in—love this for crunch.
- A swirl of peanut butter on top before baking. So rich, but so worth it.
- White chocolate chunks—kids go bonkers for these, but I think it’s a bit sweet. Up to you.
- One time I tried swirling in raspberry jam, but it made the brownies a bit soggy. Maybe I overdid it? Still ate them, though. Waste not, want not.
If You Don’t Have All the Gear...
No 8-inch tin? I’ve used a slightly larger one and just baked for a little less time. Or, use a loaf pan for extra-thick brownies, but give them a bit longer in the oven. If you don’t have proper baking paper, a good bit of butter on the pan works in a pinch, but getting them out is a bit of a gamble (still delicious).


How I Store Them (When They Last)
I pop them in an airtight container at room temp. They’ll keep for up to 4 days (so they say)—though honestly, in my house it never lasts more than a day! You can freeze them, too. Cut into squares and wrap well. For what it’s worth, I think they taste even better the next day, if you can stand to wait.
How We Actually Eat These (My Family’s Way)
Best served slightly warm with a scoop of vanilla ice cream. Or cold with a mug of builder’s tea. My aunt used to serve them with a sprinkle of sea salt on top, which is surprisingly great. I’ve even crumbled them over yogurt for breakfast—don’t judge. Or do, I deserve it.
Pro Tips I Learned the Hard Way
- Don’t rush the cooling—seriously. I once tried to cut them hot and ended up with a messy, chocolate avalanche. Still good, but, you know, not pretty.
- Use real butter, not margarine. I tried once and the flavour just wasn’t there. Maybe it’s me.
- If your oven runs hot, start checking early. Burnt edges are the enemy of fudgy brownies.
What People Always Ask Me (FAQ Time!)
- Can I make these gluten-free?
- Yep, just sub in a plain gluten-free flour blend, like the one from Minimalist Baker. Texture’s a wee bit different, but still gooey.
- Do I have to use dark chocolate?
- Nope! Use semi-sweet, even milk chocolate if you’re after a sweeter brownie. I even tried it with leftover holiday chocolate once. Worked out okay.
- Can I double the recipe?
- Sure thing. Just use a bigger pan and add 5-10 minutes to baking. But watch the edges!
- Why didn’t I get a crackly top?
- It’s all about beating the eggs and sugar properly. Sometimes I get lazy and don’t whisk enough, so the top’s not as shiny. Next time, whisk a bit more. Or check out this detailed breakdown from Serious Eats for the science-y stuff.
- How do I know when they’re done?
- When the middle’s just set and the top has that papery look. Don’t overbake! Fudgy is the goal.
And a random tidbit: Sometimes I think baking is just a grown-up excuse to lick the bowl. If anyone says otherwise, they’re probably lying. Happy baking—and if you have a favourite mix-in, let me know! (Or if you have a magic trick for getting chocolate stains out of a white t-shirt, I’m all ears.)


Ingredients
- 1 cup (225g) unsalted butter, melted
- 2 cups (400g) granulated sugar
- 4 large eggs
- 1 cup (120g) all-purpose flour
- 1 cup (85g) unsweetened cocoa powder
- ½ teaspoon salt
- 1 teaspoon vanilla extract
- 1 cup (175g) semi-sweet chocolate chips
Instructions
-
1Preheat the oven to 350°F (175°C). Line a 9x13-inch baking pan with parchment paper and lightly grease.
-
2In a large bowl, whisk together the melted butter and granulated sugar until well combined.
-
3Add the eggs one at a time, whisking well after each addition. Stir in the vanilla extract.
-
4Sift in the flour, cocoa powder, and salt. Gently fold the dry ingredients into the wet mixture until just combined.
-
5Fold in the chocolate chips. Pour the batter into the prepared pan and spread evenly.
-
6Bake for 25 minutes or until a toothpick inserted into the center comes out with a few moist crumbs. Allow to cool before slicing and serving.
Approximate Information for One Serving
Nutrition Disclaimers
Number of total servings shown is approximate. Actual number of servings will depend on your preferred portion sizes.
Nutritional values shown are general guidelines and reflect information for 1 serving using the ingredients listed, not including any optional ingredients. Actual macros may vary slightly depending on specific brands and types of ingredients used.
To determine the weight of one serving, prepare the recipe as instructed. Weigh the finished recipe, then divide the weight of the finished recipe (not including the weight of the container the food is in) by the desired number of servings. Result will be the weight of one serving.
Did you make this recipe?
Please consider Pinning it!!