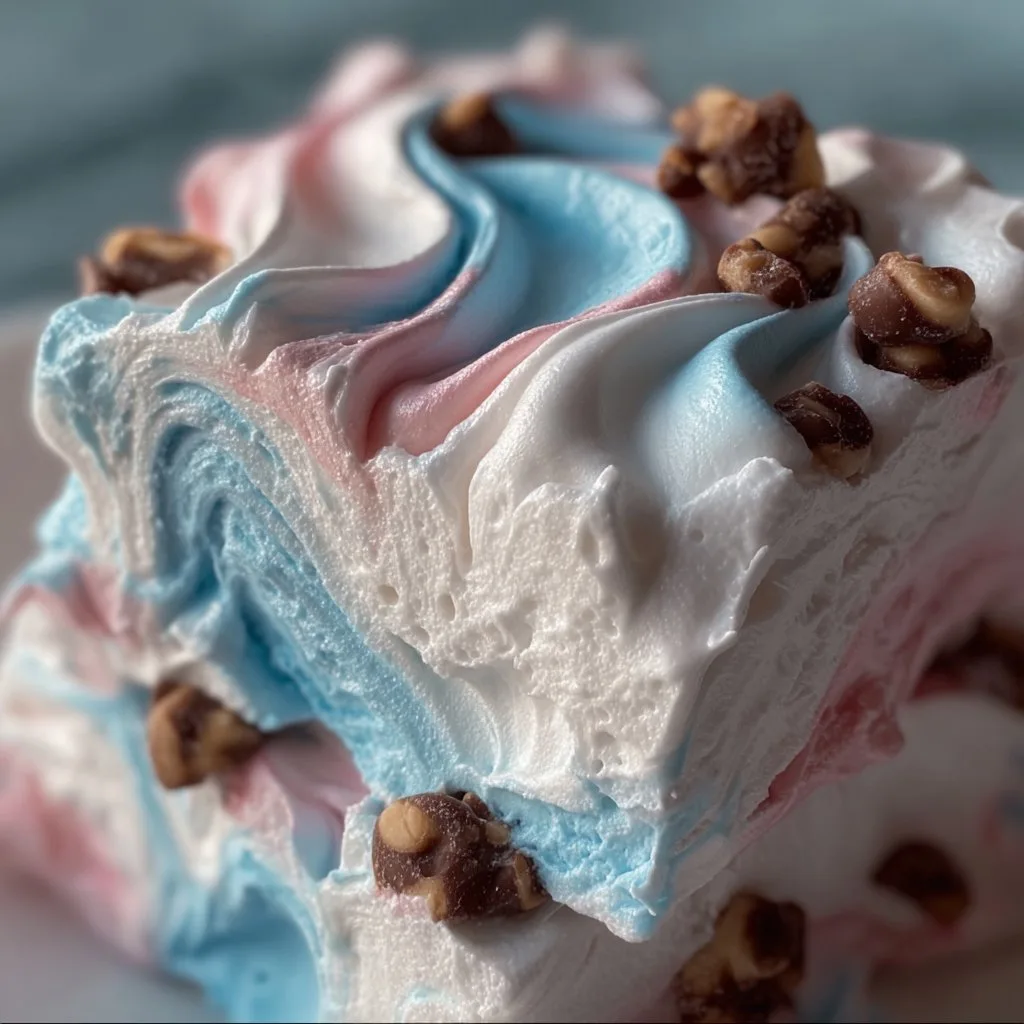
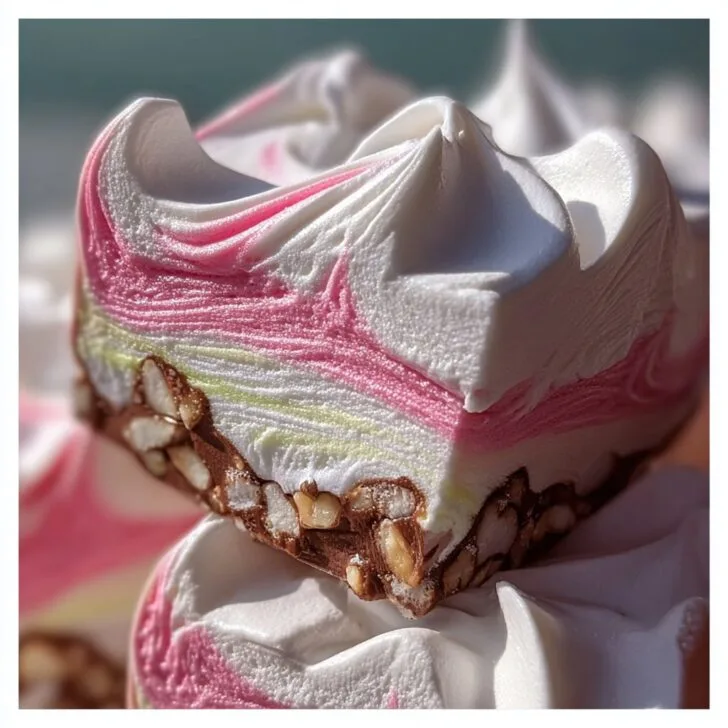
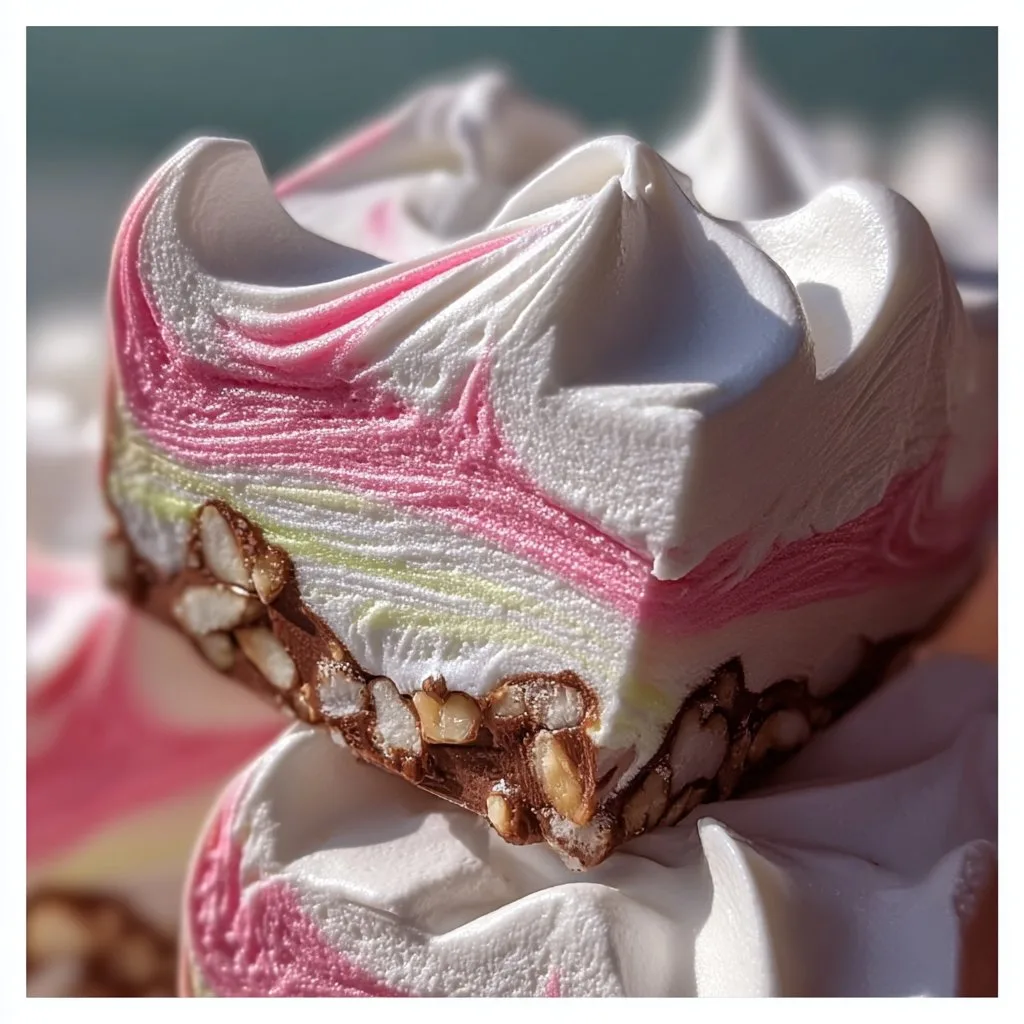
Let's Talk About Easy Cool Whip Candy (and Why I Keep Making It)
Oh boy, if you’d told me a few years ago I’d have a recipe so simple it practically makes itself... I probably would’ve rolled my eyes. But, Easy Cool Whip Candy is that one recipe I bust out when I need a homemade treat but my motivation is, well, on vacation. The first time I made it was for a last-minute bake sale (spoiler: my batch was gone before everyone else even set up!). Now it’s my secret weapon for sweet cravings, kids’ parties, and—honestly—times when I just want to lick the bowl (no judgement, right?).
Why You'll Love This Candy (Trust Me!)
I make this when I've got about twenty minutes, a sweet tooth the size of Nebraska, and zero patience for candy thermometers. My family goes bananas for it because there’s something about the combo of creamy and chocolatey that just hits the spot. Also, it’s fun for little hands to help with—though beware, sticky fingers everywhere. And for the record, I used to think homemade candy was only for the Martha Stewart types. Nope. This one doesn’t even use the stove (unless you count melting chocolate), which means I haven’t scorched a pan since 2020.
What You'll Need (aka, What’s in My Pantry Right Now)
- 1 tub (8 oz) Cool Whip (I’ve used store brand when it’s on sale. My grandma insists on the real deal, but honestly, any whipped topping works fine!)
- 2 cups semi-sweet chocolate chips (milk chocolate works too—even white chocolate if you’re feeling wild. Once, I used peanut butter chips, and it was... interesting)
- 1 cup powdered sugar (sometimes I’m lazy and eyeball it—a little more or less doesn’t hurt)
- 1 teaspoon vanilla extract (optional, but I think it adds a little something. Immitation is okay, but if you’ve got the real stuff, all the better)
- Pinch of salt (I forget this half the time, and it’s still good)
How to Make It (No PhD Required)
- First, line an 8x8 inch pan with parchment paper. Or foil. Or wax paper in a pinch—just something so you’re not chiseling candy out of your best pan later.
- Toss your chocolate chips into a microwave-safe bowl and zap them for 30 seconds at a time, stirring in between, until melted and smooth. (This is where I usually sneak a taste. Quality control, right?)
- In a separate bowl, plop in the Cool Whip. Add the powdered sugar, vanilla, and salt. Give it a good stir—gentle at first, or you’ll be wearing a snowstorm of sugar. (If it looks a bit weird or lumpy, don’t panic, it always smooths out in the end.)
- Pour in the melted chocolate and stir until everything’s combined. It’ll get thick and kind of fluffy. Actually, if it seems too thin, just toss it in the fridge for a couple minutes, it’ll firm up.
- Spread the mixture into your lined pan. Smooth the top as best you can (or don’t—it all tastes the same). Pop it in the freezer for about 30 minutes, or until set. If you forget and leave it longer, no big deal, just let it thaw a few before slicing.
- Cut into squares or, if you’re feeling fancy, use a cookie cutter. I usually just go with whatever knife is clean.
Real-Life Notes From My Kitchen
- If you swap in white chocolate, toss in a handful of dried cranberries or pistachios—adds a nice twist.
- Actually, I find it works better if you let the Cool Whip sit out for five minutes before you mix (it’s easier to stir and you won’t get wrist cramps).
- Don’t sweat it if your squares aren’t perfect—my first batch looked like lopsided bricks, but nobody cared once they tasted it.
Variations I’ve Tried (Not All Winners!)
- Once I added crushed Oreos. That was a hit.
- Peppermint extract for the holidays? Works great, but go easy—a little goes a long way.
- Peanut butter swirl attempt: turned out more like peanut butter blob, but tasted decent. Not pretty for gifting though.
- Sugar-free chocolate chips. To be honest, they tasted kind of odd, but if you’re watching sugar, it’s worth a shot.
What If You Don’t Have Fancy Candy Equipment?
Honestly, you just need two bowls and a spatula. Don’t have a microwave? Melt the chocolate on the stove over super low heat (just don’t walk away—ask me how I know). And if your pan is bigger than 8x8, your candy will just be a little thinner. No biggie.

How to Store (Ha, Like It'll Last That Long)
Keep your candy in the fridge in an airtight container. It’s best eaten within three days, though honestly, in my house it never lasts more than a day! You can freeze leftovers, but the texture gets a bit softer after thawing (I kinda like it that way, but some folks might not).
How We Serve It (Or, Why My Family Fights Over the Corners)
I love serving these straight from the fridge (they’re extra fudgy that way). Sometimes we sprinkle a little sea salt on top right before eating. On birthdays, I stick a toothpick in each square and call it a party. My youngest claims the corner pieces taste best—who am I to argue?
Hard-Earned Pro Tips
- I once tried rushing the freezing step and regretted it because my candy turned into a sticky mess—just chill out (pun intended) and let it set!
- Resist the urge to pile on extra toppings until you master the basic recipe. I got a bit carried away once and ended up with a kitchen disaster. Oops.
- Cut with a sharp, hot knife for cleaner squares. Or don’t—nobody will turn down an ugly piece.
FAQ (Because Friends Ask!)
- Can I use homemade whipped cream instead of Cool Whip? You can, but the texture’s a bit softer and sometimes it doesn’t hold up as well. Still tastes good though.
- Do I have to use chocolate chips? Nope! Any meltable chocolate works—check out this guide to chocolate types if you’re curious.
- Can I make it vegan? Yep, just use a non-dairy whipped topping and vegan chocolate chips. I haven’t tried it, but this vegan chocolate guide looks promising.
- Does it taste better the next day? I think so! But I rarely have leftovers to test that theory—maybe you’ll have more willpower.
- Help! My candy is sticky. What did I do wrong? Probably just didn’t chill it long enough, or maybe your kitchen was really warm. Just pop it back in the fridge for a while.
- Can I double the recipe? For sure, just use a bigger pan. Or two pans if your oven is as small as mine.
So there you go—a treat that’s as easy as pie (actually, easier) and will have everyone asking for the recipe. Let me know if you put your own spin on it! If you want to browse more easy candy ideas, I sometimes check this list from Delish when I’m in a rut. Happy snacking, friends! (And hey, if you end up making this at midnight while watching TV, you’re not alone.)
Ingredients
- 1 (8 oz) tub frozen whipped topping (Cool Whip), thawed
- 2 cups semi-sweet chocolate chips
- 1 cup white chocolate chips
- ½ cup creamy peanut butter
- ½ teaspoon vanilla extract
- ¼ teaspoon salt
- ½ cup chopped nuts (optional)
- Sprinkles or crushed cookies for topping (optional)
Instructions
-
1Line an 8x8-inch baking pan with parchment paper, leaving an overhang for easy removal.
-
2In a microwave-safe bowl, melt the semi-sweet chocolate chips in 30-second intervals, stirring until smooth.
-
3Gently fold the thawed Cool Whip into the melted chocolate until fully combined and fluffy.
-
4Spread the mixture evenly into the prepared pan. In a separate bowl, melt the white chocolate chips and peanut butter together, then stir in vanilla extract and salt.
-
5Drizzle the peanut butter mixture over the chocolate layer. Use a knife to swirl the layers together. Sprinkle with chopped nuts or sprinkles if desired.
-
6Freeze for at least 2 hours or until firm. Lift out of the pan, cut into squares, and serve chilled.
Approximate Information for One Serving
Nutrition Disclaimers
Number of total servings shown is approximate. Actual number of servings will depend on your preferred portion sizes.
Nutritional values shown are general guidelines and reflect information for 1 serving using the ingredients listed, not including any optional ingredients. Actual macros may vary slightly depending on specific brands and types of ingredients used.
To determine the weight of one serving, prepare the recipe as instructed. Weigh the finished recipe, then divide the weight of the finished recipe (not including the weight of the container the food is in) by the desired number of servings. Result will be the weight of one serving.
Did you make this recipe?
Please consider Pinning it!!

