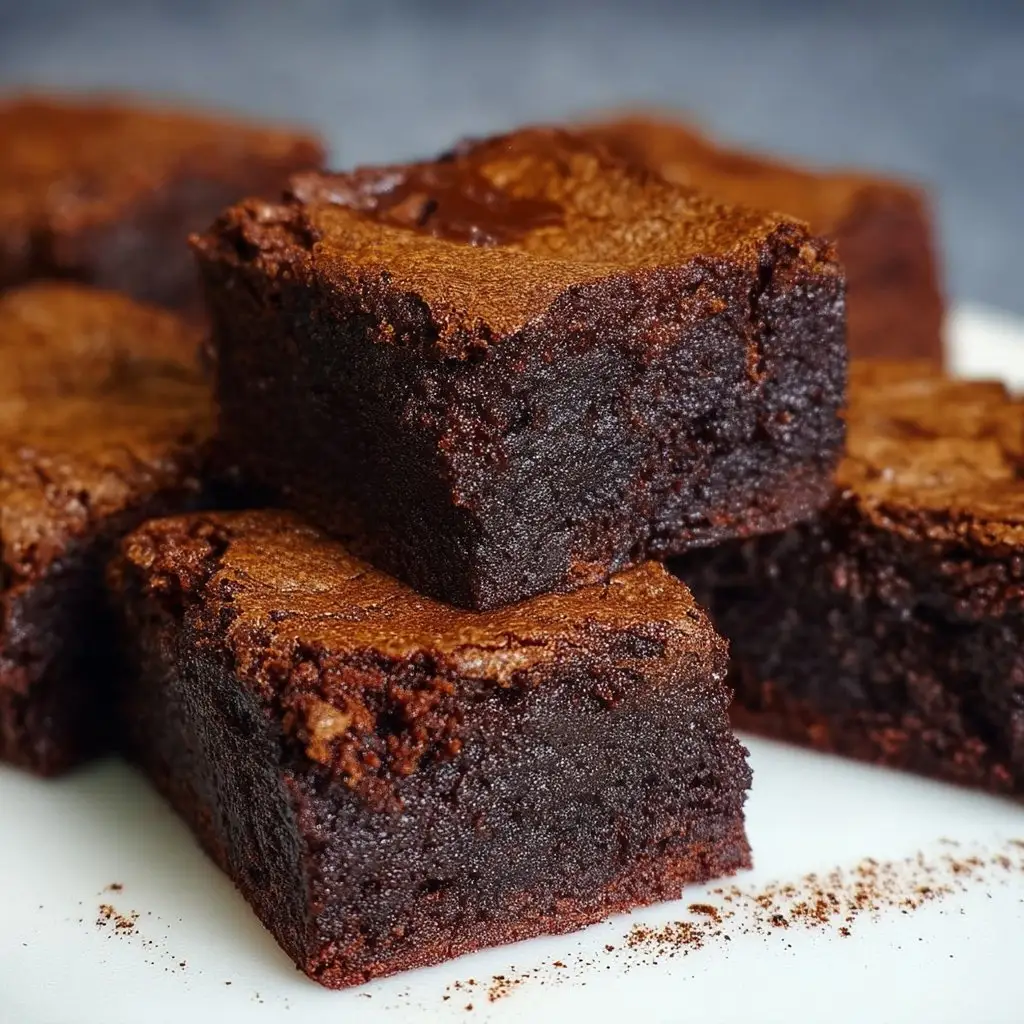
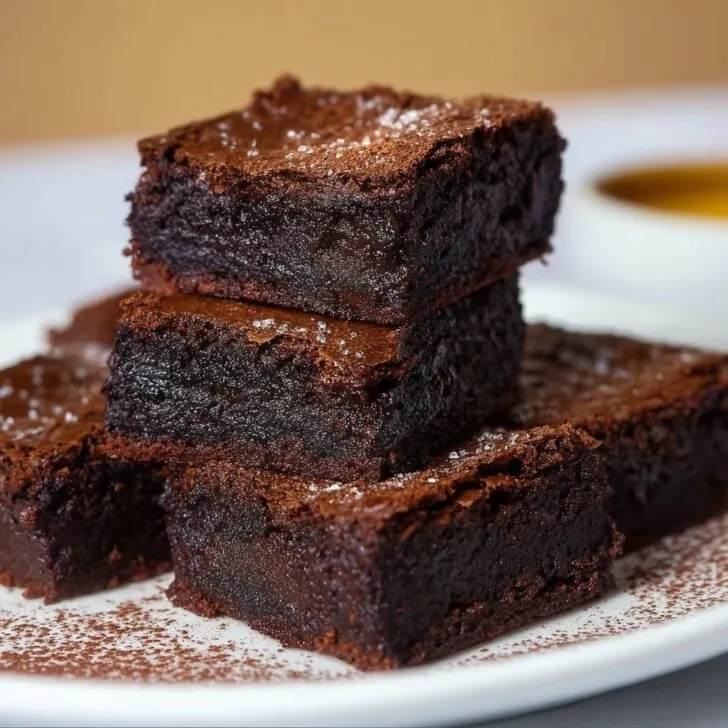
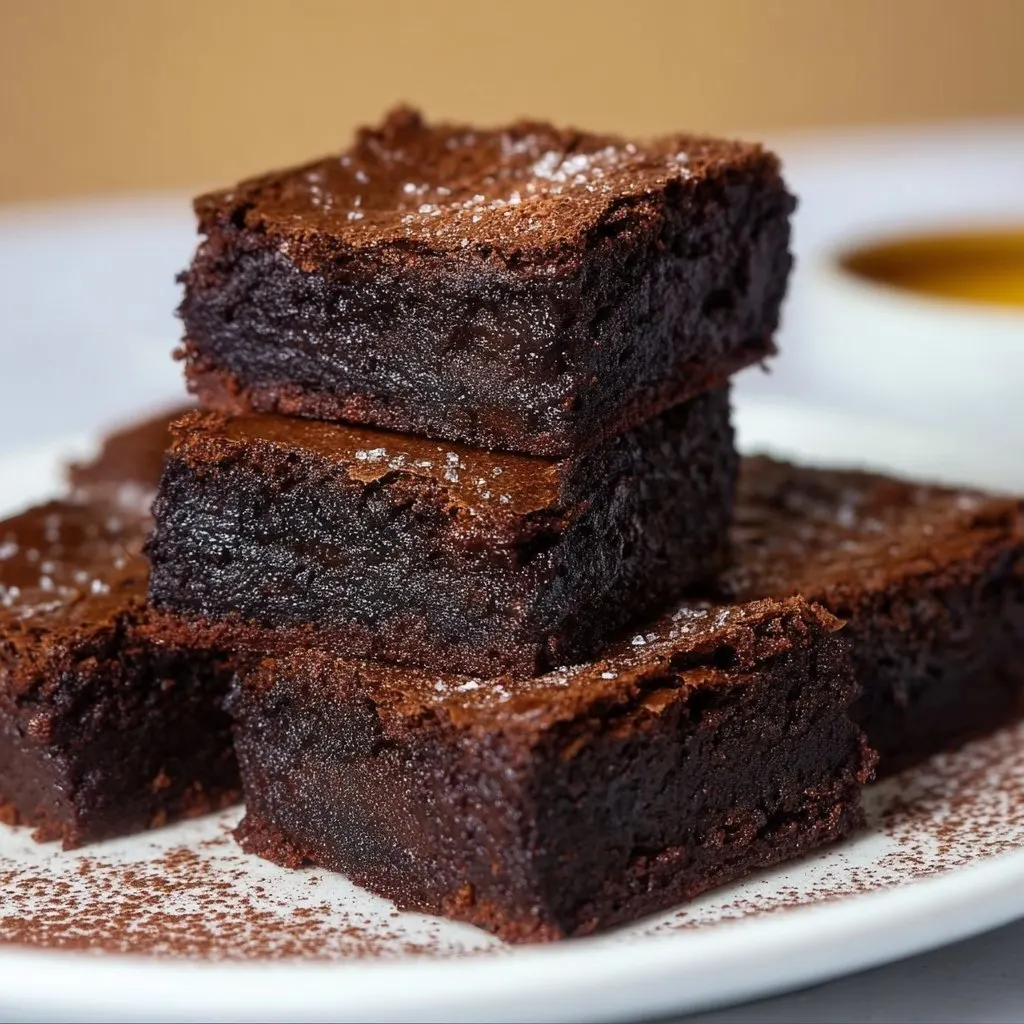
Let Me Tell You About These Brownies (and That One Time...)
Okay, so I have to confess—I've baked these brownies more times than I can count, and they've snuck into almost every family event, school bake sale (where my nephew, Tom, actually tried to pass them off as his own), and the occasional rainy Thursday afternoon when I just needed something gooey. You know how some recipes become part of your DNA? For me, these are it. Oh, and once I tried to swap the chocolate for some health-food cacao powder—let's just say, my kids staged a mini-protest. Lesson learned!
Why You'll Love This One (I Swear, Even the Pickiest Eaters Do!)
I make this when I want dessert but can't be bothered faffing about with anything fussy. My family goes a bit bonkers for these because they're fudgy in the middle but just the right kind of chewy on the edges (is that even a thing?). Plus, if you sneak a piece when it's still a bit warm, it's almost indecently good. The only real hassle is waiting for them to cool, and sometimes I don't even bother. Oh, and honestly, cleaning up is a cinch—unless you happen to drop cocoa powder all over your trackie-daks. Not that I'd know, ahem.
What You'll Need (With Some Swaps I Use When I'm Scatterbrained)
- 200g dark chocolate (I usually go for 70% Lindt, but honestly, anything from the supermarket shelf will do. Plain old Cadbury? Totally fine!)
- 175g unsalted butter (my Nan swore by Western Star, but I've used the home brand stuff too. Tastes the same, mostly!)
- 1 cup (220g) brown sugar (or white sugar if the brown's run out; I've mixed both when desperate)
- 3 large eggs (room temp if you can remember, but sometimes I forget and they still work)
- 1 teaspoon vanilla extract (I've used essence in a pinch, don't tell anyone)
- ¾ cup (100g) plain flour (self-raising can work, but expect extra puffiness)
- ¼ cup (30g) cocoa powder (Dutch-process is nice but regular is fine too)
- A pinch of salt (definitely don't skip this, makes the choc pop)
- Optional: 100g chopped walnuts or pecans (sometimes I add choc chips instead, or both if I'm feeling flash)
How I Actually Make These (And Where I Always Sneak a Taste)
- Preheat your oven to 180°C (160°C fan, or just guess if your oven's as old as mine). Line a 20cm square pan with baking paper—if you can't find that, just grease the tin well and hope for the best.
- Break up your chocolate and melt it with butter in a big-ish bowl over simmering water. Or, if you can't be bothered, 30-second bursts in the microwave work too. Just don't burn it, or you'll be scraping out crusty bits for days.
- Let that cool for a tick (otherwise you'll end up with chocolate scrambled eggs, which I've done more than I'd like to admit). Then whisk in your sugar, followed by eggs, one at a time. It'll look a bit odd—don’t worry.
- Add vanilla. Then throw in your flour, cocoa, and salt. I use a spatula here, but honestly, a wooden spoon or clean hand works too. Fold it gently. Don’t overmix; it’s fine if you see a streak or two.
- This is the bit where I sneak a taste—raw eggs be damned. Add nuts or choc chips if you like, then scrape the batter into your tin. Flatten it out a bit (it’ll level in the oven anyway).
- Bake for 22-28 minutes, or until the top is shiny and just set. If you poke a skewer in, it should come out with a few moist crumbs—if it’s bone dry, you’ve gone too long (but don’t stress, just serve with extra ice cream!).
- Let them cool in the tin. Or at least try. They're easier to cut when cool, but sometimes I just can't wait and end up with gooey chunks. Still delicious.
Little Notes I Wish I’d Known Earlier (Like, Ages Ago)
- They honestly taste even better the next day, but who can wait that long?
- If you forget to line the tin, just run a knife round the edges and flip it out. It might break, but that just means more "taste tests."
- I've tried doubling the cocoa before and, mate, too much of a good thing is...a bit much.
Variations I’ve Dabbled With (Mostly Good, One Not So Much)
- Swap the nuts for chopped up pretzels—gives a great salty crunch!
- White chocolate chunks instead of dark—surprisingly decent.
- I tried beetroot once (for a veggie-boost). Never again. Let's just say it was...earthy.
Tools I Use (But You Can MacGyver If Needed)
- Mixing bowls (though I've honestly used a saucepan for everything in a pinch)
- 20cm square tin—or any tin really, just watch the baking time.
- Spatula or wooden spoon. Fork works in a crisis.
- If you don't have baking paper, butter up the tin and cross your fingers!

How to Store (But Don’t Expect Leftovers)
Airtight container, room temp, up to 3 days. Pop them in the fridge if you like a fudgier texture. But honestly, in my house, they’re gone within 24 hours. Once, I tried freezing a batch for “future me”—future me never saw them.
How We Serve Ours (I Blame My Dad for This)
Warm with vanilla ice cream and a bit of Milo dusted on top (yeah, really), or cold from the fridge with a cuppa. Dad slathers his with peanut butter. No accounting for taste, eh?
Lessons Learned (Usually the Hard Way)
- I once tried to rush the cooling—ended up with hot brownie lava all over the bench. Just let them sit a bit.
- Don’t use chocolate chips as your only chocolate—they don’t melt the same.
- Actually, I find it works better if you don’t whisk the eggs too hard; brownies get more dense and less cakey that way.
Questions I Actually Get (Or Have Asked Myself)
- Can I make these gluten-free? Yup—just swap the plain flour for a GF blend. I’ve tried Orgran with good results.
- What if I don’t have dark chocolate? I've made them with milk choc in a pinch. Sweeter, but still disappears fast (maybe reduce the sugar a smidge).
- Do I have to use nuts? Nah! Leave them out or throw in dried fruit, or even shredded coconut if you’re feeling tropical.
- Can I double the batch? You can, but use a bigger tin or expect the middle to be a bit squidgy. And it takes longer—keep an eye out.
- Where do I find good chocolate? I usually get mine at Haigh's, but plain supermarket bars work too, honestly. Specialty stuff if you wanna get flash.
- Is it okay to underbake? Honestly, a bit oozy is better than overdone in my book. Just eat with a spoon if it’s a bit too gooey.
- How do I make these vegan? I haven't nailed this one yet, but apparently using flax eggs and vegan butter works—if you try it, let me know?
- Any tips for cutting clean slices? Use a hot knife and wipe between cuts, but honestly, who cares if they're a bit rustic?
So there you go—Australia’s most-loved chocolate brownies, from my slightly messy kitchen to yours! If you want more inspiration, try these chocolate dessert ideas for more ways to satisfy a cocoa craving. Let me know how yours turn out (or if you find a way to make the beetroot version edible... I’m all ears!)
Ingredients
- 200 g dark chocolate, chopped
- 150 g unsalted butter, cubed
- 250 g caster sugar
- 3 large eggs
- 1 teaspoon vanilla extract
- 100 g plain flour
- 30 g cocoa powder
- ½ teaspoon salt
Instructions
-
1Preheat the oven to 180°C (350°F) and line a 20cm square baking tin with baking paper.
-
2Melt the dark chocolate and butter together in a heatproof bowl over simmering water, stirring until smooth. Remove from heat and let cool slightly.
-
3Whisk the sugar, eggs, and vanilla extract together in a large bowl until pale and creamy.
-
4Fold the melted chocolate mixture into the egg mixture. Sift in the flour, cocoa powder, and salt, then gently fold until just combined.
-
5Pour the batter into the prepared tin and smooth the top. Bake for 30 minutes or until the edges are set but the center is still slightly fudgy.
-
6Allow to cool completely in the tin before slicing into squares and serving.
Approximate Information for One Serving
Nutrition Disclaimers
Number of total servings shown is approximate. Actual number of servings will depend on your preferred portion sizes.
Nutritional values shown are general guidelines and reflect information for 1 serving using the ingredients listed, not including any optional ingredients. Actual macros may vary slightly depending on specific brands and types of ingredients used.
To determine the weight of one serving, prepare the recipe as instructed. Weigh the finished recipe, then divide the weight of the finished recipe (not including the weight of the container the food is in) by the desired number of servings. Result will be the weight of one serving.
Did you make this recipe?
Please consider Pinning it!!

