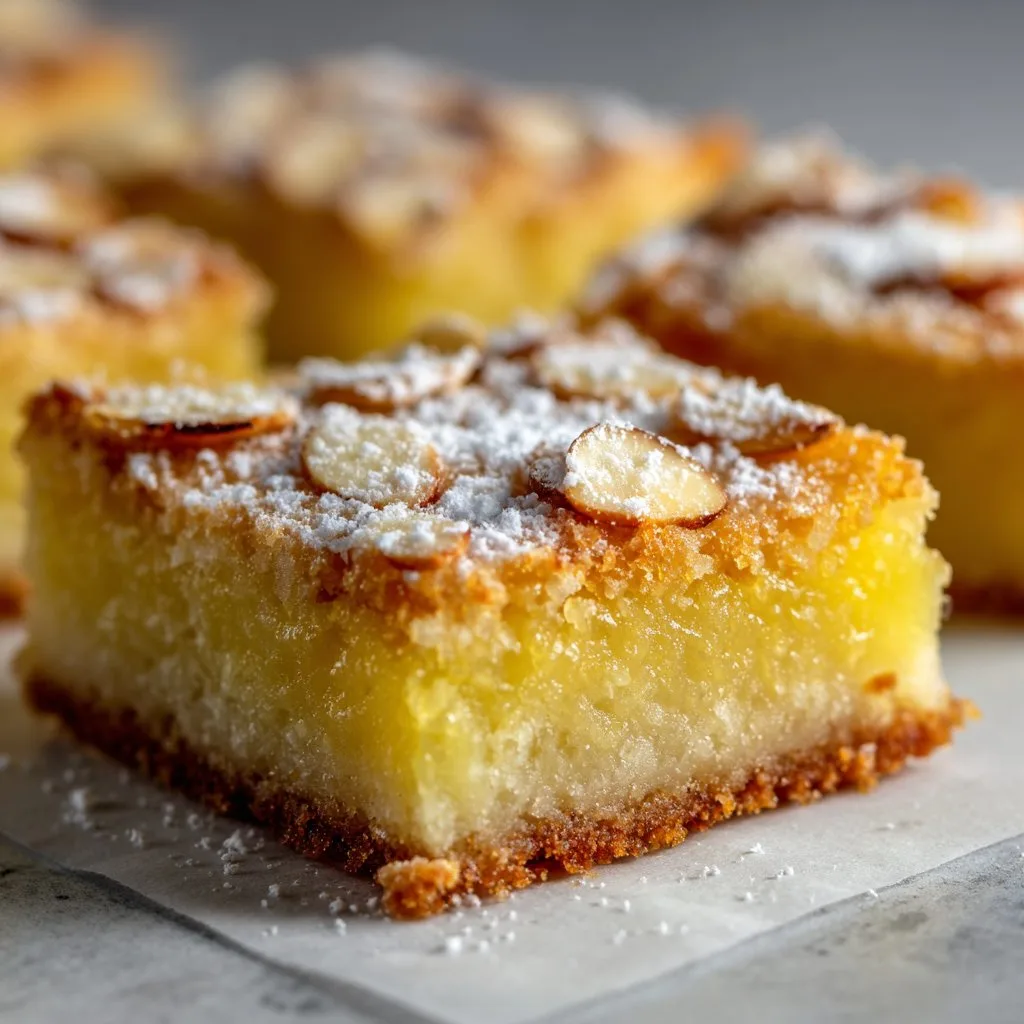
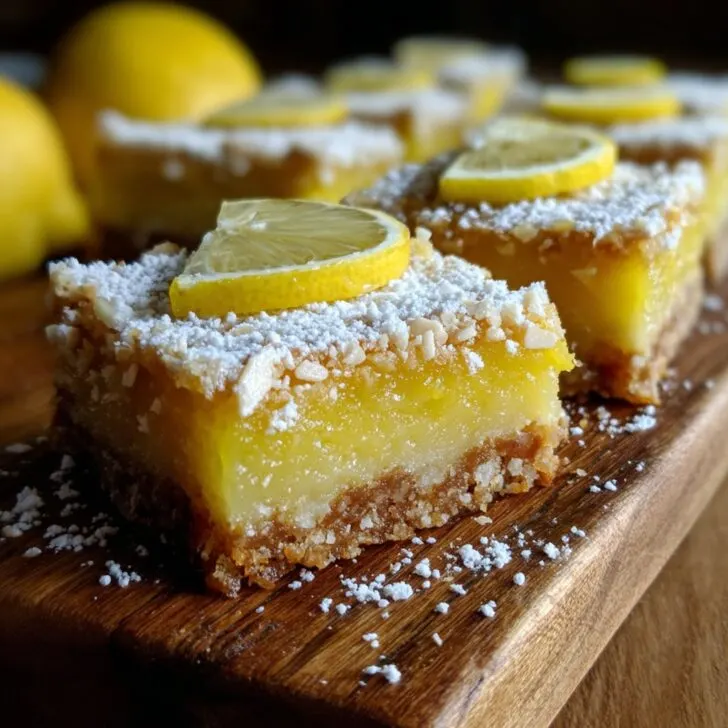
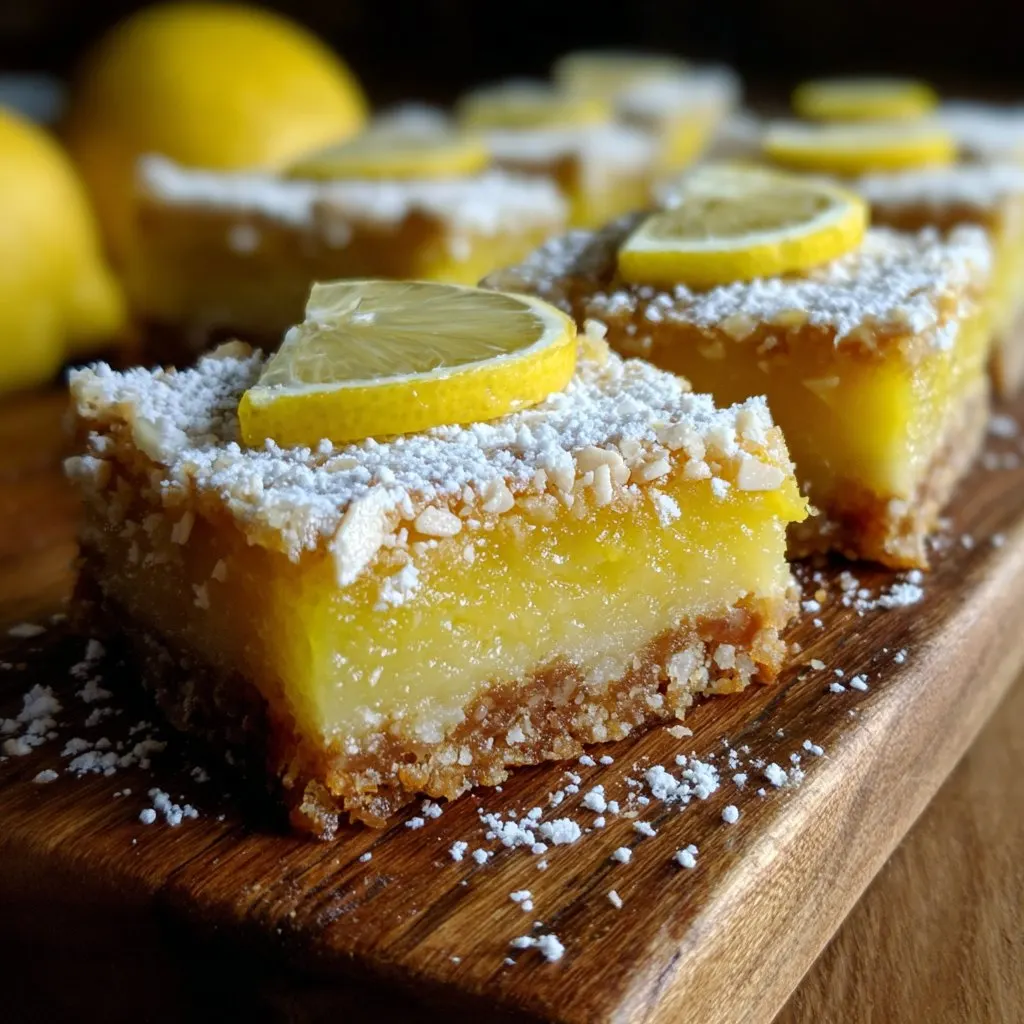
So, About These Lemon Bars...
You know those days when you just crave something zingy but also want a bit of crunch? That’s me pretty much every spring when the sun decides to peek out. I remember the first time I made these lemon bars with almond crust—my cousin was coming over, and honestly, I wanted to impress her without totally wrecking my tiny kitchen (spoiler: flour everywhere anyway). These have now become my go-to for potlucks or just when I've got a bowlful of lemons begging to be used. And hey, if you can squeeze lemons without getting juice in your eye, you’re already ahead of where I started.
Why I Keep Making These (And Probably Will Forever)
I make these whenever I want to convince my family I’m the fun aunt, which is probably once a month (or when the price of lemons takes a nosedive at the market). My family goes bonkers for the tangy filling, and my neighbor once said the crust reminds him of those fancy pastries from Italian bakeries (I think he’s exaggerating, but I’ll take it). Plus, I’ve messed up the crust more times than I care to admit, and these bars still turn out edible, which is not always a given when I bake.
The Ingredients (With a Few Shortcuts)
- 1 cup almond flour (sometimes I swap half for ground oats if I run short, but shhh)
- ¾ cup all-purpose flour (or just use more almond flour if gluten isn’t your buddy)
- ⅓ cup granulated sugar (my grandma insisted on caster sugar, but I honestly use whatever’s handy)
- ½ teaspoon salt
- ½ cup unsalted butter, cold and cubed (I’ve used salted in a pinch and just skipped the extra salt—works fine)
- For the lemon layer:
- 1 cup sugar (sometimes I cut it back a bit if the lemons are super sweet)
- 2 tablespoons all-purpose flour
- ½ teaspoon baking powder (optional—I forget it half the time and no one notices)
- 3 large eggs (medium work too, just use what you have)
- ½ cup fresh lemon juice (store-bought is okay, but only if you're in a real bind)
- Zest of 2 lemons (or 1 if you’re short, it’s not a dealbreaker)
- Powdered sugar, for dusting (totally optional, but my kids act betrayed if I skip this)
How I Actually Make Them (Not Always by the Book)
- Preheat your oven to 350°F (about 180°C). Grease an 8x8 inch baking tin or line it with parchment. If you forget to grease, well, they might stick a bit, but you can usually pry them out with a spatula. I’ve done it.
- In a bowl, mix the almond flour, all-purpose flour, sugar, and salt. Throw in the cold butter cubes. I usually use my fingers to rub it in until it looks crumbly, but a pastry cutter or even a fork works if you’re feeling fancy. (This is where I sneak a little taste—raw dough, I know, but it’s good.)
- Press the mixture into the pan. Be firm, but don’t try to squash it into submission. Bake for 17–20 minutes, or until it’s just faintly golden at the edges. Sometimes mine gets a bit too brown, but that just makes it extra toasty, right?
- While that’s baking, whisk the sugar, flour, baking powder (if you remembered), eggs, lemon juice, and zest in another bowl. No need for a mixer; I just use a whisk or, on lazy days, a fork. It’ll look a little foamy—don’t panic, it always settles down.
- Pour the lemon mixture over the hot crust. This always feels wrong (hot crust! cold filling!), but it works out. Back into the oven for another 18–22 minutes, or until the center looks set and doesn’t jiggle when you nudge it.
- Let cool completely. I know, waiting is the hardest part, but if you cut them too soon they kind of fall apart (which, honestly, is still delicious, just less photogenic).
- Dust with powdered sugar if you want to be fancy. Slice into bars or squares—there’s no law about the size, just go for it.
Random Notes from My Experiments
- I used to chill the crust before baking, but actually, I find it works better if you don’t bother. Less faff, better crunch.
- Don’t use bottled lemon juice unless you’re truly desperate. The flavor just isn’t the same, and I think my family can tell (even if they pretend not to notice).
- If you overbake, the top gets a bit crackly. Not a disaster, just more rustic.
Variations I’ve Tried (and One I Gave Up On)
- I swapped half the lemon juice for lime once—tasted like a holiday, honestly. Would recommend.
- Once tried orange juice/zest. It was okay, but didn’t have that zing I love. Not my favorite, but maybe you’ll like it?
- Tried making the crust with coconut oil instead of butter—came out a little greasy, so I probably won’t do that again, but if you’re dairy-free, might be your thing.
Don’t Have a Fancy Pastry Cutter? Neither Do I
Look, I say pastry cutter is “essential” but honestly, I usually just use my hands. Or two butter knives like my mum taught me. Don’t let the lack of a gadget stop you—these bars do not judge.

How to Store (Or, How I Try To Make Them Last)
Store them in an airtight container in the fridge. They’ll keep for about 4 days, but honestly, in my house they never last more than a day, sometimes not even that if my partner wanders through the kitchen. I actually think they taste even better the next morning, a bit firmer and the flavors all mingled together.
How I Serve Them (And Why My Kids Roll Their Eyes)
I usually serve these straight from the fridge, with an extra dusting of powdered sugar, and sometimes—when I'm feeling extra—alongside some whipped cream or a handful of fresh berries. My youngest likes them with a big mug of tea (not that she finishes it). In summer, they’re honestly perfect with a scoop of vanilla ice cream, though that’s probably overkill. Or is it?
Lessons Learned the Hard Way (Pro Tips, Kind Of)
- Don’t rush letting them cool. I tried to move them to a plate too soon, ended up with a lemony avalanche.
- Sifting the powdered sugar looks fancy but, actually, I find it works better if you just sprinkle with a spoon—it’s less mess and, on second thought, less like a snowstorm in my kitchen.
FAQ: Actual Questions I’ve Gotten (or Asked Myself)
- Can you freeze these lemon bars? Oh absolutely, just pop them in a freezer-safe box with parchment in between layers. They defrost faster than I expect, so don’t leave them out too long or they’ll get a bit soggy.
- Can I use bottled lemon juice? You can, but it’s not really the same. Fresh is best, but sometimes, life happens. Try to use fresh zest even if you use bottled juice, though.
- How do I know when the lemon layer is set? It should look just set in the center. Give the pan a gentle wiggle; if it barely moves, you’re good. If you’re not sure, err on the side of underbaking because it keeps setting as it cools.
- Can I make these gluten-free? Yep, just use all almond flour, or swap the all-purpose for your favorite GF blend. I’ve linked a resource I like for baking with almond flour here.
- Which pan works best? An 8x8-inch square pan is perfect, but I’ve used a loaf tin in desperation. Just bake a tad longer, and watch for doneness.
By the way, if you’re into lemony things like me, Sally’s Baking Addiction has a classic version too. I take a peek when I need reassurance I’m not the only one obsessed with citrus.
And if you made it this far—cheers! Next time you see a pile of lemons at the market, you know what to do.
Ingredients
- 1 cup almond flour
- ½ cup all-purpose flour
- ½ cup unsalted butter, melted
- ¼ cup granulated sugar
- ¼ teaspoon salt
- 1 cup granulated sugar (for filling)
- 2 large eggs
- ⅔ cup freshly squeezed lemon juice
- 1 tablespoon lemon zest
- 2 tablespoons all-purpose flour (for filling)
- Powdered sugar, for dusting
Instructions
-
1Preheat the oven to 350°F (175°C). Line an 8x8-inch baking pan with parchment paper.
-
2In a medium bowl, mix together almond flour, all-purpose flour, melted butter, ¼ cup granulated sugar, and salt until a crumbly dough forms.
-
3Press the dough evenly into the bottom of the prepared pan to form the crust. Bake for 12-15 minutes, or until lightly golden.
-
4While the crust bakes, whisk together 1 cup granulated sugar, eggs, lemon juice, lemon zest, and 2 tablespoons flour until smooth.
-
5Pour the lemon filling over the hot crust. Return to the oven and bake for 18-20 minutes, or until the filling is set.
-
6Allow bars to cool completely in the pan. Dust with powdered sugar, slice, and serve.
Approximate Information for One Serving
Nutrition Disclaimers
Number of total servings shown is approximate. Actual number of servings will depend on your preferred portion sizes.
Nutritional values shown are general guidelines and reflect information for 1 serving using the ingredients listed, not including any optional ingredients. Actual macros may vary slightly depending on specific brands and types of ingredients used.
To determine the weight of one serving, prepare the recipe as instructed. Weigh the finished recipe, then divide the weight of the finished recipe (not including the weight of the container the food is in) by the desired number of servings. Result will be the weight of one serving.
Did you make this recipe?
Please consider Pinning it!!

