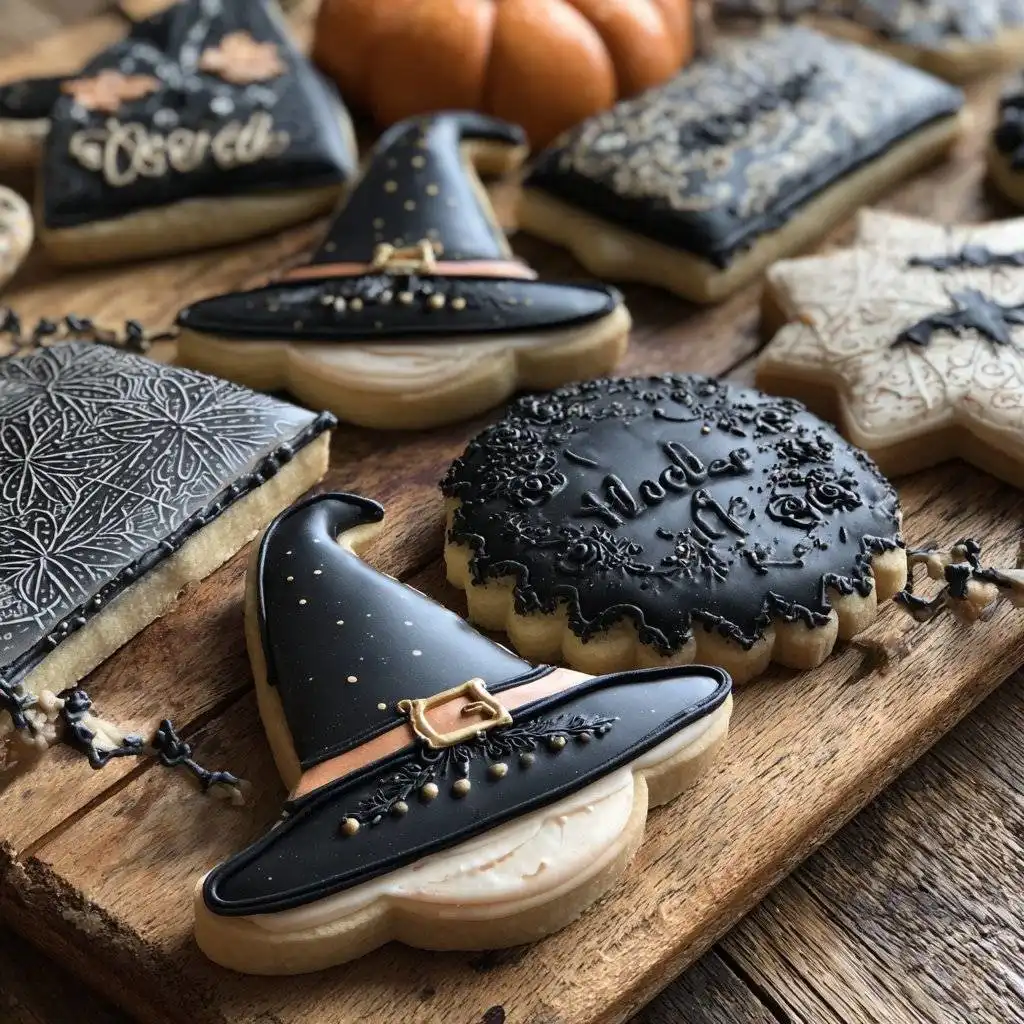
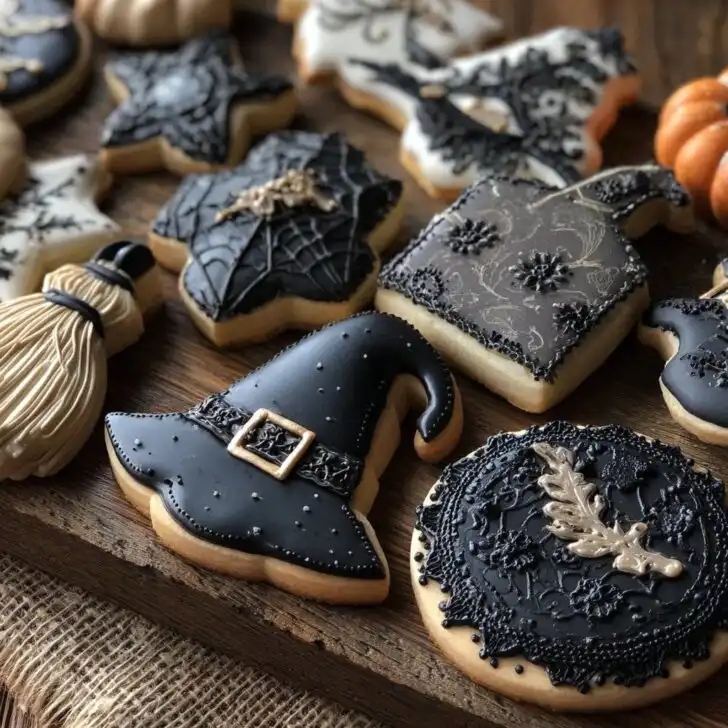
So, there’s this one time I tried to make spooky cookies for my niece’s Halloween party—wanted to impress her gang, right? Instead, my first batch ended up looking more like sad, deflated blobs than magical treats. But hey, the kids still gobbled them up (I think the sugar rush distracted them). Eventually, after several floury disasters and one power outage—don’t ask—I landed on this Witchy Cookie recipe. And I’ve gotta say, every October, these weirdly enchanting cookies have become a bit of a tradition. Don’t expect anything too fancy, but they win hearts and maybe a cackle or two.
Why You’ll Probably Love Making These
I make these when I want something cute but not too serious for Halloween. My family absolutely loses the plot over the gooey chocolate and the crunchy sprinkles (even my brother, who usually claims he’s “not a cookie person,” sneaks a couple when he thinks no one’s looking—busted). And if you’re like me and get a bit frazzled by elaborate decorations, these are perfect; they’re meant to look a bit wonky. Actually, I kinda like when the witch hats turn out lopsided—it gives them character! Oh, and cleanup’s a breeze unless you tip over the green food coloring, but let’s not talk about that mess again.
What You’ll Need (With My Favourite Swaps)
- 2 cups all-purpose flour (sometimes I sub half for whole wheat when I’m feeling virtuous; can’t really taste it honestly)
- ½ teaspoon baking powder
- ½ teaspoon salt (my gran swore by Maldon, but I just use whatever’s handy)
- ¾ cup unsalted butter, room temp (I’ve used margarine in a pinch—it’s okay, not amazing)
- 1 cup granulated sugar (brown sugar works too, gives it a chewier vibe)
- 1 large egg
- 1 teaspoon vanilla extract (the good stuff, or just the el cheapo bottle, I won’t tell)
- Green and purple gel food coloring (or regular dye, but the colors turn out fainter)
- ½ cup chocolate chips (I sometimes go wild and toss in butterscotch chips instead, it’s a game changer)
- Halloween sprinkles, candy eyeballs, or whatever spooky toppings you fancy
Let’s Bake Some Witchy Cookies
- Preheat your oven to 350°F (that’s 180°C—don’t forget, I’ve put cookies in a cold oven more than once. Oops).
- In a biggish bowl, whisk together your flour, baking powder, and salt. If you want, use your hands when mixing—just wash them first, learned from experience.
- In another bowl (or a stand mixer, if you’ve got one but by all means, a wooden spoon does the trick), cream your butter and sugar. It’ll get fluffy after about two minutes. This is where I usually snack on a little dough, but shh, raw eggs and all that.
- Beat in the egg and vanilla until it’s smooth. Don’t worry if it looks a bit “split” here, it’ll all come together, promise.
- Slowly add the flour mix to your wet stuff. It’ll look crumbly at first, then suddenly come together—magic! Split your dough into two bowls.
- Add green food coloring to one bowl, purple to the other (or, honestly, whatever colors you have lying around from last year’s baking experiments). Stir until you get your moodiest witch hues.
- Fold in your chocolate chips, equally-ish between both doughs. Or unevenly, I’m not judging.
- Scoop tablespoon-sized blobs onto a lined baking sheet. I use parchment, but foil with a dab of oil works in a pinch.
- Decorate with sprinkles, candy eyeballs, or whatever spooky bits you’ve got. This part gets messy—embrace it.
- Bake for 10-12 minutes. I always turn the tray halfway because my oven has a mind of its own. Don’t panic if they look a little underdone; they’ll set as they cool.
- Cool on the tray for 5 minutes, then transfer to a wire rack. Or, if you can’t wait, just eat one warm. I won’t tell.
Little Notes (Aka Stuff I Learned the Hard Way)
- If you use liquid food coloring, the dough might get sticky—add a spoonful more flour if it gets unwieldy.
- The cookies spread a bit more than you think, so space them out. I once ended up with a giant cookie ‘puddle’—tasted great anyway.
- I sometimes chill the dough for 20 minutes if the kitchen’s warm. But honestly, I usually forget and it’s fine.
Variations I’ve Tried (And One That Flopped!)
- Swapped in white chocolate chips for a ghostly look—kids loved it.
- Added a teaspoon of cinnamon once; actually, I think it’s better with just a pinch, or it overpowers the ‘witchy’ vibe.
- Tried making cookie “cauldrons” by pushing a mini peanut butter cup into each one after baking—delicious, but they looked questionable, ha!
- On second thought, don’t use too many mix-ins or the cookies fall apart (learned that messy lesson for you!)
Gear You’ll (Probably) Need… But Not Always
- Baking sheet (a pizza pan does in a pinch, just watch the edges)
- Parchment paper or foil (greased-up old school style if you’re out of both works—sort of)
- Mixing bowls
- Wooden spoon or electric mixer (but I’ve done it with just a fork in a holiday crunch!)
- Wire rack (or just use the stove grates, but, um, let them cool first!)

How to Store (If Any Survive That Long)
Stick ‘em in an airtight container and they’ll last up to four days, probably longer. But, honestly, in my place, they vanish within 24 hours (cookies have legs around here). If you want, toss a slice of bread in the container to keep ‘em soft—a trick I picked up here.
How We Serve ‘Em at My Place
Personally, I think they’re best with a mug of hot chocolate or, if you’re feeling very grown-up, a spicy chai. My niece insists on dunking hers in milk while watching old Disney Halloween specials. Family tradition!
Pro Tips I Wish I’d Known (So You Can Avoid My Mistakes)
- Don’t rush the creaming step—even if you’re tempted. I once skipped it, and the cookies baked up flat as pancakes.
- Let the cookies cool a bit before moving them, or they might fall apart (ask me how I know…)
- If you want really vivid colors, use gel food coloring. I tried liquid and, well, meh results.
FAQ (Stuff Friends Actually Asked Me)
- Can I use gluten-free flour? Yeah, probably! I’ve only tried with Bob’s Red Mill 1-to-1 (here’s their site), and it turned out fine. Let me know if you try another brand—curious minds want to know.
- Is the dough freezable? Yep, scoop it into balls and freeze. Bake from frozen with a couple extra minutes tacked on. Super handy when you forget you promised cookies for a party (not that I’d ever do that...)
- Do I have to use food coloring? Nope—plain cookies taste just as good. Maybe skip the Halloween look, but they’ll still disappear fast.
- Can I reduce the sugar? I tried taking out ¼ cup once, and they still worked. Not too sweet, which I kinda liked!
- Help, my cookies are spreading too much? Try chilling the dough a bit—or maybe check your baking powder isn’t ancient. I once used one form the back of the cupboard, and... yeah.
If you want more spooky treat ideas, check out King Arthur’s Halloween baking—loads of fun stuff, with much fancier photos than mine. Happy haunting, and remember: it’s not about perfection, it’s about the laughs (and the sugar, let’s be real)!
