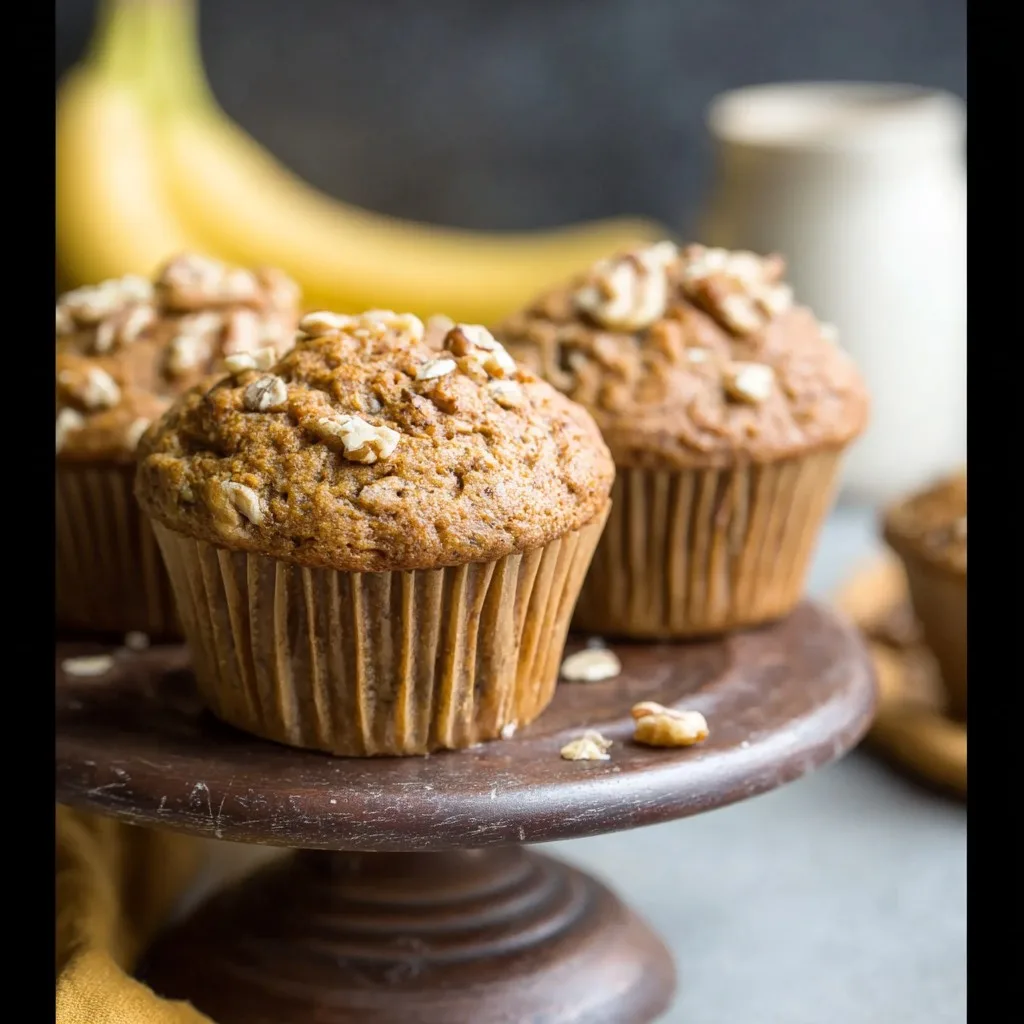
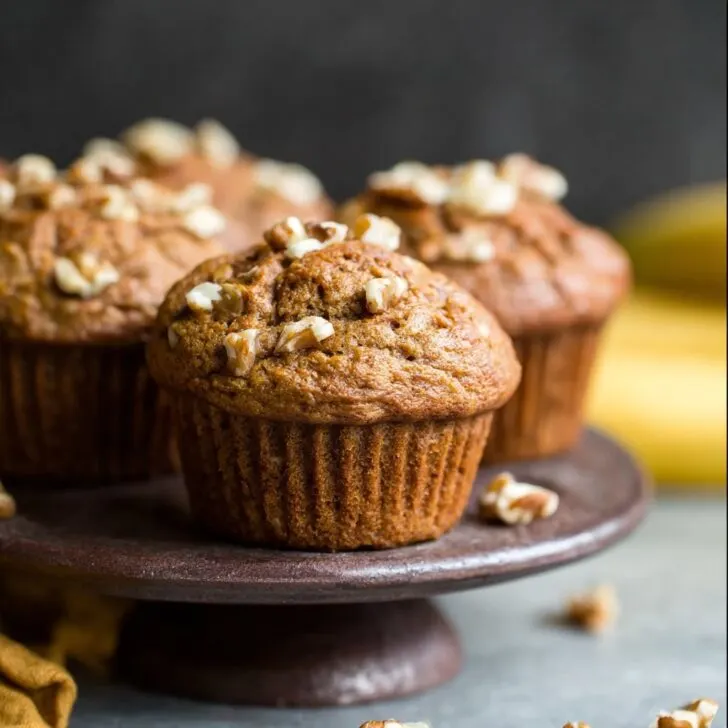
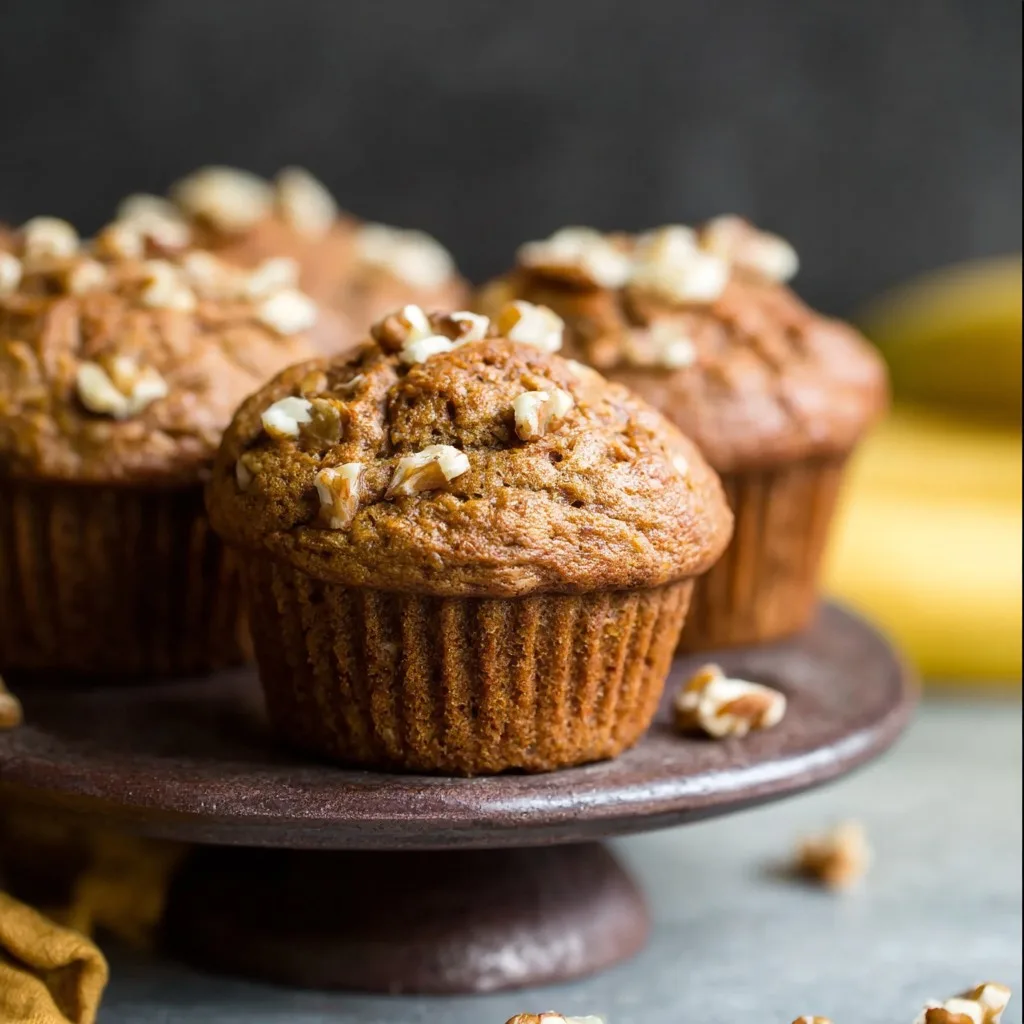
So, I Was Going to Bake These Muffins for Sunday Brunch…
...and then I remembered this story from last winter. My niece, bless her cheeky heart, insisted we had to use “the squishy bananas only.” She was totally right—turns out those spotted, almost-forgotten bananas stashed in your fruit bowl? Gold. The first time I made these whole wheat banana walnut muffins, I forgot to add the walnuts until I’d already scooped the batter into the tins. Now, it’s a running joke—someone’s bound to ask: “Did you actually remember the nuts?”
And between you and me, I’ve burnt more batches than I’d care to admit (distracted by a neighbour’s cat, don’t ask). These muffins are still basically foolproof. The house fills up with that sweet, nutty smell and my family comes running. Or at least, they shuffle in hungry and sleepy.
Why Make These Anyway?
I whip these up when it’s banana graveyard time. You know, the ones you swore you’d eat but didn’t. My partner always says these muffins taste like breakfast at a cozy café (high praise, since he’s weirdly picky about baked stuff). And honestly, if you’re hoping for a muffin that’s not just cake in disguise, the whole wheat brings that slightly earthy bite. My little one (she’s six) actually requests these for lunchbox treats—and that’s saying something ‘cause she’s usually team “chocolate only please!”
(Real talk: My stand mixer has splattered banana everywhere more than once, but that’s half the fun, right?)
What's in the Mix:
- 1.5 cups whole wheat flour (I’ve also swapped in half oat flour and it worked out okay, a bit crumblier maybe)
- 1 teaspoon baking soda (grandma swore by Bob’s Red Mill, but whatever’s in the cupboard honestly works)
- ½ teaspoon salt
- ¼ teaspoon cinnamon – or a tiny bit more, because you can’t really go wrong here
- ⅓ cup melted butter (sometimes I use coconut oil if I’m out, but it gets a smidge tropical)
- ½ cup brown sugar (I’ve done half brown, half white in a pinch and lived to tell the tale)
- 2 large eggs (room temp, unless you forgot… like me, many times)
- 3 really ripe bananas, mashed up (more splotches the better)
- 1 teaspoon vanilla extract (or a glug, if I’m measuring straight from the bottle)
- ¾ cup chopped walnuts (I sometimes throw in pecans if we’ve got ‘em, or honestly, skip nuts entirely for school)
How I Usually Make Them...Give or Take
- Preheat your oven to 350°F/175°C. Seriously, do this first, because I’ve forgotten and had batter waiting awkwardly.
- Find your trusty muffin tin (12-cup) and either grease ‘em or use those cute liners. If you don’t have liners, just rub a bit of butter in with your fingers—good enough!
- In a bigish bowl, whisk together the flour, baking soda, salt, and cinnamon. (Don’t stress about lumps; the bananas will fix that mess later.)
- In another bowl, mash those bananas. I use a fork, but one of those potato mashers works quicker if you're impatient. Mix in the melted butter, sugar, eggs, and vanilla. It’ll look, well, gross. Don’t panic!
- Tip the wet blob into the dry stuff. Stir gently (I mean it—overmixing makes muffins sad and tough). A few streaks of flour? Totally fine.
- Fold in the walnuts. Or forget, and sprinkle ‘em on top just before baking. Both taste lovely, somehow.
- Fill your muffin cups about ¾ full. This is where I always sneak a taste; blame the bananas. If you’re using nuts on top, toss some extra now.
- Bake about 18-20 minutes. Poke one with a toothpick—if it comes out more or less clean, they’re done. (But oven quirks… if your oven runs hot, start checking at 15 min.)
- Let cool in the tin for maybe 5 minutes, then wrangle them onto a rack. Or, if you’re low on patience and the kitchen is cold, just eat one warm straight from the pan. Who’s judging?
Notes from My Kitchen Files
- If you ever use black bananas (like, almost pure goo), add an extra spoon of flour—my muffins got kind of flat once without this fix.
- Actually, I find they taste even better the next day—the spices seem to deepen a tad.
- I’ve made these with applesauce instead of egg. Kind of works, a bit denser. Still edible and my vegan pal loved ‘em.
If You Fancy Experimenting (or Not):
- Chocolate chips instead of walnuts (my sister’s idea) – turns these into quasi-dessert muffins.
- Add a handful of blueberries—don’t overdo it. My attempt with frozen berries turned the muffins a weird greyish colour; still, tasted fine, looked a bit suspect.
- Leave the sugar out for toddlers…they’re a bit bland but pair great with honey or jam after baking. Learned that when I left sugar out by mistake once—it happens.
Equipment I Reach For (and Improvise With)
- Muffin tin – but honestly, a cake pan works too if you want one giant muffin slice (been there, no regrets).
- Mixing bowls – at least two, or one big bowl and just rinse between uses if you hate washing up (me, every time).
- An old wooden spoon – but I’ve used a soup ladle once when I couldn’t find it.

How to Store These—But Read the Fine Print
Technically, store in an airtight container at room temp for up to 3 days. But honestly, in my house they vanish in about 24 hours. If you do have leftovers (ha!), pop in the fridge—they firm up a bit, but are still lovely warmed a sec in the microwave. Freezer friendly too; just wrap ‘em tight (or not, if you like a little freezer burn crunch...)
Serving Them Up (Family-Style or Otherwise)
My favourite: warm muffin, a good sweep of salted butter, and a hot cuppa tea. My kid insists on cream cheese! On chilly weekends, I’ll slice a couple in half and toast them under the grill (broiler, if you're American)—it’s seriously good.
Pro Tips I Learned the Hard Way
- Don’t rush melting the butter—once I microwaved it too long, it exploded (what a mess!)
- If your flour is old, the muffins can taste a bit cardboardy. Get fresher stuff, trust me—I learned the hard way.
- Actually, letting the muffins rest 10 minutes before eating (if you can wait) keeps them from sticking horribly to the wrappers. Or just eat the stuck bits, they're still good!
Questions You've Actually Asked Me (and a Couple I Made Up)
Can I use regular all-purpose flour? Yup, but the muffins are lighter—less hearty. Maybe swap in half and half if you’re on the fence.
Do the walnuts have to be toasted first? Nah. I never do. Some fancy recipes do, but they taste just fine to me. If you're bored, try it—here's a guide I've sometimes used: toasting nuts.
What if I don't have muffin liners? Just grease the pan well, use a bit of flour dust if you want. Or make mini loaves—I've used a bread tin and it was a bit crumbly but... muffin is muffin, am I right?
Can I freeze these? Yep, just cool completely and wrap in foil or bags. They thaw pretty quick. Oh, and if you want more ideas for freezing muffins, this article is handy: Sally's freezer tips
By the way, if you’re curious about whole wheat nutrition, Harvard’s breakdown is actually pretty interesting.
Anyway—if you make these, let me know what combo you try! Sometimes the kitchen magic is in the little mistakes, and with these muffins, I reckon even the “oops” moments taste pretty good.
Ingredients
- 1 ½ cups whole wheat flour
- 1 teaspoon baking soda
- ½ teaspoon salt
- ½ teaspoon ground cinnamon
- 3 ripe bananas, mashed
- ⅓ cup melted coconut oil
- ½ cup honey or maple syrup
- 2 large eggs
- 1 teaspoon vanilla extract
- ½ cup chopped walnuts, plus more for topping
Instructions
-
1Preheat the oven to 350°F (175°C) and line a muffin tin with paper liners.
-
2In a large bowl, whisk together whole wheat flour, baking soda, salt, and ground cinnamon.
-
3In another bowl, mix mashed bananas with melted coconut oil, honey, eggs, and vanilla extract until well combined.
-
4Fold the wet ingredients into the dry ingredients, stirring just until combined. Gently fold in chopped walnuts.
-
5Divide the batter evenly among muffin cups. Sprinkle additional walnuts on top if desired.
-
6Bake for 20-22 minutes until a toothpick inserted into the center comes out clean. Allow to cool before serving.
Approximate Information for One Serving
Nutrition Disclaimers
Number of total servings shown is approximate. Actual number of servings will depend on your preferred portion sizes.
Nutritional values shown are general guidelines and reflect information for 1 serving using the ingredients listed, not including any optional ingredients. Actual macros may vary slightly depending on specific brands and types of ingredients used.
To determine the weight of one serving, prepare the recipe as instructed. Weigh the finished recipe, then divide the weight of the finished recipe (not including the weight of the container the food is in) by the desired number of servings. Result will be the weight of one serving.
Did you make this recipe?
Please consider Pinning it!!

