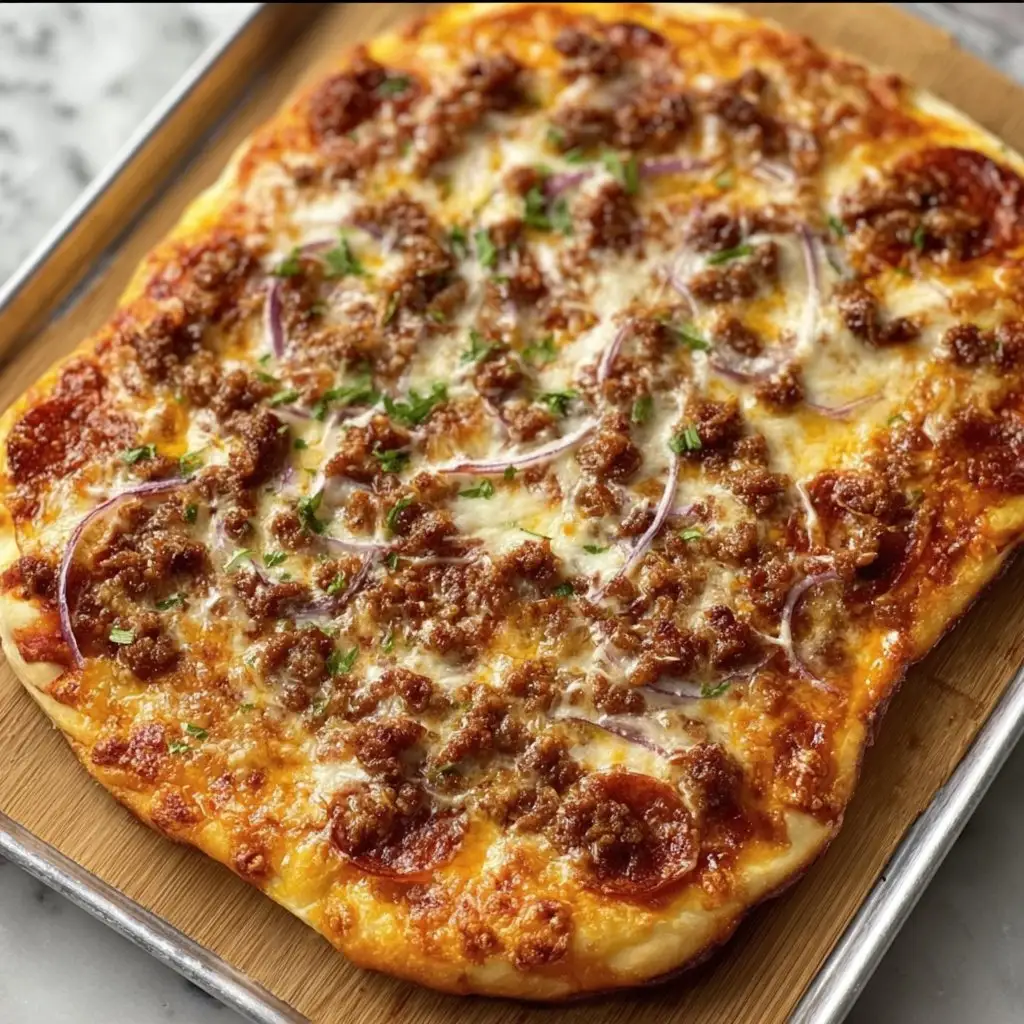
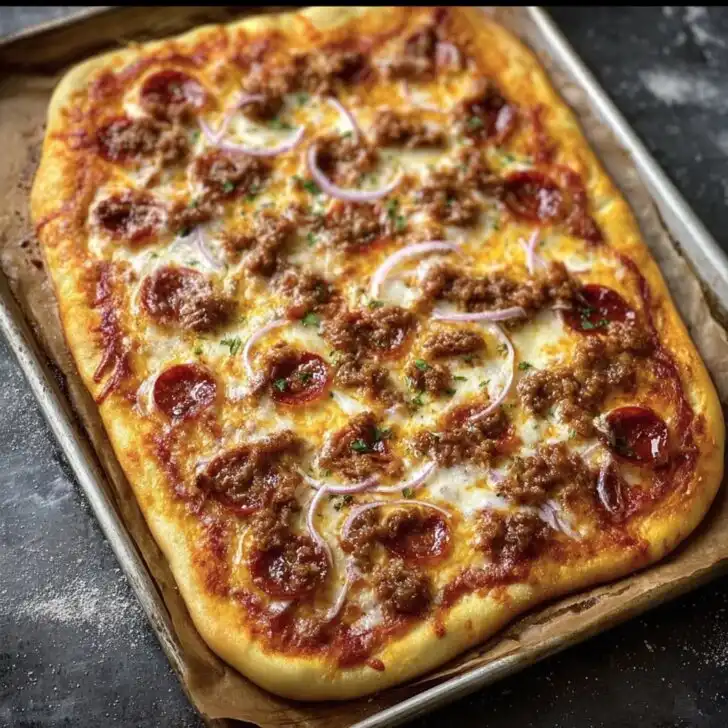
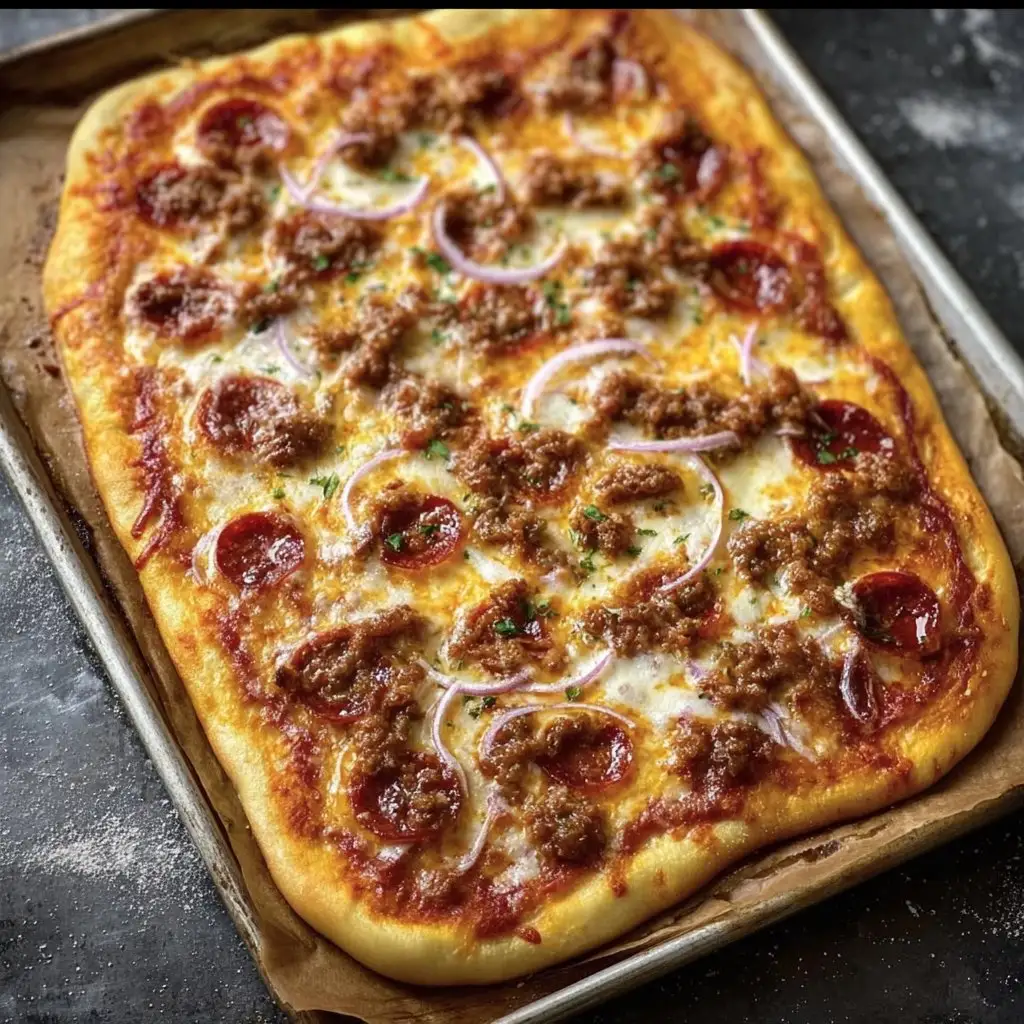
If you know, you know. That rectangular, corner cheesy, tray baked school pizza we all traded snacks for in the lunch line. I tried to recreate it once during a snow day and accidentally used bread flour for everything, which was a choice, but the family still devoured it while arguing about which corner piece is legally theirs. Anyway, this is my homey riff on The School Pizza Recipe. It is not fancy, it is deeply comforting, and it makes your kitchen smell like Friday at noon with your best mate saving you a seat. Also, quick digression, I still have my middle school lunch card in a box somewhere, which says a lot about me and my ability to throw things away.
Why you will love making this at home
I make this when I need a guaranteed win with the kids, or honestly, when I want leftovers for breakfast. My family goes a bit bonkers for this because the crust is soft but not floppy, the sauce is a tiny bit sweet like the old cafeteria kind, and the cheese runs right to the edges so the corners get crispy. I used to fight the dough and overwork it, which made it tough; actually, I find it works better if you let the dough chill out and do its thing. And if the sauce looks too thick at first, do not stress, it loosens in the oven. Promise.
What you need to gather
- Warm water, about 1 cup or 240 ml, ideally 40 to 43 C so it feels like a warm bath
- Instant yeast, 2 teaspoons. Active dry works too, just bloom it first. If you want a primer, I like the yeast basics from King Arthur
- Sugar, 1 tablespoon. I sometimes use honey when I am out of sugar, no biggie
- Olive oil, 2 tablespoons for the dough plus more for the pan
- All purpose flour, about 2 and 1 half cups or roughly 300 g. My grandmother always insisted on Brand X, but honestly any decent flour works fine
- Kosher salt, 1 teaspoon
- For the sauce: tomato sauce 1 cup, tomato paste 2 tablespoons, a teaspoon each of garlic powder and onion powder, 1 teaspoon dried oregano, a pinch of black pepper, and 1 teaspoon sugar to get that retro vibe
- Cheese: 2 cups low moisture mozzarella, 1 cup mild cheddar, and a small handful of grated parmesan if you are feeling swish
- Toppings optional: mini pepperoni, diced green pepper, or nothing at all. Sometimes I do finely crumbled cooked sausage when I am feeling weekend brave
How I actually make it
- Make the dough. In a big bowl, stir warm water, yeast, and sugar. Let it sit 5 minutes until foamy. If it does nothing, your yeast might be sleepy, start over and use warmer water.
- Add 2 cups of the flour, the salt, and the olive oil. Stir with a spoon until shaggy. Scrape in the last half cup a bit at a time until the dough is soft and slightly sticky. Knead 3 to 4 minutes on a lightly floured counter. Or do what I usually do and knead in the bowl with a wet hand while daydreaming.
- First rise. Oil a 13 by 18 sheet pan generously. Plop the dough in the pan, flip it once so it is coated in oil, then press it toward the corners. It will spring back, that is normal. Cover loosely and let rest 15 minutes. Come back and press again, it will go farther. Repeat once more if needed until it mostly fills the pan.
- Mix the sauce while you wait. Stir the tomato sauce, paste, garlic powder, onion powder, oregano, sugar, and pepper. Taste. Add a pinch of salt if you like. This is where I usually sneak a taste with a spoon and then another spoon because quality control.
- Parbake the crust. Heat the oven to 230 C or 450 F. Dock the dough here and there with a fork. Bake the plain crust for 8 to 10 minutes until it looks matte and just set but still pale.
- Top it. Spread the sauce edge to edge. Do not be shy about the edges, those saucy crispy bits are gold. Sprinkle on most of the mozzarella and cheddar, then the parmesan, then toppings if you are using any. I save a small handful of cheese for a final sprinkle.
- Finish baking. Back in the oven for 12 to 15 minutes until the cheese is bubbling, the corners go toasty, and the bottom is lightly browned. If you want extra color, move it to the top rack for the last couple minutes.
- Rest and slice. Let it sit 5 minutes so the cheese settles. Slice into rectangles. Try not to burn your mouth but, look, we all know what is going to happen.
Little notes I wish I knew sooner
- Oil the pan like you mean it. The oil fries the bottom a touch and keeps it from sticking. Butter is tasty but can burn faster.
- If the dough fights you, cover and walk away for 10 minutes. Gluten relaxes. You do not have to win every battle to win the war.
- I thought more tomato paste would be better. On second thought, 2 tablespoons is the sweet spot, more turns heavy.
- If the cheese browns too fast, tent with foil for a minute or two. I forget to do this half the time, and it is still fine.
Fun tweaks I have tried
- Half whole wheat flour, half all purpose. Nutty, slightly denser, still yum. Add a splash more water.
- Garlic butter edges. Brush the hot crust edges with a mix of melted butter and garlic powder. Everyone cheers.
- White pizza cafeteria style. No sauce, just olive oil, garlic, and a mix of ricotta dollops and mozz. Probably not authentic, but tasty.
- Thin crust attempt. I rolled it super thin once, thought I was clever, but it baked up a bit cracker like and not in a good way. I would not do that again.
Gear that helps but you can improvise
A sturdy sheet pan makes a difference. I love my old heavy one, but a standard rimmed baking sheet works. If you have a square pizza pan, even better, the corners get happy. Curious about technique and pan style ideas I learned a ton from this pan pizza deep dive on Serious Eats. A rolling pin is essential, except when it is not, because you can just pat the dough out with oiled hands. If you own a baking steel, bake the pan right on top of it for extra bottom heat. And if you are shopping around, USA Pan makes good sturdy pans, see their site.

How to store and warm it up
Let slices cool, then stack with parchment in an airtight container and keep in the fridge up to 3 days. Reheat on a hot pan in a 200 C or 400 F oven for 8 minutes until revived and melty, or in a skillet with a lid for steamy cheese and crisp bottom. For longer storage, freeze slices on a tray, then bag them, up to 2 months. Though honestly, in my house it never lasts more than a day.
What to serve it with
Cold carrot sticks and ranch dip is the classic cafeteria vibe. I like a simple salad with tangy vinaigrette because it cuts the richness. My kids ask for apple slices and chocolate milk which is chaos but kind of perfect. If you want to be posh, add chili flakes and a drizzle of good olive oil at the table.
Real life pro tips learned the clumsy way
- I once tried rushing the rise in a too warm oven and regretted it because the dough blew up weird and tasted flat. Patience tastes better.
- Do not skip docking the dough. I forgot once and the middle puffed like a pillow, sauce slid off, and I sulked. It still tasted fine but looked wonky.
- Salt your sauce to taste before it hits the crust. If you under salt it, the finished pizza seems bland and it is hard to fix later.
- Let the pizza rest those 5 minutes. Cutting too soon squishes the crumb and the cheese slides off like a mini landslide, and then you are chasing toppings across the pan.
FAQ you have asked me
Can I make the dough ahead
Yes. Make the dough, press it into the oiled pan, cover, and chill up to 24 hours. Let it sit at room temp about 30 minutes before baking so it relaxes. I think this tastes better the next day.
What if I only have active dry yeast
Bloom 2 teaspoons in the warm water with the sugar for 5 to 10 minutes until foamy, then proceed. If it does not foam, it is probably past its prime.
Is cheddar authentic for The School Pizza Recipe
That mix of mozzarella and mild cheddar gets you very close to the nostalgic flavor. Use what you like. Monterey Jack is nice too.
Do I need special pizza sauce
Nope. Honestly, canned tomato sauce plus paste and a pinch of sugar nails the school style. If you have a favorite jarred sauce, use it. I do that when I am in a hurry.
My dough will not stretch to the corners, what gives
Let it rest. Cover the pan and give it 10 minutes, then try again. On stubborn days, I rest it twice. And oil your fingers, it helps heaps.
How do I stop a soggy bottom
Parbake the crust, do not flood it with sauce, and bake on a lower rack. If you have a stone or steel, preheat it and set the pan on top. Works a charm.
Can I make this gluten free
A good gluten free all purpose blend that is meant for yeast dough can work. Follow the packet guidance for liquid. It is different, but still tasty.
What size pan should I use
Standard half sheet, 13 by 18. A 9 by 13 works for a thicker crust. If you only have round pans, split the dough between two and go for it.
Help, my cheese went greasy
Use low moisture mozzarella and do not pile on too much oily meat. A light scatter of pepperoni is plenty, ask me how I know.
By the way, if you love tinkering with technique, the square pan method linked above is a great rabbit hole. But for this, keep it chill, let the dough rest, and enjoy the goofy grins when you bring the tray to the table. When the first slice lifts clean form the pan, with that little crispy corner, you will know it is ready.
Ingredients
- 1 lb (450 g) store-bought pizza dough or homemade dough
- ½ cup (120 g) tomato pizza sauce
- 1 ½ cups (150 g) shredded mozzarella cheese
- ¼ cup (25 g) grated Parmesan cheese
- 10-12 slices pepperoni or 1 cup mixed vegetables (optional)
- 1 tablespoon olive oil
- ½ teaspoon salt
- ½ teaspoon dried oregano
Instructions
-
1Preheat the oven to 475°F (245°C). If using a pizza stone, place it in the oven while it preheats. Lightly flour a work surface.
-
2Stretch or roll the pizza dough into a 12-inch round. Transfer to a parchment-lined baking sheet or a lightly floured pizza peel.
-
3Brush the dough edge lightly with olive oil. Spread the tomato pizza sauce evenly over the dough, leaving a ½-inch border for the crust.
-
4Sprinkle the shredded mozzarella and grated Parmesan evenly over the sauce. Add pepperoni or your chosen toppings and finish with dried oregano and a pinch of salt.
-
5Bake for 12–15 minutes, or until the crust is golden and the cheese is bubbly. Remove from the oven, let rest 2–3 minutes, slice, and serve warm.
Approximate Information for One Serving
Nutrition Disclaimers
Number of total servings shown is approximate. Actual number of servings will depend on your preferred portion sizes.
Nutritional values shown are general guidelines and reflect information for 1 serving using the ingredients listed, not including any optional ingredients. Actual macros may vary slightly depending on specific brands and types of ingredients used.
To determine the weight of one serving, prepare the recipe as instructed. Weigh the finished recipe, then divide the weight of the finished recipe (not including the weight of the container the food is in) by the desired number of servings. Result will be the weight of one serving.
Did you make this recipe?
Please consider Pinning it!!

