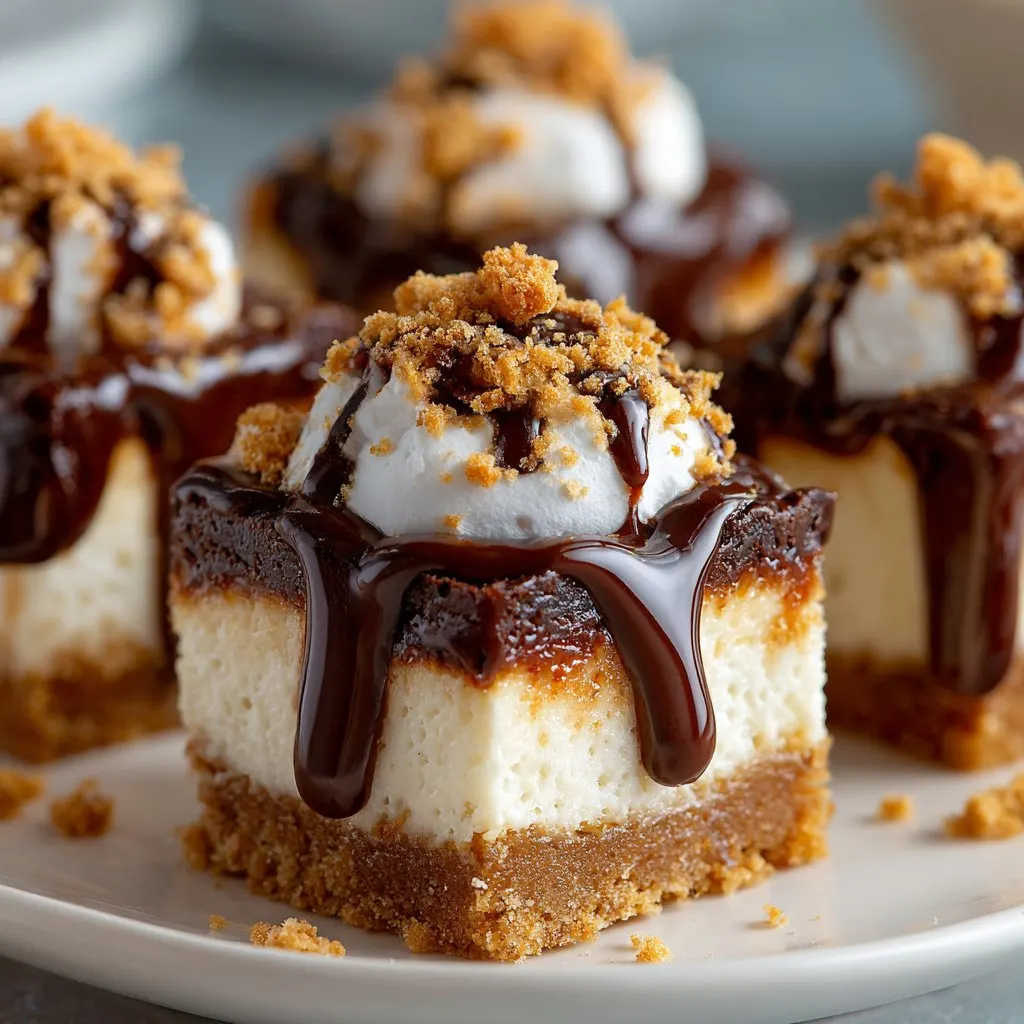
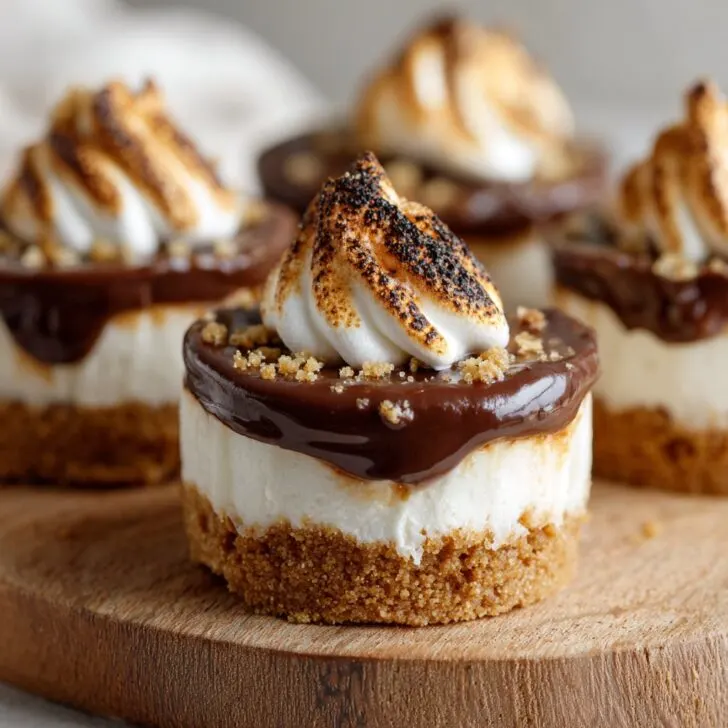
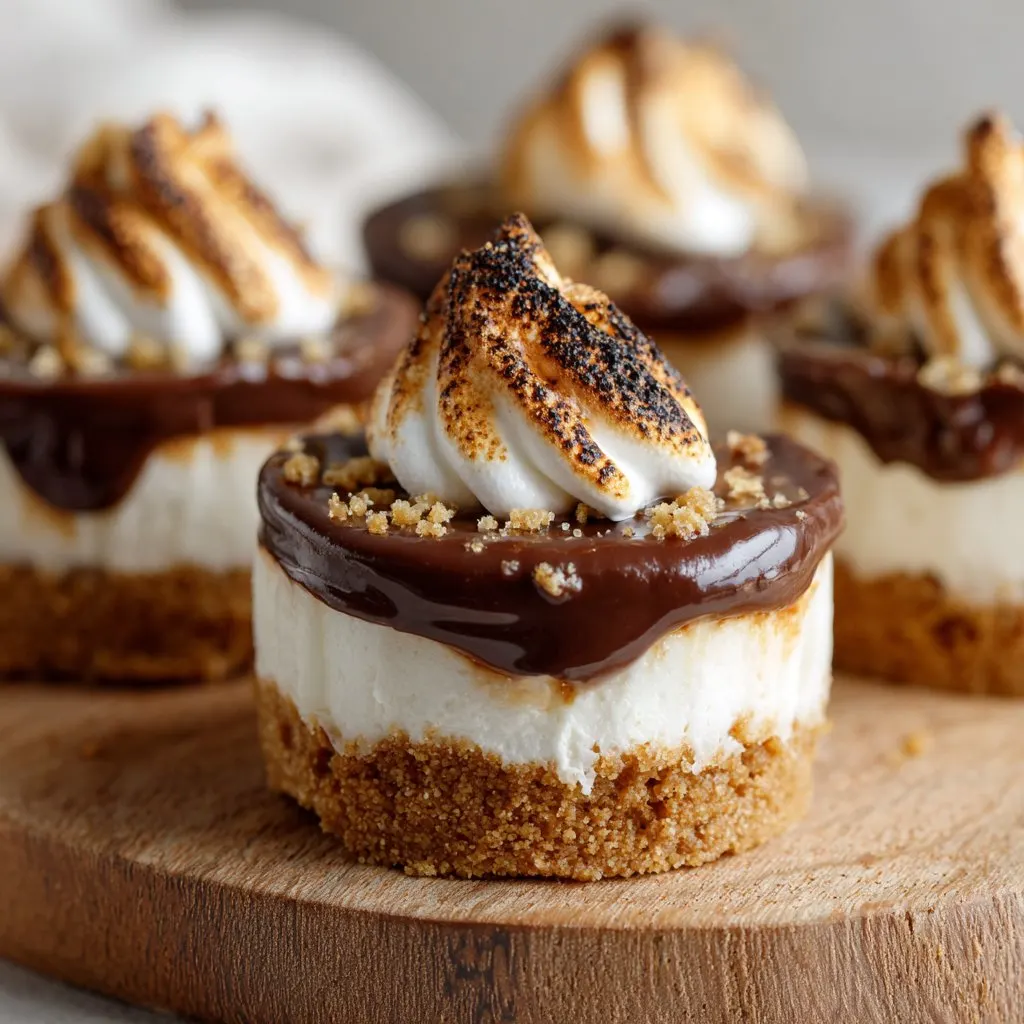
Let's Talk About S'mores Cheesecake Bites (And My Soft Spot for Anything Mini)
Okay, so picture this: it’s a rainy Saturday, I have a serious sweet tooth, and the urge to bake something that’s not banana bread for the hundredth time. Enter S'mores Cheesecake Bites with Graham Crust. Honestly, the first time I made these was on a total whim—my little niece was over, we were out of marshmallows for real s'mores, and, well, cheesecake is always lurking in my fridge (don’t judge). These little bites came out so good, I basically had to hide a few in the back of the fridge just so I could have one the next day. True story. I’m not proud of it, but I’d do it again in a heartbeat.
Fun side note: one time I tried doubling the marshmallow layer (because more is more, right?), but all it did was make a gooey mess, so—live and learn. Anyway, let’s get down to the good stuff.
Why I Keep Coming Back to This Recipe
I make these whenever I want to impress people but don’t actually feel like doing anything too fancy (or, honestly, when I crave s'mores but can’t be bothered with a campfire). My family goes a bit bonkers for these—especially my partner who claims he doesn’t like sweets, yet suspiciously, there are never any left. Oh, and if you’re the type to get frustrated about fussy desserts, trust me, these are pretty forgiving. The only thing that ever throws me off is waiting for them to chill, because patience is not my strong suit.
What You'll Need (And What You Can Swap In)
- 1 ½ cups graham cracker crumbs (You can use digestive biscuits—or whatever’s lurking in the crumbs bag. My grandma swore by Honey Maid, but I’m not convinced it matters.)
- ¼ cup melted butter (Salted or unsalted, I’m not picky. I’ve even used coconut oil in a pinch, which gave it a tropical vibe.)
- 2 tablespoon sugar (White is classic, but brown sugar works if you want a hint of caramel.)
- 8 oz (about 225g) cream cheese, room temp (I know it’s supposed to be full-fat, but I’ve used light cream cheese when that’s all I had. It’s fine.)
- ⅓ cup granulated sugar
- 1 egg
- 1 teaspoon vanilla extract (Cheap or fancy, your call. Or skip it. I won’t tell.)
- ½ cup mini chocolate chips (Or chop up a chocolate bar—honestly, whatever’s hiding in your snack drawer.)
- 1 cup mini marshmallows (Or the big ones chopped up, but that gets sticky. Trust me.)
How I Usually Throw These Together
- Preheat your oven to 325°F (160°C), unless you forget and do it halfway through, like I do half the time.
- Line a mini muffin tin with paper liners. (Don’t have liners? You can just grease the heck out of it, but they do tend to stick a bit more. Just warning you.)
- Mix the graham cracker crumbs, melted butter, and sugar in a bowl—the texture should remind you of damp sand at the beach. Press a heaped teaspoon or so into each muffin cup. Use your fingers or the bottom of a shot glass (I’ve used a spice jar lid when desperate). Bake for about 5 minutes, but if you’re like me and forget, a couple extra minutes won’t hurt.
- Meanwhile, in a separate bowl, beat the cream cheese until smooth, then add the sugar, egg, and vanilla. You want it silky—little lumps are okay, though, honestly. Stir in half the chocolate chips. This is where I usually sneak a taste, because who can resist?
- Scoop a generous tablespoon of the cheesecake mixture onto each crust. Don’t stress if it’s a bit messy; it’ll sort itself out in the oven.
- Bake for 15–18 minutes, or until the centers are just a bit wobbly. Don’t overthink this—err on the side of underbaked. Let them cool for 10 minutes.
- Here’s the fun bit: top each with mini marshmallows and the rest of the chocolate chips, then stick the pan under the broiler for 1–2 minutes. Keep an eagle eye here—marshmallows go from golden to charred in, like, a second. (I’ve definitely burnt a batch. Still tasted good, just a little... rustic.)
- Cool completely, then refrigerate for at least 2 hours. Or as long as you can wait. Actually, I think these are even better the next afternoon, but that’s just me.
Random Notes from My Kitchen Experiments
- One time I didn’t let the cream cheese soften and tried to microwave it. It sort of exploded. Lesson learned: patience matters here.
- If you use paper liners, peeling them off is oddly satisfying (unless you’re in a rush and end up with cheesecake under your fingernails).
- I tried freezing these once. Didn’t love the texture, but they’re still edible if you’re desperate.
How I’ve Tweaked This (And My Flops)
- Swapped the graham crackers for Oreos once—amazing, but a bit rich.
- Added a peanut butter swirl on top. YUM. Maybe not traditional, but who cares?
- Tried making a gluten-free version with almond flour. Tasted alright, but honestly, a bit crumbly. If you have a better gluten-free crust, let me know!
What If I Don’t Have a Mini Muffin Tin?
Well, you can use a regular muffin tin and just make bigger bites (call them 'S'mores Cheesecake Muffins'—no one will complain), or even use a lined baking dish and cut them into squares, although they’re a bit messier. I once tried making them in a silicone ice cube tray—don’t recommend. Total disaster.

How I Store (Or Attempt to Store) These
Technically, you can keep these in an airtight container in the fridge for 3–4 days. But, honestly, they practically vanish by the next morning. If you somehow have leftovers, they’re a great midnight snack, straight from the fridge (or with a cup of tea—personal fave). Freezing is possible, but the marshmallows get weirdly chewy.
Here’s How I Like to Serve ‘Em
I love piling these up on a big plate and pretending it’s totally normal to eat four. Sometimes I sprinkle a little flaky sea salt on top right before serving. Oh, and if it’s family movie night, I’ll bring out a bowl of strawberries too, just to feel slightly virtuous. No one ever eats the strawberries.
A Few "Wish Someone Had Told Me" Tips
- Don’t rush the chilling step, tempting as it is. I once tried to serve these warm, and they just fell apart—still delicious, but not pretty.
- Keep an eye (and nose) on the marshmallows under the broiler. They go from toasty to burnt faster than you’d think.
- If the crust seems too crumbly, just add another splash of melted butter. Or, actually, I find sometimes just pressing it down harder does the trick.
Your Questions, Answered (Because People Really Do Ask Me This!)
- Can I make these ahead? Yep! Actually, I think they taste better the next day. Just keep ‘em chilled.
- What if I don’t have graham crackers? Digestives, Biscoff, even vanilla wafers work. One friend used pretzels—bit salty, but fun.
- Can I use a torch for the marshmallows? Absolutely, if you’ve got one! I tried it once and almost set my sleeve on fire, so now I stick with the broiler.
- How do I make these gluten-free? I haven’t totally perfected this, but almond flour mixed with a little extra butter comes close. Gluten-free grahams also work, though I can never find them in my local shops.
- Can I double the recipe? For sure, but use two pans or bake in batches unless you want overflow. Learned that the messy way.
If you want to see how other folks are doing their s’mores cheesecakes, Sally’s Baking Addiction has a fun spin on it. And if you need a crash course in homemade graham crackers (overachievers only), King Arthur Baking has you covered.
And, just because I got distracted thinking about it: I once tried a savory cheesecake bite (with goat cheese and herbs—don’t ask), and, well, let’s just say I’m sticking to s'mores flavors for now. Anyway, hope you enjoy this recipe as much as I (and my suspiciously sweet-resistant partner) do!
Ingredients
- 1 cup graham cracker crumbs
- 3 tablespoons unsalted butter, melted
- 8 ounces cream cheese, softened
- ⅓ cup granulated sugar
- 1 large egg
- ½ teaspoon vanilla extract
- ⅓ cup semi-sweet chocolate chips, melted
- 12 large marshmallows
Instructions
-
1Preheat oven to 325°F (163°C). Line a mini muffin pan with paper liners.
-
2In a small bowl, mix graham cracker crumbs and melted butter until combined. Press about 1 tablespoon of the mixture into the bottom of each liner to form the crust.
-
3In a medium bowl, beat cream cheese and sugar until smooth. Add egg and vanilla extract, and mix until just combined.
-
4Stir in melted chocolate chips until the filling is evenly blended. Spoon the cheesecake mixture over the crusts, filling each cup almost to the top.
-
5Bake for 16-18 minutes, or until centers are set. Remove from oven and cool completely.
-
6Top each cheesecake bite with a marshmallow. Broil for 1-2 minutes or use a kitchen torch to toast the marshmallows until golden brown. Serve chilled or at room temperature.
Approximate Information for One Serving
Nutrition Disclaimers
Number of total servings shown is approximate. Actual number of servings will depend on your preferred portion sizes.
Nutritional values shown are general guidelines and reflect information for 1 serving using the ingredients listed, not including any optional ingredients. Actual macros may vary slightly depending on specific brands and types of ingredients used.
To determine the weight of one serving, prepare the recipe as instructed. Weigh the finished recipe, then divide the weight of the finished recipe (not including the weight of the container the food is in) by the desired number of servings. Result will be the weight of one serving.
Did you make this recipe?
Please consider Pinning it!!

