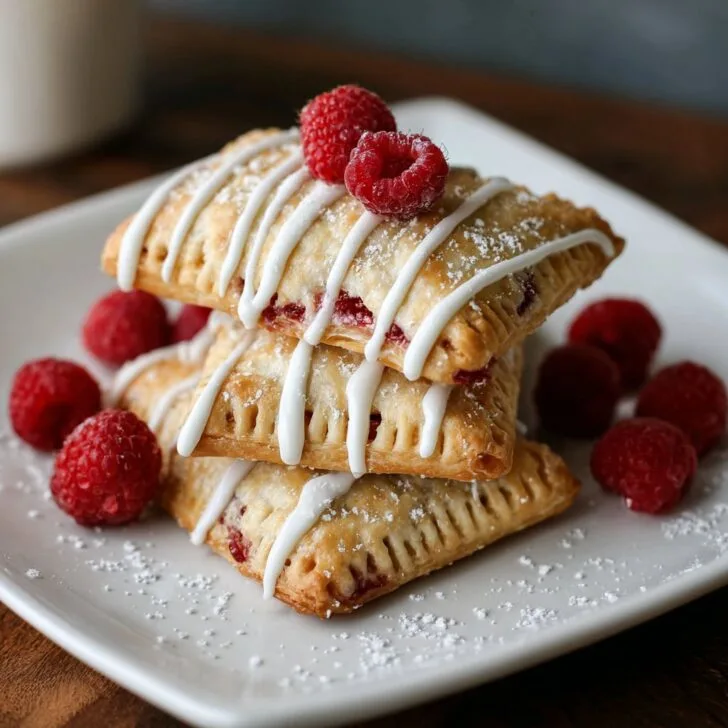
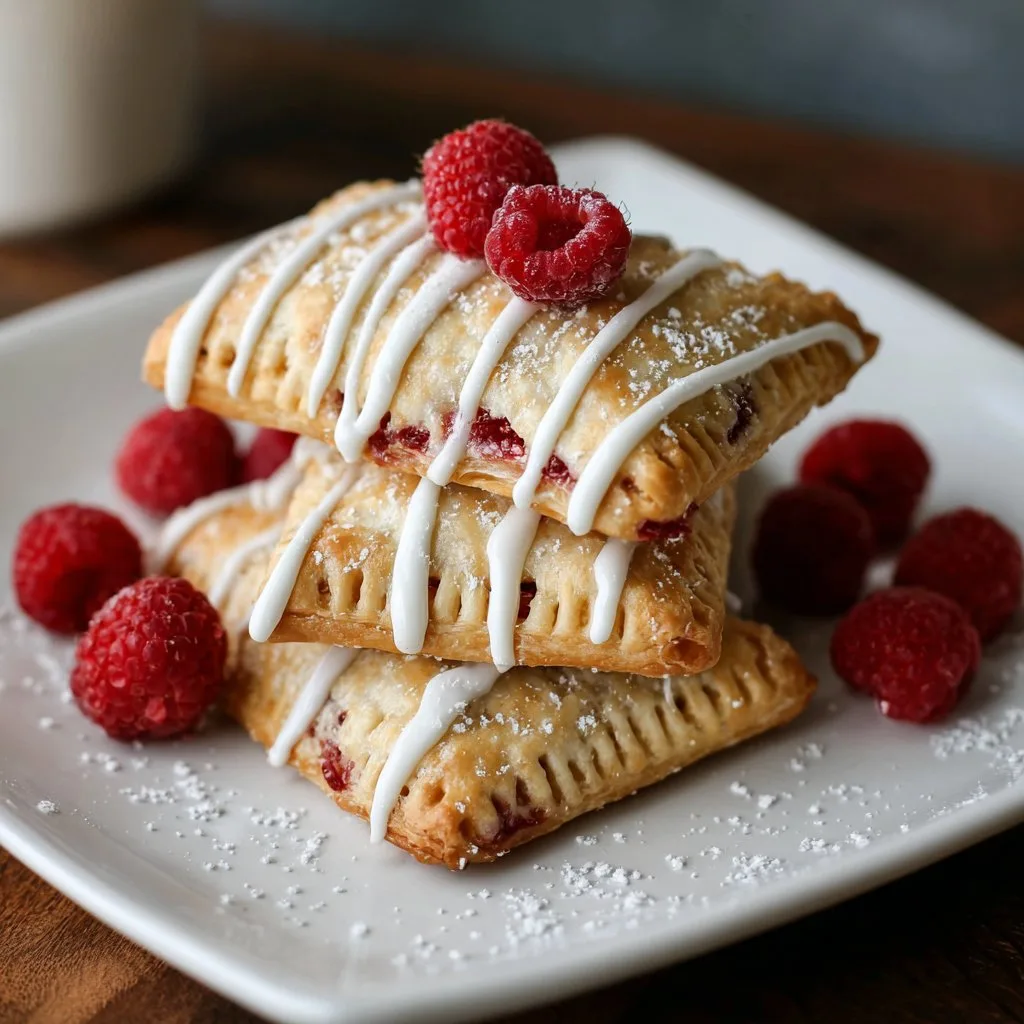
Remember Those Store-Bought Pop Tarts? These Are Way Better (and Less Mysterious)
Alright, so you know those mornings when you're craving something a little nostalgic, but your adult brain chimes in with, "Hey, maybe something with actual protein?" That's exactly how I stumbled into making these Raspberry Protein Pop Tarts. One Saturday, I found myself staring at an old box of the store-bought kind from who knows when, and I thought, "Surely I can do better than that." And here we are. Oh, and if you're wondering, yes, I've dropped jam on my slippers more than once. Occupational hazard, I guess.
Why You'll Love This (Or, Why I Keep Making It)
I make these when I want to feel like a kid again, without the sugar crash that used to have me bouncing off the walls (and then immediately regretting my life choices). My family basically lines up for these; sometimes, I have to remind them to let them cool down. Lightly sweet, a bit tart, and satisfying in a way that makes you forget they're actually packed with protein. And, if I'm honest, I love that I can sneak a few extra berries in there. The first time I tried, the filling oozed everywhere, which was a mess, but, well, it tasted great anyway!
What You'll Need (And What You Can Swap)
- 1 cup plain Greek yogurt (but hey, coconut yogurt works for dairy-free—I've done it on a dare)
- 1 ½ cups oat flour (or just blitz old-fashioned oats in a blender; my grandmother claimed Bob's Red Mill is best, but I honestly grab whatever's on sale)
- 1 scoop vanilla protein powder (whey or plant-based—I've tried both, no major disasters)
- ½ teaspoon baking powder
- ¼ teaspoon salt (I usually eyeball this, don't tell anyone)
- 1 egg (or a flax egg—yes, the texture changes, but it's still pretty good)
- 2 tablespoon honey or maple syrup (I've used agave when I ran out—still works)
- 1 cup fresh or frozen raspberries (thawed if frozen; I've even used a mix of berries once, but raspberry is the real deal for me)
- 2 tablespoon chia seeds (optional, but they thicken the filling nicely—sometimes I forget, and it's a bit runnier, but no biggie)
- Extra: Powdered sugar or protein icing (see notes)
Let's Make 'Em! (Directions That Won't Stress You Out)
- Get the filling going: In a small saucepan, toss your raspberries, 1 tablespoon honey, and the chia seeds together. Heat over medium, stirring occasionally, until it starts getting thick and jammy (about 8-10 mins). This is where I usually sneak a taste, even though it's hot—I'm impatient.
- Mix up the dough: In a big bowl, whisk the yogurt, egg, and remaining honey (or whatever you picked). Add oat flour, protein powder, baking powder, and salt. Stir until it forms a soft dough. If it's mega sticky, add a spoonful more oat flour. But don't overthink it—mine is rarely the exact same texture twice.
- Shape it: Dust your counter with oat flour. Roll the dough out to about ¼ inch thick (or somewhere in that ballpark—doesn't need to be perfect). Cut into rectangles. I use a knife and occasionally a pizza cutter if I can find it (I can never find it when I need it... figures). You want pairs, so try to make them the same-ish size.
- Fill and seal: Dollop a spoonful of raspberry filling onto half the rectangles, leaving a little border. Top with the other rectangles. Use a fork to press the edges (or just pinch with your fingers, if you prefer the rustic look—mine are rarely Instagram-perfect; c'est la vie).
- Bake: Onto a lined baking tray. Bake at 350°F (180°C) for 15-18 minutes, or until they're just golden. If your oven runs hot (like my old flat's did), check at 14 mins. Don't worry if a little filling escapes—it's all part of the charm.
- Glaze (optional): Once cool-ish, mix a bit of protein powder with a splash of milk or water and spread on top; or just go for classic powdered sugar icing. Or skip it. Up to you. Actually, I think they're sweet enough plain, but my partner disagrees.
Some Notes I Wish I Knew Earlier
- If you overwork the dough, it gets a bit tough. But honestly, they're still edible—just dunk them in coffee.
- Don't skip the parchment paper. I did once, and, well... let's just say my baking tray still remembers.
- Greek yogurt makes it tangy and rich, but regular yogurt works in a pinch.
Random Experiments and Variations (Some Winners, Some Flops)
- I tried adding a spoonful of peanut butter to the filling once—tasted way better than it looked (kind of like a messy PB&J situation).
- Swapping raspberries for blueberries: good, but sweeter and less tart. I still prefer the zing of raspberry, personally.
- I once used chocolate protein powder instead of vanilla. Regret. Wouldn't recommend unless you're really feeling wild.
Don’t Have the Fancy Tools? No Drama
Look, I have a rolling pin, but I once used a wine bottle. Works just as well if you don't mind the label sticking a bit. As for a pastry cutter, I stick with a big knife—why fuss?

How Long Do These Last? (Not That You'll Find Out)
Technically, you can keep these in an airtight container for 2-3 days. But, truth be told, they’ve never lasted more than a day and a half in my house. They also freeze well; just defrost and toast lightly. Or eat them cold—I'm not judging.
Serving Ideas (Because There’s No Wrong Way)
My ultimate move: warm them up and slather a bit of extra yogurt on top. My kids like them with a scoop of vanilla ice cream (for breakfast, if they think I’m not looking). If we’ve got friends over, I sometimes cut them into little squares and pretend they’re posh finger food—no one’s fooled, but everyone’s happy.
Pro Tips (Learned the Hard Way)
- I once tried to rush the cooling step and burned my tongue. Patience, grasshopper.
- Don’t overfill, or you’ll end up with more pop tart on the tray than in your mouth. Actually, on second thought, the crispy edges are the best part, so maybe go wild?
- If you want really sharp edges, chill the dough in the fridge for 10 minutes before cutting. Or don't, if you're in a hurry.
FAQ (What Friends Always Ask Me... and My Honest Replies)
- Can I use store-bought jam?
- Totally! Just don't use the super runny kind, or you'll have jam rivers. Trust me, learned that one the sticky way.
- My dough's sticky—what now?
- Sling in a bit more oat flour, or stick it in the fridge for a few mins. It’s sort of like wrangling a toddler: patience pays off.
- Are these gluten-free?
- Yup, if you use certified gluten-free oats and check your protein powder. But always double-check your stuff, just in case.
- Can kids help with these?
- Definitely! Mine love smushing the edges. Just be prepared for flour everywhere. And I mean everywhere.
- Where do you get your oat flour?
- Honestly, I just blend old-fashioned oats most days. But if you want to get fancy, Bob's Red Mill is a classic. Or check out this guide if you want to make your own. It’s easier than you’d think.
And before I forget—if you want more protein-packed breakfast ideas, here's a great roundup I keep coming back to.
So, next rainy Saturday, give these a whirl. If your kitchen isn't a bit messy by the end, you probably didn’t make them right (or you’re a wizard, which is impressive). Enjoy!
Ingredients
- 1 cup oat flour
- ½ cup vanilla protein powder
- ¼ cup unsweetened almond milk
- 2 tablespoons coconut oil, melted
- 2 tablespoons maple syrup
- ½ cup fresh raspberries
- 2 tablespoons chia seeds
- 1 tablespoon honey
- ¼ teaspoon salt
Instructions
-
1Preheat the oven to 350°F (175°C) and line a baking sheet with parchment paper.
-
2In a bowl, mix oat flour, vanilla protein powder, and salt. Add melted coconut oil, almond milk, and maple syrup. Stir until a dough forms.
-
3On a floured surface, roll out the dough to about ¼-inch thickness. Cut into 8 equal rectangles.
-
4In a small saucepan, mash raspberries and combine with chia seeds and honey. Cook over low heat for 3-4 minutes until thickened. Let cool.
-
5Spoon raspberry filling onto 4 rectangles, leaving a border. Top with remaining rectangles and seal edges with a fork.
-
6Place pop tarts on the baking sheet and bake for 15-18 minutes, or until golden brown. Let cool before serving.
Approximate Information for One Serving
Nutrition Disclaimers
Number of total servings shown is approximate. Actual number of servings will depend on your preferred portion sizes.
Nutritional values shown are general guidelines and reflect information for 1 serving using the ingredients listed, not including any optional ingredients. Actual macros may vary slightly depending on specific brands and types of ingredients used.
To determine the weight of one serving, prepare the recipe as instructed. Weigh the finished recipe, then divide the weight of the finished recipe (not including the weight of the container the food is in) by the desired number of servings. Result will be the weight of one serving.
Did you make this recipe?
Please consider Pinning it!!

