
If we were hanging out in my kitchen right now, I would hand you a warm cookie and say, careful, it is still a little soft in the middle. These Peanut Butter Cookies are the ones I make when I need something sweet that feels like a hug in edible form. The first time I baked them solo, I forgot the salt, and my brother still ate five, which I think is both love and a tiny bit alarming. Anyway, pull up a chair; let me tell you what works and what I just eyeball.
Small confession before we start. I keep a jar of peanut butter in the cupboard labeled for baking only. Does that stop me from late night spoonfuls? Not even a little. Also, the dog has learned the sound of the lid. Smart lad.
Why you will probably love these as much as I do
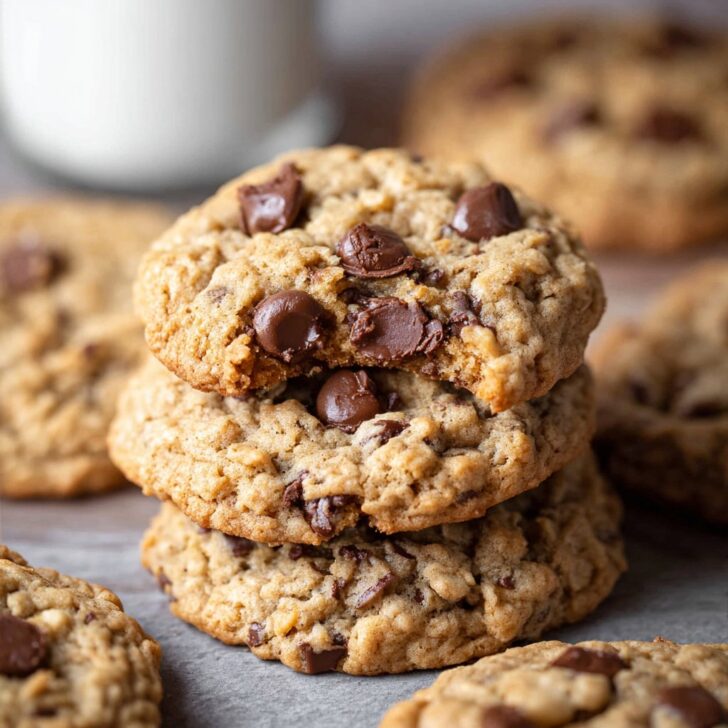
I make this when the weather is meh and I want the house to smell like a bakery, or when my friend texts that she is ten minutes away. My family goes a bit bonkers for these because they are chewy at the edges and soft in the middle, and you get that salty sweet situation that is just yes. If I am low on time I skip the fancy crosshatch and just press with a fork once; nobody complains. I used to get annoyed when the dough looked a bit crumbly, but actually, I find it works better if I let it rest a few minutes, then it behaves. And if the dough cracks a touch while you press it, dont fret, it bakes up lovely.
What you will need ingredient wise
- 1 cup creamy peanut butter, the classic kind. I sometimes use natural peanut butter, but if the oil is separated, give it a proper stir. My grandmother always insisted on Brand X, but honestly any version works fine.
- 1 stick unsalted butter, room temp, about 113 g. If you only have salted, use it and just pinch back the added salt.
- 1 cup brown sugar, packed. Light or dark, I use whatever is in the jar.
- 1 to 4 cup granulated sugar, plus extra for rolling. You can swap the extra sugar for a sprinkle of flaky salt if you like the sweet salty vibe.
- 1 large egg, at room temp if you remember. If not, it is fine.
- 1 teaspoon vanilla extract. I splash a bit extra because I am cheeky.
- 1 and 1 to 2 cups all purpose flour. Start with 1 and 1 to 4 cups if your peanut butter is thick.
- 1 teaspoon baking soda. If you are out, a scant teaspoon of baking powder works in a pinch, the texture changes a smidge.
- 1 to 2 teaspoon fine salt. If using salted butter, go for a tiny pinch instead.
- Optional add ins: a small handful of chopped peanuts, a fistful of chocolate chips, or a swirl of jam for that peanut butter and jelly energy.
Tiny digression that does not really belong here. If you have never learned how to measure flour by fluffing then spooning and leveling, this quick guide from King Arthur is gold: how to measure flour. It stopped my cookies from going tough ages ago.
Let us bake, but casually
- Cream the butter, peanut butter, brown sugar, and granulated sugar together until fluffy and slightly lighter. Two to three minutes with a mixer on medium. By hand, it is a small workout and still totally fine. If you want the science bit, this quick read explains it well: how to cream butter and sugar.
- Add the egg and vanilla. Mix until combined. This is where I usually sneak a taste. Dont worry if it looks a bit split at this stage, it always does for me.
- Whisk the flour, baking soda, and salt in a separate bowl. Add it in two batches. Start with 1 and 1 to 4 cups flour, then see how the dough feels. It should be soft but not sticky like glue. If needed, sprinkle in the remaining flour by the spoonful.
- Let the dough rest in the bowl for about 5 minutes. Actually, I find it works better if I chill it 15 minutes when the kitchen is warm, but if you are in a rush, straight to scooping is grand.
- Scoop golf ball sized portions. Roll in a little sugar if you fancy sparkle. Place on a parchment lined sheet, about a palm apart. Flatten gently with a fork in a crisscross if you like that classic look.
- Bake at 350 F for 9 to 11 minutes until the edges are set and the centers look a touch underdone. They will firm up as they cool. If your oven runs hot, check at 8. Trust me, I once tried pushing to 14 and regretted it because they got dry and lost that bendy middle.
- Cool on the sheet for 5 minutes, then move to a rack. Or do what I do and eat one too soon, and then whisper ow and keep going.
Notes I learned the messy way
- Natural peanut butter can make the dough oily. Stir until completely homogenous. If it is still shiny, add a spoon or two more flour.
- If your dough is crumbly and does not roll, a tablespoon of milk brings it back to life. On second thought, start with a teaspoon.
- For extra peanutty flavor, toast your peanuts lightly first. The smell is unreal.
- Cookies look pale when done and that is correct. If you wait for deep browning, they will be crunchy not chewy.
Variations I have tried, for better and worse
- Salted chocolate chunk: fold in a handful of chopped dark chocolate and sprinkle flaky salt on top after baking. Fancy but not fussy.
- Jam thumbprint mash up: press a small well in each ball and spoon in a tiny bit of raspberry jam. Bake as usual. It is like a pocket of joy.
- Gluten free swap: I have had good luck with one to one gluten free flour or even fine oat flour. Texture is a touch more tender, still ace.
- Did not love: honey instead of granulated sugar. The flavor was nice, but they spread too much and went cakey. Maybe you will crack it, I did not.
Gear that helps, plus what to do if you do not have it
- Stand mixer or hand mixer. I say it is essential for fluffiness, but if you only have a sturdy spoon and a bowl, go for it and cream a bit longer.
- Cookie scoop for even sizes. Two spoons also work, they just look more rustic which I sometimes prefer.
- Rimmed baking sheet lined with parchment. A lightly greased sheet is fine if parchment is out.
- Cooling rack. In a pinch, a clean oven rack set over a towel does the job. Looks odd, works great.
By the way, if you are curious about different peanut butter styles for baking, this page is simple and helpful: natural peanut butter basics.


How to stash them without losing the magic
Store fully cooled cookies in an airtight tin at room temp for 3 to 4 days, with a small piece of bread tucked in to keep them soft. They freeze beautifully for up to 2 months, either baked or as scooped dough. Though honestly, in my house it never lasts more than a day. I think this tastes better the next day, but that is me.
Ways we like to serve them
- With a cold glass of milk, classic as anything.
- Sandwich two around a scoop of vanilla ice cream. Yes please.
- Crumbled over yogurt for a sneaky breakfast treat. Do not tell on me.
- Tea time with a cuppa and a friend who will take the second cookie so you dont eat four.
Pro tips I earned the hard way
- I once tried rushing the butter straight form the fridge and regretted it because it would not cream, and the cookies baked up dense. Give it 30 minutes on the counter.
- Over mixing after adding flour makes them tough. When the flour disappears, stop. Even if the song is still playing.
- Hot pans make the last batch spread more. Let the sheet cool or run it under cold water and dry it before scooping again.
- If you are rolling in sugar, do it lightly. Heavy coats melt into syrupy puddles on the edges.
Questions people actually asked me
Can I use crunchy peanut butter
Absolutely. You will get little nutty bits that add a nice bite. If it looks dry, splash in a teaspoon of milk.
Do I have to do the fork crisscross
Nope. It helps them bake evenly, but you can press gently with the bottom of a glass. Or leave them domed for thicker cookies.
Can I double the recipe
Yes, and I do for parties. Chill the dough between batches so it stays workable. And rotate the pans for even browning.
Why did my cookies get dry
Usually too much flour or overbaking. Weigh your flour if you can, or use the spoon and level method. Pull them when the centers still look soft.
Are these freezer friendly
For sure. Freeze dough balls on a tray, then bag them. Bake from frozen, adding about 2 minutes. Baked cookies freeze well too, just wrap snugly.
Can I make them dairy free
Use a good plant butter and check that your chocolate add ins are dairy free. Texture is slightly different, still tasty.
One last bite of encouragement
Start with this base, then make it yours. More salt, less sugar, a swirl of jam, a handful of chips. Bake a tray, taste one, decide your next move. That is the fun bit. And if a cookie cracks, who cares, it is still a cookie, and its pretty great.


Ingredients
- 1 ¼ cups (155g) all-purpose flour
- 1 teaspoon baking soda
- ¼ teaspoon salt
- ½ cup (113g) unsalted butter, softened
- ½ cup (100g) granulated sugar
- ½ cup (110g) packed light brown sugar
- 1 cup (250g) creamy peanut butter
- 1 large egg
- 1 teaspoon vanilla extract
Instructions
-
1Preheat oven to 350°F (175°C). Line two baking sheets with parchment paper.
-
2In a medium bowl, whisk together the flour, baking soda, and salt. Set aside.
-
3In a large bowl, cream the softened butter, granulated sugar, and brown sugar until light and fluffy. Add the peanut butter, then beat in the egg and vanilla until well combined.
-
4Gradually add the dry ingredients to the wet ingredients and mix until just combined to form a soft dough.
-
5Roll tablespoonfuls of dough into balls and place 2 inches apart on the prepared baking sheets. Use a fork to press a crisscross pattern onto each ball, flattening slightly.
-
6Bake for 10–12 minutes, or until edges are lightly golden. Allow cookies to cool on the baking sheet for 5 minutes, then transfer to a wire rack to cool completely.
Approximate Information for One Serving
Nutrition Disclaimers
Number of total servings shown is approximate. Actual number of servings will depend on your preferred portion sizes.
Nutritional values shown are general guidelines and reflect information for 1 serving using the ingredients listed, not including any optional ingredients. Actual macros may vary slightly depending on specific brands and types of ingredients used.
To determine the weight of one serving, prepare the recipe as instructed. Weigh the finished recipe, then divide the weight of the finished recipe (not including the weight of the container the food is in) by the desired number of servings. Result will be the weight of one serving.
Did you make this recipe?
Please consider Pinning it!!