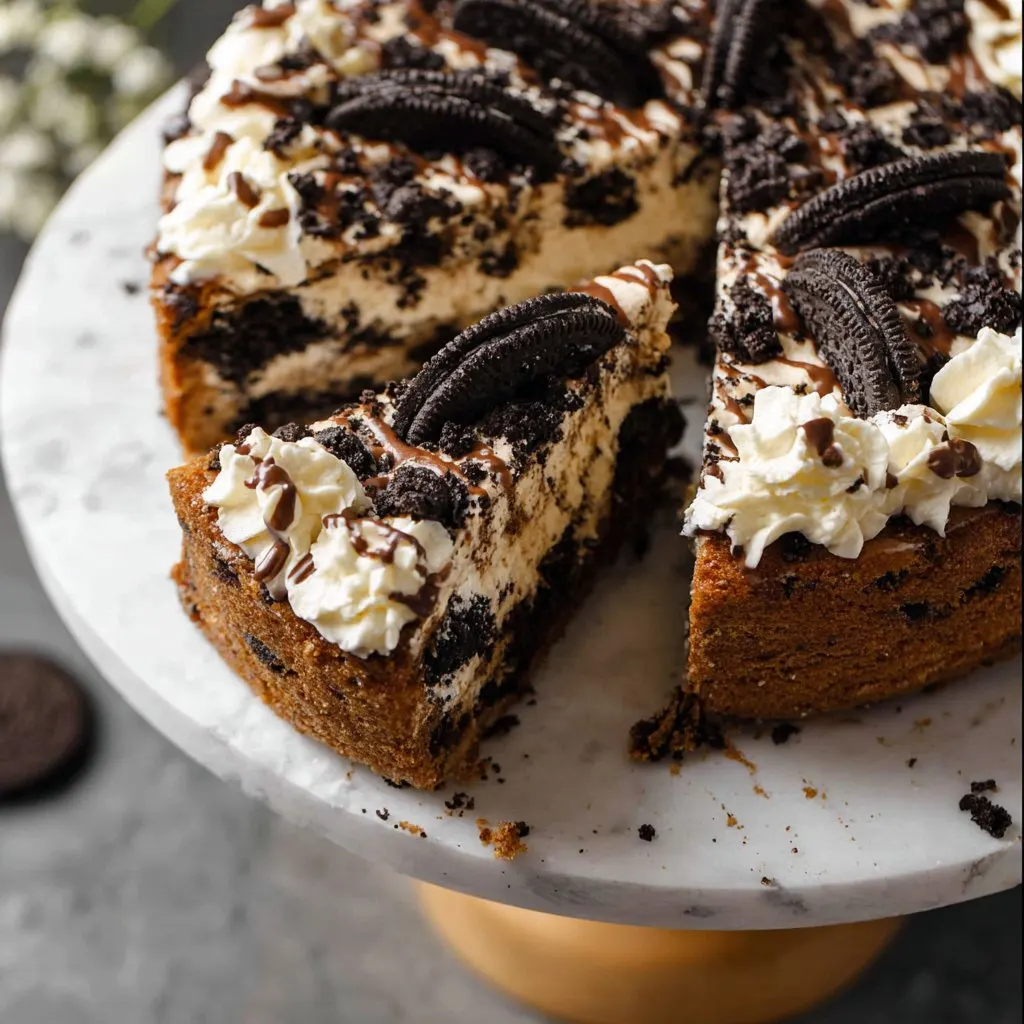
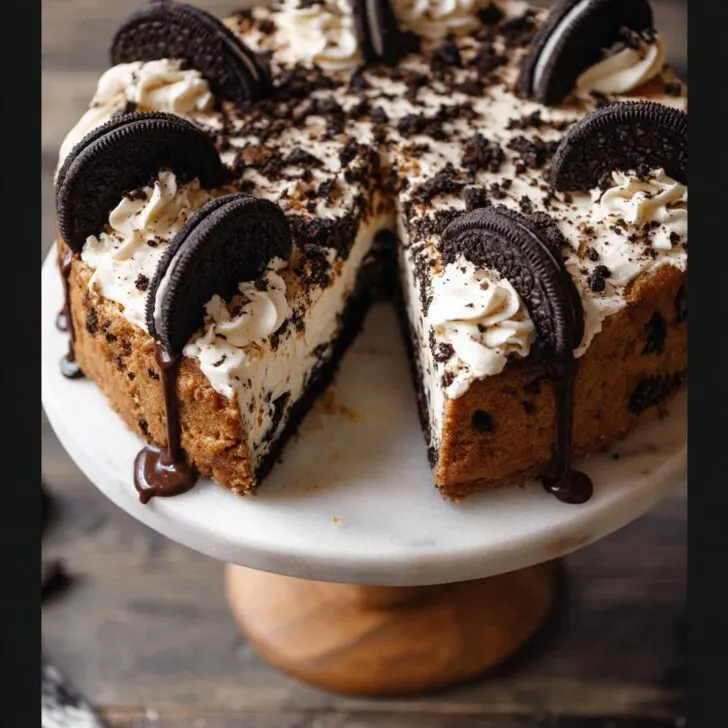
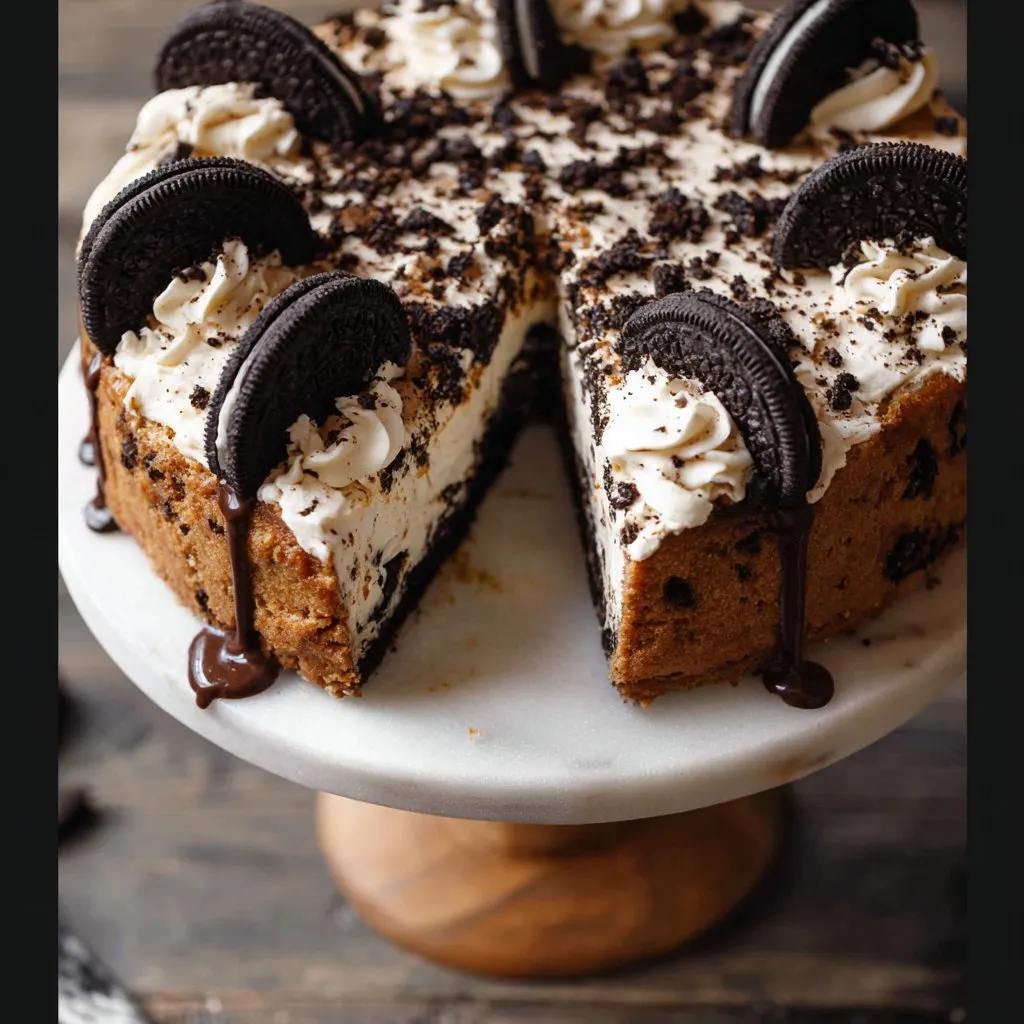
If You Love Oreos, Just Wait Till You Try This Cake
So listen, Oreo Cookie Cake is my answer to basically everything—late-night cravings, birthday emergencies (last year my nephew literally requested it in August and December), or the classic forgot-to-make-dessert panic. I first whipped this up on a rainy Tuesday when we’d run out of eggs and the only thing left for inspiration was, honestly, a battered pack of Oreos at the back of the cupboard next to a jar of suspicious jam. My sister and I still joke about that jam. Maybe I’ll tell you about it one day, but let’s stay on track. Sort of.
Why You'll Love This (Or At Least I Honestly Do)
I whip this Oreo cookie cake out when I want an instant crowd pleaser—you should see the kids’ faces when I walk in with it. My family goes absolutely bonkers for this because it’s decadent, crunchy, and—here’s the kicker—doesn’t take hours of faffing about. No complicated water baths or piping bags. My brother, who claims he hates “fancy desserts”, has polished off literal quarters of this thing. Sometimes my cookies sink a bit more than I expect (maybe I’m just impatient?), but I reckon it adds to the rustic charm. And some days, honestly, I just want an excuse to eat cookies and call it cake.
What You Need: Ingredients
- 24 Oreo cookies (or honestly, store-brand chocolate sandwich cookies work fine—my grandmother swears by the blue package and I’m not arguing with her, but budget-friendly substitutions have saved my skin a few times!)
- ⅓ cup melted butter (I’ve used margarine in a pinch and didn’t hate it)
- 2 cups heavy cream (sometimes called whipping cream—double cream if you’re in the UK)
- ⅓ cup powdered sugar (granulated works but isn’t as smooth—no biggie)
- 1 teaspoon vanilla extract (I like the real stuff, but vanilla essence will do in a pinch; my local shop never has the stuff I want anyway!)
- Another 8 Oreos (roughly chopped) for folding in and scattering on top
- Optional: Sprinkles or a drizzle of store-bought chocolate sauce for that over-the-top finish (totally unnecessary but mighty fun)
How I Pull This Off (You Can Too)
- First off, bash up those 24 Oreos. I usually toss 'em in a plastic bag and give them a good wallop with a rolling pin. Food processors make this tidier, but it’s honestly kind of satisfying to do it the old way. Mix the crumbs with your melted butter until it looks, well, like wet sand.
- Press this mixture into the bottom of a springform pan (9 inch is golden, but I’ve used a cake tin lined with foil and survived). Use your hands or the bottom of a glass to compact it—it should stick together but not look too soaked. THIS is when I sometimes sneak a taste. No shame.
- Pop your base in the fridge for, I don’t know, 15–30 minutes. Just long enough to solidify. If you forget (I constantly do), it’s not the end of the world.
- Meanwhile, whip the heavy cream with the powdered sugar and vanilla extract until you get nice, stiff peaks. Use an electric mixer if you have one. If not, a whisk and some upper-arm determination. One time I used my immersion blender and, not gonna lie, it kinda worked... just don’t overdo it or you’ll accidentally make butter (ask me how I know).
- Fold in your chopped Oreos—this is messy and glorious, don’t aim for perfection.
- Spoon that creamy mixture onto your chilled Oreo base. Smooth out, or make swoops and swirls with a spatula, honestly it always looks great when it’s slightly messy.
- Scatter more of those chopped Oreos, maybe add sprinkles or chocolate sauce if you’re feeling jazzy. I once went a little wild with marshmallows... jury’s still out on that decision.
- Chill for at least 3–4 hours; overnight is even better (I think the flavors kind of merge together and you can cut it cleaner). That said, I've absolutely served it after just one hour and nobody seemed to mind.
- Release carefully from the pan—use a warm knife to run around the edge if it’s being stubborn. If it’s a touch wonky, just call it “rustic.”
Honestly Useful Notes (Mistakes Included)
- Don’t stress if the base crumbles—next time add a bit more butter. Or just embrace the mess, as I do.
- Once added too much vanilla; tasted perfumey. Now I stick to a very casual “dash.”
- The cake slices much better cold. But you knew that, probably.
- For allergy friends: gluten-free cookies will totally work, but avoid super-cheap ones that just dissolve to dust. Voice of experience.
Variations I’ve Tried... and Maybe Regretted
- Mint Oreos in the cream layer—honestly, delicious. My brother was skeptical but then ate half the cake.
- Peanut butter Oreos: slightly weird texture, but not bad. Maybe not my first choice?
- Birthday cake Oreos AND rainbow sprinkles: too sweet, and I’ve got a serious sweet tooth. Live and learn!
- I once tried adding a layer of raspberry jam. Let’s never speak of that again.
Equipment (And My ‘Make Do’ Approaches)
- Springform pan is the dream, but I’ve lined a regular cake tin with cling film and just lifted it out. Slightly lopsided, totally edible.
- Electric mixer makes life easy, but you can whisk by hand if you’re feeling old school (maybe make it a two-person job?)
- A rolling pin or heavy mug for smashing Oreos. Or your fists, if it’s been a week.

How to Store It (Not That You’ll Need To)
Keep any leftovers (if that’s even a thing) in the fridge, in a covered container. It’ll be fine for 2–3 days, though honestly in my house it never survives beyond a day. If it gets a bit weepy, just give it a quick whip and plop it back on top—no one will notice.
Serving It Up: Our Traditions
This is wild with a scoop of vanilla ice cream, or—if you’re feeling real fancy—a drizzle of salted caramel sauce. My cousin insists on serving it straight from the pan; she claims it’s more “mysterious” that way (no idea what she means, but I let her have her fun). Sometimes we just eat it with spoons, straight from the fridge after midnight... not that I’m recommending it, but I’m definitely not judging.
What I’ve Learned (Aka My Not-So-Secret Pro Tips)
- Don’t rush chilling. I once tried to cut it after an hour (hungry, whoops) and it collapsed. Still delicious, just not pretty.
- Whip the cream well. Slightly underdone cream makes a sad, droopy cake. Actually, I find it works better if you stop just before it gets super stiff, then finish by hand.
- When in doubt, extra chopped Oreos on top helps hide any hiccups.
Real-Life FAQ (You Folks Actually Asked...)
- Can I make this ahead for a party?
- Absolutely! I sometimes make it a full day ahead. Actually, I think it tastes better the next day. You just want to keep it cold and covered. If you want more party ideas, this blog's Oreo party round-up is a gold mine.
- What if I don’t have heavy cream?
- You could use Cool Whip or even thick Greek yogurt in a pinch. It’ll taste a bit tangier. On second thought, try to get cream, but honestly—it'll work.
- Can I freeze it?
- Yup, but the cream layer does go a little weird when thawed, more like semifreddo. My own freezer is packed anyway (too much frozen garlic bread?), but Serious Eats has a good freezing how-to.
- How do I keep the base from sticking?
- Use parchment on the bottom, or a light oil spray. Sometimes I get lazy and just muscle it out—never failed yet (touch wood!).
Okay, now I’m seriously craving Oreo cookie cake. Let me know if you wind up making it! And if you want to compare notes, I’m always up for a kitchen chat, or arguments about which Oreo flavor is best (original, hands down; sorry, not sorry).
Ingredients
- 24 Oreo cookies, crushed (divided)
- 1 ½ cups all-purpose flour
- ½ cup unsalted butter, softened
- ¾ cup granulated sugar
- 2 large eggs
- ½ cup whole milk
- ½ cup semi-sweet chocolate chips
- 1 ½ teaspoon baking powder
- ½ teaspoon vanilla extract
- ¼ teaspoon salt
Instructions
-
1Preheat the oven to 350°F (175°C). Grease and line an 8-inch round cake pan.
-
2In a large bowl, cream together the softened butter and granulated sugar until light and fluffy.
-
3Beat in the eggs, one at a time, then mix in the vanilla extract.
-
4In a separate bowl, whisk together the flour, baking powder, and salt. Gradually add dry ingredients to the wet mixture, alternating with milk. Mix until just combined.
-
5Fold in the chocolate chips and 18 crushed Oreos. Pour batter into the prepared cake pan and smooth the top. Sprinkle remaining crushed Oreos on top.
-
6Bake for 28-32 minutes, or until a toothpick inserted into the center comes out clean. Cool completely before slicing and serving.
Approximate Information for One Serving
Nutrition Disclaimers
Number of total servings shown is approximate. Actual number of servings will depend on your preferred portion sizes.
Nutritional values shown are general guidelines and reflect information for 1 serving using the ingredients listed, not including any optional ingredients. Actual macros may vary slightly depending on specific brands and types of ingredients used.
To determine the weight of one serving, prepare the recipe as instructed. Weigh the finished recipe, then divide the weight of the finished recipe (not including the weight of the container the food is in) by the desired number of servings. Result will be the weight of one serving.
Did you make this recipe?
Please consider Pinning it!!

