First, Let Me Tell You Why These Cheesecake Cups Are My Summertime Lifesaver
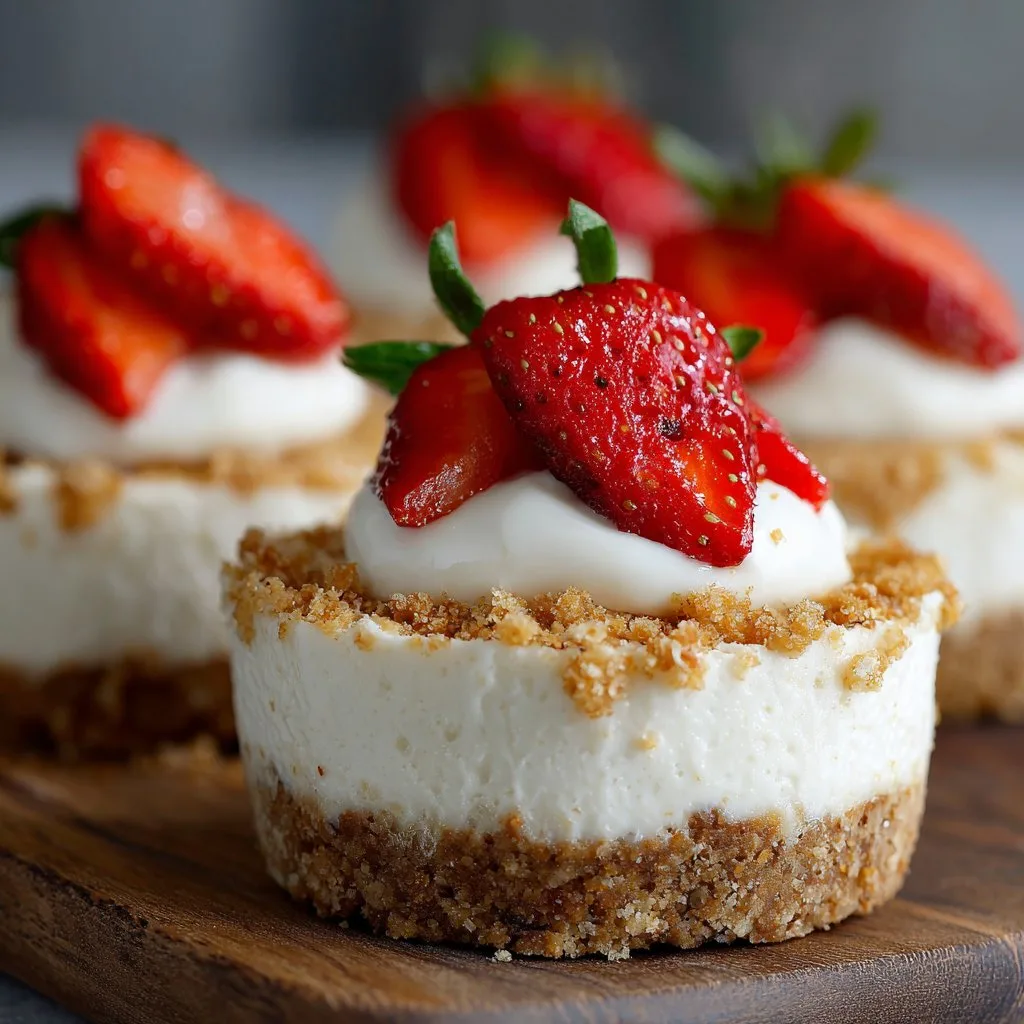
Alright, so you know those days when it's just too hot to even think about turning on the oven? That's my cue for these No-Bake Strawberry Cheesecake Cups. I first made them for a last-minute BBQ when I realised I was out of eggs and, let's be real, patience. Honestly, nobody noticed the absence of a baked crust—my neighbor Dave (who claims to despise cheesecake, but I think he just likes complaining) ate three and asked for the recipe. So, yeah, these are a hit even with the skeptics. And on days when I want something sweet but can't face scrubbing a springform pan, this recipe is my best mate. Plus, you don't even need to break a sweat (unless you chase strawberries across the kitchen floor like I did last week—clumsy is my middle name apparently).
Why You'll Probably Love This (Like, a Lot)
I make these when I'm craving something creamy and fresh, but I can't be bothered with actual baking. My family goes a bit bonkers for them because they're served in little cups, so everyone gets their own (no fighting over who got more topping—yes, that's happened). When strawberries are in season, it's a no-brainer. But, and here's the twist, I've also made them with frozen berries in the dead of winter and nobody batted an eye. Oh, and if the cream cheese is a bit lumpy (which happens when I'm in a rush), it still tastes grand. One time I tried to swap the strawberries for blueberries—looked beautiful but, honestly, I missed the strawberry tartness. Lesson learned.
What You’ll Need for This (And What You Could Swap)
- 200g digestive biscuits (My grandmother always insisted on Hobnobs, but I grab whatever's on hand—graham crackers work too, or even ginger snaps for extra zing)
- 75g butter, melted (I use salted because I'm a rebel, but unsalted is fine)
- 250g cream cheese (Philadelphia is classic, but the store brand is just as good, promise)
- 200ml double cream (Heavy cream if you’re Stateside; I once used whipping cream and it was fine, just a bit lighter)
- 70g icing sugar (or regular sugar in a pinch, though icing sugar blends in smoother)
- 1 teaspoon vanilla extract (Sometimes I skip this if I'm out; nobody’s noticed... yet)
- 300g fresh strawberries (I’ve used frozen, thawed berries when I must—just blot 'em dry or the topping gets runny)
- Optional: a squeeze of lemon juice, and a handful of extra berries for serving
How I (Usually) Put These Cheesecake Cups Together
- Crush the biscuits: Chuck them in a ziplock and go to town with a rolling pin. Or the base of a mug. Or just bash them in a bowl with a wooden spoon if you’re feeling feisty. Mix crumbs with melted butter till it looks like damp sand.
- Divide the base: Spoon the mixture into the bottom of your cups or jars (I use old jam jars—eco and all that). Give them a gentle press with the back of the spoon. Don’t stress about perfection; rustic is in.
- Cheesecake filling time: In a bowl, beat cream cheese, icing sugar, and vanilla till smooth. Add the double cream and whisk until it thickens up nicely—I usually sneak a taste here. (If it seems too runny, just whip it a minute longer. Or chill it—works wonders.)
- Spoon filling over bases: Divide evenly, then smooth the tops. If it looks a bit lumpy, don’t panic; the strawberries will cover a multitude of sins.
- Strawberry topping: Chop most of the berries and pile on top. You can mash some with a fork and a bit of sugar if you like it saucy. Sometimes I add a squeeze of lemon juice for extra zing.
- Chill: Pop in the fridge for at least an hour, though longer is better (I think this tastes even better the next day—if you can wait that long).
- Finish and serve: Add a few whole or halved berries on top right before serving. And that’s it!
A Few Notes, Learned the Hard Way
- If you overmix the cream, it can go a bit grainy; I did that once while multitasking. Still edible, just not as silky.
- I once tried using honey instead of sugar in the filling—honestly, not my best idea; it was a bit runny. Stick with sugar here.
- You can prep the bases and filling the night before, just keep the berries separate till serving or they’ll go a bit mushy.
All the Ways I've Tweaked (Some Good, Some Not So Much)
- Swapped the strawberries for raspberries—tart and lovely!
- Used chocolate cookies as the base—super rich, maybe not for everyone, but I liked it.
- Tried layering with lemon curd: wow, that’s a keeper. But once I got wild with diced pineapple and, eh, it was a bit odd. Wouldn’t recommend unless you’re feeling adventurous.
What You Need (and What You Can Use Instead)
- Electric mixer—but sometimes I just use a whisk and call it my arm workout for the day
- Mixing bowls
- 6-8 small jars or glasses (Tea cups work in a pinch—I've done it!)
- Rolling pin or something for bashing biscuits

Storing Leftovers (If You Have Any... Rare Event in My House!)
They'll keep in the fridge, covered, for about 2 days. The berries can go a bit soft after a while, but the flavour is still ace. Though honestly, it's never lasted more than a day around here—my partner tends to "taste test" them when I'm not looking!
How I Love to Serve These
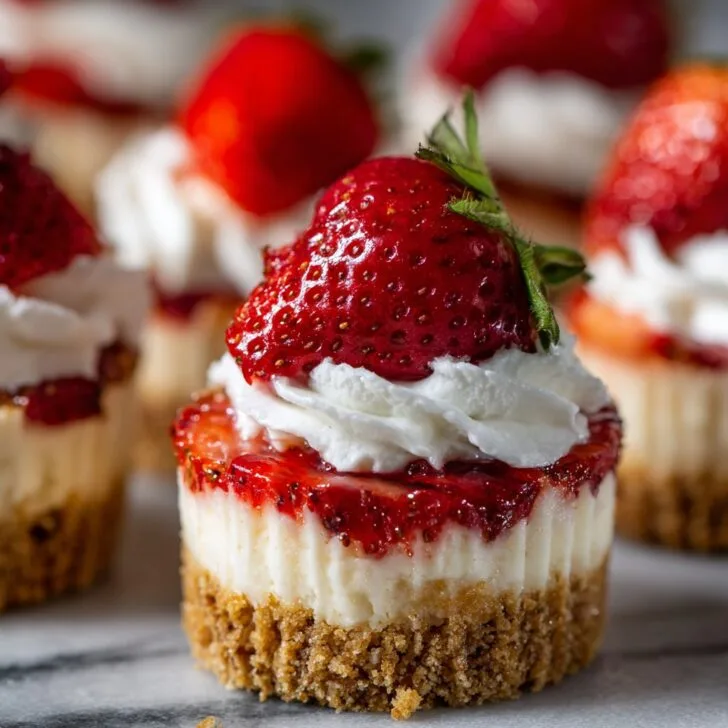
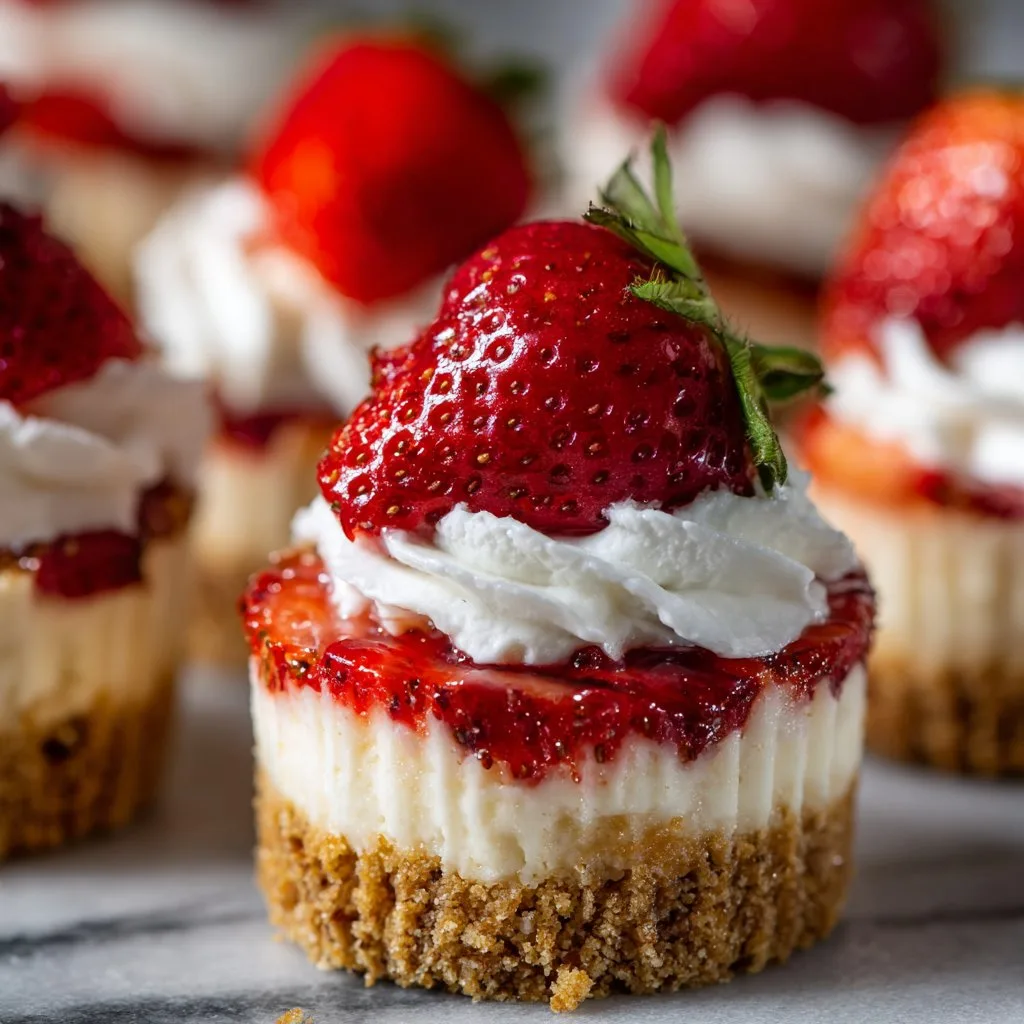
I like to top each cup with a little dollop of whipped cream and, if I'm feeling posh, a mint leaf (which usually gets left behind, but hey, it looks nice). Sometimes we stack them on a big tray for parties, but usually it’s just family, huddled around the kitchen island, forks at the ready. My niece insists on sprinkles. Who am I to say no?
Lessons Learned (aka: Don’t Be Like Me This Time)
- I once tried to rush the chilling stage—big mistake. The filling was too soft and kind of oozed out the sides. Just wait the hour—it’s worth it.
- Don’t forget to taste the filling before putting it on the bases. I skipped that step once and realised (too late) I’d left out the sugar. Oops.
Real Questions I’ve Actually Gotten (And My Real Answers!)
- Can I freeze these?
Not really. The texture gets a bit weird after defrosting—like, icy and crumbly. Fridge is best. - Can I make these vegan?
Sorta! Use a vegan cream cheese and coconut cream, and swap the butter for a plant-based one. I’ve had friends try it, and it’s pretty tasty. There’s a handy guide at Minimalist Baker if you want to go full vegan. - Can I use other fruit?
Oh totally. Raspberries, blueberries, or even chopped mango. Though, like I said, pineapple was not my finest hour. - Is there a way to make them less sweet?
Sure thing. Cut back a bit on the sugar, or use Greek yogurt instead of some cream cheese for tang. I found this tip on Sally's Baking Addiction and it's a winner. - Do I really need an electric mixer?
Actually, I find it works better if you use one for the cream, but a whisk and some elbow grease can do the trick if you’re patient. (Just expect a minor arm ache.) - What if my filling is too runny?
Pop it in the fridge for 30 mins, it'll firm up a bit. Or try beating in a little more cream cheese. If all else fails, embrace the mess—tastes just as good!
Oh, and before I forget—if you’re as obsessed with easy summer desserts as I am, check out this BBC Good Food no-bake roundup. I’ve bookmarked it for those days when I need inspiration beyond strawberries!
So that’s my not-so-perfect but always-loved No-Bake Strawberry Cheesecake Cups. They’re easy, forgiving, and honestly, just make you look like you’ve got it all together—even if you’re still in your slippers!
Ingredients
- 1 cup graham cracker crumbs
- 3 tablespoons unsalted butter, melted
- 8 oz cream cheese, softened
- ⅓ cup granulated sugar
- 1 teaspoon vanilla extract
- 1 cup heavy whipping cream
- 1 cup fresh strawberries, diced
- 6 whole strawberries, for garnish
Instructions
-
1In a small bowl, combine graham cracker crumbs and melted butter. Mix until the crumbs are evenly coated.
-
2Divide the crumb mixture evenly among 6 serving cups and gently press down to form the crust layer.
-
3In a large bowl, beat the cream cheese, granulated sugar, and vanilla extract until smooth and creamy.
-
4In a separate bowl, whip the heavy cream until stiff peaks form. Gently fold the whipped cream into the cream cheese mixture until fully combined.
-
5Spoon or pipe the cheesecake filling over the crust in each cup. Top with diced strawberries.
-
6Garnish each cup with a whole strawberry. Chill for at least 1 hour before serving.
Approximate Information for One Serving
Nutrition Disclaimers
Number of total servings shown is approximate. Actual number of servings will depend on your preferred portion sizes.
Nutritional values shown are general guidelines and reflect information for 1 serving using the ingredients listed, not including any optional ingredients. Actual macros may vary slightly depending on specific brands and types of ingredients used.
To determine the weight of one serving, prepare the recipe as instructed. Weigh the finished recipe, then divide the weight of the finished recipe (not including the weight of the container the food is in) by the desired number of servings. Result will be the weight of one serving.
Did you make this recipe?
Please consider Pinning it!!

