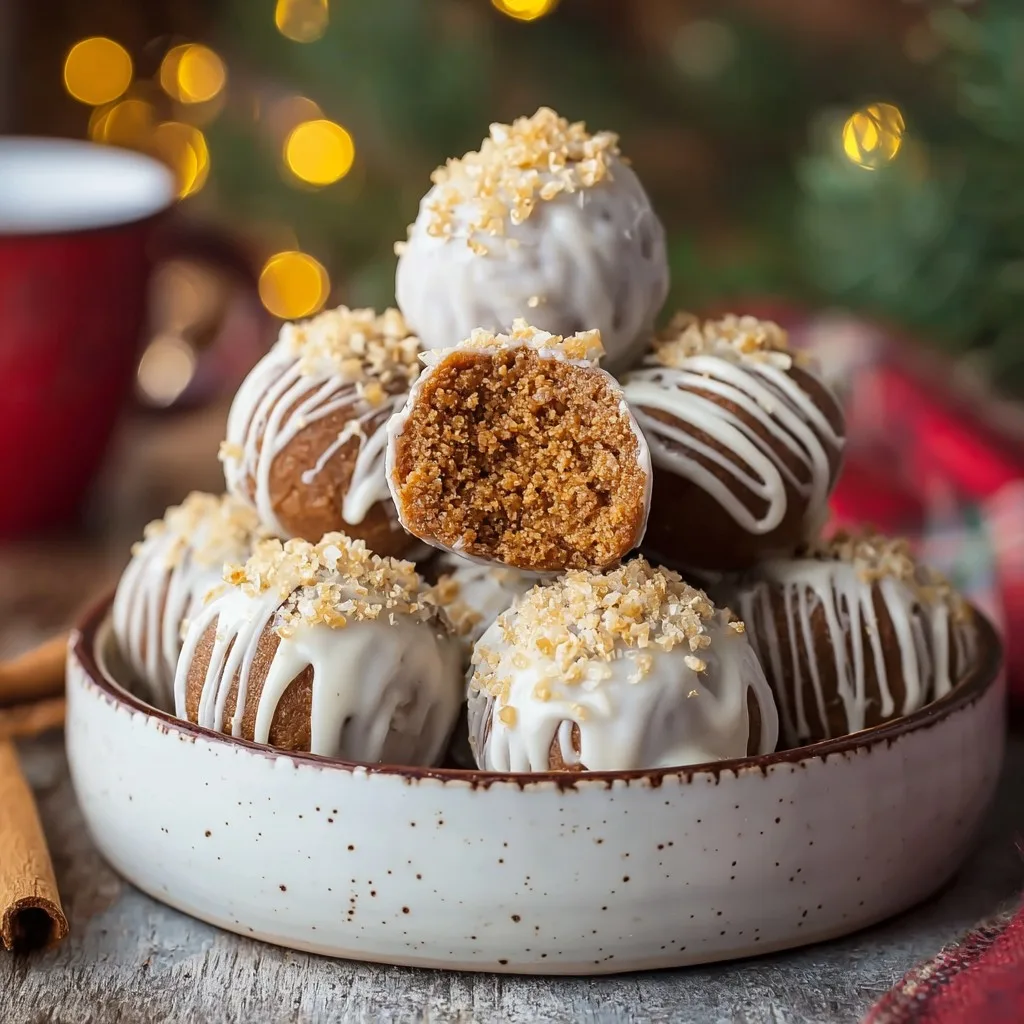
Catching Up Over Gingerbread Truffles
Alright, so picture this: It's mid-December. The kitchen smells like Christmas (ginger, cinnamon, maybe a faint whiff of laundry because I'm multitasking here). I used to stress about baking fancy cookies, but last year my oven went on strike. What did I do? No-Bake Gingerbread Truffles! Now they're my thing. Actually, my little nephew calls them "Santa snowballs" which—honestly—might be cuter than the real name. Oh, and the best part? No oven mitts required, and less mess if you don't mind sticky hands.
Why I Keep Making These
I make these truffles when the thought of rolling out dough or waiting for a batch to bake makes me want to hit snooze. My family goes wild for these because they're tiny, poppable, and somehow taste even better after a day in the fridge (if they last that long; spoiler alert: they never do). Once, I tried doubling the batch thinking I'd outsmart my snack-happy crew. Nope. Still vanished by breakfast. Plus, there's zero shame in sneaking one while "taste-testing"—I'm looking at you, Dad.
Here’s What You’ll Need
- 250g gingerbread cookies (I've used store-bought, homemade, even Biscoff when I'm running low—shhh)
- 90g cream cheese (the full-fat kind makes these super creamy, but light works if that's your vibe)
- 1 tablespoon maple syrup (or honey; I once accidentally used golden syrup and nobody was mad)
- ½ teaspoon ground cinnamon (skip if your cookies are really spicy already)
- Pinch of nutmeg (because, why not? Sometimes I forget and they're still amazing)
- 200g white chocolate, for coating (sometimes I use dark, but Nana says it's "not Christmassy enough"—up to you)
- Optional: sprinkles, crushed gingerbread, or toasted nuts (my youngest cousin lobbied hard for red and green sprinkles, so that's our current tradition!)
Let’s Get Mixing
- Blitz the gingerbread cookies in a food processor until they're basically sand. Or if you don’t have a processor, bash them in a zip bag with a rolling pin—free stress relief!
- Add in cream cheese, maple syrup, cinnamon, and nutmeg. Give it all a good whizz until you get a sticky, delicious dough. (This is where I sneak a taste—or two. Quality control, right?)
- Roll the mixture into small balls (about the size of a walnut, but mine always end up uneven and that’s fine). Pop them on a plate and chill in the fridge for 30 minutes, minimum. Honestly, I've rushed this and the coating slides off. Not worth it. Let 'em chill.
- Melt the white chocolate in a microwave or over a pan of simmering water. If it seizes, don’t panic—add a splash of oil and gently coax it back.
- Dip each chilled ball into the melted chocolate. Forks work, but sometimes I use two spoons or skewers if I can't find my dipping tool (which, you know, lives in that random kitchen drawer with the pizza cutter).
- While still wet, sprinkle with whatever toppings you’re feeling today. Return to the fridge to set. And try not to eat half of them straight off the parchment—I no longer pretend I haven’t.
Notes I Wish Someone Had Told Me
- If your dough feels dry, add a little more cream cheese. Or, actually, sometimes it’s too wet and just add more crumbs. There’s no perfect formula—it’s a bit like catching the right bus: sometimes it just needs a minute to get there.
- I think these taste even better with a night to mellow in the fridge. Sort of like leftover chili, but sweeter and with a lot more sugar.
- If you don't have white chocolate, don’t despair; just dust them in cocoa powder or even icing sugar for a rustic (aka lazy-day) finish.
Variations I've Tried (and One I Regretted)
- Dark Chocolate Coating: Looks more grown-up, still lovely. Nana disagrees but, hey, they're my truffles.
- Peppermint extract: Only do a drop—I once went heavy, and it was like eating toothpaste. Never again.
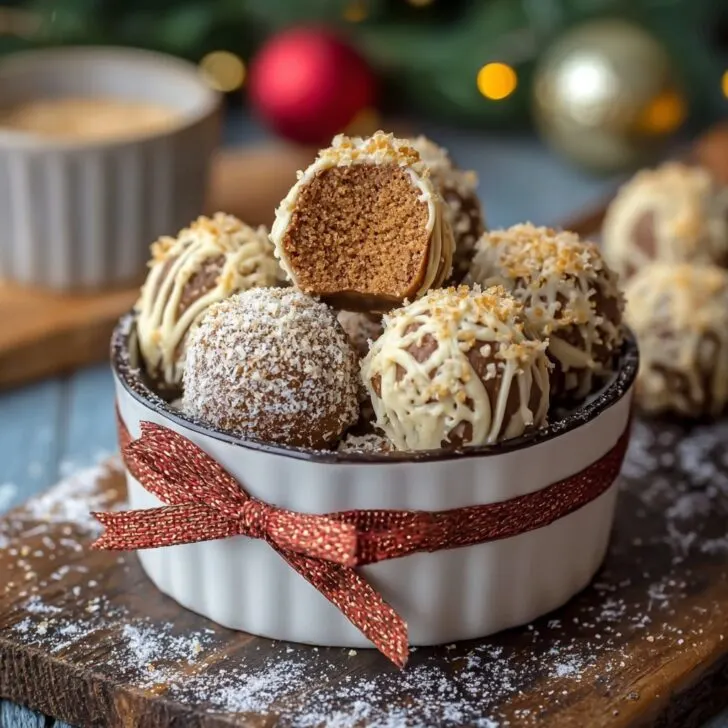
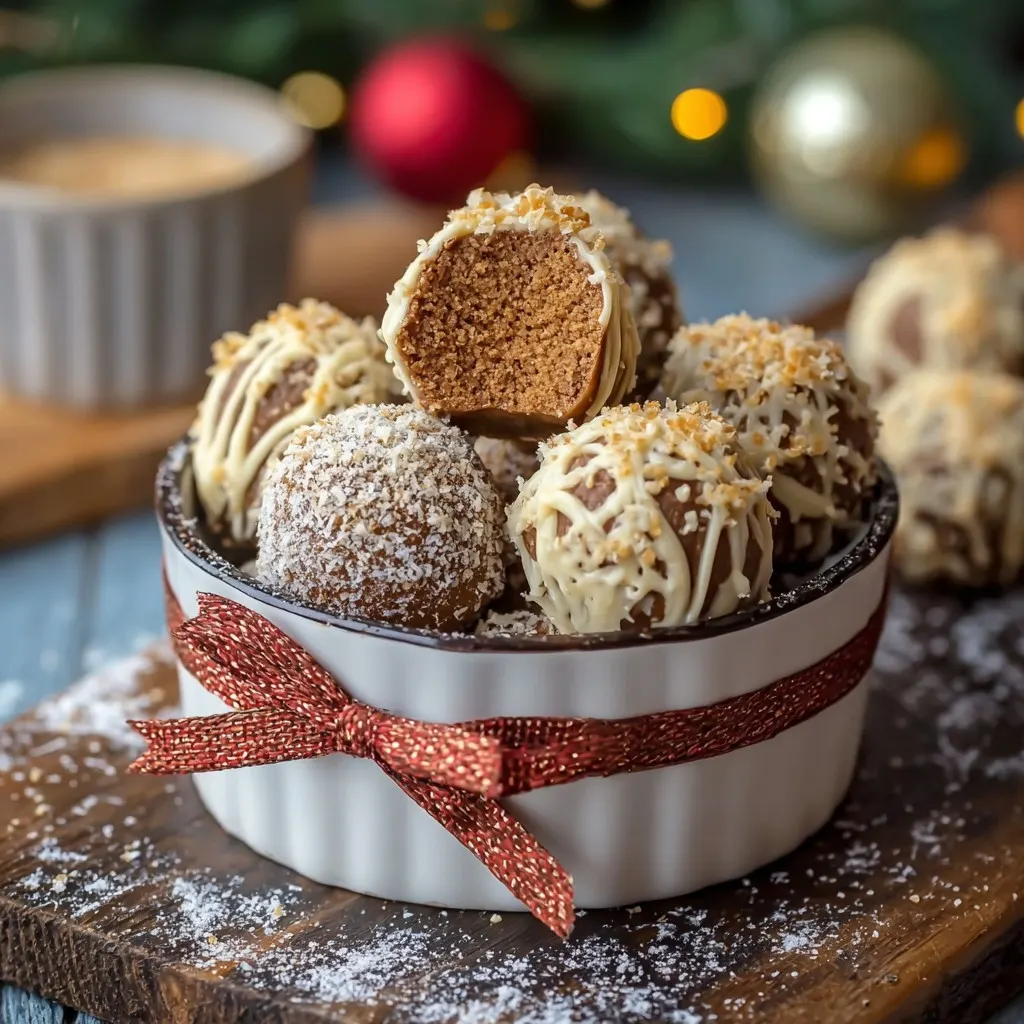
- Rolling in toasted coconut: Works a treat and looks festive, but only if you actually like coconut. Otherwise, skip.
Equipment (Or Lack Thereof)
- Food processor: Speeds things up, but a rolling pin and stubbornness does the job too—might just need some elbow grease.
- Bowl and spoon: Essential. Or a clean hand. Or a spatula, if you remember you own one.
- Baking tray or plate: For fridge-chilling. I sometimes just use a chopping board with parchment (hey, use what you have).

How To Store – If They Last!
Pop them in an airtight tin or container and chill. They’ll keep about a week, but honestly, in my house it never lasts more than a day. I once tried freezing them—surprisingly good! Just let them thaw a bit or enjoy them cold and extra fudgy.
How I Like To Serve These
We pile them onto a big plate around midnight on Christmas Eve, with hot cocoa or maybe a sneaky Baileys (no kids allowed for that round, obviously!). But they’re brilliant boxed up for last-minute gifts—I have thrown a handful in a cellophane bag with a ribbon and felt like a hero.
Pro Tips (Learned the Hard Way!)
- Don’t try to coat them while they’re warm. I once did this—total disaster. The chocolate slid off and I had more of a trifle than a truffle.
- If your white chocolate seizes, don't toss it! Pause, breathe, add a dab of coconut oil. Also, don’t walk away thinking you’ll only be a second—it sets up fast.
- If all else fails, just eat the dough with a spoon (been there, no one complained).
- Actually, don’t use super spicy gingerbread for kids; found that out the hard way with my niece’s “it’s hot!” meltdown.
FAQ from My Kitchen Table
- Can I make these vegan? Absolutely! Swap the cream cheese for a vegan version and use dairy-free white choc. I tried Oatly and it worked a treat, though the texture was a bit softer.
- Do I need a food processor? Nope—just bash 'em with a rolling pin like you're flattening a stubborn sock (or stare at them hard enough, doesn’t work, but it’s worth a go).
- Help! My dough’s too sticky. Add more crumbs. You’re not alone; sticky hands are practically a family badge at this point.
- What’s the best gingerbread? Honestly, whatever you have. Some folks swear by Walkers, but I’ve used IKEA’s before; no shame.
- Do they ship well? They do alright if it’s not hot out, but really, just tell your friends to come round. Or bribe them like I do with a picture and promise of leftovers—works every time!
- Where do I get cute sprinkles? I like Sprinkle Direct (UK) but any supermarket usually has something glitzy this time of year.
- I don’t like white chocolate, what else? You’re in good company—I love a dark choc batch, or just go for plain! In fact, one time I drizzled caramel instead and... well let's just say it's best kept as a rare treat.
And there ya go, mate! If you want to see how someone else pulls off no-bake Christmas treats, you could have a look at Sally's Baking Addiction—she's got a killer step-by-step too. But honestly, do it your way. (Just don’t forget the sprinkles!)
Ingredients
- 1 ½ cups ginger snap cookie crumbs
- 4 oz cream cheese, softened
- 2 tablespoon molasses
- 1 teaspoon ground ginger
- ½ teaspoon ground cinnamon
- ¼ teaspoon ground nutmeg
- ⅛ teaspoon ground cloves
- 8 oz white chocolate, melted
- Optional: holiday sprinkles, for decoration
Instructions
-
1In a food processor, blend the ginger snap cookies into fine crumbs.
-
2In a mixing bowl, combine cookie crumbs, cream cheese, molasses, ginger, cinnamon, nutmeg, and cloves until smooth and well incorporated.
-
3Roll the mixture into 1-inch balls and place them on a parchment-lined tray.
-
4Chill the truffle balls in the refrigerator for 15 minutes to firm up.
-
5Dip each truffle in melted white chocolate and return to the tray. Add holiday sprinkles if desired.
-
6Let the chocolate set completely before serving. Store truffles in the refrigerator.
Approximate Information for One Serving
Nutrition Disclaimers
Number of total servings shown is approximate. Actual number of servings will depend on your preferred portion sizes.
Nutritional values shown are general guidelines and reflect information for 1 serving using the ingredients listed, not including any optional ingredients. Actual macros may vary slightly depending on specific brands and types of ingredients used.
To determine the weight of one serving, prepare the recipe as instructed. Weigh the finished recipe, then divide the weight of the finished recipe (not including the weight of the container the food is in) by the desired number of servings. Result will be the weight of one serving.
Did you make this recipe?
Please consider Pinning it!!

