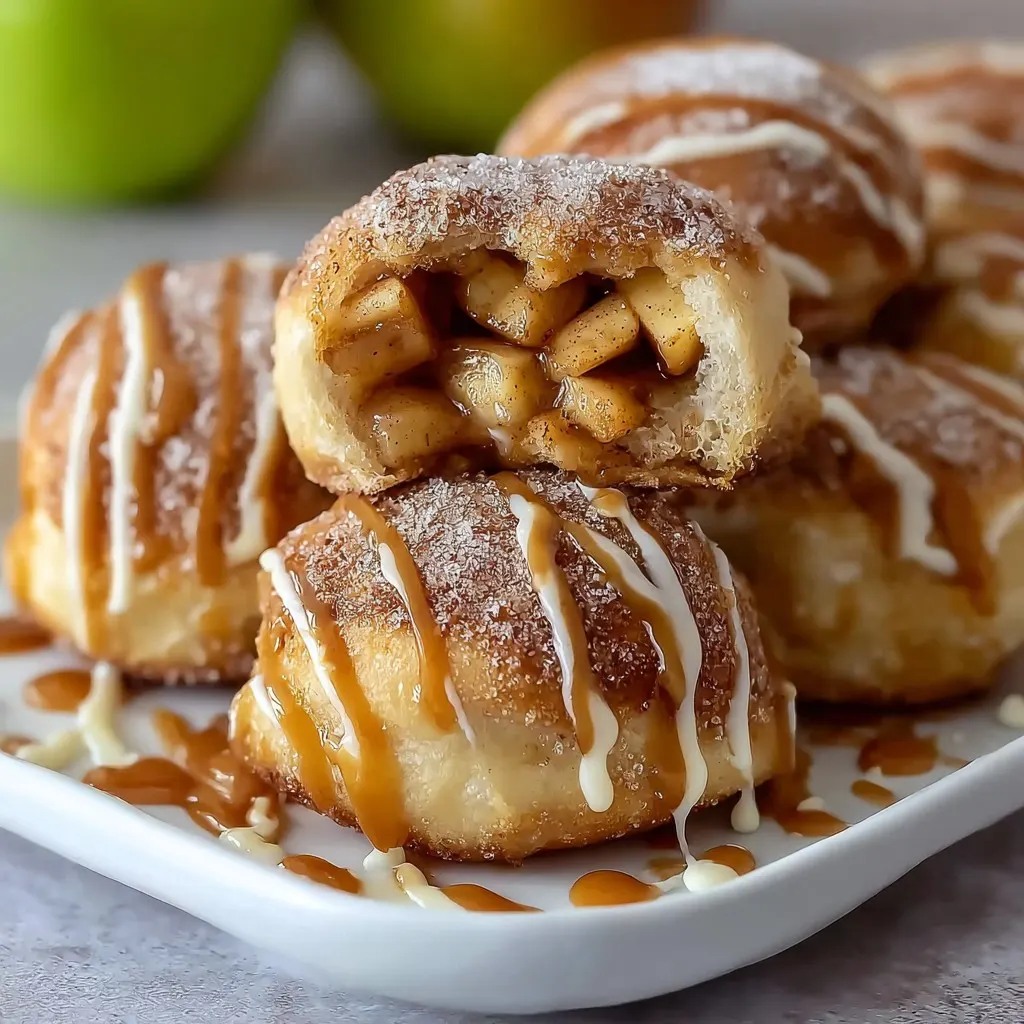
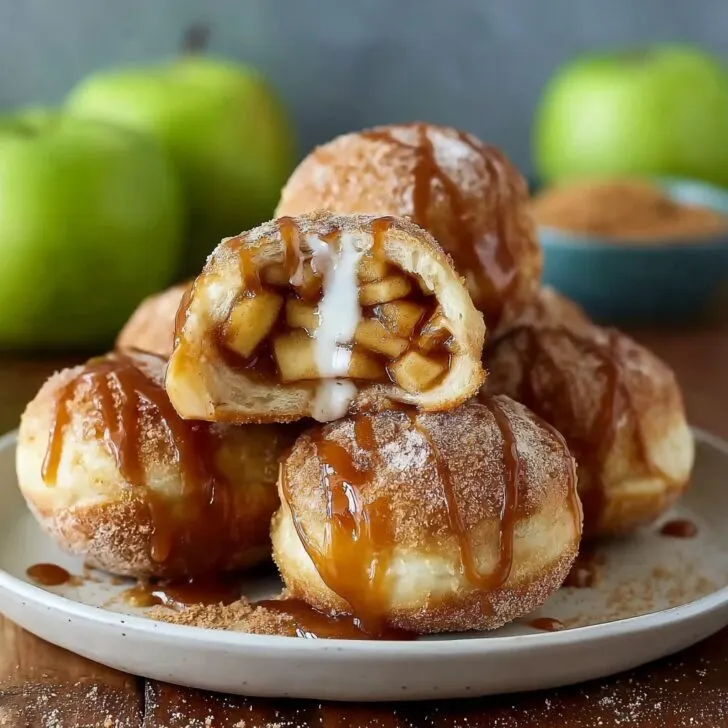
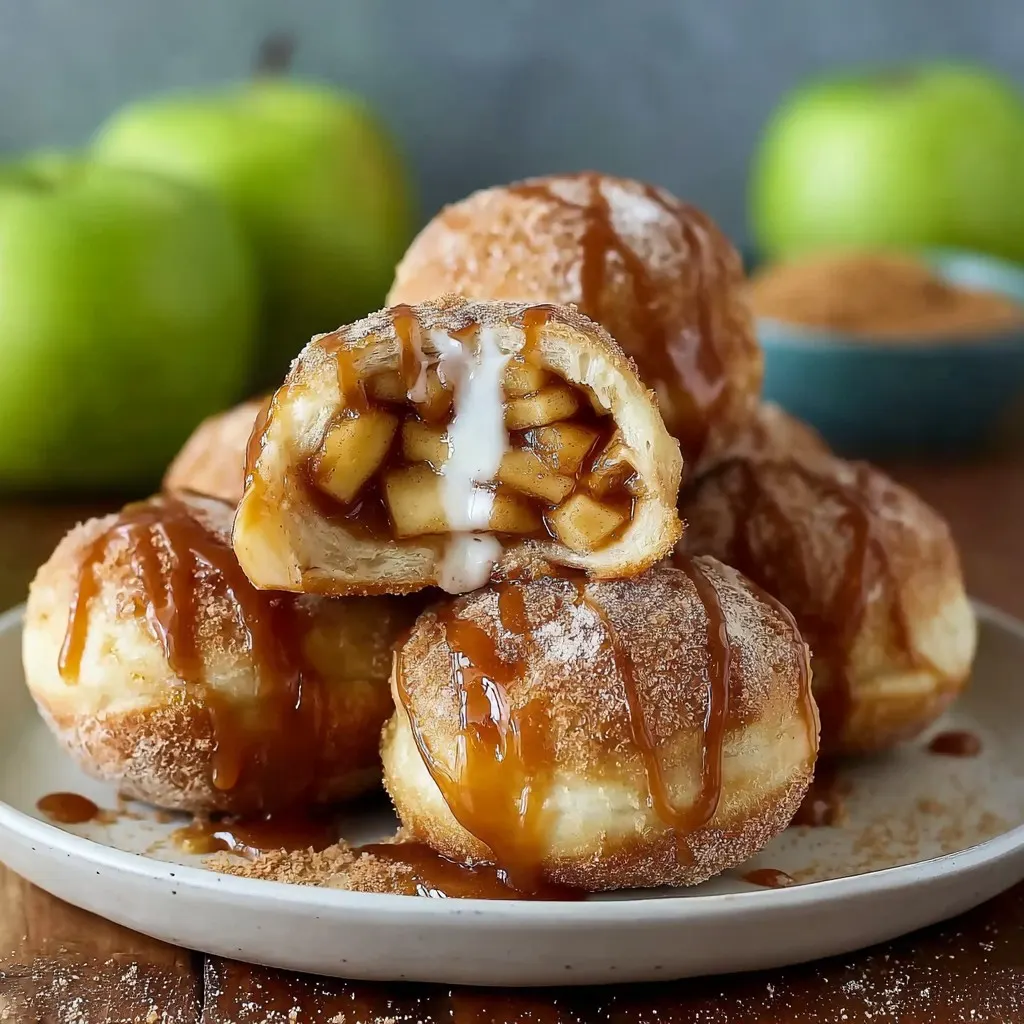
Let’s Chat Pie Bombs: How These Became My Autumn Craving
I have to confess, the first time I made these caramel apple pie bombs, it wasn’t out of any gourmet ambition — I was basically trying to use up some wrinkly apples from the bottom of my crisper. Turns out, sometimes laziness (plus sugar and pastry) delivers straight-up magic. And let’s face it, "pie bombs" just sounds more fun than "mini-pies." My niece calls them “apple pillows," which honestly might be the better name. The smell of cinnamon and caramel hits you in the face, and suddenly there’s a crowd in the kitchen. Oh! And last Thanksgiving? I had to hide two for myself, otherwise I’d’ve never gotten a single bite. Am I the only one who can’t resist sticky caramel desserts?
Why I Keep Making These (And When You Might Want To)
I make this when I want something quick and impressive—especially if someone texts, "Surprise! Coming by in 20!" My family goes a bit wild over these; they’re like, "actual pie is cancelled." (My own mum even started requesting these instead of her usual—sacrilege, but here we are.) And listen, the caramel sometimes oozes a bit too much or a bomb pops open in the oven, and I used to freak out; actually, I find it works better if you just embrace it. Sticky pans mean stickier bombs, which no one complains about.
Ingredients You’ll Need (Plus a Few Cheeky Swaps)
- 2 medium tart apples (Granny Smith is classic, but I’ve used Pink Lady, when that’s all that’s hanging around the fruit bowl)
- 1 can of refrigerated biscuit dough (I know, purists might frown. Honest truth: I’ve once used crescent roll dough in a pinch—tasted fab, but a bit messier to seal)
- 8 soft caramel candies (I’ve chopped up Werther’s, but my grandmother insisted on Kraft. Though I’m not sure it matters much)
- 2 tablespoons brown sugar
- 1 teaspoon ground cinnamon
- 1 tablespoon butter (slightly melty is fine, honestly any version works)
- A splash of lemon juice (if your apples are super sweet—I skip it half the time and nobody’s noticed yet)
- Optional: Pinch of sea salt, for that trendy salted caramel vibe
- Bit of flour for dusting
Here’s the How-To (Don’t Stress About Perfection)
- Preheat your oven to 180°C (350°F). But if your oven runs hot (like mine on certain days) maybe nudge it down a bit.
- Peel and dice those apples, quite small—roughly the size of a pea. This is where I usually sneak a bite (unapologetically). Toss them with brown sugar, cinnamon, and lemon juice if you feel fancy.
- Flatten each biscuit dough circle with your hands or a rolling pin. Don’t worry if your circles look more like blobs at this stage—it always does. Flour helps keep things from sticking.
- Plop a bit of apple mixture in the center of each, then press a caramel candy in the middle (I sometimes cut them in half to help everything fit—your call). Dot with a dab of butter.
- Pinch the edges shut. Honestly, it’s more important to seal them well than have them look pretty. If one does bust open in the oven—extra caramel crunch bonus, if you ask me.
- Set seam side down on a parchment-lined tray, give each a dusting of cinnamon sugar if that’s your thing, then pop in the oven for 15-18 minutes. You want golden and bubbly, not pale and doughy. And yes, sometimes I go for 20 because I forget I'm baking. Oops.
- If you're feeling daring, brush with melted butter straight out of the oven; makes 'em shine and helps extra sugar stick. This is the moment the smell gets out of control, by the way. Wait till they're warm-but-not-hot before digging in (not that I've ever adhered to that...)
What I’ve Learned (From the School of Hard Naps)
- Cutting the apples too chunky? Disaster, because the caramel oozes but the apples stay raw. Thin dice, always.
- If you go wild with the filling, the bombs won’t seal. Less is more, until you get the hang of it.
- Forgot to butter the tray once—big mistake. Parchment or spraying is your friend here.
- It's tempting to rush the cooling. I always regret it; molten caramel will try to remove your taste buds.
Different Ways I’ve Jazzed Them Up (and One Flop)
- Cheddar Apple Pie Bombs: A sprinkle of sharp cheddar in the filling. Sounds mad, but if you like cheesy apple pie—and who doesn’t?—it works.
- Nuts: Pecans or walnuts make these a bit fancier (unless you’ve got nut-avoiders, like my brother).
- Salted Dulce de Leche: Swapped caramels for spoonfuls of dulce de leche. Actually, I think it works better if it’s chilled, otherwise it gets lost.
- Epic fail: Tried adding raisins once. Nobody ate them. Not even the dog.
Tools (And What to Do When You Don’t Have ‘Em)
Rolling pin? Great. If not, I’ve used a wine bottle (maybe wipe it first if it’s sticky with yesterday’s rosé though). Baking tray and parchment paper are helpful, but I’ve managed with just a plain old buttered roasting pan—did stick a little, but nothing dramatic. Oh, and a tiny spatula does help getting them off while still warm; otherwise, I just use my hands—careful, though.

How I Store These (When They Miraculously Last)
Technically, they stay good in an airtight tin or box for about 2 days, but honestly…it never happens here. Maybe I should borrow someone else’s willpower. If you’ve got leftovers, warm up for 10 secs in the microwave. They get a bit soft by day two, but if you like gooey apple, that’s the best bit. Oh, and Serious Eats has some good pointers for storing squishy baked stuff if that’s your jam.
How I Like to Serve Them (Yours Could Be Totally Different)
I love these with a dollop of vanilla ice cream or—don’t laugh—a tiny spoonful of Greek yogurt if I’m making a "breakfast" case. Sometimes, I do a drizzle of store-bought caramel sauce. My cousin dunks them straight in coffee, which is slightly unhinged but sort of brilliant? On Christmas morning, I once dusted theirs with powdered sugar, and my aunt acted like I’d invented dessert. I got that idea here.
Survival Tips From a Serial Pie Bomber
- I once tried skipping the parchment paper—you’ll need a chisel and an afternoon to clean the tray, so just don’t.
- Let them cool just enough, or the insides go lava on you. Trust me (my mouth didn’t forgive me for a whole day).
- Don’t overfill. I know I already said it, but…guilty as charged, every time. Go easy, pie fanatics.
FAQ: Stuff Folks Keep Asking Me
Can I use puff pastry instead?
You totally can, though it gets flakier and sometimes the caramel really makes a gooey mess; up to you. Kind of fun to try, tbh.
What’s the best apple for this?
Granny Smith’s my go-to, but honestly, any tart-ish apple works. Thinking of trying a Bramley next time; I’ll report back.
Can I make them ahead?
Yes—sort of. You can prep the filling and dough ahead, sure, but stuff 'em and bake right before serving, or the dough gets weird. I tried freezing–it worked okay, but you gotta bake straight from frozen, or they go sad and soggy.
Are they kid-friendly?
Absolutely, but let ‘em cool before handing off—just, you know, safety first. Caramel does not joke around.
What if my bombs leak in the oven?
Ha! Most of mine do, at least partly. Don’t sweat it. Extra crispy caramel bits are, some might argue, the best part.
If, by chance, you tweak these or have a disaster, drop me a line (I’m still learning over here). And check King Arthur Baking if you want to geek out over pastry tips, albeit they’re fancier than I’ll ever be.
Ingredients
- 1 can (16 oz) refrigerated biscuit dough
- 2 medium apples, peeled, cored, and diced
- 8 soft caramel candies
- ¼ cup granulated sugar
- 1 teaspoon ground cinnamon
- 2 tablespoon unsalted butter, melted
- 1 teaspoon lemon juice
- ¼ cup brown sugar
Instructions
-
1Preheat the oven to 350°F (175°C). Line a baking sheet with parchment paper.
-
2In a bowl, toss diced apples with lemon juice, granulated sugar, brown sugar, and ground cinnamon.
-
3Flatten each biscuit and place a spoonful of apple mixture and one caramel candy in the center. Pinch the edges to seal and form a ball.
-
4Arrange the pie bombs seam-side down on the prepared baking sheet. Brush each bomb with melted butter.
-
5Bake for 16–18 minutes or until golden brown. Allow to cool slightly before serving.
Approximate Information for One Serving
Nutrition Disclaimers
Number of total servings shown is approximate. Actual number of servings will depend on your preferred portion sizes.
Nutritional values shown are general guidelines and reflect information for 1 serving using the ingredients listed, not including any optional ingredients. Actual macros may vary slightly depending on specific brands and types of ingredients used.
To determine the weight of one serving, prepare the recipe as instructed. Weigh the finished recipe, then divide the weight of the finished recipe (not including the weight of the container the food is in) by the desired number of servings. Result will be the weight of one serving.
Did you make this recipe?
Please consider Pinning it!!

