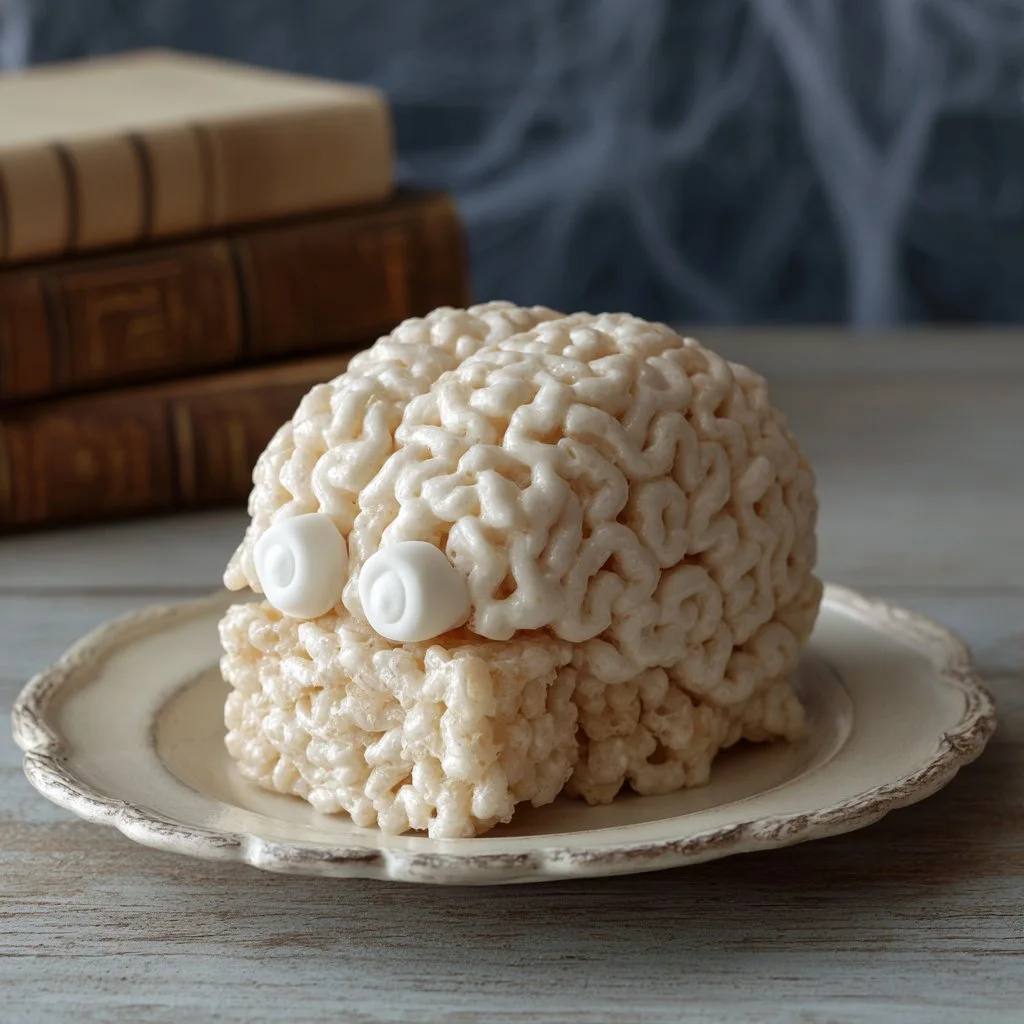
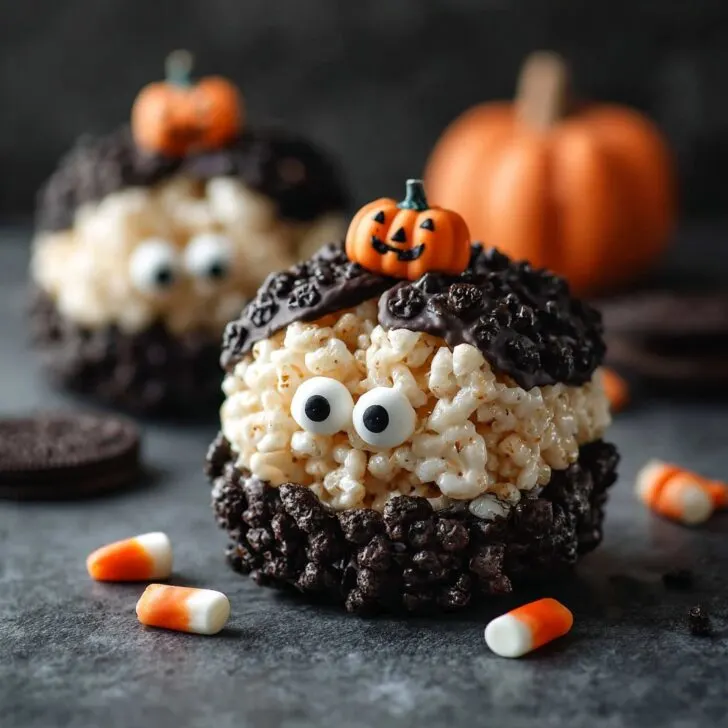
Making These Marshmallow Rice Krispies Halloween Brains – Trust Me, They're a Hit
Oh, these are a total riot. The first time I made these Marshmallow Rice Krispies Halloween Brains, I actually thought they'd end up looking more like sad blobs than spooky brains—turns out, the messier, the better. My nephew, who's obsessed with all things creepy, declared them 'completely gross and absolutely delicious.' (High praise in our family.) And, well, if you've ever needed an excuse to play with your food as an adult, this is it. Besides, what else is Halloween for, right?
Why You'll Love Making These (Even If You're Not a Brain Surgeon)
I whip these up every time we have a Halloween party, and honestly, the kids go bonkers for them—probably because they get to help shape them with their hands and end up covered in marshmallow goo. My partner claims to hate sticky desserts but somehow they magically vanish from the fridge overnight (not naming names, but I've got my suspicions). And if you’re the kind of cook who gets impatient with finicky candy molds or cake pops, you’ll love that these are pretty forgiving—no two brains ever look the same, which is sort of the point. Oh, and did I mention they’re way quicker than baking a whole cake?
Here’s What You’ll Need (But Don’t Stress the Details)
- 5 cups Rice Krispies cereal (I've also used generic "crispy rice" stuff and nobody noticed)
- 3 cups mini marshmallows (or, if you’re desperate, cut up big ones—been there)
- 3 tablespoon salted butter (unsalted works too, but I like the salty-sweet thing)
- Red food coloring (gel tends to be brighter, but just use what you have; pink works if you want silly brains)
- 1 cup white chocolate chips (optional, for brains' 'wrinkles'—sometimes I use candy melts if they're on sale)
- ½ cup raspberry or strawberry jam (for the, er, "bloody" effect—my grandmother always used seedless jam, but honestly, any will do)
- Cooking spray or a bit of oil for your hands
So, How Do You Actually Make These? Let Me Walk You Through
- First, grab a biggish saucepan and melt the butter on low heat. (If you’re like me, this is when the dog starts begging for a taste. Don’t cave!)
- Stir in those marshmallows. Keep it low so they don’t scorch—trust me, burnt marshmallow is not the vibe here. I like to stir until they're just melted, then I actually take it off the heat before adding the coloring.
- Add enough red food coloring to make the mix look, well, brain-ish. Start small; you can always add more. My first batch was so red it looked like a crime scene—I mean, maybe that’s your thing?
- Dump in the Rice Krispies and fold it all together. It gets sticky fast, so work quick! This is where I usually sneak a taste (can't help myself), but beware, it’s hot. Give it a minute.
- Let the mix cool just enough to handle. Oil up your hands—seriously, don’t skip this unless you’re into looking like you lost a fight with a spider web.
- Grab handfuls and shape into lumpy oval-ish blobs. Don’t worry about perfection. Lay them on a parchment-lined tray. (Mine always look a bit wonky. That’s the charm!)
- If you want to get fancy, melt the white chocolate chips and drizzle on squiggly lines for brain 'wrinkles.' If not, no worries.
- For that extra gory touch, blob or drizzle your jam over the top. (I once got carried away and, uh, maybe overdid it. It was... dramatic.)
Some Notes I Wish I’d Known the First Time
- If your mix cools too much, shaping gets tough—zap it in the microwave for 10 seconds to loosen it up again.
- Don’t panic if the color looks odd in the bowl. It gets less weird once you shape them, promise.
- Actually, I find it works better if you oil your hands and your spoon. Makes everything less sticky.
- And if you drop a brain on the floor, just call it a 'failure of science' and eat it yourself. Waste not, want not!
Variations – What Worked (and What Definitely Didn’t)
- Once, I tried adding chopped gummy worms inside. Fun surprise, but the texture was, uh, odd.
- I’ve swapped strawberry jam for cherry pie filling—it was messier but pretty tasty.
- Different cereals: cocoa crispies? Not bad, but they look more like zombie brains. Up to you!
- One time, I tried to shape them in a muffin tin. Honestly, just using your hands is quicker.
Equipment – But Don’t Sweat It If You Don’t Have Everything
- Big saucepan (or a microwave-safe bowl—yep, it works in a pinch)
- Parchment or wax paper (if you’re out, foil with a little oil will do)
- Mixing spoon (wooden is classic, but I’ve used a spatula and even a clean hand when desperate)
- Small microwaveable bowl for melting chocolate (if you’re doing the drizzle—otherwise, skip it)
Oh, and if you have a silicone spatula, use it. But if not—like when mine vanished into the void under my sink—just improvise. Hands work fine, as long as you don’t mind getting a bit sticky.

How To Store Them (If You Somehow Have Leftovers)
Stick them in an airtight container, and they’ll stay soft for a couple of days at room temp—though honestly, in my house it never lasts more than a day! If you really want them for later, you can freeze them (just wrap them up first) but they’re a little chewier after thawing.
Serving Ideas (Or: How We Like to Eat Them)
I usually pile them onto a fake brain tray I picked up at the dollar store—kids think it’s hilarious. For grown-up parties, I’ve put them on black plates with a little extra jam on the side. Sometimes we add plastic eyeballs for, you know, "atmosphere." Oh, and after a couple of years, my cousin insists they taste even better with a scoop of vanilla ice cream. I mean, who am I to argue?
Pro Tips – Stuff I’ve Messed Up So You Don’t Have To
- Let the marshmallow mixture cool just a smidge before shaping or you'll burn your mitts. I once tried rushing this step and regretted it because... ouch.
- Don’t use too much food coloring at first. It’s way easier to add more than to take away (learned that the hard way—my first batch could've starred in a horror film).
- And don’t use a metal spoon for drizzling chocolate if you can help it. It gets hot and, well, I’ve still got the burn to prove it.
FAQ (Based on Real-Life Questions and My Own Mistakes)
- Do I have to use Rice Krispies brand? Nah, any crispy rice cereal does the job. The store brand's usually cheaper too.
- Can I make these vegan? Yeah, actually! Use vegan marshmallows (like Dandies) and plant-based butter. Tastes pretty close.
- How far ahead can I make them? I’d say a day or two—after that, they start to get a bit chewy. (But if you like 'em that way, go for it.)
- Is there an alternative to red food coloring? You can use beet powder or even a splash of cherry juice if you want a more natural vibe. The color isn't quite as wild, but it works!
- Where’d you get your brain tray? Oh, just the dollar shop! Or check out Oriental Trading for lots of silly Halloween supplies.
- Why do mine come out so sticky? Probably too much marshmallow or not enough butter. Or maybe they just need a little more time to cool (I know, patience isn’t my thing either).
- What if I don’t have jam? Just skip it or melt a bit of jelly, or even use a red icing gel from the baking aisle. Get scrappy!
Totally unrelated, but did you know marshmallows used to be made from actual marsh mallow root? Wild, right? Anyway, have a blast making these Halloween brains—don’t be afraid to get a little weird with it. That’s the spirit!
