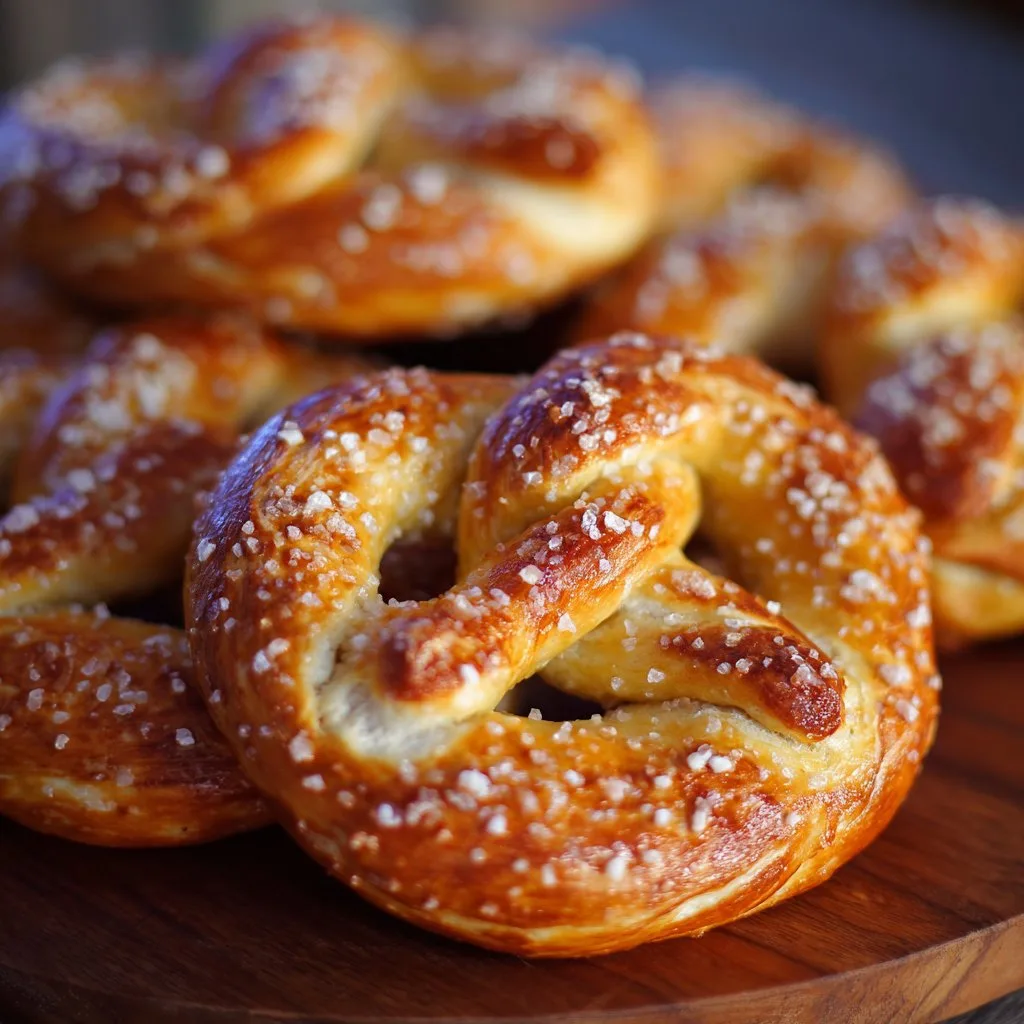
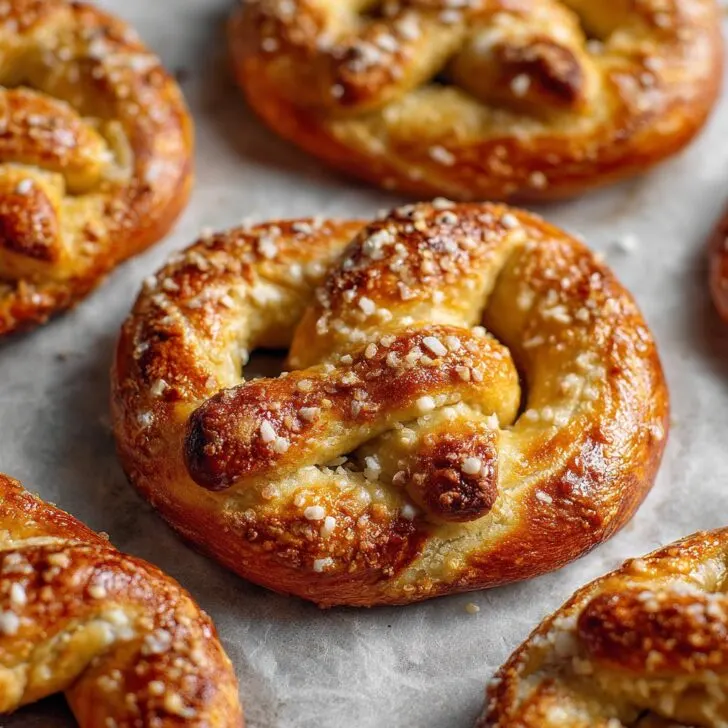
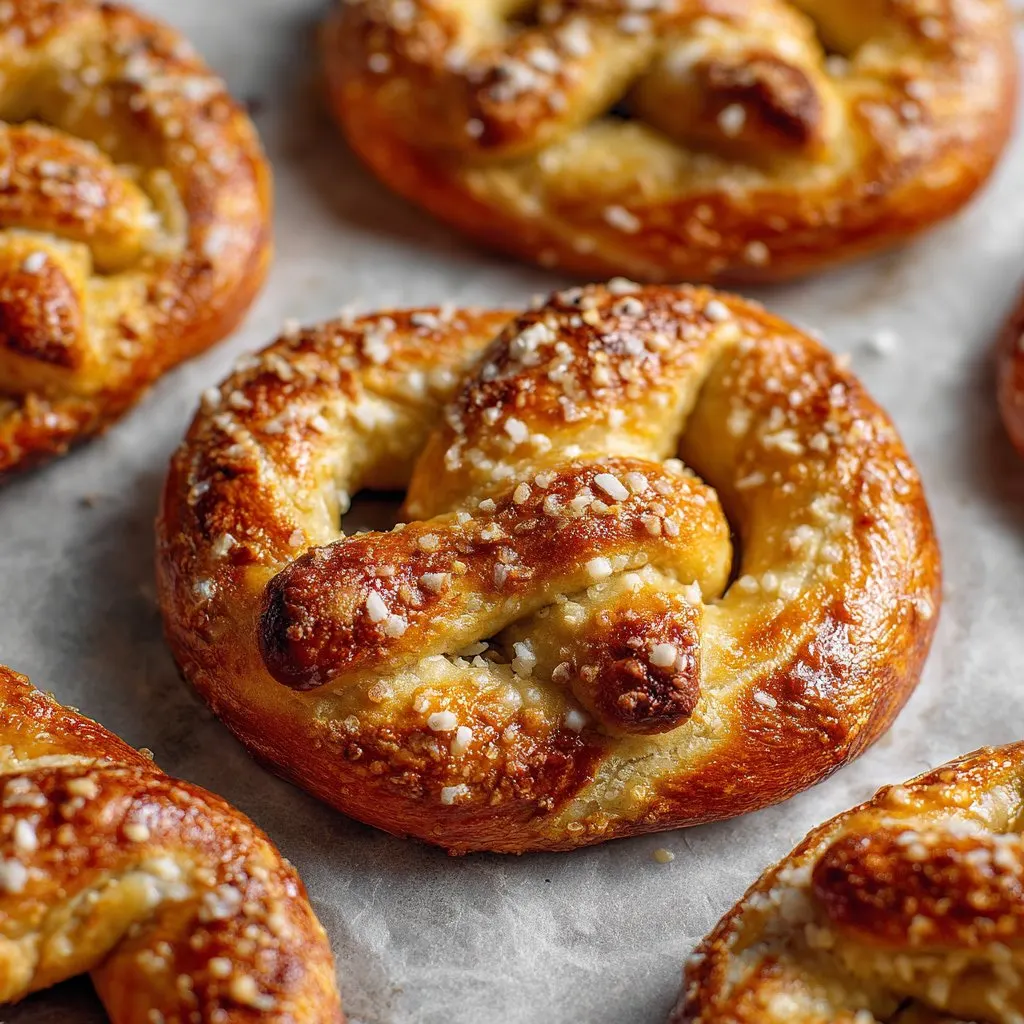
The Pretzel Memory That Started It All
Hey friend, ready for a wild ride through flour, salt, and a whole mess of deliciousness? So, I started making these irresistible homemade pretzels a few years back after a disastrous (but hilarious) attempt with my cousin at Oktoberfest. We ended up with more dough in our hair than on the pan and, honestly, the dog seemed pretty suspicious of our final product. But after a bit of stubbornness (and maybe too many YouTube videos), I finally got the hang of it. Now, whenever it rains or I just need an afternoon pick-me-up, these pretzels are my not-so-secret weapon. If you hear someone humming in the kitchen and it smells like a bakery had a baby with a fairground — yep, that’s me, making pretzels again.
Why I Make This On Repeat
I make this when I’m craving something cozy but don’t want to leave the house (let’s be honest, I rarely want to leave the house anyway). My family goes crazy for this because there’s something about homemade soft pretzels that’s just a thousand times better than the bagged kind at the store — and you get to customize the toppings! (My nephew once put ketchup on his; we don’t talk about it.) Sometimes, the dough gives me a bit of attitude and sticks to the bowl, but a little extra flour and a "just keep going" attitude does the trick.
Here’s What You’ll Need (With Some Swaps I’ve Tried)
- 2 ¼ teaspoons active dry yeast (or one of those packets; I sometimes use instant yeast if that’s all I have—works fine)
- 1 ½ cups warm water (not hot! It’s supposed to be like a bath, not a sauna. I once killed the yeast and had to start over. Oops.)
- 1 tablespoon sugar (white, but I borrowed brown sugar from my neighbor once and the pretzels were still good, just more caramel-y)
- 4 cups all-purpose flour (my grandmother swore by King Arthur, but honestly, whatever’s on sale at Tesco or Kroger is usually what I grab)
- 1 teaspoon salt (sometimes I use sea salt, sometimes just table salt, depends on the mood)
- 2 tablespoons melted butter (plus extra for brushing at the end — don’t skip this, trust me)
- ¼ cup baking soda (for the water bath; I know it seems weird but it makes the crust all pretzel-y)
- Coarse salt (for topping, but I’ve also used everything bagel seasoning or even cinnamon sugar — I’m wild like that)
How To Make These Pretzels (And Not Lose Your Mind)
- Mix the yeast, warm water, and sugar in a big bowl and let it hang out for about 5 minutes until foamy. (If nothing happens, the yeast might be moody — just try again, no shame in it.)
- Add flour, salt, and melted butter. Stir until it’s all coming together. When it gets too tough for a spoon, get in there with your hands. I always forget this part is messy, so maybe move your phone away.
- Knead the dough on a lightly floured counter for about 5 minutes. You want it smooth, but if it feels sticky, I just sprinkle a bit more flour (don’t panic, it always works out in the end). Put the dough in a greased bowl, cover it, and let it rise for an hour — or until doubled. Sometimes mine takes a bit longer; could be the weather or maybe my kitchen ghosts.
- Shape the pretzels: Punch down the dough (the most fun part, honestly), then cut it into 8 equal-ish pieces. Roll each piece into a rope, about 18 inches long, and twist into that classic pretzel shape. Or make knots or little sticks if you’re feeling rebellious. (This is usually where I sneak a taste of the dough. Is that weird?)
- Baking soda bath time: Bring about 10 cups of water and the baking soda to a simmer in a big pot. Carefully drop each pretzel in for about 30 seconds, then let them drain on a towel. It smells a bit odd, but that’s how you get that deep, chewy crust.
- Arrange pretzels on a baking sheet (I use parchment but you can just grease it if you’re out) and sprinkle with coarse salt or whatever topping you fancy.
- Bake at 425°F (220°C) for 12-15 minutes until they’re a deep golden brown. I like mine a bit darker for more flavor (but keep an eye on them; I’ve burned a batch or two by getting distracted).
- Brush with melted butter while they’re still hot. Don’t skip this. It’s the best part, like the cherry on a sundae but, you know, savory.
Stuff I’ve Learned (the Hard Way)
- If you try to skip the baking soda bath, you get fancy breadsticks, not pretzels. Ask me how I know.
- I once forgot to salt them — still good, but kinda sad. Salt really makes them pop.
- Actually, I find it works better if you let the dough rest for 10 minutes after shaping (so it doesn’t try to spring back on you).
Weird and Wonderful Variations
- I’ve made cheddar-jalapeño pretzels (just sprinkle stuff on before baking — so good with soup!)
- My sweet tooth experiment: cinnamon sugar with a cream cheese glaze — a hit at my book club, even with that one friend who claims she "doesn’t do carbs."
- One time, I tried stuffing them with ham and cheese; the cheese oozed everywhere and burned onto the tray. Edible, but messy — maybe next time I’ll freeze the cheese first?
What If I Don’t Have All The Equipment?
Parchment paper is nice, but when I ran out, I just greased the heck out of my old baking tray and it worked okay, bit of a sticky clean-up though. No stand mixer? Don’t worry, my arms have survived plenty of hand-kneading. And if you don’t have a slotted spoon for the water bath, just use tongs or even a fish slice (that’s what my Gran called it, anyway).

Keeping Pretzels Fresh (in Theory)
Supposedly, these keep in an airtight container for two days, but honestly, in my house, they rarely make it past the first evening. If you’ve got leftovers (teach me your ways), I recommend a quick zap in the microwave or a minute in the toaster oven to bring them back to life.
How I Like To Serve ‘Em
Okay, picture this: a big board with warm pretzels, mustard, maybe some sliced cheese, and a cold beer (or strong tea, if you’re me — English breakfast, always). Sometimes we do a DIY dipping bar; my niece brought honey mustard and now it’s a family favorite. For a lighter snack, I slice them and use them for sandwiches (don’t tell the sandwich purists, but it’s pretty brilliant).
Pro Tips I Wish I’d Known
- I once tried rushing the rise time and regretted it — the pretzels were dense as bricks. Patience, grasshopper.
- Flour everywhere is normal. Don’t stress. I keep a tea towel handy for quick cleanups (or at least pretend to).
- Actually, if your pretzels stick to the pan, just let them cool a bit and they’ll come off easier. Or just eat the stuck bits. No judgment.
Pretzel FAQ (You Actually Asked Me These!)
- Can I freeze the dough? Totally! Freeze after shaping, then thaw and give ‘em a quick baking soda dip before baking. Don’t skip the dip!
- Why do my pretzels taste too yeasty? Eh, probably the dough sat too long. Next time, cut the rise short by a smidge, or use a tiny bit less yeast — it happens.
- Help, my dough is sticky! Add a handful of flour and keep kneading, it’ll sort itself out. Or just embrace the mess — that’s half the fun!
- Do I really need coarse salt? Nah, but it’s nice. You could use flaky sea salt, or even a handful of crushed pretzels. Yes, pretzels on pretzels — meta, right?
More ideas and inspiration? I love checking sites like Sally’s Baking Addiction (her troubleshooting tips have saved my bacon more than once), and for a deep dive into dough science, King Arthur Baking is where I geek out on weekends. Also, if you’re looking for a good video, this YouTube demo is oddly soothing — just don’t blame me if you end up watching pretzel videos for an hour instead of baking.
That’s my pretzel saga — give it a go, mess it up, try again. Chances are, you’ll find your own shortcuts and weird family traditions. Just don’t put ketchup on them (unless you really want to, in which case, invite me over so I can watch the chaos).
Ingredients
- 2 ¼ teaspoons active dry yeast
- 1 ½ cups warm water
- 1 tablespoon granulated sugar
- 4 cups all-purpose flour
- 1 teaspoon salt
- ⅔ cup baking soda
- 1 large egg, beaten
- Coarse salt, for topping
Instructions
-
1In a large bowl, dissolve the yeast and sugar in warm water. Let it sit for 5 minutes until foamy.
-
2Add flour and salt to the yeast mixture. Mix until a dough forms, then knead for about 5 minutes until smooth and elastic.
-
3Divide the dough into 8 equal pieces. Roll each piece into a rope and shape into a pretzel.
-
4In a large pot, bring 8 cups of water and baking soda to a boil. Carefully dip each pretzel into the boiling water for 30 seconds, then place on a baking sheet lined with parchment paper.
-
5Brush each pretzel with beaten egg and sprinkle with coarse salt.
-
6Bake in a preheated oven at 450°F (230°C) for 12-15 minutes, or until golden brown. Serve warm.
Approximate Information for One Serving
Nutrition Disclaimers
Number of total servings shown is approximate. Actual number of servings will depend on your preferred portion sizes.
Nutritional values shown are general guidelines and reflect information for 1 serving using the ingredients listed, not including any optional ingredients. Actual macros may vary slightly depending on specific brands and types of ingredients used.
To determine the weight of one serving, prepare the recipe as instructed. Weigh the finished recipe, then divide the weight of the finished recipe (not including the weight of the container the food is in) by the desired number of servings. Result will be the weight of one serving.
Did you make this recipe?
Please consider Pinning it!!

