Let's Bake Irish Soda Bread (Or: Why My Kitchen Smells Like Home)
Alright, so here’s the thing—I never really planned on becoming the unofficial soda bread person in my friend group. It happened after I brought a loaf to a brunch potluck (mostly because I forgot the eggs for a frittata and just gave up). Next thing I know, everyone’s asking for “that amazing buttermilk bread” and now, well, here we are. You can’t beat the way it makes your kitchen smell, honestly. Also, it’s the only bread I make that doesn’t leave me swearing at a sticky dough for half an hour. Or, okay, at least not every time.
Why You'll Love This One (Or At Least I Think You Will)
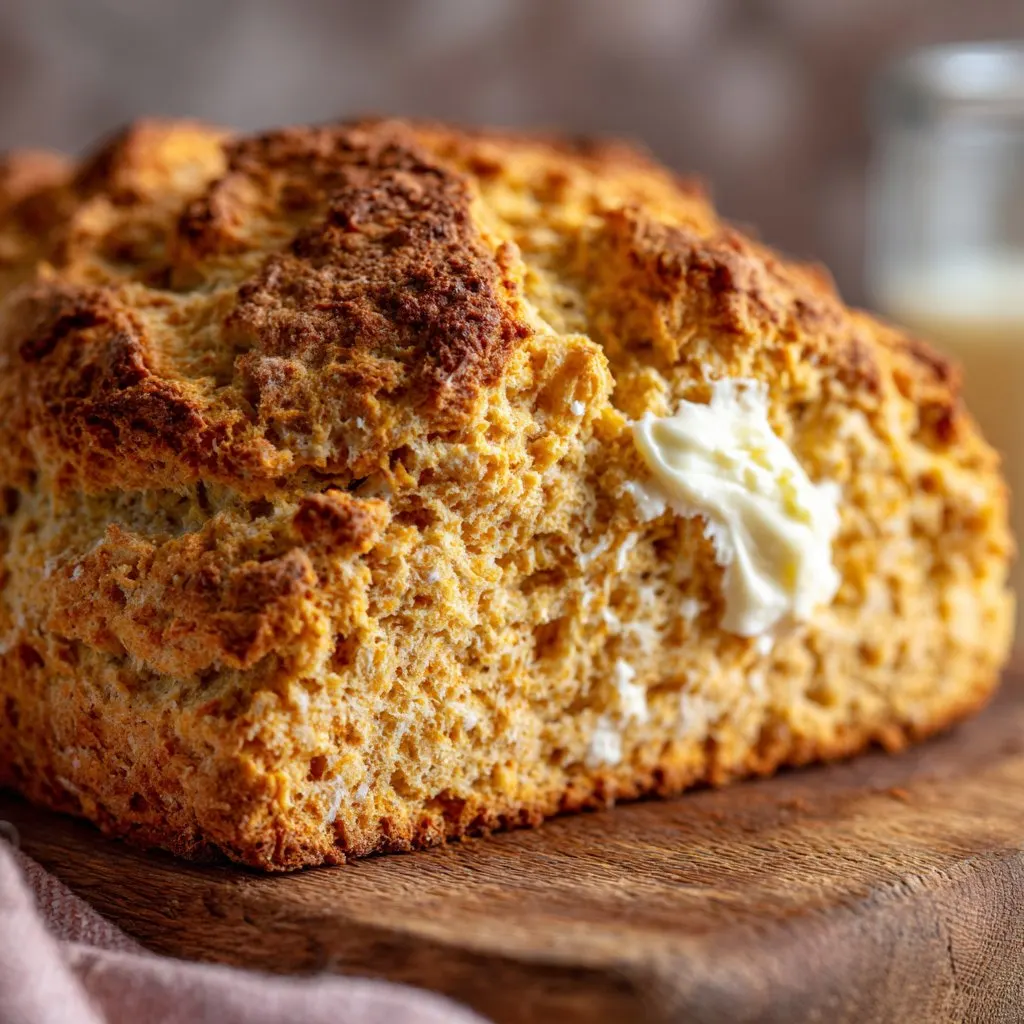
I make this when I want something warm and a bit rustic, but don’t have the patience for yeast and rising and all that jazz. My family goes a bit bonkers for it, especially when it’s still warm and the butter is melting into all those nooks (I dare you to wait for it to cool—I never can). It’s also my go-to on St. Paddy’s Day, though honestly I’m pretty sure I bake it more in January when it’s dreary and I want something hearty. The texture’s a bit crumbly (in the best way) and if you’re a fan of jam, well, this is practically made for it. I used to get frustrated because my loaves would sometimes come out a bit too dense, but then I realized: nobody’s grading me, and a thick slice with soup is probably what the bread gods intended anyway.
What You’ll Need (And What You Can Swap If You Must)
- 400g (about 3 cups) plain flour – sometimes I use half wholemeal if I’m feeling virtuous, but not too much or it gets heavy
- 1 teaspoon baking soda – any brand works, but my gran swore by Dr. Oetker (I just grab whatever’s cheapest, to be honest)
- 1 teaspoon salt – flaky or fine, I’ve used both, don’t stress
- 350ml (about 1.5 cups) buttermilk – if you’re in a pinch, just mix regular milk with a tablespoon of lemon juice or vinegar and let it sit for 5-10 minutes. It works, promise.
- Optional: a handful of raisins or currants (I go back and forth on this, some days I’m in a fruity mood, some days not)
- A knob of butter for finishing (not required, but oh-so-good)
How to Make It (Or: The Part Where You Actually Get to Stir Something)
- Preheat your oven to 220°C (that’s 425°F). Or if you forget and only remember halfway through, it’ll still work—just add a couple extra minutes at the end. Line a baking tray with parchment, or honestly, just dust it with flour if you’re out.
- In a big bowl, toss together the flour, baking soda, and salt. Use your (clean!) hands or a wooden spoon. I usually end up with flour on my jumper, but that’s part of the fun.
- Pour in most of the buttermilk and gently bring the dough together with your hand or a spatula. It should be soft and a bit sticky—don’t overmix; it’ll look a bit messy, and that’s fine. If it feels dry, add the rest of the buttermilk a splash at a time. And if you’re adding raisins, this is the moment.
- Tip the dough onto a floured surface and give it a very light knead—just enough to bring it together, maybe 30 seconds. If it’s sticking, sprinkle a bit more flour. Don’t faff about too long or it’ll turn tough (I learned this the hard way; trust me, less is more).
- Shape into a round loaf about the size of a small melon (I never measure, just eyeball it). Pop it onto your tray. Use a sharp knife to cut a deep cross in the top—this is meant to let the fairies out, or so my auntie says. Actually, I just think it makes it look nice.
- Bake for 25-30 minutes, or until it’s golden brown and sounds hollow when you tap the bottom. Sometimes I check at 20 minutes and turn it if my oven’s being temperamental. This is where I usually sneak a taste of the crust, by the way. If it’s getting too dark, cover with a bit of foil for the last 5 minutes.
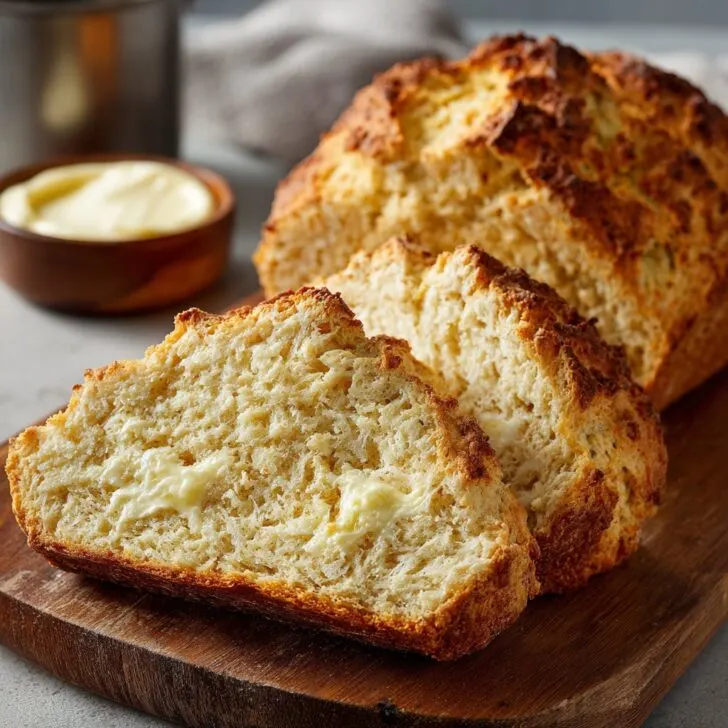
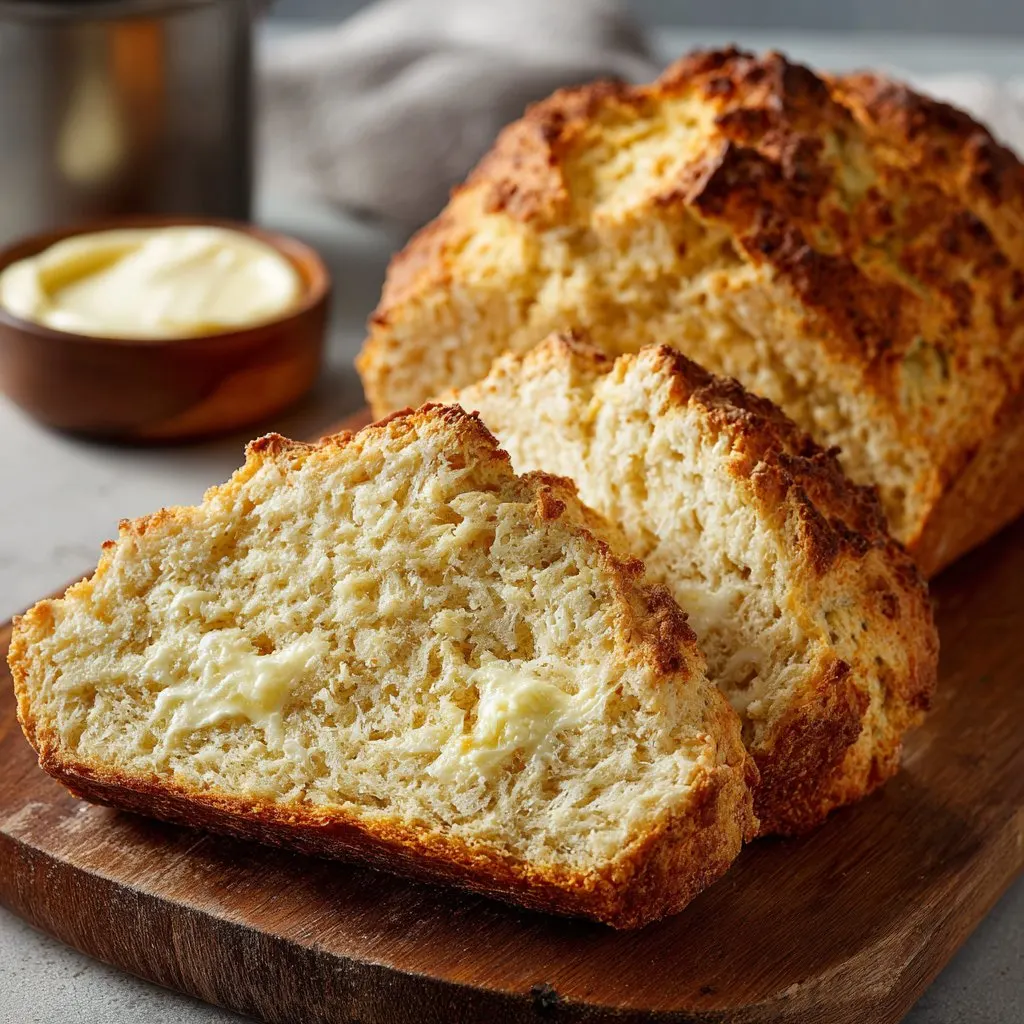
- Let it cool a bit on a rack (if you can wait). Slice thickly and go wild with butter or jam or both, no judgement.
Notes That Only Come From Messing Up a Few Times
- If your bread’s a bit too doughy in the middle, it probably just needed another few minutes. Or maybe your oven runs cold—mine certainly does, and I still haven’t gotten around to buying an oven thermometer.
- Don’t worry if the dough looks rough—that’s how it’s meant to be. The less you mess with it, the better.
- Actually, I find it works better if you use a big mixing bowl. Last time I tried a tiny one, I ended up with flour on the cat (don’t ask).
Variations: Experiments (Some Good, Some Not So Much)
- I’ve swapped in chopped walnuts and dried cranberries for a holiday twist—pretty tasty, though my lot still prefer raisins.
- Once I tried adding grated cheddar and herbs. It smelled amazing but honestly, the cheese made it a bit gummy. Maybe go easy on the cheese.
- Wholemeal flour is grand for extra fibre, but start with half and half or it gets a bit brick-like.
Equipment (And What to Do If You Don’t Have It)
A big bowl and a baking tray are really all you need. If you don’t have a baking tray, I’ve baked this right on a pizza stone before (worked a treat). No bread knife? Just use any serrated knife, or even, in a pinch, a sharp chef’s knife if you don’t mind a bit of crumbly chaos. Honestly, you don’t need fancy gear—just a bit of elbow grease.

How to Store Your Soda Bread (Though Good Luck Making It Last)
It’ll keep in a bread bin or wrapped in a tea towel for a day or two, but honestly, in my house it never lasts more than a day! If by some miracle you do have leftovers, toast them the next morning. Freezes well, just wrap tightly. I once forgot a loaf at the back of the cupboard for a week and, well, it wasn’t pretty (let’s just say the birds enjoyed it).
Serving Ideas (My Favourite Ways)
I love it thick-cut, still warm, slathered (I mean, really, slathered) with salted butter and a bit of homemade raspberry jam—here’s a good jam collection from BBC Good Food if you want to make your own. My brother dunks it in soup (especially this Irish potato soup), which isn’t exactly traditional but who am I to judge?
Pro Tips (Or: What I Learned the Hard Way)
- Don’t rush the bake—once I tried pulling it out at 20 minutes because I was starving and the middle was basically paste. Lesson learned.
- If you overwork the dough, it’ll be tough as old boots. Just bring it together and call it a day.
- On second thought, don’t skip the cross on top. It actually helps with the cooking, not just for show.
FAQ: Real Questions from Real People (or at Least My Cousin)
- Can I make this without buttermilk? — You can, actually! Just use milk with a squeeze of lemon or vinegar (about a tablespoon per cup). It’s not quite the same, but close enough.
- What if I don’t have baking soda? — Hmm, baking powder will give you a lift, but it’s not quite as classic. It’ll still work in a pinch—just double the amount.
- Is this gluten free? — Nope, sorry! I haven’t found a gluten-free version I actually like. If you’ve got a good one, send it my way?
- Can I add stuff to it? — Definitely. Dried fruit, nuts, even a handful of seeds. But maybe not chocolate chips; tried it once, didn’t love it.
- Do I need to let it rise? — Nope, that’s the beauty of it! Mix, shape, bake, eat. Tidy as you go, or don’t. Up to you.
So that’s my take on Irish Soda Bread with buttermilk. Honestly, if you’re after something easy, forgiving, and a bit nostalgic, it doesn’t get much better. Send me photos if you make it—or don’t, but if you do, I’ll probably be irrationally proud.
Ingredients
- 4 cups all-purpose flour
- 1 teaspoon baking soda
- 1 teaspoon salt
- 2 tablespoons granulated sugar
- 4 tablespoons unsalted butter, cold and cubed
- 1 ¾ cups buttermilk
- 1 large egg
- ½ cup raisins (optional)
Instructions
-
1Preheat the oven to 425°F (220°C). Line a baking sheet with parchment paper.
-
2In a large bowl, whisk together the flour, baking soda, salt, and sugar.
-
3Cut in the cold butter using a pastry cutter or your fingertips until the mixture resembles coarse crumbs.
-
4In a separate bowl, whisk together the buttermilk and egg. Pour the wet ingredients into the dry ingredients and mix until just combined. Fold in raisins if using.
-
5Turn the dough onto a lightly floured surface and shape into a round loaf. Place on the prepared baking sheet and score a deep 'X' on top.
-
6Bake for 35-40 minutes, or until the bread is golden brown and sounds hollow when tapped. Cool on a wire rack before slicing.
Approximate Information for One Serving
Nutrition Disclaimers
Number of total servings shown is approximate. Actual number of servings will depend on your preferred portion sizes.
Nutritional values shown are general guidelines and reflect information for 1 serving using the ingredients listed, not including any optional ingredients. Actual macros may vary slightly depending on specific brands and types of ingredients used.
To determine the weight of one serving, prepare the recipe as instructed. Weigh the finished recipe, then divide the weight of the finished recipe (not including the weight of the container the food is in) by the desired number of servings. Result will be the weight of one serving.
Did you make this recipe?
Please consider Pinning it!!

