Let Me Tell You About These Nutter Butter Cookies...
Okay, so here’s the deal: I never thought I’d be the kind of person who craves a homemade Nutter Butter cookie, but, well, here we are. I blame my cousin, honestly—she used to keep the store-bought ones hidden on the top shelf, and whenever I'd visit, I’d have to climb (literally) to snag a few. Now, I make a batch at home and, yeah, sometimes hide the last two for myself. Don’t judge, you’d do the same after tasting these. Oh, and one time, I mistook salt for sugar in this recipe—let’s just say, not my finest hour. It’s all part of the journey, right?
Why You’ll Love This (Besides Obvious Peanut Butter Reasons)
I make this when I’m feeling nostalgic, or when my kitchen feels too clean for comfort (because, let’s face it, flour everywhere is more fun). My family goes bonkers for these—with lots of peanut butter on their faces to prove it! Actually, I have a friend who swears these cookies taste even better the next day. I, uh, wouldn’t really know, since they rarely last that long here. And, honestly, if you’ve ever been frustrated by store-bought cookies that taste a bit too factory-made, these will fix that real quick. Plus, even when I’ve botched a step, they still turn out pretty great. So, low pressure!
What Goes In (And What I Swap When I’m Lazy)
- 1 cup creamy peanut butter (Sometimes I use crunchy; texture is fun. My grandma used to swear by Jif, but Skippy works fine. Store brands? Go for it.)
- ½ cup unsalted butter, softened (I’ve microwaved it too long and ended up with a puddle—still works, just maybe chill it a bit if you do this!)
- ½ cup brown sugar (light or dark; I grab whatever’s in the cupboard)
- ½ cup white sugar
- 1 large egg (If you’re out, a flax egg works in a pinch. Not quite the same, but hey, sometimes needs must.)
- 1 teaspoon vanilla extract (Imitation is fine, but real is, you know, real.)
- 1 ½ cups all-purpose flour (I once swapped in oat flour… interesting, but a bit crumbly.)
- ¾ teaspoon baking soda
- ½ teaspoon baking powder
- ¼ teaspoon salt
- For the filling:
- ¾ cup peanut butter
- ¼ cup unsalted butter
- 1 to 1.5 cups powdered sugar—depends how sweet you like it
- Pinch of salt (I sometimes forget this, but it’s better with!)
How I Actually Make Them (Messy Hands & All)
- Preheat your oven to 350°F (that’s 175°C for my UK pals). Line two baking sheets with parchment paper. Or don’t—just grease the trays if you’re feeling old school.
- In a big bowl, beat together peanut butter and butter. I use a hand mixer, but a wooden spoon works if you’re feeling strong. Add both sugars and beat till fluffy, which usually means about 2 minutes, unless you get distracted, like me.
- Crack in the egg, toss in the vanilla, and mix again. If it looks weird at this point, don’t panic—it comes together with the flour.
- Whisk flour, baking soda, baking powder, and salt together in another bowl (or just dump them in, honestly, I sometimes do).
- Stir the dry stuff into the peanut butter mix until it forms a dough. It’s sticky, that’s normal.
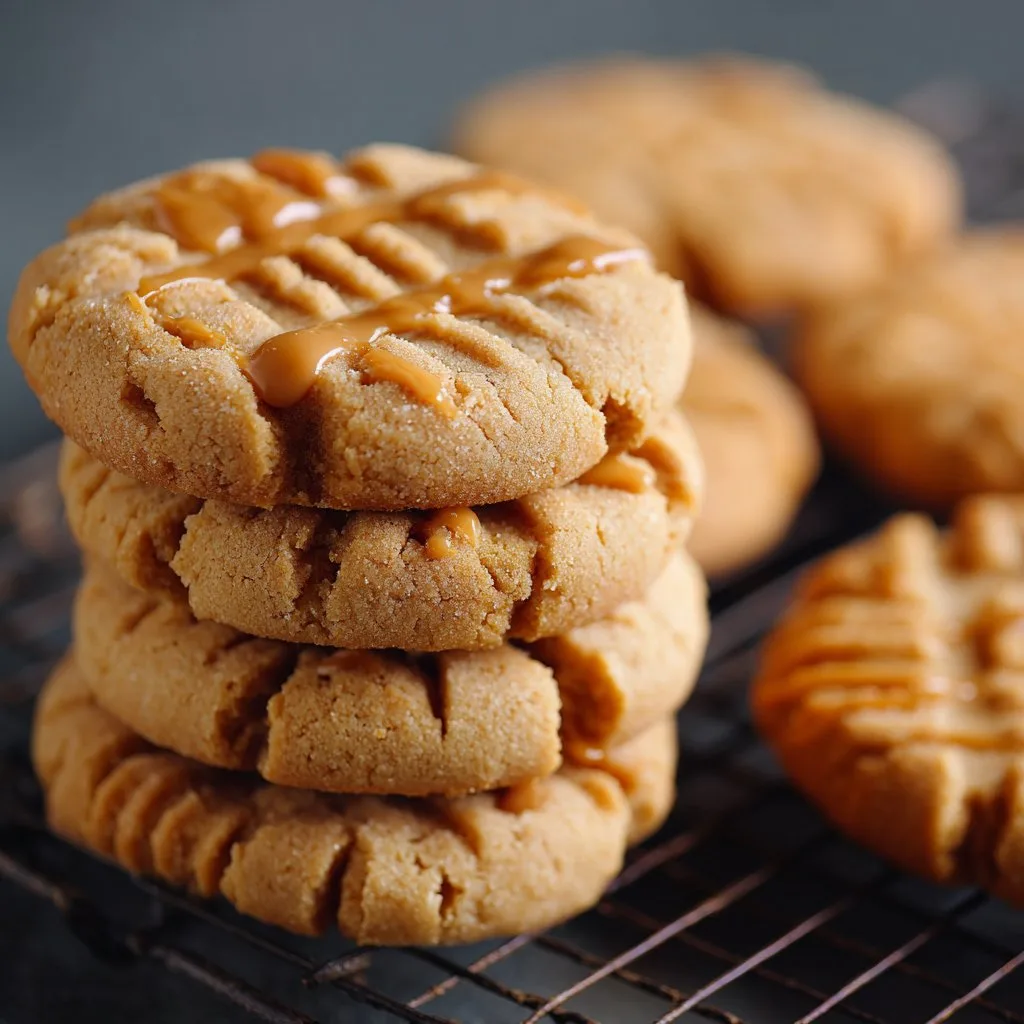
- Pinch off little pieces (like, walnut-sized) and roll into balls. Flatten each into an oval-ish shape—supposed to resemble the classic cookie, but mine usually look... unique. Use a fork to make that crisscross pattern, or use the back of a knife for lines if you want them extra “Nutter Butter-y.”
- Bake 8-10 minutes. They’ll puff up, but don’t overbake; they set as they cool. This is where I usually sneak a taste of the dough—shh.
- Let them cool fully before filling. I know, waiting stinks.
- For the filling: Beat peanut butter and butter together, then slowly add powdered sugar and salt until you get a thick, spreadable stuff. Too thick? Add a splash of milk. Too thin? More sugar, easy fix.
- Spread a generous blob of filling on the bottom of one cookie, sandwich with another. Repeat till you run out (or eat them straight away, I won’t tell).
Random Notes From My Many Attempts
- I once tried to use natural peanut butter, but it made everything a bit oily and sad. So now I just stick to the regular stuff.
- Don’t overbake—seriously, they turn into hockey pucks if you do (learned that the hard way).
- Sometimes they spread more than expected. Chill the dough for 20 minutes if you want them neater. Or just embrace the chaos.
Variations I’ve Tried (And One That Flopped)
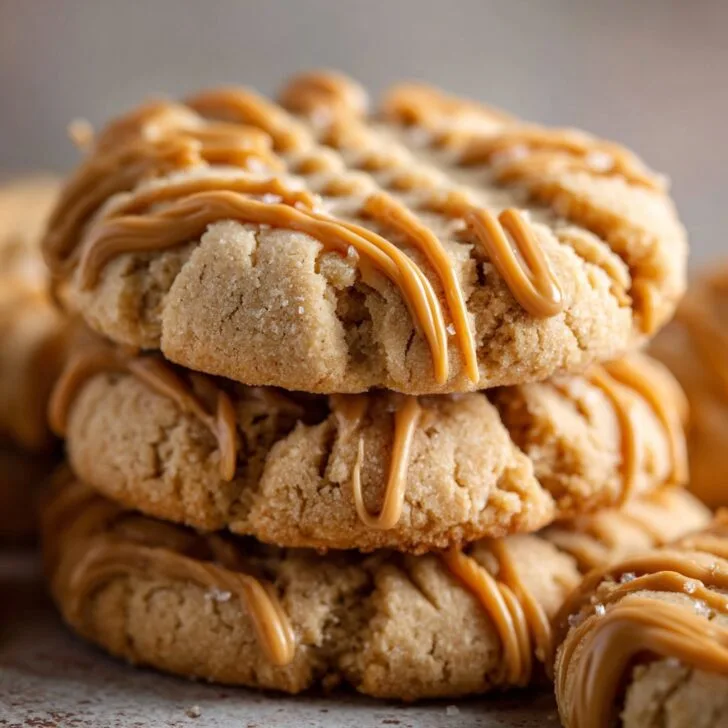
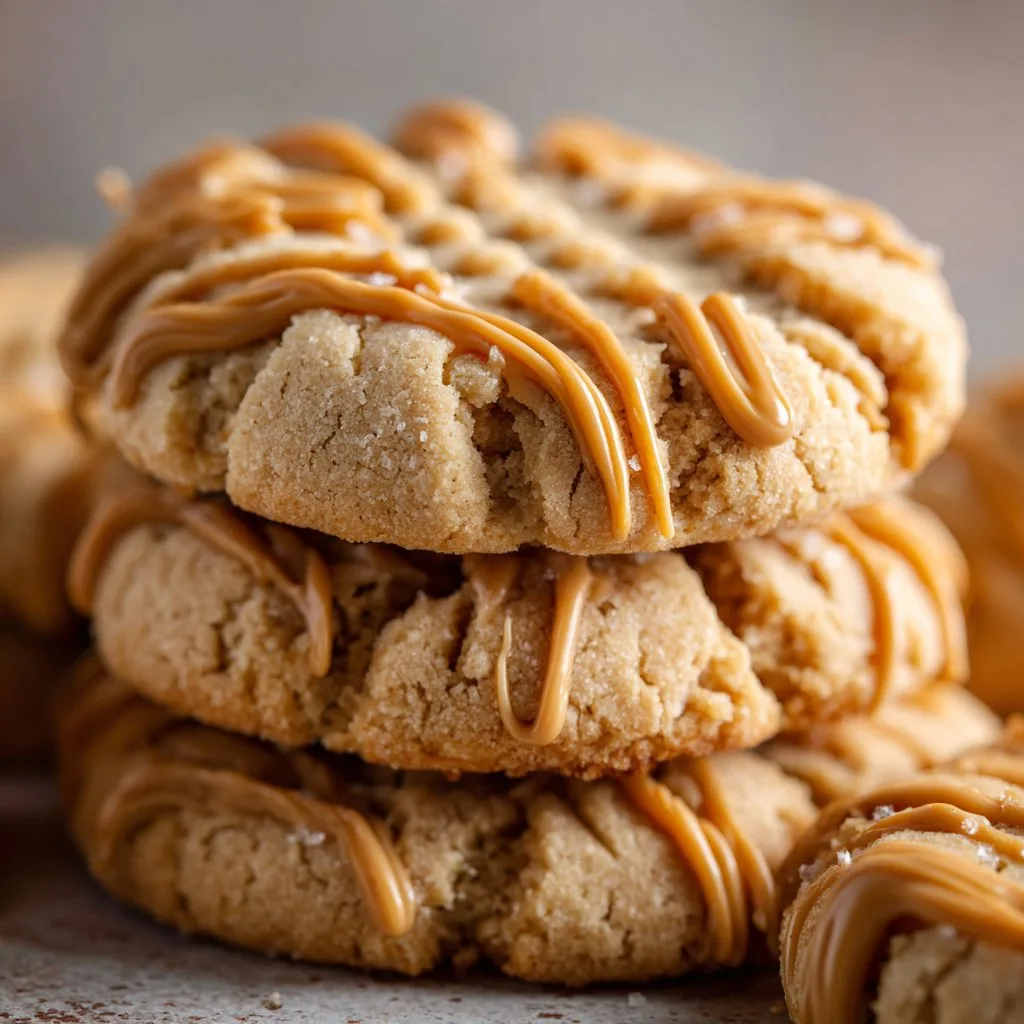
- Chocolate drizzle: Melt a handful of chocolate chips and zigzag over the tops. Looks fancy, tastes even better.
- Gluten-free: I once used Bob’s Red Mill 1-to-1 flour (their website has lots of tips!)—surprisingly good.
- Almond butter swap: Works, but the flavor’s a bit more subtle. Maybe add a splash more vanilla.
- Epic fail: Tried to add bacon bits once (don’t ask)—just, no. Not every experiment is a winner.
Equipment: Use What You’ve Got
A hand mixer is nice for creaming, but I’ve used a wooden spoon and a strong arm. No parchment paper? Just grease the pans with a dab of butter. I even used a wine bottle as a rolling pin in a pinch—worked just fine, though the cookies were a bit... eccentric in shape.

Storing These Beauties (Good Luck With That)
They’ll keep in an airtight tin for up to 4 days, but honestly, in my house, they never last more than a day! If you somehow end up with leftovers (unlikely), you can freeze them, filling and all, for up to a month. Microwave a frozen cookie for 10 seconds and it’s like it’s fresh from the oven.
How to Serve? Here’s What We Do
I love them with a cold glass of milk—classic. My niece dips hers in hot cocoa (she’s onto something). Sometimes, if I’m feeling extra, I crumble them over vanilla ice cream. At Christmas, we’ve even sandwiched a bit of raspberry jam in there for a twist. Not traditional, but who cares?
Pro Tips (Lessons From My Cookie Goofs)
- I once tried rushing the cooling step and the filling melted everywhere. So, actually, just wait. It’s worth it.
- Don’t be stingy with the filling. More is more, trust me on this one.
- If you want that perfect bakery look, a cookie scoop makes things neater. But uneven cookies are more charming, in my humble opinion.
You Asked, I’m Answering (Nutter Butter FAQ)
- Can I use natural peanut butter? You can, but I’ve found the texture gets a little weird. It’s possible though! Just stir well and maybe add a tad more flour if it’s super runny.
- Do they freeze well? Yep, filling and all. Just wrap them up tight so they don’t pick up freezer weirdness.
- Why did my cookies come out flat? Oh, I’ve been there! Probably the butter was too melty or the dough too warm. Next time, chill the dough for a bit beforehand.
- Can I make them vegan? Probably! Swap in vegan butter and use a flax egg. Actually, I find it works better if you go for a little less filling so it doesn't squish out the sides.
- What’s the best peanut butter? Honestly, whatever’s on sale. But Skippy is my go-to, unless I’m feeling fancy and grab the organic kind. There’s a good taste test at Serious Eats if you’re fussy.
Oh, and before I forget—if you’ve ever had one of those days when your kitchen is just a bit too hot and nothing seems to go right, take heart. These cookies have survived whiny toddlers, power outages, and a dog (almost) stealing the cooling tray, and they still turned out edible. Give ‘em a go and let me know if you find a way to make them even better. Or just come by for coffee and cookies—we’ll call it research.
Ingredients
- 1 cup creamy peanut butter
- ½ cup unsalted butter, softened
- 1 cup granulated sugar
- ½ cup packed brown sugar
- 1 large egg
- 1 ½ cups all-purpose flour
- 1 teaspoon baking soda
- ¼ teaspoon salt
- ½ cup powdered sugar (for filling)
- 2 tablespoons milk (for filling)
Instructions
-
1Preheat the oven to 350°F (175°C) and line two baking sheets with parchment paper.
-
2In a large bowl, cream together the peanut butter, unsalted butter, granulated sugar, and brown sugar until light and fluffy.
-
3Beat in the egg until well combined. In a separate bowl, whisk together the flour, baking soda, and salt. Gradually add the dry ingredients to the wet mixture and mix until a dough forms.
-
4Scoop out small portions of dough and shape into ovals. Place on the prepared baking sheets and use a fork to create a crisscross pattern on each cookie.
-
5Bake for 10-12 minutes or until edges are lightly golden. Allow cookies to cool completely on a wire rack.
-
6For the filling, mix ¼ cup peanut butter, powdered sugar, and milk until smooth. Spread filling on the flat side of half the cookies and top with the remaining cookies to form sandwiches.
Approximate Information for One Serving
Nutrition Disclaimers
Number of total servings shown is approximate. Actual number of servings will depend on your preferred portion sizes.
Nutritional values shown are general guidelines and reflect information for 1 serving using the ingredients listed, not including any optional ingredients. Actual macros may vary slightly depending on specific brands and types of ingredients used.
To determine the weight of one serving, prepare the recipe as instructed. Weigh the finished recipe, then divide the weight of the finished recipe (not including the weight of the container the food is in) by the desired number of servings. Result will be the weight of one serving.
Did you make this recipe?
Please consider Pinning it!!

