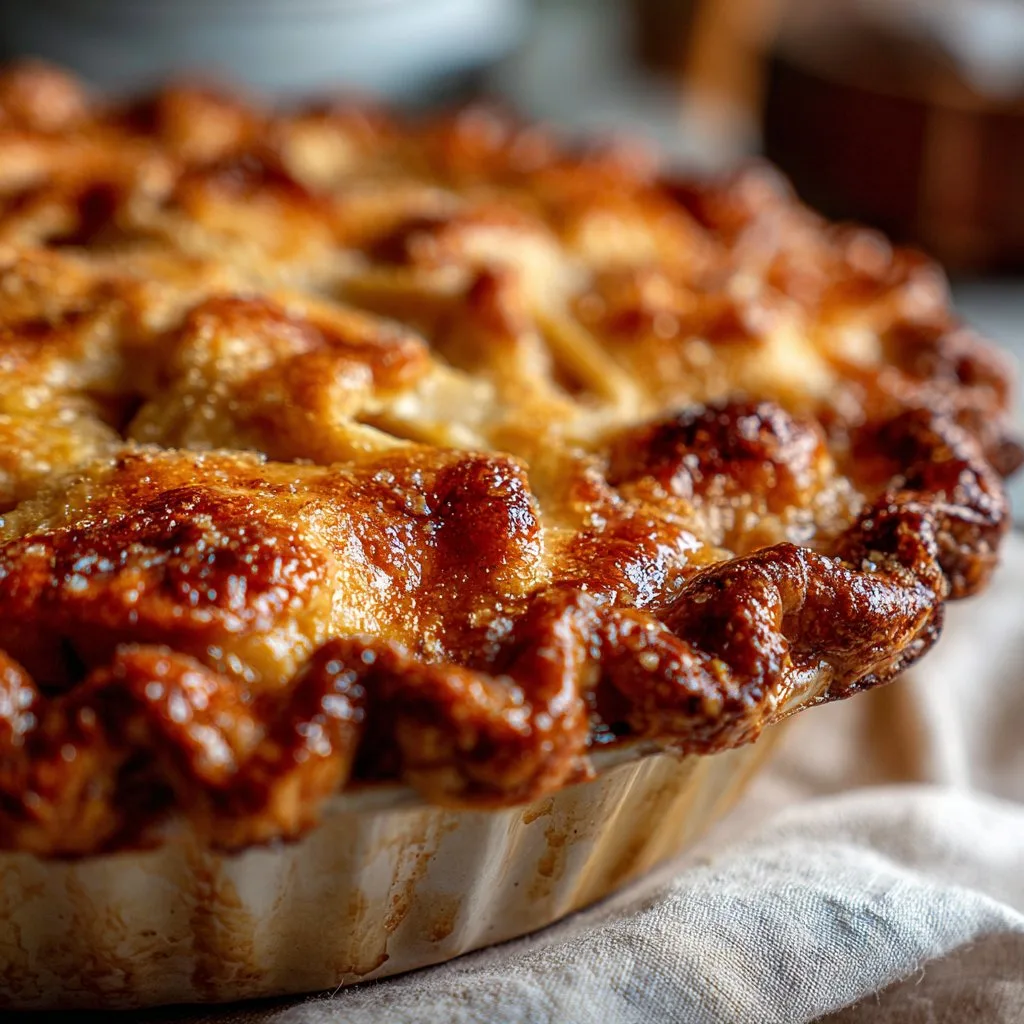
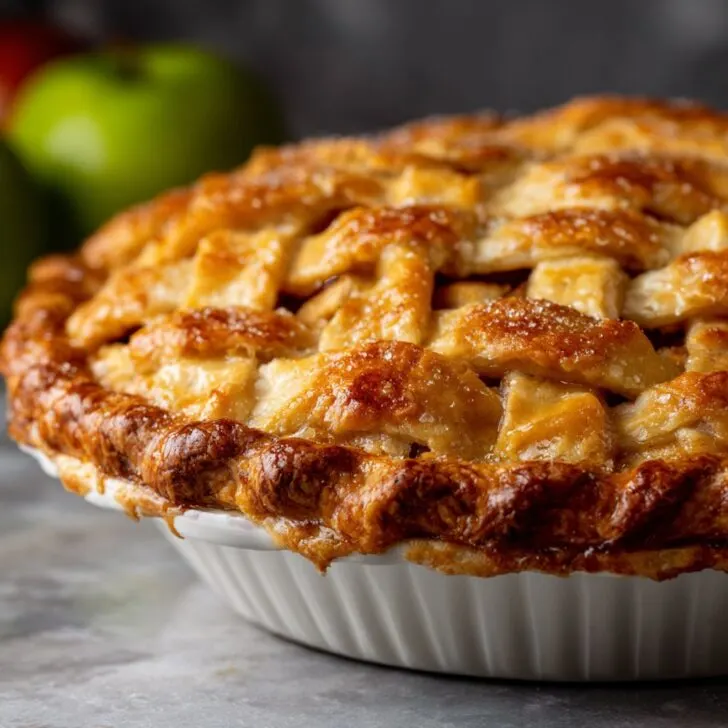
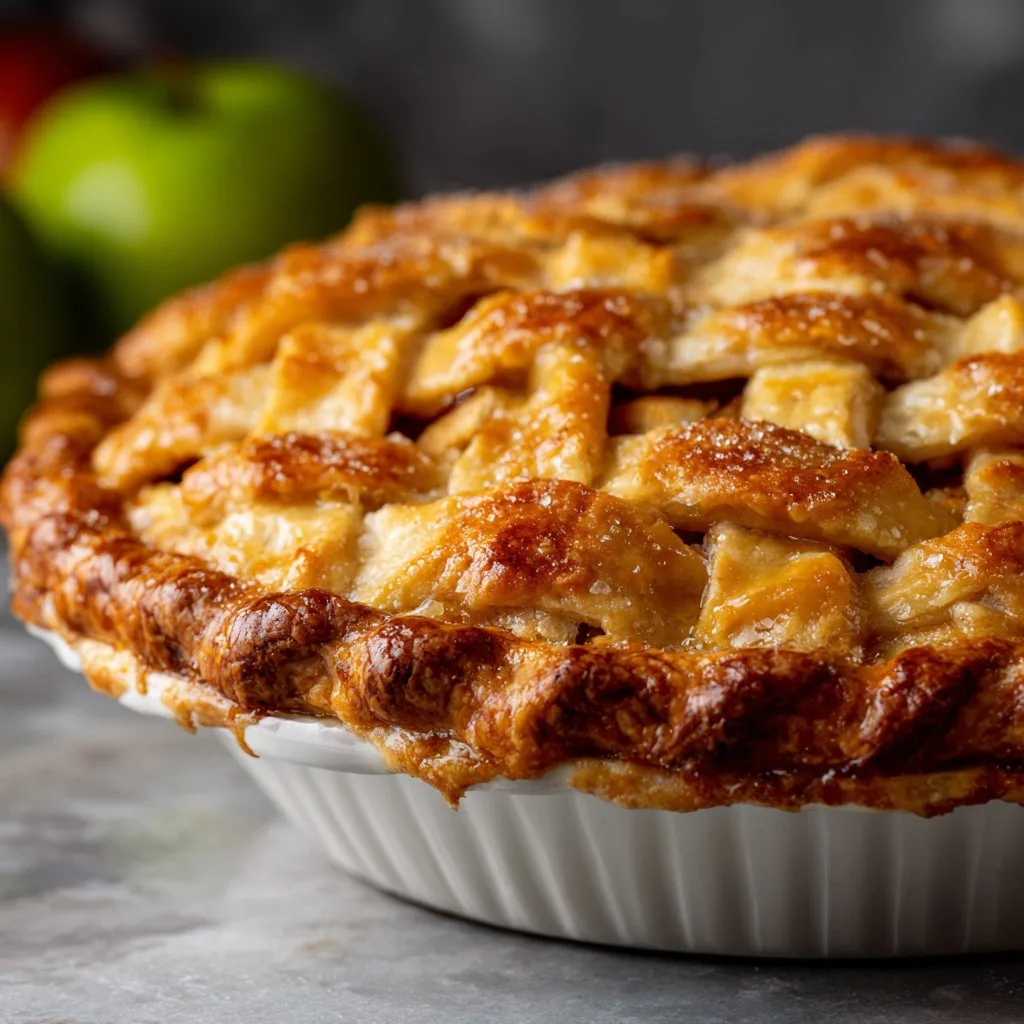
Let’s Talk Pie (Or: Why My Kitchen Smells Like Autumn)
So, picture this: it’s a slightly rainy Saturday afternoon, I’ve got jazz on the radio (or sometimes, embarrassingly, 90s pop), and a bag of apples from the farmer’s market is eyeing me from the counter. I start peeling, and suddenly I’m ten years old again, watching my gran smooth pastry over her old enamel pie dish. Except now, it’s my pie and my kitchen, and let’s be honest, sometimes the flour ends up more on me than in the bowl (chef’s hazard, right?). Oh, and if you see a bit of flour on the cat—don’t ask.
Why I Keep Coming Back to This Pie
I make this pie whenever I need to win friends and influence people (kidding… mostly). My family goes nuts for this because the crust is buttery and just the right amount of flaky—one cousin actually calls it “pie blanket.” I’ll tell you a secret: I used to struggle with soggy bottoms (the pie, not me), but this recipe finally sorted that out. And if you’ve ever been intimidated by homemade pastry, trust me, if I can do it with my distractible brain, you’re golden.
Gather Up These Ingredients
- For the crust:
- 2 ½ cups all-purpose flour (though when I’m out, I’ve used half whole wheat—turns out fine)
- 1 teaspoon salt (I use flaky sea salt if I’m feeling fancy, but honestly, table salt works)
- 1 tablespoon sugar (sometimes I skip this, depending on my mood)
- 1 cup (2 sticks) cold unsalted butter, diced (if you only have salted, just leave out the extra salt above)
- About ½ cup ice-cold water (I’ve totally eyeballed it before)
- For the filling:
- 6-7 medium apples (Granny Smith or Honeycrisp are my go-tos, but honestly, whatever’s rattling around in your fruit bowl works—my gran swore by Bramleys, but they’re rare here)
- ⅔ cup sugar (if your apples are super sweet, dial it back)
- 2 tablespoons all-purpose flour (I forgot this once—turned out more like compote, but not terrible)
- 1 ½ teaspoons ground cinnamon (sometimes I add a dash of nutmeg if I’m feeling wild)
- ¼ teaspoon salt
- 1 tablespoon lemon juice (I use bottled in a pinch; no shame)
- 1 tablespoon cold butter, diced, for dotting on top
- For the finish:
- 1 egg, beaten with a splash of water, for brushing (but if I forget, milk works too)
- Coarse sugar for sprinkling (optional but fun)
Making the Pie, Step by Not-Too-Precise Step
- Get the crust going: Whisk the flour, salt, and sugar in a big bowl. Toss in the cold butter and use your fingers or a pastry cutter (I’ve even used a cheese grater in a pinch, shh) until it’s all crumbly—think chunky sand. Drizzle in the ice water a little at a time, stirring with a fork. You want the dough just coming together—don’t get it too wet. If it’s too crumbly, add a tiny splash more water. Divide in half, shape into 2 disks, and pop in the fridge wrapped up for at least 45 minutes. Or, if you’re like me and forget about it, 2 hours is fine too.
- Meanwhile, the apples: Peel, core, and slice the apples. I aim for slices about as thick as a pound coin (for my US friends—a thickish nickel). Toss with sugar, flour, cinnamon, salt, and lemon juice in a big bowl. This is where I usually sneak a slice. If the apples look juicy, don’t worry—it works out.
- Roll out the dough: Flour your counter, then roll out one dough disk to fit your 9-inch pie dish. If it tears, just patch it (I never get this perfect). Gently fit into the dish and pile in your apple mix. Dot with the cold butter like tiny treasure.
- Top and finish: Roll out the second disk for the lid. You can do a lattice if you’re feeling artistic, or just drape the whole thing over and cut a few slits for steam. Crimp the edges however (sometimes I just press with a fork). Brush the top with egg wash and sprinkle sugar if you like sparkle.
- Bake: Bake at 220°C (425°F) for 15 minutes, then drop to 180°C (350°F) and go another 40–50 minutes, until the crust looks gloriously golden and you get those bubbling apple juices peeking out. Side note: if the crust browns too fast, flop a bit of foil over the top, not too tidy—it just needs to cover.
- Wait (I know, it’s torture): Let it cool a bit, otherwise the filling runs everywhere. Actually, I find it tastes better the next day, but good luck making it last that long.
Things I’ve Learned the Hard Way (AKA Notes)
- Dough too sticky? Chill it longer, or add a spoonful more flour. I tried to roll it once when it was warm—ended up with a gluey mess (don’t recommend).
- If your apples are super juicy, you can toss in another spoonful of flour—trust me, it helps.
- For the egg wash, I once used just water because I was out of eggs. Wasn’t as glossy but didn’t taste bad.
Pie Experiments That (Mostly) Worked
- I’ve tried mixing in a handful of chopped walnuts. Tasty, but my youngest picked them all out.
- Cranberries—fresh or dried—give a nice tartness. Once I used raisins, but honestly, not my best idea. Kind of made it weirdly chewy.
- I even subbed pears for apples once. It was fine, but didn’t quite hit the mark for me. Maybe you’ll like it?
Do You Actually Need Fancy Equipment?
I use a 9-inch pie dish, but a cake tin works in a pinch (I’ve even used a roasting pan—don’t judge). Rolling pin? Wine bottle’s done the job many times. Pastry blender is nice but not essential. Here’s a handy crust tutorial if you want visuals—sometimes I need the reassurance myself.

Keeping Pie Fresh (Or, Pie Disappears Fast Here)
Technically, you can cover and keep it at room temp for a day or two, or fridge it for up to four days. But honestly, in my house it never lasts more than a day! If you want to freeze, wrap slices well. They reheat decently in the oven but, on second thought, fresh is always better.
How We Serve It (My Way—But You Do You)
I love it warm with a scoop of vanilla ice cream (bonus points if it’s half-melted and pooling all over). Sometimes my daughter insists on pouring custard over hers, which at first I thought was sacrilege, but it’s grown on me. You could go old-school and just eat it plain, maybe with a cuppa. Here’s a good vanilla ice cream recipe if you want to go all out.
Pitfalls I’ve Fallen Into (And Climbed Out Of)
- I once tried rushing the chilling step and regretted it—crust got tough instead of tender and flakey.
- Forgot to vent the top once and it sort of exploded; now I always slash a few holes for steam, just in case.
- Overstuffing the pie is tempting (more apples = better, right?), but it makes it bubble over and get stuck. Learned that the hard way. Maybe stick to the measurements above—probably.
Real Questions I’ve Actually Been Asked (Pie Hotline Style)
- Can I make the crust ahead?
- Yep! I sometimes make it the day before, just wrap it tight. Actually, it seems to roll out even better after a rest.
- Do I have to peel the apples?
- You don’t have to; I’ve made it with peels on when short on time. The texture’s a bit chewier but not bad.
- Can I use store-bought pastry?
- Totally! I’ve done it when I’m in a rush or just can’t face more dishes. Will it be as good? Maybe not, but it’ll still be pie.
- Why is my crust pale?
- Could be your oven runs cool (I learned mine does, thanks to an oven thermometer I got here). Try a few minutes more or stick it under the broiler for just a sec—watch it like a hawk though!
- Is it okay to use margarine?
- I mean, you can, but the flavor’s not quite the same. Butter is just, well, better.
So there you have it—my warts-and-all guide to homemade apple pie with a buttery crust. If you make it, let me know how it turns out (and if you find a faster way to peel apples, please share; my wrists will thank you). Happy baking!
Ingredients
- 2 ½ cups all-purpose flour
- 1 cup unsalted butter, cold and cubed
- ½ teaspoon salt
- 6-8 tablespoons ice water
- 6 cups peeled and sliced apples (Granny Smith or Honeycrisp)
- ¾ cup granulated sugar
- 2 tablespoons all-purpose flour
- 1 teaspoon ground cinnamon
- ¼ teaspoon ground nutmeg
- 1 tablespoon lemon juice
- 1 egg, beaten (for egg wash)
Instructions
-
1In a large bowl, combine 2 ½ cups flour and ½ teaspoon salt. Cut in cold, cubed butter until mixture resembles coarse crumbs.
-
2Gradually add ice water, 1 tablespoon at a time, mixing until dough just comes together. Divide dough in half, shape into disks, wrap, and chill for at least 1 hour.
-
3Preheat oven to 425°F (220°C). In another bowl, toss sliced apples with sugar, 2 tablespoons flour, cinnamon, nutmeg, and lemon juice.
-
4Roll out one dough disk and fit into a 9-inch pie pan. Fill with apple mixture. Roll out second dough disk and place over filling. Trim, seal, and crimp edges. Cut slits in the top crust.
-
5Brush top crust with beaten egg. Bake for 20 minutes, then reduce oven temperature to 375°F (190°C) and bake for an additional 35 minutes, or until crust is golden and filling is bubbly.
-
6Cool pie on a wire rack for at least 2 hours before serving.
Approximate Information for One Serving
Nutrition Disclaimers
Number of total servings shown is approximate. Actual number of servings will depend on your preferred portion sizes.
Nutritional values shown are general guidelines and reflect information for 1 serving using the ingredients listed, not including any optional ingredients. Actual macros may vary slightly depending on specific brands and types of ingredients used.
To determine the weight of one serving, prepare the recipe as instructed. Weigh the finished recipe, then divide the weight of the finished recipe (not including the weight of the container the food is in) by the desired number of servings. Result will be the weight of one serving.
Did you make this recipe?
Please consider Pinning it!!

