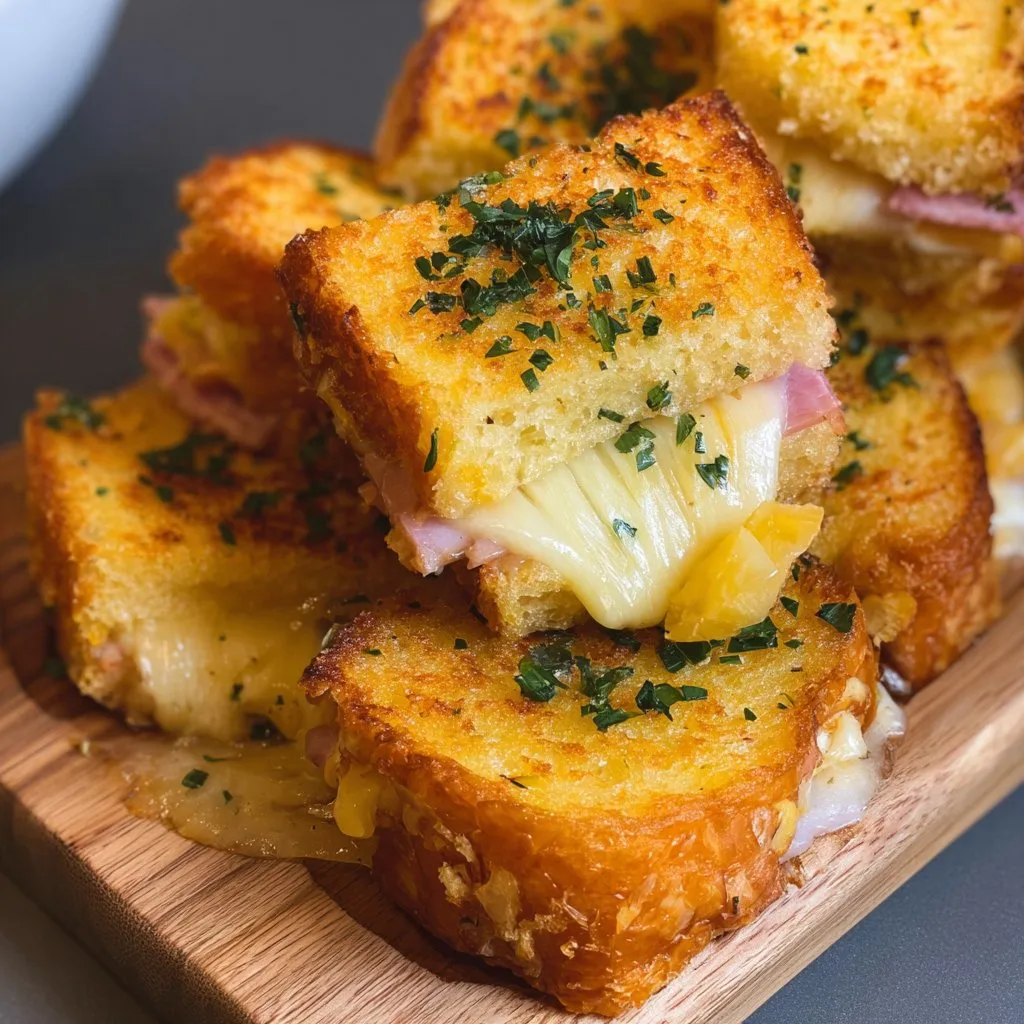
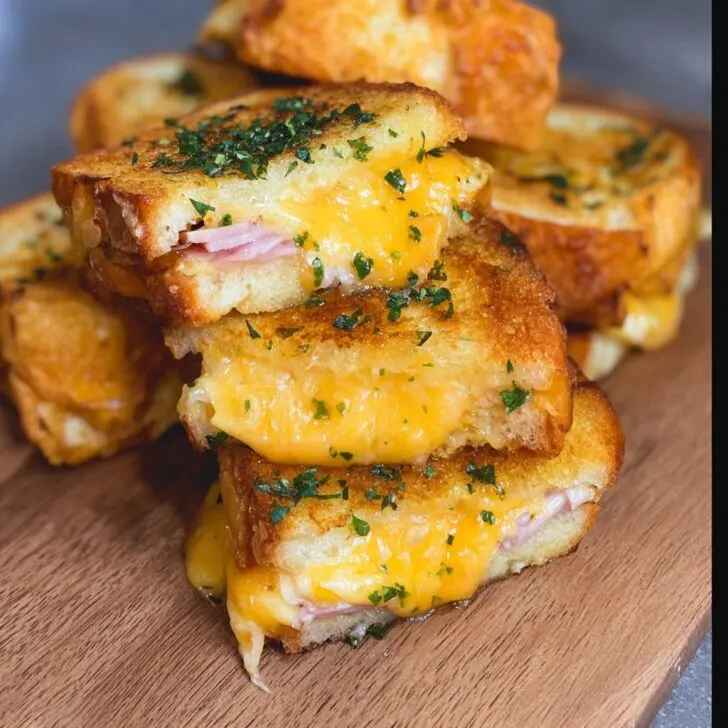
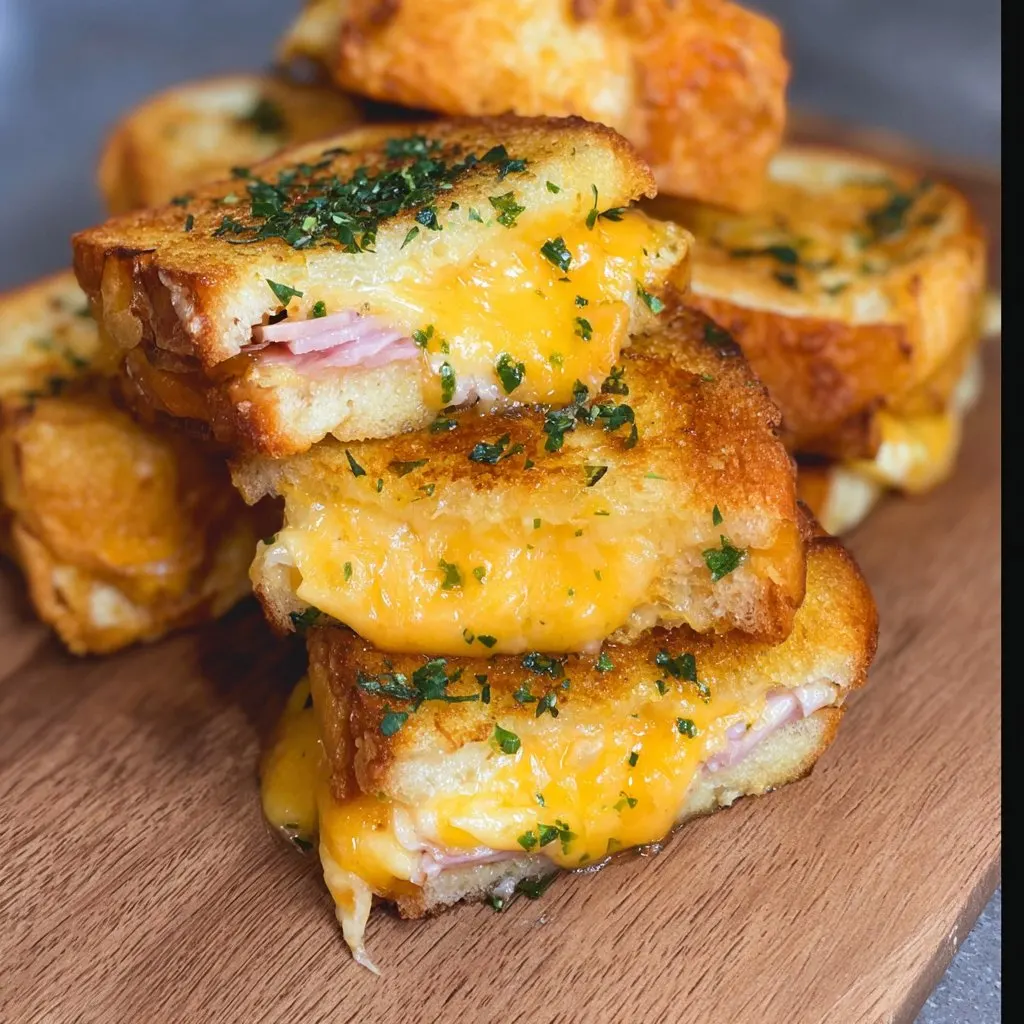
How I Stumbled on the Best Hawaiian Roll Grilled Cheese
Okay, so let me just confess right out of the gate — this recipe came about because I was out of bread (the usual sandwich kind, you know?) but still craving something gooey and warm and cheesy on a rainy Sunday. Hawaiian rolls were all I had left, which honestly, is never a bad problem! I remember the first time I put this together my partner was suspicious, but after the first bite, he started sneaking them straight off the cooling rack. I can't fault him… Actually, I do the same. Anyway, this isn't fancy or fussy. Just pure comfort. Oh, and if you’re the kind of person who burns grilled cheese occasionally (join the club, friend!), these are a bit more forgiving. No judgment here.
Why You'll Love This – Seriously!
I make this when I’m short on time, or when there’s nothing but Hawaiian rolls left (which is more often than you’d think). My family goes wild for this — probably because, let's be real, melty cheese + sweet rolls = happiness equation.
Honestly, I used to dread making grilled cheese because one side would always scorch before the cheese melted. Somehow the Hawaiian rolls tend to save me from myself. Also, if you have picky eaters (or, ahem, someone who claims they're "not hungry" until they smell these), trust me — this recipe has magical persuasive powers.
What You’ll Need (And What You Can Swap)
- 1 pack of Hawaiian sweet rolls (12-count) – King’s Hawaiian is classic, but store brand works too. (Granny always swore by King’s, but she also bought Jell-O in bulk, so take that for what it’s worth.)
- 8-10 slices of your favorite cheese – I go Swiss and cheddar, sometimes a bit of mozzarella if I’ve got leftovers. Basically, whatever’s lingering in the fridge drawer.
- 2-3 tablespoons butter, softened. (Melted is fine in a pinch, though I actually think spreading is easier.)
- 1-2 teaspoons Dijon mustard – optional, but sooo good if you like just a hint of tang.
- Optional extras: thinly sliced ham (I’ve been known to sneak some in), caramelized onions, or even a bit of chili flakes
Here’s How to Make It (With My Usual Detours)
- Preheat your oven to about 350°F (175°C), or just set it somewhere in that ballpark. (If I’m being honest, my oven dial can be a bit unreliable, so a bit more or less hasn’t hurt yet!)
- Take the Hawaiian rolls out and, using a serrated knife, slice the whole slab horizontally. You want a top and a bottom, like a giant sandwich. Don’t sweat it if the tops go flying or it’s a bit crooked. Looks don’t matter, it’s cheese that counts.
- Spread a nice, hefty layer of butter on the cut side of both halves. (This is where I usually sneak a taste. Seriously, buttered Hawaiian roll? So good.) If you’re using Dijon, swirl a little onto the bottom half too.
- Layer on your cheese — mix and match as you please. I probably use more cheese than strictly necessary. You do you! Add the ham or onions if the mood strikes.
- Sandwich the whole thing back together. Press gently, but don’t smush it to smithereens. Not that I’ve ever done that by getting over-enthusiastic or anything…
- Now, and this is the fun part, brush the top with a bit more butter. Or pour if you’re feeling rebellious; they come out great either way.
- Place on a baking tray, pop it in the oven, and let bake for 12-15 minutes, until the cheese looks delightfully oozy and the rolls are golden on top. Don’t panic if it looks uneven at first — it always evens out as it sits.
- Let it rest for a couple minutes. (I know, but it really helps everything hold together.) Cut into individual pulls and try not to burn your mouth in impatience. I fail at this every single time.
Notes – Stuff I’ve Figured Out the Hard Way
- You can totally do this in a skillet if it’s too hot to turn the oven on. Just smoosh the rolls a little to help them fit. Actually, I find it works better if you keep the heat low and go slow — once tried to speed things up, turned out a bit… crispy. Oops!
- Don’t even worry if they look uneven; the cheese fixes everything.
- This recipe is pretty forgiving, unless you forget it in the oven while your neighbor pops by for a chat… (Yes, I’m speaking from experience.)
Variations I’ve Messed Around With (Your Mileage May Vary!)
- Other cheeses! Pepper Jack gives it a whole different mood.
- I once did a version with leftover BBQ chicken tucked inside. Not bad at all.
- Tried a vegan cheese once. It…didn’t melt. Tasted okay, though.
- Garlic butter on the tops, especially if you’re feeling fancy (or just really love garlic, as I do).
What If I Don’t Have a Baking Tray?
Honestly, I’ve baked these right on a bit of foil, crumpled up to catch the butter. In a pinch, I used a cast iron pan and just flipped halfway through. So don’t sweat it if your kitchen isn’t fully stocked — I don’t even have a proper bread knife half the time.

How To Store (Not That I Usually Need To)
Pop any leftovers (ha) in a zip bag or airtight box in the fridge; they keep 1-2 days, though, really, in my house, they vanish before the sun comes up. You can warm them up in the oven or microwave, but I think they’re almost better cold. Almost.
Serving Suggestion — Family Ritual?
I love to serve these with a big bowl of tomato soup on chilly days. Or honestly, a handful of potato chips is classic too. (Sometimes my nephew dunks the sandwich in the chips, pure chaos but it works!)
Oh, and if you’re feeling brave, a dab of sriracha on the side makes everything pop.
Pro Tips — Mistakes I’ve Definitely Made!
- I once tried rushing it by cranking the heat. Nope, just stick to 350°F-ish. Cheese shouldn’t run for its life before the bread’s ready.
- Don’t overfill. I know, sounds boring, but too much cheese escapes!
- Let it cool a second. The one time I didn’t, I scalded the roof of my mouth, which — ouch. Don’t do what I did.
FAQ — Real Questions I’ve Gotten
- Can I use mini Hawaiian rolls? You totally can. Actually, I think the mini ones are even more fun for parties — just cut the cheese smaller (or don’t — they get really gooey, which isn’t a crime in my book).
- Can I freeze leftovers? I don’t, but apparently some folks do. Wrap them really well. I suspect they’ll taste a bit different after thawing. Probably fine though.
- Oven vs. skillet? I prefer oven — hands-off is my style. But if you just wanna make two or three, skillet’s great. Just keep the heat low!
- Any tips for a crunchy top? Sprinkle a lil’ parmesan on top before baking! Found this trick by accident, but now I do it sometimes.
- Can I make it ahead? You can assemble the sandwich ahead and bake when ready. To be honest, day-old assembled rolls get a bit, well, soggy, so I’d bake same day if you can.
And if you want to check out the best way to slice a whole package of rolls, I always use this super simple trick I saw on The Kitchn. Also, if you ever wonder what other wild things people do with Hawaiian rolls, this roundup is wild. For more cheese inspiration, sometimes I head over to Serious Eats grilled cheese land and get lost — so many great ideas!
There you go — comfort food, a couple mistakes along the way, but honestly, I’d eat these every week if I could. Let me know if you come up with a twist I haven’t tried yet (as long as it doesn’t involve raisins — that’s my line in the sand).
Ingredients
- 1 package Hawaiian sweet rolls (12 rolls)
- 2 cups shredded cheddar cheese
- 1 cup shredded mozzarella cheese
- 4 tablespoons unsalted butter, softened
- ¼ teaspoon garlic powder
- ¼ teaspoon dried parsley (optional)
- ¼ teaspoon salt
- Non-stick cooking spray
Instructions
-
1Preheat the oven to 350°F (175°C) and lightly grease a baking sheet with non-stick cooking spray.
-
2Without separating the rolls, slice the Hawaiian rolls in half horizontally to create a top and bottom slab.
-
3Spread half of the softened butter evenly over the cut side of the bottom slab and place it butter-side up on the baking sheet.
-
4Sprinkle the shredded cheddar and mozzarella evenly over the buttered bottom half, then place the top slab of rolls over the cheese.
-
5Mix the remaining butter with garlic powder, parsley, and salt. Spread this mixture over the top of the rolls.
-
6Bake for 12–15 minutes or until the cheese is melted and the tops are golden brown. Slice and serve warm.
Approximate Information for One Serving
Nutrition Disclaimers
Number of total servings shown is approximate. Actual number of servings will depend on your preferred portion sizes.
Nutritional values shown are general guidelines and reflect information for 1 serving using the ingredients listed, not including any optional ingredients. Actual macros may vary slightly depending on specific brands and types of ingredients used.
To determine the weight of one serving, prepare the recipe as instructed. Weigh the finished recipe, then divide the weight of the finished recipe (not including the weight of the container the food is in) by the desired number of servings. Result will be the weight of one serving.
Did you make this recipe?
Please consider Pinning it!!

