How These Brownies Became My Go-To, Honestly
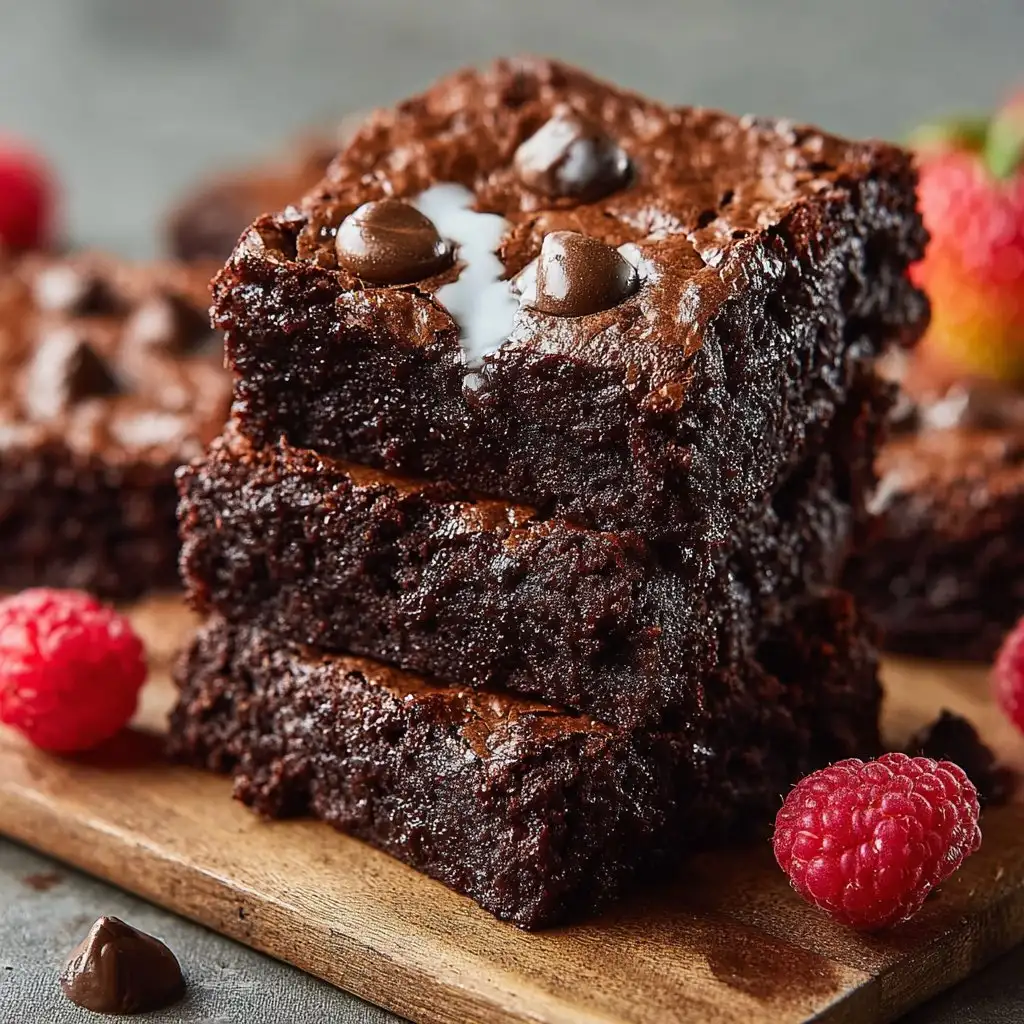
Alright, gather 'round, chocolate lovers. I have a confession: I'm a serial over-baker. Every time I said I'd make a "healthy treat," it used to end with something that tasted, well – suspiciously like cardboard. Then, one cold rainy Thursday (why is it always Thursdays?), I finally struck gold. Or, you know, deep chocolatey brown. Right from Greek yogurt and a bit of wishful thinking. Now these guilt-free Greek yogurt brownies are, I kid you not, the treat I whip up when I'm craving something fudgy but can't face yet another treadmill punishment. My little one calls them "magic cake," but okay, she also calls socks "foot hats."
Why You'll Want a Pan of These Too
I usually throw this together when I’ve promised myself – no more sweets – but the cocoa siren song just won’t let up. My kids go bonkers for them, which says something since they’d spot a hidden lentil at fifty paces. I love that I can eat two (sometimes three, don't judge) without needing to do math about my calorie intake. (Oh, and I don’t have to get fancy – I mean, who owns a double boiler?) Honestly though, the best part is I can mix them up in one bowl, even half-asleep or distracted by the dog repeatedly licking the fridge. And if I mess them up? They still taste good. Win.
What You'll Need (and Substitutions Because Life)
- ¾ cup plain Greek yogurt (sometimes I swap in vanilla if that's all I've got — gives a twist!)
- ½ cup unsweetened cocoa powder (Grandma swore by Hershey's, but store brand will do just fine too)
- ½ cup brown sugar (or coconut sugar when I'm feeling virtuous; maple syrup works, but use a smidge less yogurt)
- 2 eggs (I tried flax eggs once, and, well, let's just say "not again")
- ¼ cup melted coconut oil (sometimes I just use butter – I know, not so "guilt-free" but still tasty!)
- 1 teaspoon vanilla extract
- ¾ cup flour (all-purpose, or whole wheat if you want to feel especially healthy)
- 1 teaspoon baking powder
- ¼ teaspoon salt (it matters, apparently)
- ½ cup dark chocolate chips (optional, but c’mon, live a little)
How I Throw These Together
- Preheat your oven to 350°F (that’s 175°C for my metric mates). Grease an 8x8 inch pan – or just chuck in some parchment paper if you hate scrubbing pans like me.
- In a big bowl, mix your yogurt, eggs, sugar, coconut oil (or butter), and vanilla. I just use a fork and call it a day.
- Dump in your cocoa (inhale if you want to smell happiness), flour, baking powder, and salt. Stir until mostly smooth. This is where I sneak a taste – don’t worry if it looks…kind of questionable. That’s normal.
- Fold in the chocolate chips. Sometimes I add a handful more – oops, but kids are watching.
- Scrape the batter into your prepared pan. It’s thick; spread it out with a spatula or even your hands (clean hands! Or, you know, live dangerously.)
- Bake 18–22 minutes. I start checking at 18 – they should look just set in the middle, a toothpick comes out with a crumb or two. Actually, err on the side of a squishy middle. I once baked them too long and ended up with hockey pucks.
- Let ‘em cool. Or don't, but they're very gooey if you cut them hot. Up to you.
A Few Random Notes, Learned the Hard Way
- If you use runny yogurt, your brownies might be... pancakes. Greek is best, trust me. I tried with regular yogurt once – "brownie puddle" is not a thing.
- Don't skip the salt. I always used to, but the flavor is just flat without it. Kind of like a joke with no punchline.
- If you’re feeling wild, try a swirl of peanut butter before baking. Sometimes it looks pretty, sometimes it looks like a cow wandered through. Both taste awesome.
Variations I’ve Actually Tried
- Swapped half the flour with almond meal – super moist, but a bit crumbly. Would do again.
- Added espresso powder. Delicious if you're a coffee fan — made me want to eat brownies for breakfast (not that I ever have...)
- I once tried sour cream instead of yogurt. Let’s just say, no. Stick with Greek yogurt.
What You Need (But Not Always)
- One decent mixing bowl (I use a big salad bowl.)
- 8x8 baking pan – but in a pinch, I used a loaf tin and just cut thick strips. Wonky brownies, but tasty.
- Spatula (or a big spoon. My mum uses her hands; respect.)
If all else fails, check this guide to baking pans from Serious Eats for help.

How (and If!) to Store Leftovers
You *can* keep these in an airtight container at room temp for a few days, or in the fridge if you want them extra fudgy. But honestly, in my house, they vanish before I can test their shelf life. Once, I hid some in the freezer and forgot about them—it was like finding pirate treasure a week later! So, yes, you can freeze them wrapped up, just let them thaw at room temp before eating (or eat frozen if you're wild, no judgement).
How I Like Serving Them
Here’s my move: plop a warm square in a bowl, add a dollop of extra Greek yogurt and a drizzle of honey. Or, y'know, eat them with your hands over the sink – no shame. Family tradition? Brownie sundaes every Sunday movie night. Chocolate sauce is optional but highly encouraged. Oh! And if you nab some fresh berries, throw ‘em on top. Looks fancy, tastes fab.
The Brownie Pro Tips (from My Kitchen Fiascos)
- I once tried checking for doneness at 30 minutes. Hard regret. Set a timer or you'll be gnawing on chocolate bricks.
- If you're tempted to skip sifting the cocoa, go ahead. Just smash any lumps with the fork – no biggie. Actually, I find it works better if I don't overmix at this stage.
- If you double the recipe, use a bigger pan! It sounds obvious but, uh, learned that the hard way.
FAQ – Folks Have Actually Asked
Can I make these gluten free?
Sort of – I’ve swapped in a 1:1 gluten-free flour blend and it works (see Minimalist Baker's guide if you’re curious), but they’re a little more delicate. Worth a go though!
Do they taste like yogurt?
Nah, I promise – you don’t taste it. The cocoa covers everything. Unless you use the honey vanilla yogurt, then it’s more of a slight tang. I like it, but you might not.
Can I skip the eggs?
Well, like I said earlier, flax "eggs" didn’t cut it for me, but maybe you’ll have better luck. If you do, let me know! Actually, aquafaba works in some recipes, but I've never tried it here.
Why is my batter so thick?
It's supposed to be! If it's really dry, double-check your yogurt type. Or just add a spoonful of milk – works in a pinch.
Are these actually healthy?
Look, they're not salad. But they're miles better than classic brownies, and they make my sweet tooth (and waistband) happier.
A (Completely Unrelated) Side Note
Ever notice how the smell of baking brownies brings everyone into the kitchen, even my grumpy old cat? There must be some magic in it, right? Anyway, hope your kitchen smells as cozy as mine.
Ingredients
- ½ cup plain Greek yogurt (non-fat or low-fat)
- ⅔ cup unsweetened cocoa powder
- ½ cup whole wheat flour
- ½ cup coconut sugar or brown sugar
- ¼ cup unsweetened applesauce
- 2 large eggs
- ½ cup dark chocolate chips
- 1 teaspoon vanilla extract
- ½ teaspoon baking powder
- ¼ teaspoon salt
Instructions
-
1Preheat oven to 350°F (175°C) and line an 8x8 inch baking pan with parchment paper.
-
2In a medium bowl, whisk together Greek yogurt, applesauce, eggs, sugar, and vanilla extract until smooth.
-
3Sift cocoa powder, whole wheat flour, baking powder, and salt into wet ingredients and mix until just combined.
-
4Fold in dark chocolate chips, then pour batter into the prepared pan and spread evenly.
-
5Bake for 22-25 minutes or until a toothpick inserted in the center comes out mostly clean. Do not overbake for fudgy brownies.
-
6Let brownies cool completely in the pan before cutting into squares and serving.
Approximate Information for One Serving
Nutrition Disclaimers
Number of total servings shown is approximate. Actual number of servings will depend on your preferred portion sizes.
Nutritional values shown are general guidelines and reflect information for 1 serving using the ingredients listed, not including any optional ingredients. Actual macros may vary slightly depending on specific brands and types of ingredients used.
To determine the weight of one serving, prepare the recipe as instructed. Weigh the finished recipe, then divide the weight of the finished recipe (not including the weight of the container the food is in) by the desired number of servings. Result will be the weight of one serving.
Did you make this recipe?
Please consider Pinning it!!

