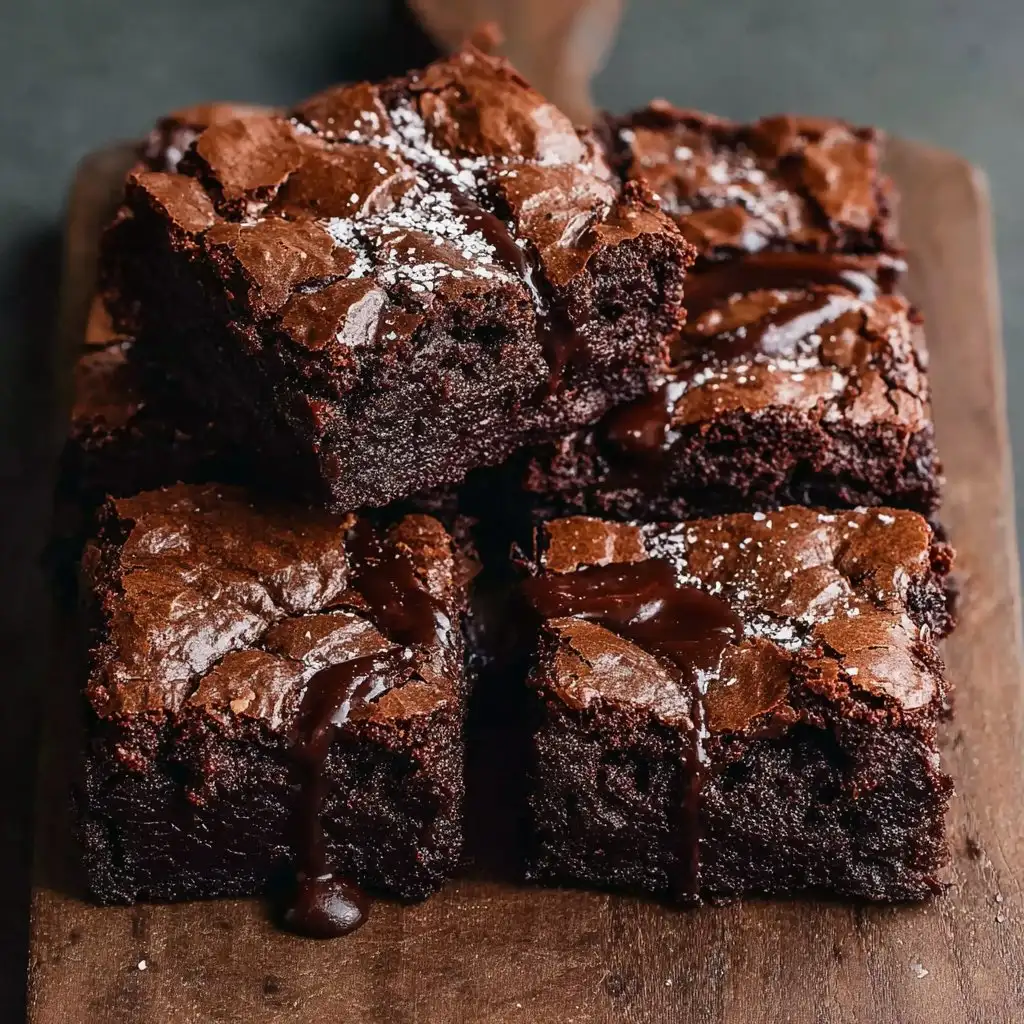
Okay, Let's Talk Brownies (and That Time I Nearly Burned Them)
Alright, picture this: it's a rainy Saturday (honestly, most of my brownies start life on a gloomy day), my niece is camped out on the sofa, and the only thing anyone wants is something chocolatey. Enter my go-to fudgy brownies recipe. I've made these so many times I've lost count, and no matter how off my day is, these always seem to come out just right (well... except that time I forgot to set the timer and ended up with brownie bricks—but that's a story for another day).
If you're after those rich, dense, almost gooey brownies—the kind that makes you question why you ever bothered with boxed mix—you're in the right place. And trust me, this is the recipe my family bickers over at the last slice (with my dad always insisting he 'just wants the edges').
Why I Keep Coming Back to These Brownies
I make these whenever life calls for a little extra chocolate (which, let’s be honest, is more often than I like to admit). My family goes a bit wild for these—my brother once tried to hide the last piece in a Tupperware behind the pickles. They’re fudgey in the middle, just a tiny bit chewy at the edge, and deeply chocolatey (without being teeth-achingly sweet). Actually, I used to struggle with some recipes being too cakey. This one? More like a chocolate hug. Also, I love that I can throw in whatever I have—walnuts, chocolate chips, even a dash of espresso powder if I’m feeling fancy (or, you know, just need a boost).
Everything You Need—But Don’t Panic If You Don’t Have It All
- 200g (about 7oz) dark chocolate, chopped (I usually grab whatever's on special; my gran swore by Lindt, but honestly any decent 60-70% works)
- 115g (½ cup) unsalted butter (I’ve tried salted in a pinch, just skip the extra salt later)
- 200g (1 cup) granulated sugar (sometimes I do half brown sugar for a little extra depth)
- 2 large eggs (room temp is ideal, but I’ve used them cold from the fridge when I forget)
- 1 teaspoon vanilla extract (homemade is best, but store-bought is fine—no judgements)
- 70g (about ½ cup plus 1 tbsp) plain/all-purpose flour
- ¼ teaspoon salt (just a pinch if you eyeball it, I won’t tell)
- Optional: ½ cup chopped walnuts, pecans, or chocolate chips (sometimes all three…)
How I Actually Make These (With Some Wiggle Room)
- Preheat your oven to 180°C/350°F. Line a 20cm (8-inch) square tin with baking paper. (If you only have a round one, I say go for it, but the edges might get a bit crispier.)
- Chocolate & butter melting time! Stick the chocolate and butter together in a heatproof bowl and melt them, either over simmering water (if you want to feel fancy) or just zap in the microwave in 30-second bursts. Stir until smooth. This is where I usually sneak a taste with a spoon—quality control, right?
- Stir in the sugar while the mix is still warm-ish (not hot, just enough to dissolve a bit). Don't panic if it looks a little grainy now. It always does, and it works out in the end.
- Beat in the eggs and vanilla. Add them one at a time, mixing until glossy. The batter thickens up a bit here and starts to look, well, delicious. (You might be tempted to taste again… I always am.)
- Fold in the flour and salt. Don’t overmix—just until you don’t see streaks. I learned the hard way that overmixing makes them dense (the bad kind of dense!).
- Optional extras: Chuck in your nuts, chips, or whatever else you fancy. Or don’t. Up to you!
- Bake for 22-28 minutes. I start checking at 22. You want a skewer to come out with just a few moist crumbs (not totally clean, unless you like them dry). If the top is crackly and the house smells like a chocolate factory, you’re golden.
- Cool, then slice (I know, I know—it’s torture waiting. But they firm up as they cool, and if you slice too early, they’ll be a bit messy. Still tasty, though!)
Stuff I’ve Learned (Usually the Hard Way)
- If you use a glass dish, give it a few extra minutes—my old Pyrex takes longer than my metal tin. Not sure why, but it does.
- Once I tried doubling the recipe for a party and it took forever to bake. Probably best to just make two batches.
- Letting the brownies cool in the tin makes them easier to slice, but if you’re desperate, scooping with a spoon straight from the pan is totally acceptable. No judgement here.
If You Want to Mix Things Up (Or Just Need an Excuse)
- I tried swirling in peanut butter once—actually, I think I added a bit too much, because it turned into more of a peanut butter bar. It was good, but not really a brownie.
- A handful of white chocolate chips makes them sweeter and a bit more playful.
- Espresso powder (even just a teaspoon) totally brings out the chocolate flavor, but if you’re making these for kids, maybe skip that... unless you want them bouncing off the walls.
- One time, I crumbled Oreos on top. It looked cool, but honestly, they just got soggy. Wouldn’t bother again.
Equipment—Or What to Do If You Don’t Have It
So, you’ll need a mixing bowl (anything will do, really), a spoon or whisk, and of course, that baking tin (8-inch square is my go-to). If you don’t have baking paper, a good greasing with butter works—though you might have to wrestle the brownies out. I once used foil, but it stuck a bit, so maybe don’t do that unless you really have to. In a pinch, I even used a grilling tray lined with parchment—came out alright, just a bit thinner.

Storing Them (If You Have Any Left, That Is)
You can keep these in an airtight container at room temp for 3 days—though honestly, in my house it never lasts more than a day! I think they taste better the next day, but that’s just me. If you want to freeze them, wrap well in cling film and freeze for up to 2 months.
How I Like to Serve Them (And a Family Quirk)
Warm, with a scoop of vanilla ice cream, is classic. My mum likes hers with a dusting of icing sugar and a mug of strong tea (she says it’s a ‘proper treat’). Sometimes, for breakfast (don’t tell anyone), I sneak a square with Greek yoghurt and berries. I know, wild.
Brownie Truths Learned the Hard Way (Pro Tips?)
- I once tried rushing the cooling step and cut them hot—they just fell apart. Still tasted great, but you couldn’t call them squares.
- Don’t overbake! The edges might seem underdone, but they firm up as they cool. I’ve ruined a batch or two by waiting for a totally clean skewer.
- Actually, I find it works better if you let the melted chocolate and butter cool just a bit before adding the eggs—once, I scrambled them and had to start over.
Some Questions I’ve Actually Been Asked
Can I use milk chocolate instead of dark?
Yeah, you can, but they’ll be sweeter and less intense. I tried it once for the kids, but honestly, I prefer dark. If you’re after super sweet, go for it!
What if I don’t have vanilla?
Skip it, or splash in a bit of instant coffee or almond extract if you want. Or just leave it out—it’s not the end of the world.
Can I make these gluten-free?
Actually, yes! I’ve swapped in a 1:1 gluten-free flour blend before, and they turned out fine. Just don’t overbake—they dry out faster.
How do I know when they’re done?
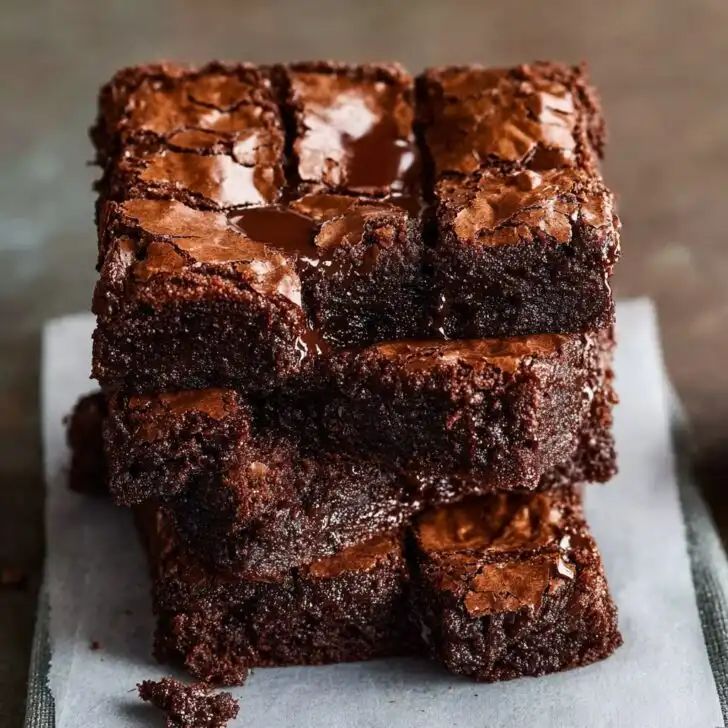
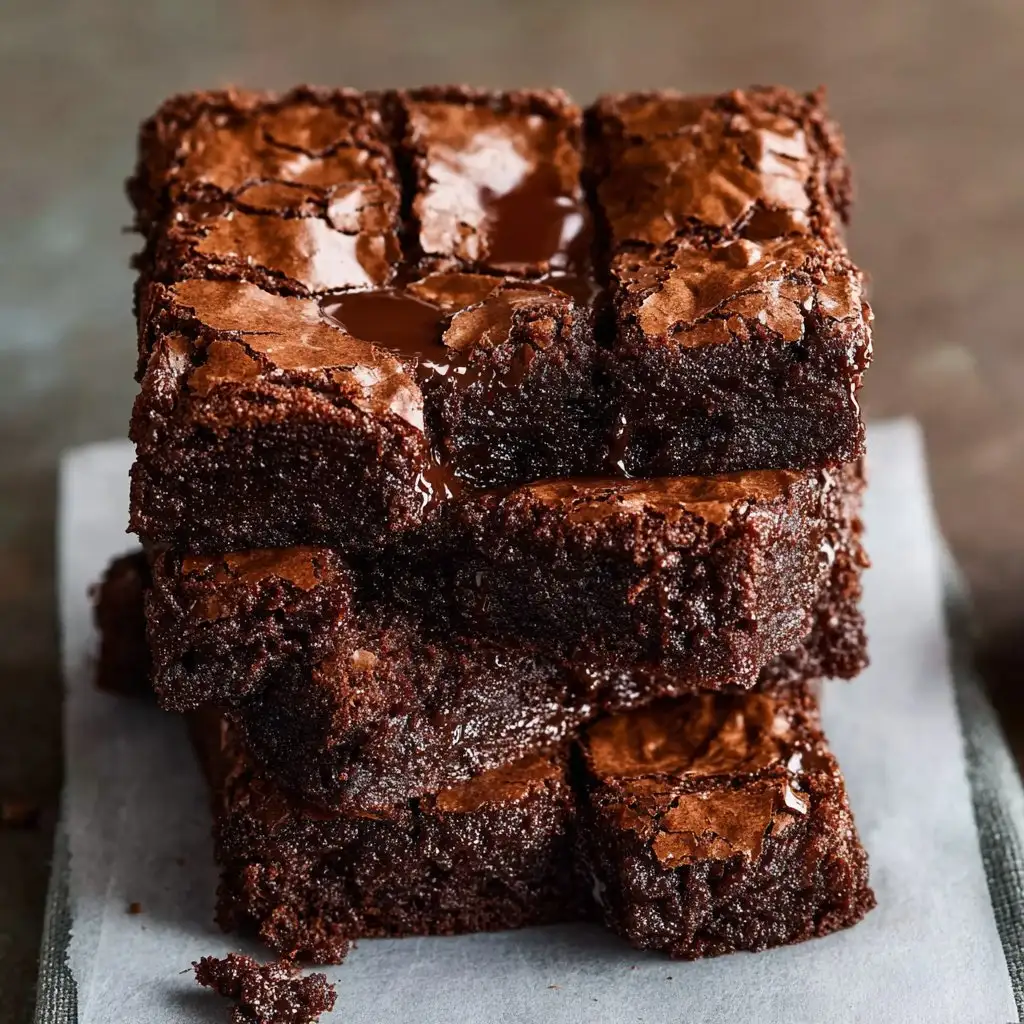
Look for a shiny, crackly top and sides just pulling away from the tin. I poke a skewer in; if there are a few crumbs, you’re good. Clean skewer? You’ve gone too far!
By the way, for more nerdy baking science, I sometimes check Serious Eats’ brownie guide—it gets super detailed. And if you want to get into the nitty-gritty of chocolate quality, Cook’s Illustrated has a cool guide I found useful. (Not affiliated, just a fan!)
A Tiny Tangent
Oh, quick side-note: did you know brownies are apparently more popular in the US Midwest than anywhere else? My cousin from Wisconsin says every church bake sale has at least five kinds. Maybe it’s just the weather or the need for comfort food, but I love the idea of people all over the world gathering for chocolate fixes.
Anyway, if you make these, let me know how it goes. Or if you find a way to improve them, I’m all ears—and happy to taste test, just saying.
Ingredients
- ½ cup (115g) unsalted butter, melted
- 1 cup (200g) granulated sugar
- 2 large eggs
- 1 teaspoon vanilla extract
- ⅓ cup (40g) unsweetened cocoa powder
- ½ cup (65g) all-purpose flour
- ¼ teaspoon salt
- ½ cup (90g) semi-sweet chocolate chips
Instructions
-
1Preheat the oven to 350°F (175°C). Line an 8x8-inch baking pan with parchment paper or lightly grease it.
-
2In a large bowl, whisk together the melted butter and granulated sugar until well combined.
-
3Add the eggs and vanilla extract to the bowl and whisk until the mixture is smooth and glossy.
-
4Sift in the cocoa powder, flour, and salt. Gently fold the dry ingredients into the wet ingredients until just combined.
-
5Fold in the chocolate chips, then pour the batter into the prepared pan and spread evenly.
-
6Bake for 22-25 minutes, or until a toothpick inserted into the center comes out with a few moist crumbs. Allow to cool before slicing and serving.
Approximate Information for One Serving
Nutrition Disclaimers
Number of total servings shown is approximate. Actual number of servings will depend on your preferred portion sizes.
Nutritional values shown are general guidelines and reflect information for 1 serving using the ingredients listed, not including any optional ingredients. Actual macros may vary slightly depending on specific brands and types of ingredients used.
To determine the weight of one serving, prepare the recipe as instructed. Weigh the finished recipe, then divide the weight of the finished recipe (not including the weight of the container the food is in) by the desired number of servings. Result will be the weight of one serving.
Did you make this recipe?
Please consider Pinning it!!

