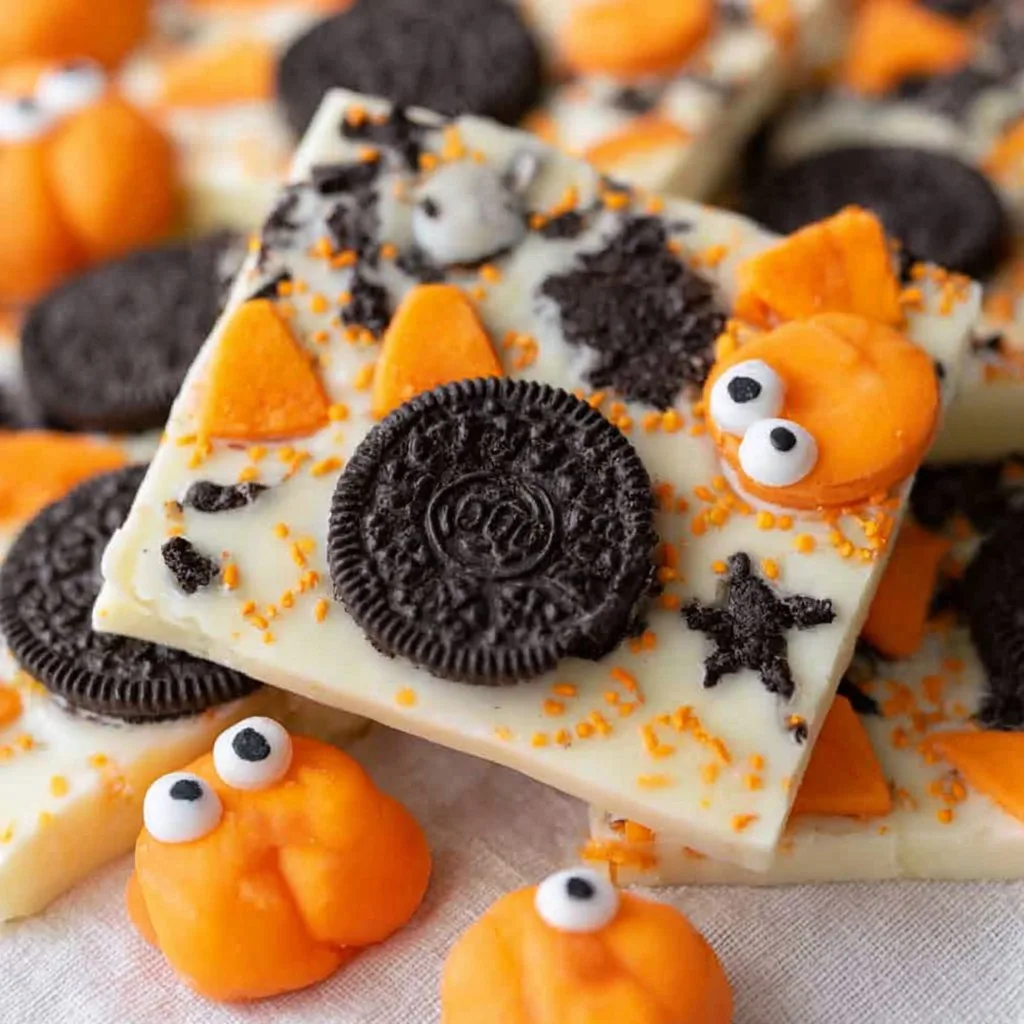
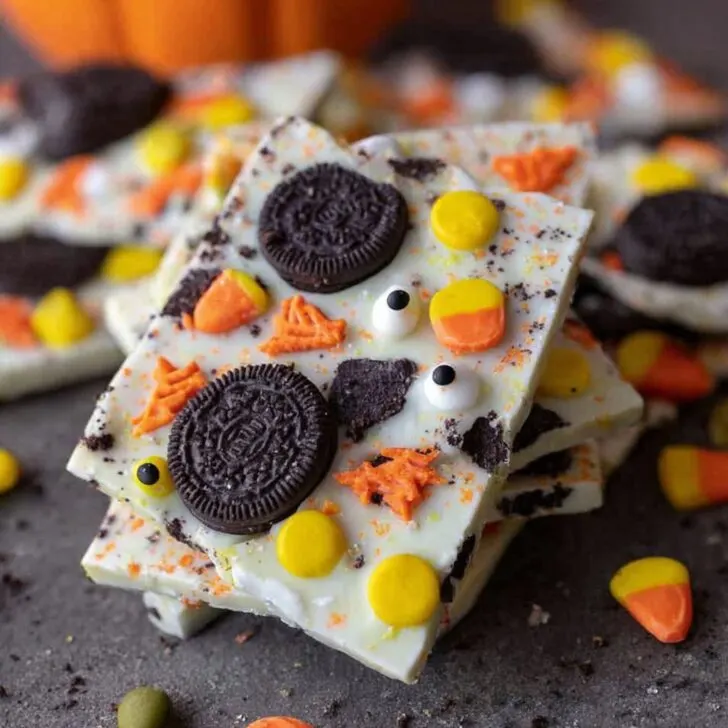
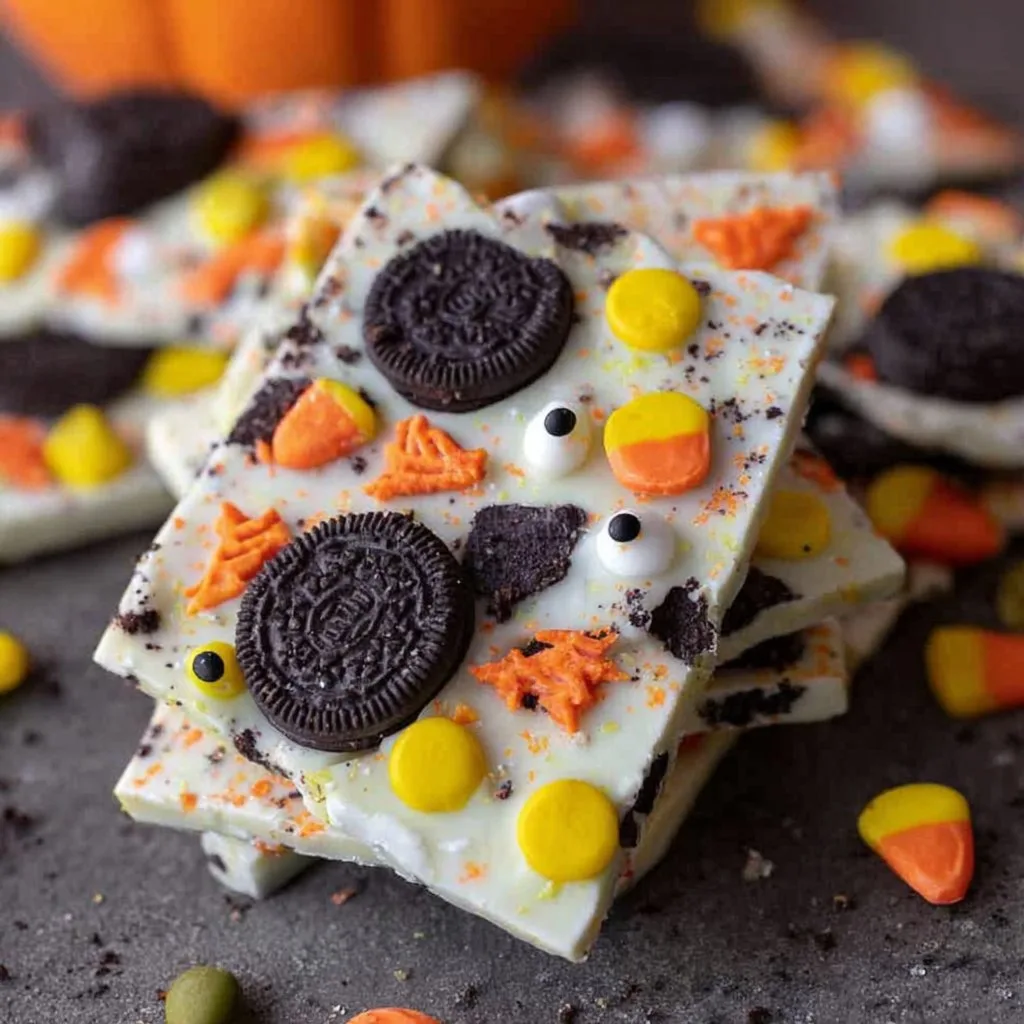
Last October I made this Easy White Chocolate Halloween Oreo Bark while the kids were trying on costumes for the fifteenth time and the doorbell would not stop. I was stirring chocolate with a wooden spoon in one hand and untangling a tiny vampire cape with the other. It still turned out brilliantly crunchy and sweet, which is my kind of kitchen win. The best part is the smashing part, obviously. Slightly chaotic, a bit messy, and honestly, kind of therapeutic.
This is why I keep making it
I make this when I need something fast, fun, and snacky that looks like I tried harder than I did. My family goes a bit wild for the cookie chunks and candy eyes, and I love that I can toss in whatever is rattling around in the pantry. White chocolate used to scare me because it can seize if you glare at it wrong, but actually, I find it behaves if you go low and slow. And if someone steals a warm Oreo chunk off the tray while I am turning around to grab the sprinkles, well, I am not naming names.
Plus, it is a crowd pleaser for parties. I bring a tin, and by the time I set down my keys, half of it is gone. Mildly annoying, but flattering. And yes, I do sneak a little sliver for quality control. Or two.
What you need in the bowl
- 450 g white chocolate, chopped small or use melting wafers. I like bars because the melt is silkier, but wafers work fine when I am in a hurry.
- 12 to 14 Oreo cookies, roughly broken by hand. My grandmother always insisted on the classic kind, but honestly any sandwich cookie works fine.
- A handful of Halloween sprinkles. I use jimmies and nonpareils, sometimes sugar stars if I am feeling fancy.
- 2 to 3 tablespoons mini candy eyes, optional but very cute.
- 1 cup pretzel twists, broken up a bit for salty crunch, optional.
- 1 to 2 tablespoons orange candy melts or a tiny bit of orange gel color, for swirls. If you do not have it, skip; the bark is still lovely.
- Small handful of mini marshmallows or M and M candies, optional. I sometimes use chopped candy corn instead when I have it, though not everyone in my house approves.
Sub swaps I like:
- Use almond bark or white confectionery coating if real white chocolate is out of stock. Flavor is a tad different, not bad.
- Gluten free sandwich cookies work great if you need it.
- Coconut oil, just a teaspoon, can help loosen thick chocolate, but skip if your chocolate is already shiny and smooth.
How I throw it together
- Line a baking sheet with parchment paper and clear a flat spot in the fridge. I do this first because once the chocolate is melted, the clock is ticking.
- Melt the white chocolate gently. Microwave method: put it in a microwave safe bowl and heat at 50 percent power in 20 to 30 second bursts, stirring each time, until smooth and glossy. Stove method: set a heatproof bowl over barely simmering water and stir until melted. Do not let any water splash in the bowl, it is a drama queen and will seize.
- If using orange candy melts, melt them separately in a tiny dish using the same low and slow idea.
- Pour the white chocolate onto the parchment and spread to about 6 millimeters thick, roughly a 25 by 30 cm rectangle. It does not need to be perfect edges. At this point I usually sneak a taste. Quality control, right.
- Dollop little spoonfuls of the orange chocolate on top and drag a skewer or a butter knife through to make swirls. Do not over swirl or it turns into a muddy shade; two or three passes is enough.
- Quickly scatter the broken Oreos, pretzels, candy eyes, sprinkles, and whatever extras you are using. Gently press the bigger bits so they stick. Do not worry if it looks a bit weird at this stage, it always does, then it sets and looks great.
- Chill in the fridge for 15 to 25 minutes until firm. If you are in a chilly kitchen, you can leave it at room temp, it will just take longer.
- Break into pieces using clean hands or the tip of a knife. Big shards look dramatic; little pieces are great for snack bowls. I like a mix.
Tiny digression: I once made this during a thunderstorm and the cat insisted on sitting on the parchment paper like it was a new bed. We negotiated. I moved the cat, the bark survived, everyone won.
Notes I learned the slightly messy way
- If your chocolate thickens, a teaspoon of neutral oil can smooth it a bit, but add it warm, not cold.
- Orange food coloring should be oil based if you are coloring real white chocolate. Water based can make it grainy. If it happens, do not panic, it still tastes fine, just looks rustic.
- Press in the toppings while the chocolate is still shiny. If it has started to set, warm the back of a spoon under hot water, dry it, then press lightly to re melt small spots and stick pieces down.
- I think this tastes better the next day when the cookies soften a touch, though my kids say that is nonsense and they scoff it fresh.
Fun twists I have tried
- Peanut butter swirl: warm 3 tablespoons peanut butter until runny and drizzle over before adding toppings. Salty and sweet, yes please.
- Mint vibe: use mint sandwich cookies and a few drops of peppermint oil in the chocolate. Very cool and fresh.
- Spooky dirt: crush extra cookies very fine and dust over the top for a soil look, then add gummy worms. Looks hilarious.
- The one that did not work: I tried freeze dried raspberries once and they bled color into the white chocolate and it looked a bit like a watercolor accident. Tasted fine, looked odd, so maybe save those for dark chocolate bark.
Gear I reach for
- Baking sheet or a large cutting board lined with parchment. Essential for me, but on second thought, you can spread the bark on the back of a clean dinner tray if that is what you have.
- Microwave safe bowl or a heatproof bowl for the pan of simmering water.
- Offset spatula makes spreading easy. A regular spoon works if that is what is in the drawer.
- Skewer or butter knife for swirling. A chopstick is surprisingly great too.

Keeping it fresh
Store the bark in an airtight container at cool room temperature for up to 1 week. If your kitchen runs warm, pop it in the fridge, but bring it back to room temp before serving for the best texture. White chocolate can pick up fridge smells, so tuck in a sheet of parchment between layers. Though honestly, in my house it never lasts more than a day.
How we like to serve it
I pile it onto a big platter with some tangerines and a bowl of salty peanuts for contrast. For a party, I bag up a few shards in clear bags with a ribbon and let folks grab one on their way out. When it is just us, we nibble pieces while watching a not too scary movie. I keep a small stash for coffee the next morning because it makes me feel very organized, which is a rare bird around here.
Pro tips that came with a few oops moments
- I once tried rushing the melt at full microwave power and regretted it because the edges scorched. Half power, short bursts, stir often, breathe.
- Do not add wet toppings. I washed sprinkles once, why did I do that, and the moisture made spots on the chocolate.
- Break the Oreos by hand instead of chopping with a knife, fewer crumbs means prettier flecks rather than dust.
- If your bark blooms with little white streaks, it is just cocoa butter. Still tasty, just looks a bit snowy.
Helpful resources I actually use
- For a deeper dive on melting chocolate gently, this guide from King Arthur is solid: how to melt chocolate.
- Serious Eats has a clear rundown on avoiding seized chocolate and water issues: how to melt chocolate step by step.
- For fun seasonal sprinkles, I often peek at Wilton ideas: candy bark basics.
FAQ I get all the time
Can I use candy melts instead of real white chocolate
Yes, and they are very forgiving. The flavor is sweeter and a bit less cocoa buttery, but the colors are fun. Great if you are making this with kids.
My chocolate seized and turned grainy, can I save it
Maybe. Sometimes a teaspoon or two of warm milk or cream will smooth it into a ganache like sauce, which you can still spread. If it goes too far, I usually set it aside and start again, then drizzle the rescued batch on top so nothing goes to waste.
Do I need to temper the chocolate
Nope for bark like this I do not bother. If you want a snappier finish that holds at room temp longer, tempering is lovely, but not required. I tend to think the fridge set is fine for this treat.
Can I make this ahead
Absolutely. Make it up to 3 days ahead and store airtight. If you are adding marshmallows, they can firm up a bit over time, so add those closer to serving if you prefer them soft.
Is this gluten free
Use gluten free sandwich cookies and check your sprinkles and candy eyes. Many are gluten free, some are not. Labels, always.
Can I color white chocolate with regular liquid food color
You can try, but it can cause the chocolate to thicken. Oil based color is safer. If liquid is what you have, stir in only a drop or two. It might still be fine, it might go a bit thick, and that is ok for swirls.
How big should I make the pieces
Dealer's choice. Big shards are dramatic for gifting, tiny bits are perfect for sprinkling over ice cream. I go midway and then break more as needed. Y'all will figure out your favorite size in about 10 mintues of snacking.
Quick recap
Melt white chocolate gently, spread, swirl in a little color, rain down Oreos and goodies, chill, and crack into shards. That is the whole song. If you try this Easy White Chocolate Halloween Oreo Bark, let me know what you threw on top. I love hearing about the creative stuff folks add form their pantry.
Ingredients
- 16 oz (450 g) white chocolate chips or chopped white chocolate
- 15-20 Oreo cookies, roughly chopped
- 2-3 oz (60-85 g) orange candy melts or colored candy melts
- 2-3 oz (60-85 g) black or dark chocolate candy melts (optional)
- 2-3 tablespoons neutral oil (vegetable or coconut), optional to thin chocolate
- ⅓ cup Halloween-themed sprinkles
- Parchment paper or silicone baking mat
- Pinch of flaky sea salt (optional)
Instructions
-
1Line a baking sheet with parchment paper or a silicone baking mat and set aside. Roughly chop the Oreo cookies into bite-size pieces.
-
2Melt the white chocolate: place white chocolate chips or chopped white chocolate in a microwave-safe bowl and heat in 20-30 second intervals, stirring between intervals, until smooth. If desired, stir in 1–2 tablespoons of neutral oil to thin the chocolate for easier spreading.
-
3Pour the melted white chocolate onto the prepared baking sheet and spread into an even layer about ¼-inch to ½-inch thick using an offset spatula or the back of a spoon.
-
4Immediately sprinkle the chopped Oreo pieces evenly over the white chocolate. Add Halloween sprinkles and a pinch of flaky sea salt if using.
-
5Melt the orange and black candy melts separately in short microwave bursts or with a double boiler until smooth. Drizzle the colored melts over the bark using a spoon or piping bag for a festive look.
-
6Transfer the baking sheet to the refrigerator and chill for about 20–30 minutes, or until fully set. Break the bark into pieces and store in an airtight container at room temperature for up to 3 days or in the refrigerator for up to 1 week.
Approximate Information for One Serving
Nutrition Disclaimers
Number of total servings shown is approximate. Actual number of servings will depend on your preferred portion sizes.
Nutritional values shown are general guidelines and reflect information for 1 serving using the ingredients listed, not including any optional ingredients. Actual macros may vary slightly depending on specific brands and types of ingredients used.
To determine the weight of one serving, prepare the recipe as instructed. Weigh the finished recipe, then divide the weight of the finished recipe (not including the weight of the container the food is in) by the desired number of servings. Result will be the weight of one serving.
Did you make this recipe?
Please consider Pinning it!!

