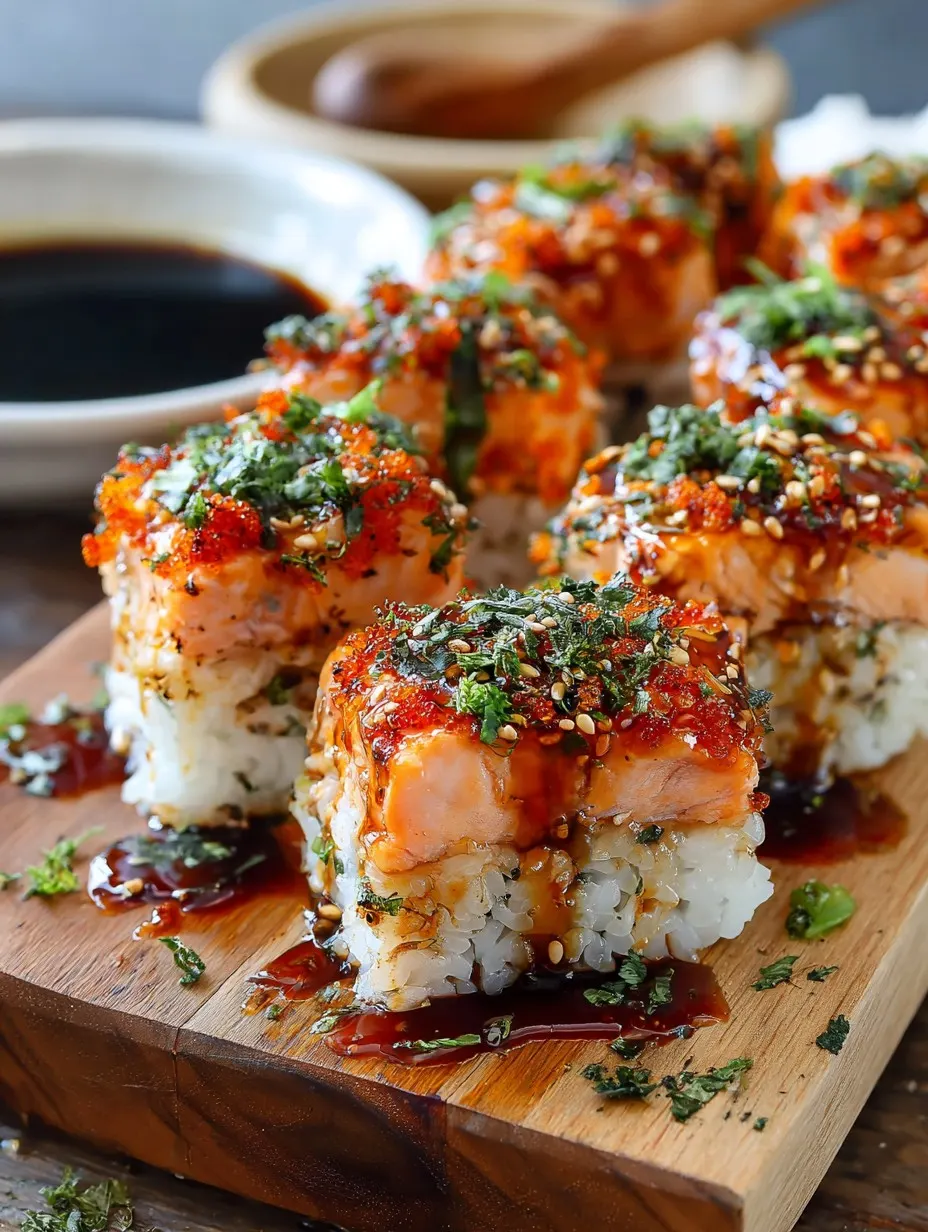
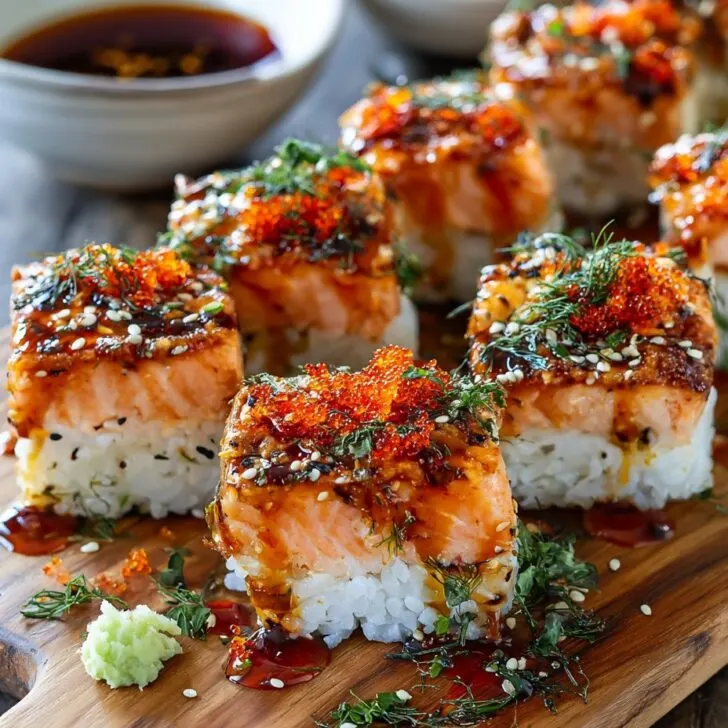
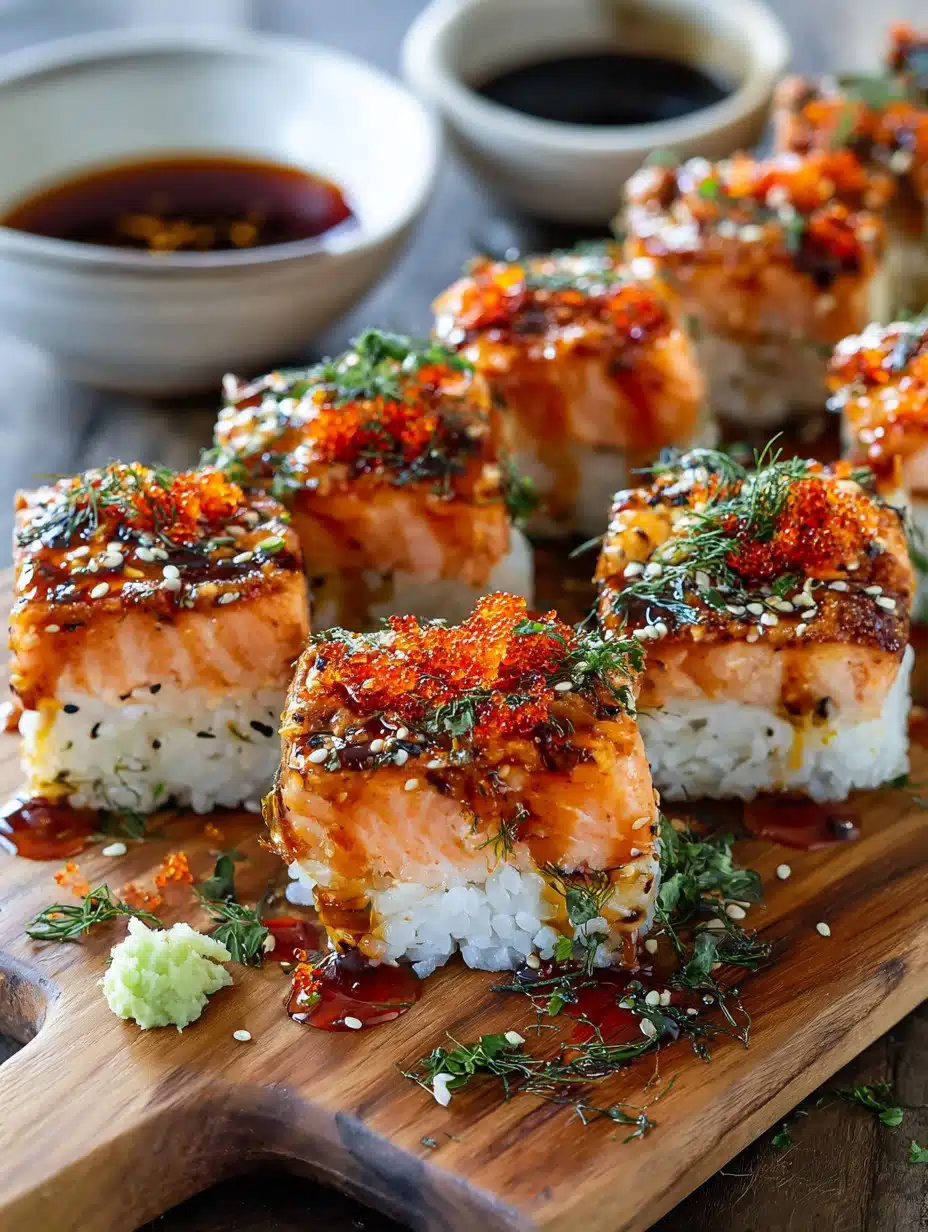
You Have to Try This Spicy Salmon Sushi Bake (Or at Least Laugh at My Tries)
You know, I never thought I’d be a sushi-bake kind of person. But a few years back—right when everyone and their gran started layering sushi rice and fish in casserole dishes—I caved and gave this Easy Spicy Salmon Sushi Bake Recipe a go. Actually, it was because I burnt rice so badly that ordering in felt inevitable, but I chanced a bake and it changed my life (and my apartment’s lingering smell status). Now? Let’s just say this dish makes an appearance when I want flavor and zero fuss, especially on weeknights when my patience is thinner than supermarket wasabi. My family jokes that it’s sushi casserole, but—hey—it's easier to scoop and eat than to roll with one hand while losing nori under the radiator.
Why I Keep Making This (Even After That One Disaster)
I make this spicy salmon sushi bake when I crave takeout but my wallet groans at me. My partner goes bananas for spicy mayo anything (honestly, he’d probably put it on cereal) and even picky eaters try to snag the crispy corners when I’m not looking. Plus, I like that you can just dump everything in a dish and call it day. I once forgot to buy sriracha and used gochujang instead—different vibe, tasted great. And listen, the first time I tried this bake, I overloaded it with too much imitation crab and it came out a little funky but even then we finished the whole thing, so... take from that what you will.
What You'll Need (With a Few Never-Fail Substitutes)
- 2 cups cooked sushi rice (or, honestly, I've used jasmine rice in a pinch and no one noticed except me)
- 300g fresh or canned salmon (grilled, baked, or use canned for lazy days—my mum insists on wild-caught but I just grab whatever’s on sale)
- ½ cup Kewpie mayo (regular mayo is fine, but the Kewpie makes it taste, I dunno, extra?)
- 2 tablespoon sriracha (more or less depending how wild you’re feeling—sometimes I use sambal oelek or a smidge of hot sauce left from takeout)
- 1 tablespoon soy sauce (or tamari if you want to keep it gluten free—though I didn’t even know what that was until last year!)
- 1 teaspoon rice vinegar (I've also tried apple cider vinegar and it’s...acceptable, but not sushi-y)
- 1 tablespoon sugar (trust me, it balances the saltiness)
- 1 cup shredded imitation crab (optional—I forget it often and nobody complains)
- Half an avocado, diced (optional—weirdly, my teenage niece insists on it)
- 2 green onions, sliced (I just chop whatever bits aren’t sad from the fridge)
- 2 tablespoon furikake seasoning (if you can’t find it, a sprinkle of sesame seeds and nori flakes does the trick)
- Roasted seaweed sheets (nori), for serving
Let’s Get Baking! (Directions with Honest Side Notes)
- Get your rice ready: Lay out cooked rice in a greased 8x8 inch baking dish. Splash it with rice vinegar, soy, and sugar; gently fold it in. (Don’t mash into paste—learned that the hard way. It just gets gluey if you do!)
- Mix up the salmon: Flake cooked (or canned) salmon in a bowl. Add mayo, sriracha, and half the green onions. (This is where I sneak a taste—sometimes a few, so make a bit extra if you’re impatient like me.) If you want it creamier—or packed with heat—adjust mayo or hot sauce here.
- Layer time: Scatter imitation crab and avocado (if using) on the rice. It looks weird and uneven but, honestly, it evens out later.
- Spread the spicy salmon mixture all over. Try to go edge to edge, though it’s fine if it’s rustic-looking (or kinda lazy, as my brother calls it).
- Sprinkle generously with furikake. (I sometimes dump on more than is socially acceptable and I regret nothing.)
- Bake at 200°C / 400°F for about 15-18 minutes–until the top is a bit bubbly and starting to brown.
- Cool for a few minutes (otherwise the thing melts together, ask me how I know), then slice or scoop and serve with nori sheets.
Notes from My Real-Life Catastrophes
- I’ve tried skipping the sugar but, truthfully, it ends up a little blah. Trust the process.
- If you forget to grease the dish, cleaning is slightly reminiscent of chiseling ancient rock. So don’t skip that bit.
- Nori sheets can go chewy fast sitting on the bake—offer them on the side instead.
Some Sushi Bake Experiments (A Few Winners, A Flop)
- Once added diced jalapeños—tasted good but unreasonably spicy for brunch. Wouldn’t recommend without warning your guests!
- Tried with cooked shrimp instead of salmon (pretty nice, actually!)
- Made it with tinned tuna, and... let’s just say, it’s best to stick with salmon unless you really love tuna-melt vibes
What If I Don't Have a Fancy Kitchen?
Honestly? No special gadgets needed; I once used a Pyrex storage container as my baking dish. And you can microwave instead of bake in a pinch—the result’s a bit messier, but still edible. Don’t have a rice paddle? A silicone spatula works. And, if you’re ever in doubt, I’ve found Just One Cookbook’s sushi rice method pretty foolproof.

How to Store It (If There’s Anything Left!)
Covers and chills well in the fridge for up to two days—but honestly, in my house, it’s rare for leftovers to last that long. Rice gets a bit stiff, but microwaving with a wet paper towel helps revive it. Freezing? Not ideal; texturally it gets weird.
Serving—Do This and Thank Me Later
Scoop out generous portions, wrap in nori, or even use tortilla chips (yeah, we did that once for movie night, not bad at all). For get-togethers, I’ve set out bowls of extra scallions and more hot sauce. It’s also surprisingly great cold—actually, I think this tastes better the next day. Maybe I’m odd? Oh well.
Pro Tips from a Serial Over-Thinker
- Don’t rush the cooling step—I did once, and ended up with a culinary landslide when slicing.
- Washing the rice properly does matter; I used to skip it, then wondered why the bottom was so...stodgy.
- Let people add their own nori. If you layer it in advance it just gets sad and floppy.
Your Burning Questions (That I’ve Actually Been Asked!)
- Can I make this with raw salmon? – Technically you could, but I wouldn’t risk it unless you’re sure about the quality & safety. I prefer cooked.
- Is it super spicy? – Not really! Unless you go wild with the sriracha. My mum hates the heat and she’s fine with a tiny bit.
- What’s furikake and do I really need it? – It’s a savory Japanese seasoning with seaweed & sesame. I grab it off Amazon, but honestly, you can skip it or swap with sesame and nori flakes.
- Do I need a sushi mat? – Nope! That’s the magic—the bake skips all the tricky rolling.
- Can you prep it ahead? – Yes, assemble earlier, then bake before serving. Or just eat it cold out of the fridge, as I sometimes do (no regrets).
So there you go. Whether you love sushi or just want an easy fix, this spicy salmon sushi bake definitely hits the spot (and, on a good day, doesn’t glue itself to the dish). Got your own twist? Ping me, because I’m always looking for new ideas to nibble on while binge-reading recipes like the ones over at Serious Eats. Cheers, and don’t forget to double up on the hot sauce if you're feeling brave!
Ingredients
- 2 cups sushi rice, cooked
- ¼ cup rice vinegar
- 1 tablespoon granulated sugar
- ½ teaspoon salt
- 12 ounces salmon fillet, cooked and flaked
- 3 tablespoons mayonnaise
- 2 tablespoons sriracha sauce
- 2 teaspoons soy sauce
- ½ cup cream cheese, softened
- 1 tablespoon green onions, sliced
- 1 tablespoon furikake seasoning
- ½ avocado, sliced
- Roasted seaweed sheets, for serving
Instructions
-
1Preheat your oven to 400°F (200°C). In a small bowl, mix rice vinegar, sugar, and salt. Stir into warm sushi rice and spread evenly in a greased baking dish.
-
2In a medium bowl, combine cooked, flaked salmon with mayonnaise, sriracha, cream cheese, and soy sauce. Mix until smooth and creamy.
-
3Evenly spread the spicy salmon mixture over the sushi rice in the baking dish. Sprinkle furikake seasoning evenly on top.
-
4Bake in the preheated oven for 20-25 minutes, until the top is lightly golden and bubbling.
-
5Remove from oven and garnish with green onions and sliced avocado. Serve warm with roasted seaweed sheets for scooping.
Approximate Information for One Serving
Nutrition Disclaimers
Number of total servings shown is approximate. Actual number of servings will depend on your preferred portion sizes.
Nutritional values shown are general guidelines and reflect information for 1 serving using the ingredients listed, not including any optional ingredients. Actual macros may vary slightly depending on specific brands and types of ingredients used.
To determine the weight of one serving, prepare the recipe as instructed. Weigh the finished recipe, then divide the weight of the finished recipe (not including the weight of the container the food is in) by the desired number of servings. Result will be the weight of one serving.
Did you make this recipe?
Please consider Pinning it!!

