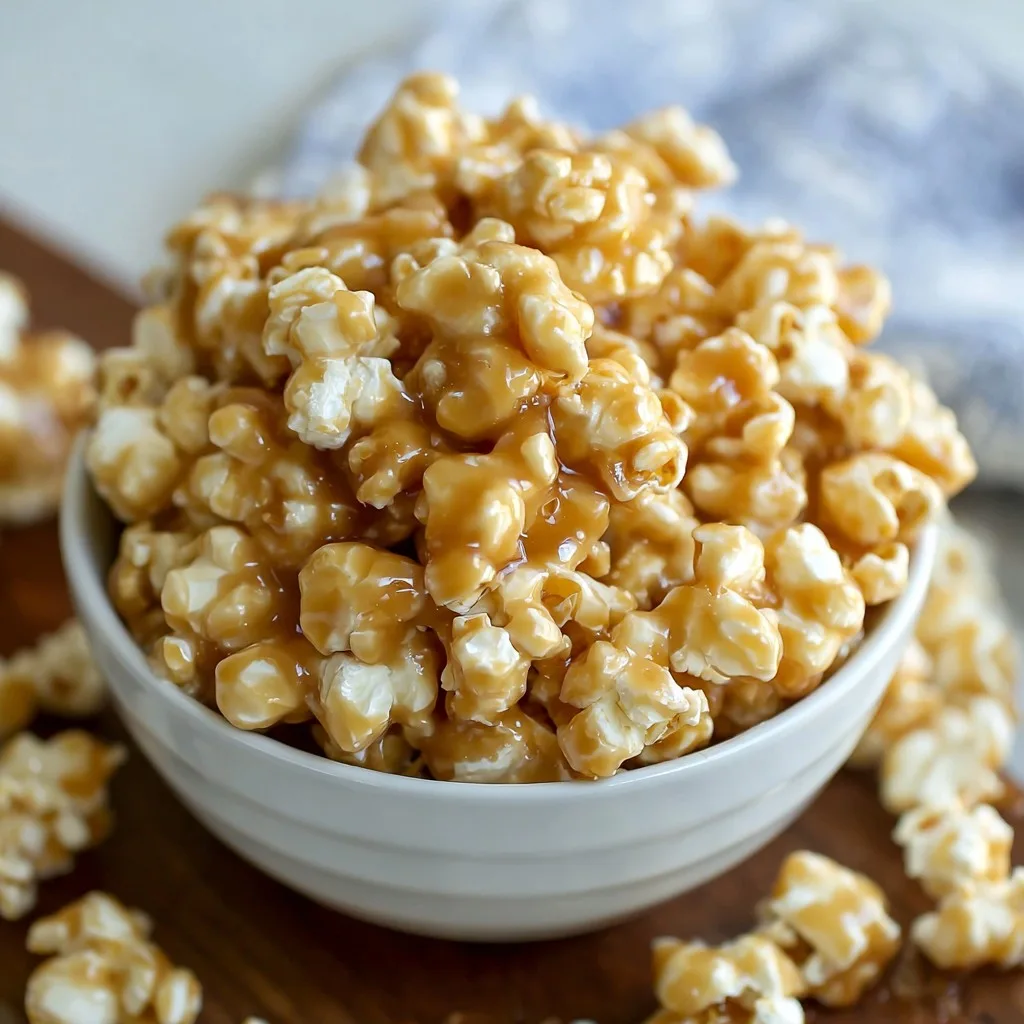
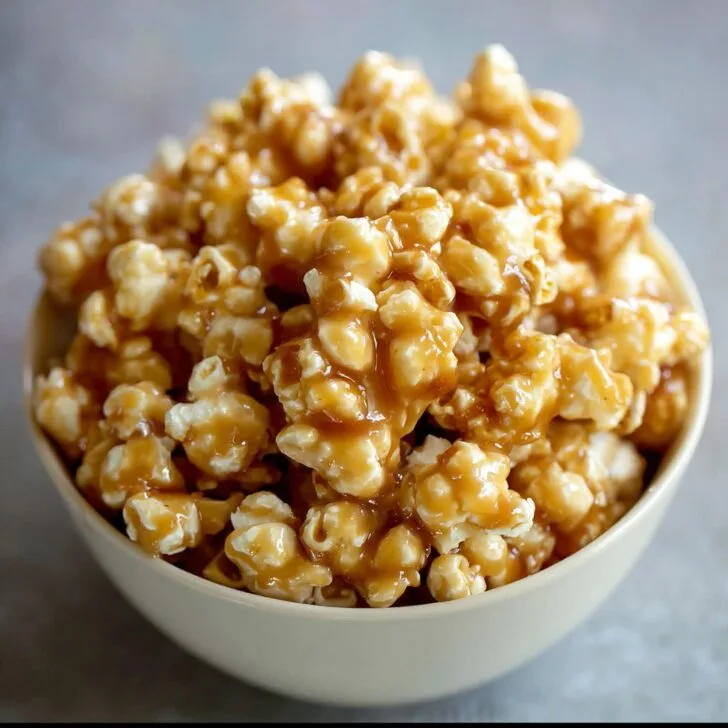
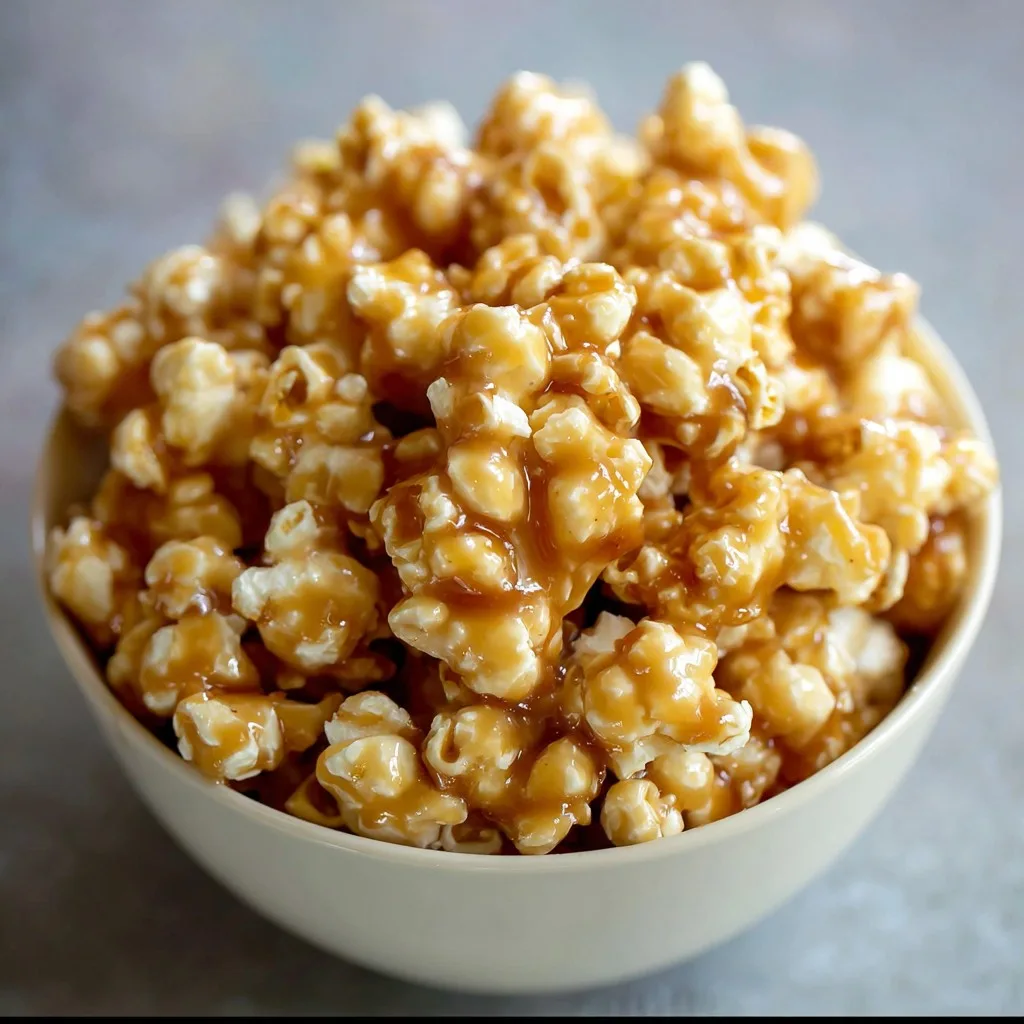
Let's talk about this caramel corn (and my old oven disaster)
Okay, confession time: every time I make this easy caramel corn with sweetened condensed milk, I'm thrown right back to my old college apartment where, honestly, the oven ran hotter than a desert in July. There were a lot of... crispy experiments. But this caramel corn was the one sweet snack that I could reliably make without burning the house down (well, nearly). It's messy, it's sticky, and I have yet to meet someone who can resist picking out the biggest clusters straight off the tray. Not to brag, but friends have asked me for this recipe more times than my phone battery has died mid-Netflix binge.
Why you'll love this (even if popcorn isn't your thing)
I make this whenever I want to spoil my family, or when we’re having a movie night and just need something on the sweeter side (no offense to plain kettle corn, but this is where it's at). My mum always sneaks a handful when she visits—says it’s for the grandkids, but we both know better. Plus, if you've ever tried making caramel corn the traditional way and ended up with a rock-solid mess (raises hand), you'll appreciate how forgiving this version is thanks to a can of sweetened condensed milk. No fussing with candy thermometers—just good, old-fashioned stirring and taste testing.
What you'll need—and what you can swap
- 12 cups popped popcorn (about ½ cup kernels; I’ve used microwave in a pinch—don’t tell the purists)
- ½ cup butter (sometimes I use salted, sometimes whatever's on hand—don’t overthink it)
- 1 cup brown sugar (light or dark; my gran insisted on dark but honestly, I can't always tell the difference in this recipe)
- ½ cup sweetened condensed milk (I've only ever used Eagle Brand, but the store brand is just fine—don’t let anyone tell you otherwise)
- ¼ cup corn syrup (if I’m out, I’ve subbed honey or golden syrup—just a smidge more gooey)
- ½ teaspoon salt (I eyeball it, but maybe don’t follow my example)
- Optional: a splash of vanilla (sometimes I skip it; life is busy)
How I actually make it (with a few sidesteps)
- First, pop your popcorn and set it in the biggest bowl you own (I've used a roasting pan before. Desperate times, you know?) If there are any unpopped kernels, fish those out or risk a trip to the dentist.
- In a medium saucepan, melt your butter over medium heat. Toss in the brown sugar, sweetened condensed milk, corn syrup, and salt. Stir like your life depends on it. When it comes to a gentle simmer, set a timer for 4-5 minutes; keep stirring so it doesn't catch on the bottom. (I usually sneak a taste here—careful, lava! But that first sample is, chef’s rights.)
- Once your caramel looks thick and dreamy, take it off the heat and stir in vanilla if you're into that sort of thing. Then immediately pour it over the popcorn, channeling your inner Jackson Pollock. Grab a spatula (or just use your hands but mind the heat!) and mix until most of the popcorn glistens like it's dressed for a night out.
- Spread everything out on a parchment-lined baking tray. Bake at 250°F (120°C) for about 45 mins, stirring every 15ish minutes so you get that perfect crispy-chewy texture. If it looks a bit clumpy or weird, relax—it all sorts itself out when it cools. (On days I'm feeling lazy, I don’t even bake it; it's stickier, but still delicious.)
- Let it cool down before you break it into chunks (hard part, I know). My little cousin calls dibs on the caramel-est bites every time.
Some notes I learned the hard way
- Don’t panic if your caramel seizes up a bit; just keep stirring. Actually, I find it smooths out better if you add a splash of water early on.
- If you drop popcorn on the floor, the five-second rule totally applies (unless you have a dog, in which case: game over).
- It might look too sticky when warm, but after cooling, it's just sweet-crunchy goodness. Have patience—unlike me.
My wild caramel corn experiments (not all were winners)
- Pecans or mixed nuts—incredible, if you've got 'em. Peanuts are great too, but sometimes they get lost in the shuffle.
- A sprinkle of sea salt on top—yes, do this. It turns basic caramel corn into something a little fancy.
- I tried tossing in mini marshmallows once. Didn't really love the result; they kind of melted into weird blobs.
- Chili flakes for a spicy version. Surprisingly good, if you like a bit of a zing with your sweet. My dad did not, so, proceed at your own risk!
The (bare minimum) tools you'll need
- Large mixing bowl or a clean roasting pan (U.S. folks, a disposable turkey pan works in a pinch—no judgment!)
- A saucepan and a sturdy wooden spoon or spatula. If you only have a whisk, just go gently so you don't splatter caramel everywhere (like I once did).
- Baking tray lined with parchment or foil—though, to be honest, I've skipped this and just greased the tray before.

How to store it (if you somehow have leftovers)
Technically, you can keep this in an airtight container for about a week, but honestly, in my house it never lasts more than a day! If you forget to seal it, it'll get a bit chewy, but I've eaten worse for breakfast. Refrigerating is overkill, unless it’s the heat of summer and your kitchen is basically a sauna.
How we like to serve caramel corn (family rituals included)
Besides just shoving handfuls right form the tray? We cram bowls of this stuff for movie nights, sure, but sometimes I bag it up for road trips (major bonus points for good car snacks). My aunt swears by mixing it with plain popcorn to balance the sweetness, but I say go big or go home. If you’re feeling extra, try it as an ice cream topping. Actually, that reminds me—I should get more vanilla ice cream...
Stuff I wish I'd known sooner (pro tips from personal oopses)
- Don’t try to rush the caramel on high heat. I did this once (impatience strikes) and it separated into an oily mess. Not cute, not tasty.
- Let it cool on the tray completely—otherwise the caramel will stick to your teeth like taffy. Maybe that's your thing! It's not mine.
- If you use microwave popcorn, ditch those un-popped kernels first, or someone will end up with a broken tooth. Ask me how I know.
Burning questions about caramel corn (seriously, people do ask)
- "Can I double this recipe?" Absolutely, though you'll need some serious arm strength for mixing. Or maybe a small army of helpers. Try not to trip over the dog.
- "Is it gluten-free?" Pretty much, as long as you check the labels on your ingredients. Some microwave popcorns sneak in extras, which, rude.
- "Can I skip the baking step?" For sure, but it's stickier and doesn't keep as well. Still delicious, though; sometimes I skip it when I'm impatient.
- "What if I don't have sweetened condensed milk?" I've tried evaporated milk once... not the same vibe. The condensed milk is what makes this recipe magic (IMO).
- "This caramel seems too thin—did I mess up?" Nope, it thickens as it cools! Actually, I tend to panic here too, but it works out okay.
If you like homemade snacks with a sweet twist, you might also love homemade caramel candies or, for something savory, check out classic stovetop popcorn (because balance, right?). And if you want to go down the popcorn-loving rabbit hole—seriously, check out the opinions over at r/Popcorn on Reddit. They're a riot.
Ingredients
- 12 cups popped popcorn (about ½ cup unpopped kernels)
- ½ cup unsalted butter
- 1 cup packed light brown sugar
- ½ cup sweetened condensed milk
- ¼ cup light corn syrup
- ½ teaspoon vanilla extract
- ½ teaspoon salt
- ¼ teaspoon baking soda
Instructions
-
1Preheat oven to 250°F (120°C). Line a large baking sheet with parchment paper and set aside.
-
2Place the popped popcorn in a large bowl, removing any unpopped kernels.
-
3In a medium saucepan over medium heat, melt the butter. Add brown sugar, sweetened condensed milk, and corn syrup. Stir constantly until the mixture comes to a gentle boil.
-
4Remove from heat and stir in vanilla extract, salt, and baking soda. The mixture will bubble up slightly.
-
5Quickly pour the caramel over the popcorn and toss to coat evenly.
-
6Spread the coated popcorn onto the prepared baking sheet. Bake for 25 minutes, stirring every 10 minutes. Remove from oven and let cool completely before breaking into pieces.
Approximate Information for One Serving
Nutrition Disclaimers
Number of total servings shown is approximate. Actual number of servings will depend on your preferred portion sizes.
Nutritional values shown are general guidelines and reflect information for 1 serving using the ingredients listed, not including any optional ingredients. Actual macros may vary slightly depending on specific brands and types of ingredients used.
To determine the weight of one serving, prepare the recipe as instructed. Weigh the finished recipe, then divide the weight of the finished recipe (not including the weight of the container the food is in) by the desired number of servings. Result will be the weight of one serving.
Did you make this recipe?
Please consider Pinning it!!

