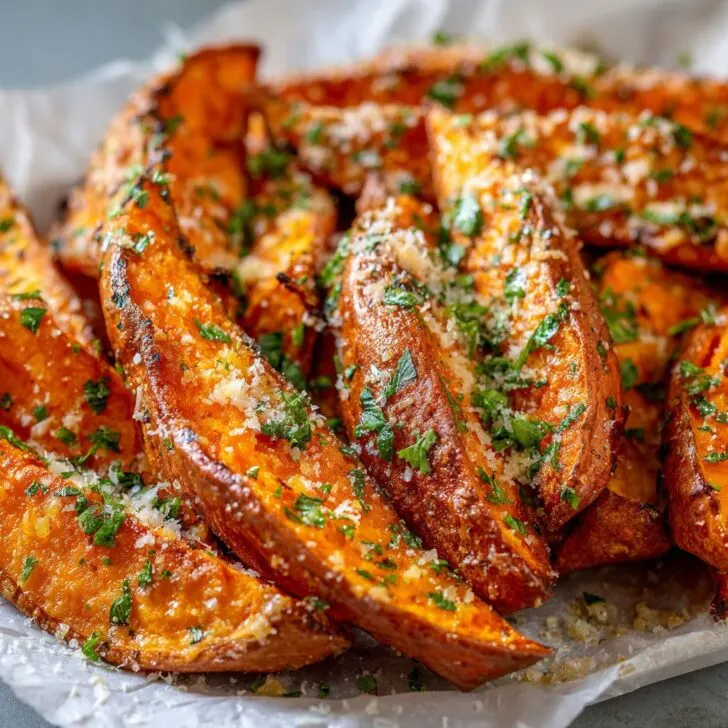
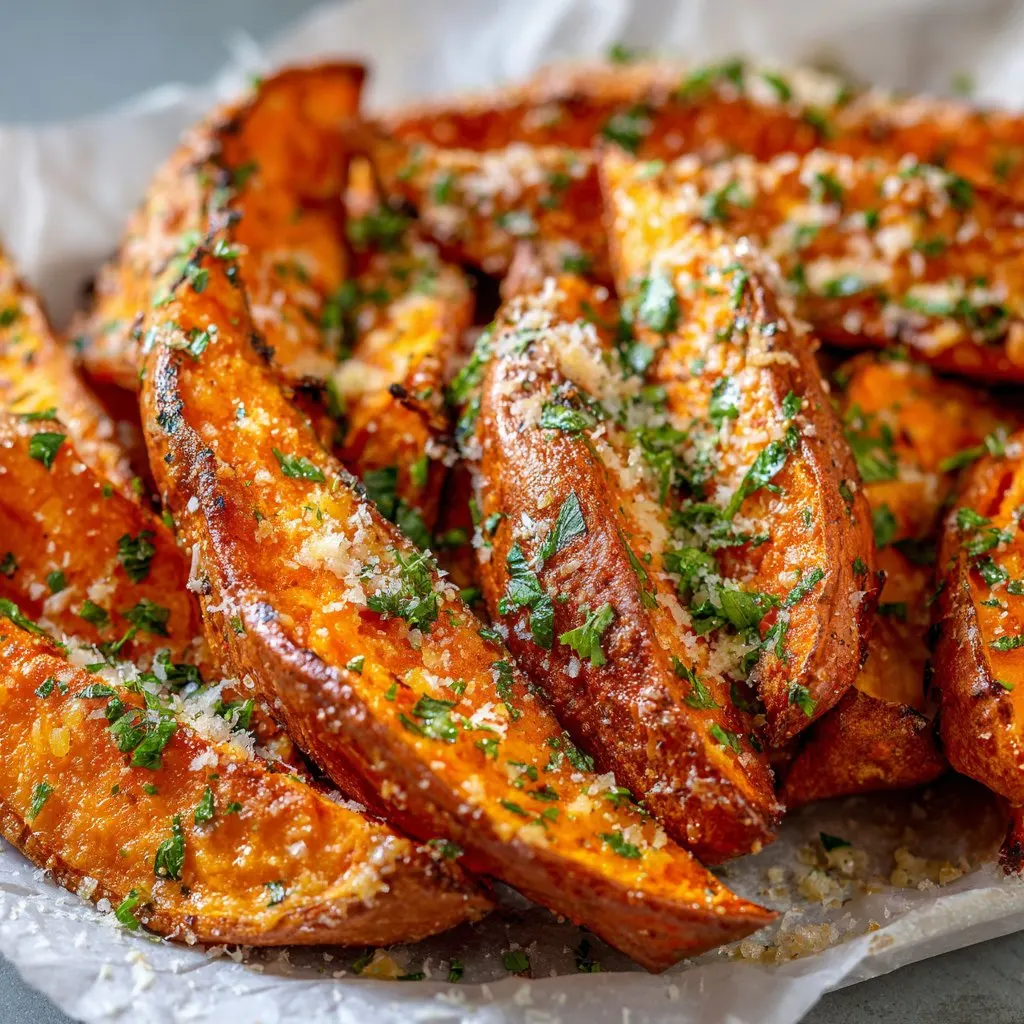
Alright, Let’s Talk Sweet Potato Wedges (And Why I Keep Making Them)
You know those foods you start making because you think they’ll be a hit, but then you realize—wait, I’m the one who’s obsessed? That’s me with these Easy Baked Garlic Parmesan Sweet Potato Wedges. I tried them for a game night once (mostly so I wouldn’t have to deep fry anything, because, ugh, mess) and now they just sorta pop up whenever I don’t know what else to do with that sack of sweet potatoes staring at me from the counter. Oh—and one time, my cousin asked if I’d made “those cheesy orange fries” again, and now the name’s stuck. Cheesy orange fries. My claim to fame.
Why You’ll Love These (Or At Least Tolerate Them When You’re Hungry)
I make these when I’m craving something snacky but can’t face another boring salad (or, honestly, just want my house to smell like a garlic festival). My family goes nuts for them, especially when I “accidentally” go a bit overboard on the cheese. If you’ve ever wrestled with getting wedges crispy instead of sad and floppy, trust me, I feel your pain—it took me ages to figure out the right oven temp. (And if you have a picky eater who claims to hate sweet potatoes? This usually wins them over. Or maybe it’s the cheese, who knows.)
Ingredients (With My Usual Swaps)
- 2-3 medium sweet potatoes (I’ve used yams in a pinch—no one noticed)
- 2 tablespoons olive oil (Avocado oil works fine, or vegetable oil if you’re out. I won’t tell.)
- 3 cloves garlic, minced (Sometimes I cheat and use garlic powder. My grandmother would not approve.)
- ½ cup grated Parmesan cheese (Fresh is best, but the shelf-stable stuff in the green can actually works—don’t @ me)
- 1 teaspoon smoked paprika (Regular paprika if that’s what you have. I even tried a sprinkle of cayenne once—whoa.)
- Salt and pepper, to taste (I just eyeball it, but if you want to be precise, maybe ½ teaspoon each?)
- Optional: chopped parsley for a bit of green, or a squeeze of lemon juice at the end (totally up to you)
How I Actually Make These (Winging It, Mostly)
- Preheat your oven to 425°F (220°C). Trust me, hotter is better—if you go lower, they turn out sad. Line a big baking tray with parchment paper. Sometimes I forget this step and regret it later.
- Wash and scrub your sweet potatoes, but don’t peel them unless you’re feeling extra. Cut them into wedges; I usually aim for about 8 wedges per potato, but honestly, I just try to get them vaguely similar in size. If they look weird, that’s fine. Rustic, I say.
- In a big bowl, toss the wedges with the oil, minced garlic, paprika, salt, and pepper. Actually, sometimes I just drizzle everything over the wedges right on the tray and mush it around with my hands. Less washing up!
- Arrange the wedges, skin-side down, on the tray. They’ll get crispier if you don’t crowd them. This is where I usually sneak a taste of the garlicky oil. Not recommended if you’re not into raw garlic, though.
- Bake for 25-30 minutes. Flip them halfway, or don’t—sometimes I forget, and they still turn out okay. You want them golden and crispy at the edges.
- Take them out, sprinkle generously with Parmesan while they’re hot, and maybe some parsley if you’re feeling fancy. I sometimes squeeze a bit of lemon over the top, it just wakes everything up.
Little Notes I’ve Picked Up (Mostly the Hard Way)
- Don’t skip the parchment paper. Seriously, I used to think it was optional, but scrubbing stuck sweet potato off a tray is a special kind of misery.
- If you cut the wedges too thick, they never cook through. Too thin and they burn. But, honestly, I’ve eaten them both ways.
- Parmesan goes on after baking, not before. Otherwise, it just burns and goes weird. Learned that one the hard way.
What Happens If You Tinker? (I Do, A Lot)
- I once swapped Parmesan for feta. Tasted fine, but the texture was odd, and my husband asked if I’d gotten distracted.
- Sometimes I toss in a little chili powder or cumin if I’m feeling adventurous. I tried rosemary once, but it was too... piney? Maybe I just used too much.
- Oh, and I tried making these in the air fryer. They were decent, but honestly, I prefer the oven for this one.
Equipment: Yes, But Don’t Panic If You’re Missing Something
You’ll want a decent baking tray (I use one form IKEA that’s seen better days), a big bowl, and a sharp knife. If you don’t have parchment, foil works—just give it a good oil spray. And I’ve even used a pizza cutter to slice the wedges when I was too lazy to find the big knife. No shame.

How Long Do These Last? (Not Long, Honestly)
Store any leftovers in an airtight container in the fridge. They’re okay for 2-3 days, but they do get a bit floppy. I reheat them in the oven at 400°F for about 10 minutes to bring back some crunch. But, in my house, they’re usually gone by breakfast the next day—my kid once packed them cold for lunch, so maybe that’s a thing?
How We Serve ‘Em (My Weird Traditions)
I love these as a side with roast chicken or even with eggs for breakfast (don’t knock it till you try it). My sister dips hers in ketchup, which I thought was weird at first, but now I kinda get it. Sometimes we just pile them on a platter for movie night with a bowl of garlicky yogurt dip. Oh, and here’s a dip recipe I like: Spend with Pennies Garlic Parmesan Dip.
Pro Tips (aka, Stuff I Messed Up So You Don’t Have To)
- Don’t crowd the pan! I tried to squeeze too many wedges on one tray once and ended up with a soggy mess. Lesson learned.
- If you’re using pre-shredded Parmesan, it won’t melt the same way, but it’s still tasty.
- I once tried to rush the bake by cranking up the oven—ended up with burnt outsides and raw insides. Not recommended.
- Let them cool for a couple minutes before serving. The cheese sticks better and you won’t burn your tongue. Ask me how I know.
You Asked, I (Kinda) Answered: FAQ
- Can I make these vegan? Sure! Skip the Parmesan, or try nutritional yeast. Actually, I find it works better if you add a bit more garlic when you do this.
- Do I have to peel the sweet potatoes? Nope! I never do. The skin crisps up nicely and has extra nutrients (or so my mom claims).
- Why aren’t my wedges crispy? Could be too much oil, or maybe they’re crowded on the tray. Or your oven runs cool; it’s honestly a mystery sometimes.
- Can I freeze them? I’ve tried, but after reheating, they go a bit mushy. Wouldn’t recommend. But here’s a link if you want to check out more info: The Spruce Eats Guide to Freezing Sweet Potatoes.
- What’s the best dip? I love a simple yogurt-garlic thing, but ranch or even sriracha mayo works. My brother likes them plain—can’t please everyone.
Oh—and if you’re ever in doubt, just add more cheese. That’s my solution for most things in life, not just sweet potatoes. Happy cooking!
Ingredients
- 2 large sweet potatoes, washed and cut into wedges
- 2 tablespoons olive oil
- 3 cloves garlic, minced
- ½ cup grated parmesan cheese
- 1 teaspoon dried Italian herbs
- ½ teaspoon smoked paprika
- ½ teaspoon salt
- ¼ teaspoon black pepper
- 2 tablespoons chopped fresh parsley (optional, for garnish)
Instructions
-
1Preheat the oven to 425°F (220°C) and line a large baking sheet with parchment paper.
-
2In a large bowl, toss the sweet potato wedges with olive oil, minced garlic, Italian herbs, smoked paprika, salt, and black pepper until evenly coated.
-
3Arrange the seasoned sweet potato wedges in a single layer on the prepared baking sheet.
-
4Sprinkle grated parmesan cheese evenly over the wedges.
-
5Bake for 25-30 minutes, flipping halfway through, until the wedges are golden and crispy on the edges.
-
6Remove from the oven, garnish with chopped fresh parsley if desired, and serve hot.
Approximate Information for One Serving
Nutrition Disclaimers
Number of total servings shown is approximate. Actual number of servings will depend on your preferred portion sizes.
Nutritional values shown are general guidelines and reflect information for 1 serving using the ingredients listed, not including any optional ingredients. Actual macros may vary slightly depending on specific brands and types of ingredients used.
To determine the weight of one serving, prepare the recipe as instructed. Weigh the finished recipe, then divide the weight of the finished recipe (not including the weight of the container the food is in) by the desired number of servings. Result will be the weight of one serving.
Did you make this recipe?
Please consider Pinning it!!

