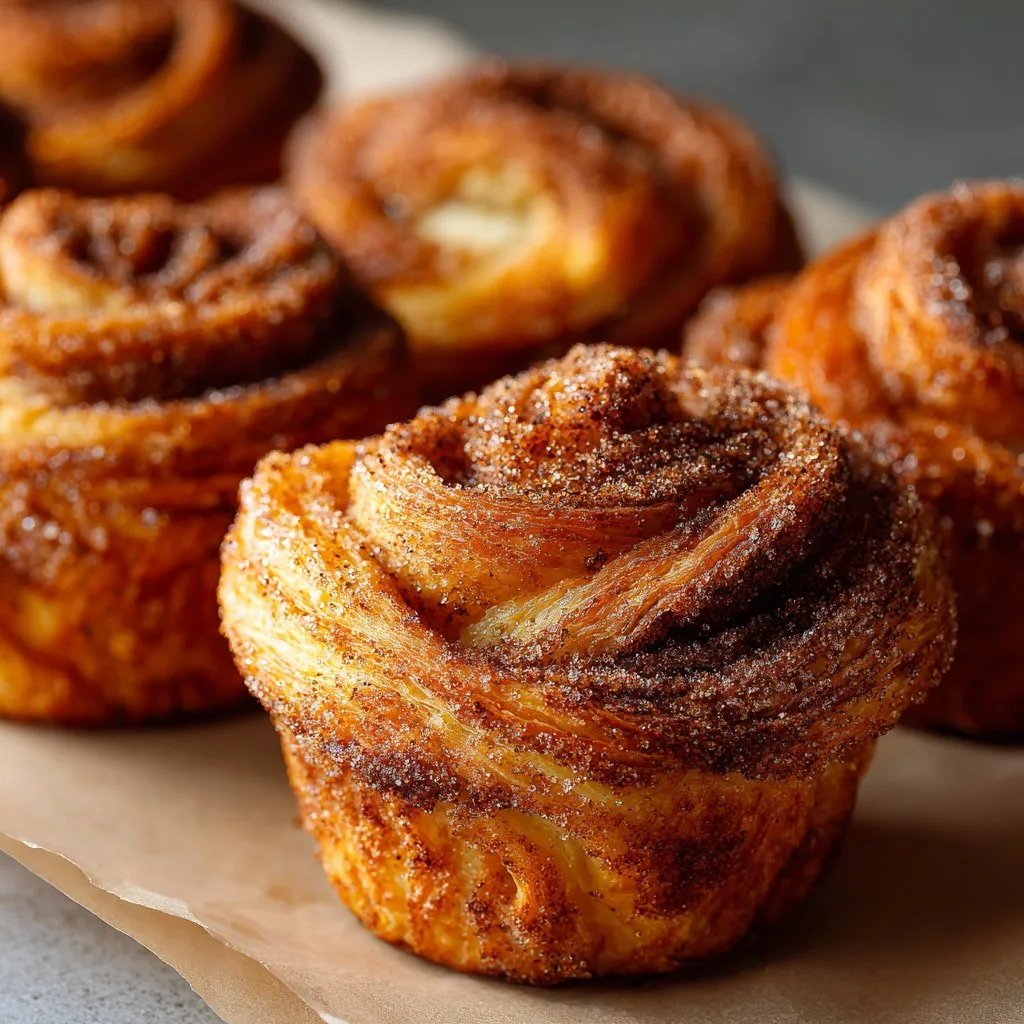
Let Me Tell You About These Cruffins (And My Slightly Floury Kitchen Floor)
Okay, so let’s just say the first time I made Cinnamon Sugar Cruffins, I wasn’t exactly trying to impress anyone. It was a rainy afternoon – you know the kind where you suddenly crave something warm and sweet, but you also don’t feel like washing seventeen bowls? I’d seen cruffins on Instagram (honestly, who hasn’t?) and figured I’d give them a whirl. Spoiler: flour everywhere, but also, zero regrets. My dog tried to lick the floor clean, so at least someone was happy about it.
Why I Keep Coming Back To This Recipe
You know how some recipes are just…fussier than they’re worth? This isn’t one of those. I make these when I want something that looks impressive but takes, like, 20 minutes of actual effort (plus some lazy rising time). My family goes bananas for them—and by family, I mean my kids and, on rare occasions, my husband if he hasn’t already filled up on toast. There’s something about the cinnamon-sugar swirl that brings everyone into the kitchen. And honestly? Rolling the dough is way easier than you’d think. The only frustration: waiting for them to cool enough to eat without burning your mouth, which I definitely fail at about half the time.
What You’ll Need (Honestly, I Sub In Stuff All The Time)
- 1 packet (7g) instant yeast – I sometimes use active dry if that’s all I’ve got, just proof it first
- ⅓ cup (75g) caster sugar (granulated works too, don’t sweat it)
- 1 cup (240ml) warm milk (almond milk is actually fine here – my cousin swears by it)
- 3 cups (375g) plain flour (all-purpose, but bread flour makes them a bit chewier – pick your fighter)
- 1 teaspoon salt
- 1 egg (if you’re out, flax egg works in a pinch, but they’re a tad less fluffy)
- ⅓ cup (75g) unsalted butter, softened, plus a bit more for brushing (salted is fine, just skip the added salt then)
- ½ cup (100g) sugar + 2 teaspoon cinnamon for rolling (sometimes I up the cinnamon, shh)
How I Actually Make Cinnamon Sugar Cruffins (Sometimes With a Side of Chaos)
- Mix the dough: In a big bowl, combine the yeast, sugar, and warm milk. Let it sit for, I don’t know, 5 minutes, until it’s a bit foamy. (If your kitchen is cold, I just stick it near a warm oven.)
- Add the flour, salt, egg, and butter. Stir it up with a wooden spoon – or a clean hand if you’re feeling rustic. When it all comes together, knead it on a floured surface. Sometimes it’s super sticky, but it sorts itself out after 8-10 mins (or you can use a mixer, but I usually can’t be bothered with extra washing up).
- Pop it back in the bowl, cover with a tea towel, and let it rise somewhere cozy. About an hour, or until doubled. (Mine usually just chills in the microwave. Not on, obviously.)
- Roll it up: Punch down the dough – this is weirdly satisfying. Split it in half (I just eyeball it) and roll each bit out into a large rectangle, maybe 9x12 inches. Doesn’t have to be perfect! Slather with melted butter.
- Sprinkle the cinnamon sugar all over. Go heavy – you won’t regret it.
- Roll each piece up from the short side, so you get a long log. Slice each log lengthways – so now you’ve got four long strips, all swirly and gorgeous. (Don’t worry if it looks messy. That’s the charm.)
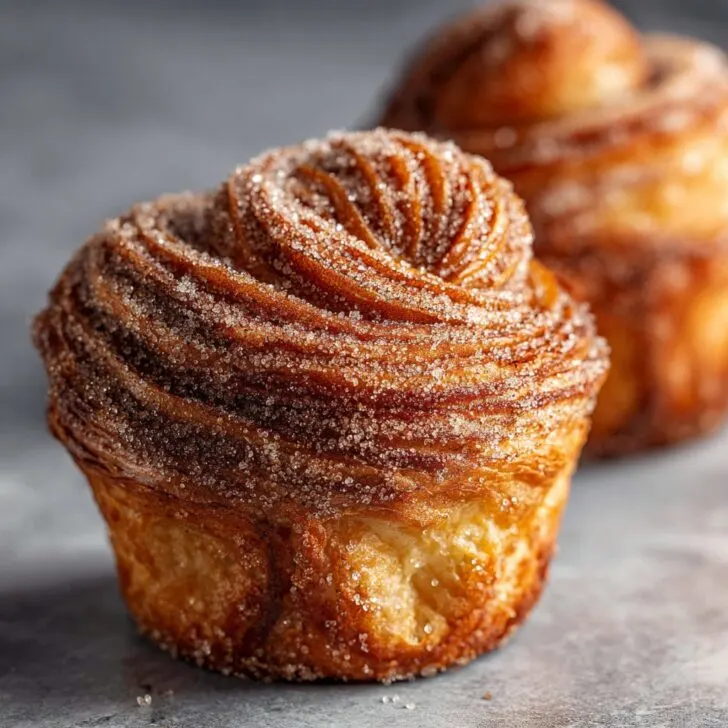
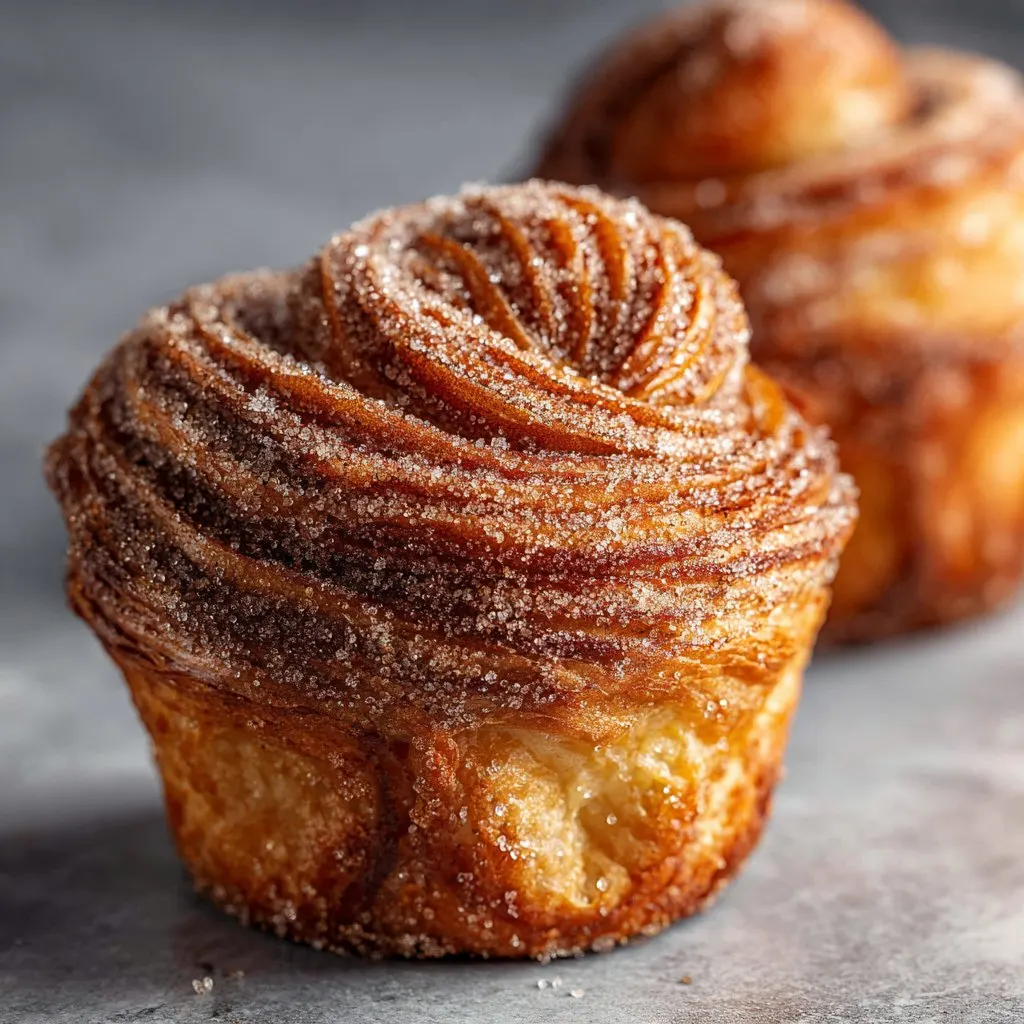
- Take each strip, coil it up into a muffin tin, swirl side out. I usually have one that looks like it lost a fight with a rolling pin, but it still bakes up fine.
- Cover again and let them rise about 30 mins while you clean up (or just drink tea and ignore the mess).
- Bake at 375°F (190°C) for 18-22 mins, until golden and puffed. This is when I sneak a taste of the cinnamon sugar left in the bowl. You can too, I won’t judge.
- Brush with more melted butter and dunk in extra cinnamon sugar while still warm. Try not to eat them all at once (I fail every time).
Stuff I Learned the Hard Way
- Don’t over-knead – mine turned out tough once because I zoned out watching Bake Off. Oops.
- If your dough doesn’t rise, maybe your yeast is old, or your kitchen is Baltic. Try warming your oven a bit then turning it off and popping the bowl in there.
- Actually, I find it works better if you’re generous with the butter. Less is definitely not more here.
Things I’ve Tried (And One I’ll Never Do Again)
- Filled them with Nutella instead of cinnamon sugar—Gemma at Bigger Bolder Baking inspired me, so good for a treat!
- Lemon sugar instead of cinnamon—this is zingy, but the kids wanted cinnamon back the next time.
- Tried adding diced apple once; it leaked everywhere, so, um, maybe don’t do that unless you’re cool with sticky muffin tins.
What If You Don’t Have a Muffin Tin?
Honestly, you can just pile them into a cake tin, spaced out a bit, and they turn out more like pull-apart buns. I did this once when my muffin tin was AWOL (probably in the garage? Don’t ask). Still tasty.

How To Store (Not That You’ll Need To…)
Supposedly, you can keep these in an airtight container at room temp for 2 days. They’re best warm, though. In my house, they don’t last more than a day—unless I hide a few behind the flour canister (yes, I am that mum).
How I Like To Serve Them
I love them with a cup of strong coffee, but also, they’re weirdly good with cold milk. My kids dunk them, which is a little barbaric but, you know, whatever makes them happy. Sometimes we take them on picnics – wrapped up in foil, still warm, and gone before we even get to the park.
Pro Tips I Had to Learn By Messing Up
- Once, I tried to skip the second rise because I was impatient—big mistake, they didn’t fluff up right. Don’t be like me.
- Be generous with the filling. I thought less would be easier to roll, but, nah, go big or go home.
- Cake flour made mine too cakey once; stick with all-purpose or bread (unless you like a crumbly cruffin, but I don’t, really).
Questions I Actually Get Asked (Or Ask Myself, Honestly)
- Can I use store-bought dough? Yep! Store-bought croissant or even crescent roll dough works in a pinch. It’s less chewy, but you’ll still get those layers. Here’s a handy shortcut recipe on King Arthur Baking if you want to see how it’s done.
- Can you freeze them? I’ve frozen baked cruffins before. Just wrap them up tight, then reheat in the oven. The texture isn’t exactly the same, but still yum.
- Why isn’t my dough rising? Usually it’s the yeast. Or my kitchen’s too cold. I just keep moving the bowl around til something happens. It usually does, eventually.
- Are cruffins better fresh? I tend to think so, but honestly, I’ve had one next day (hidden at the back of the bread bin) and it was still pretty great. Maybe microwaved for 10 seconds.
- Do I have to use muffin cases? Not really, but it makes cleanup easier. I forget half the time, and just soak the tin longer.
And if you’re after more home-baking adventures, I always get lost for hours reading Sally’s Baking Addiction—seriously, that woman knows her dough. Anyway, hope you enjoy making these as much as we do (and if you make a mess, just blame it on the dog).
Ingredients
- 1 sheet puff pastry, thawed
- 3 tablespoons unsalted butter, melted
- ½ cup granulated sugar
- 1 tablespoon ground cinnamon
- ¼ teaspoon salt
- 1 teaspoon vanilla extract
- 1 tablespoon all-purpose flour (for dusting)
- Nonstick cooking spray
Instructions
-
1Preheat the oven to 375°F (190°C) and lightly grease a muffin tin with nonstick cooking spray.
-
2On a lightly floured surface, roll out the puff pastry sheet into a rectangle about 12x16 inches.
-
3Brush the entire surface of the pastry with melted butter. In a small bowl, mix together the sugar, cinnamon, and salt, then sprinkle evenly over the buttered pastry.
-
4Starting from the long edge, tightly roll up the pastry into a log. Slice the log into 6 equal pieces.
-
5Place each piece, cut side up, into the prepared muffin tin. Bake for 22-25 minutes, or until golden brown and puffed.
-
6Let the cruffins cool for 5 minutes, then remove from the tin and roll in additional cinnamon sugar if desired. Serve warm.
Approximate Information for One Serving
Nutrition Disclaimers
Number of total servings shown is approximate. Actual number of servings will depend on your preferred portion sizes.
Nutritional values shown are general guidelines and reflect information for 1 serving using the ingredients listed, not including any optional ingredients. Actual macros may vary slightly depending on specific brands and types of ingredients used.
To determine the weight of one serving, prepare the recipe as instructed. Weigh the finished recipe, then divide the weight of the finished recipe (not including the weight of the container the food is in) by the desired number of servings. Result will be the weight of one serving.
Did you make this recipe?
Please consider Pinning it!!

