Sit Down, Lemme Tell You About These Muffins
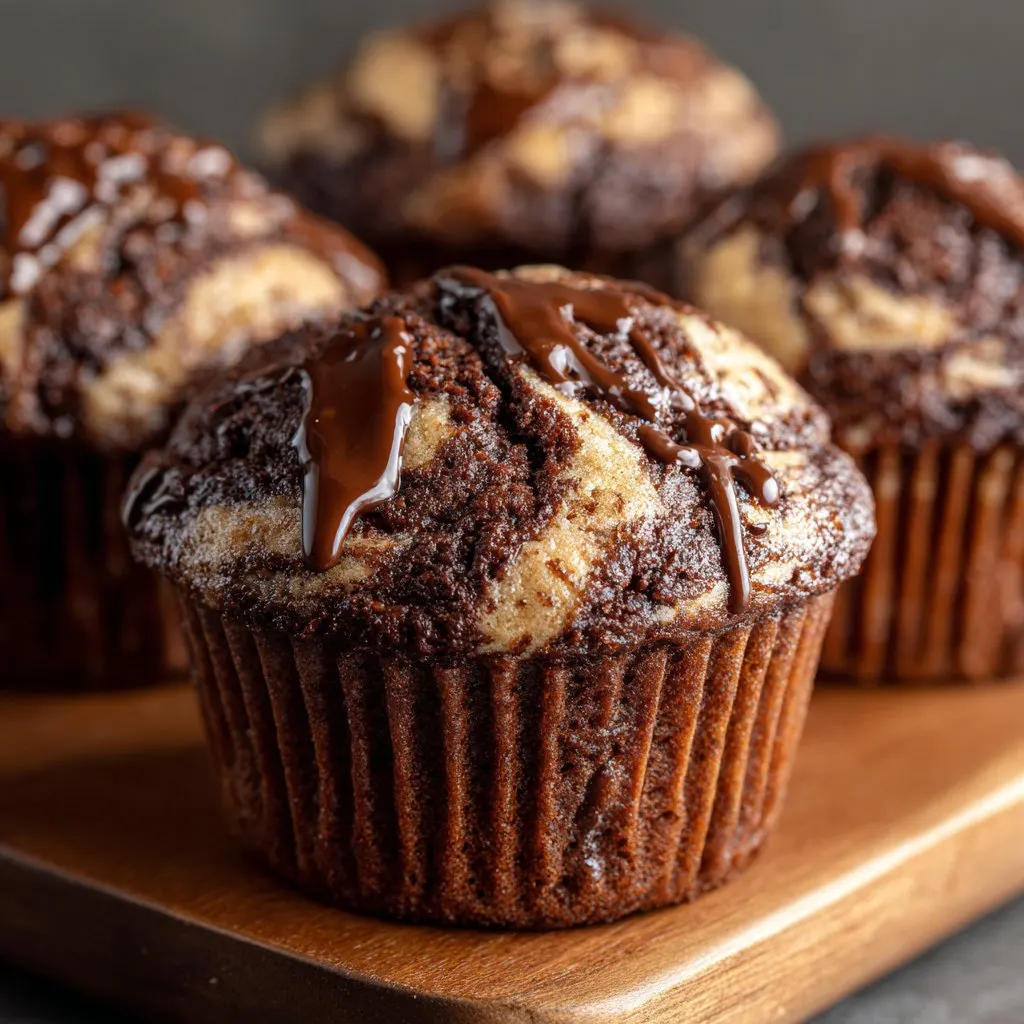
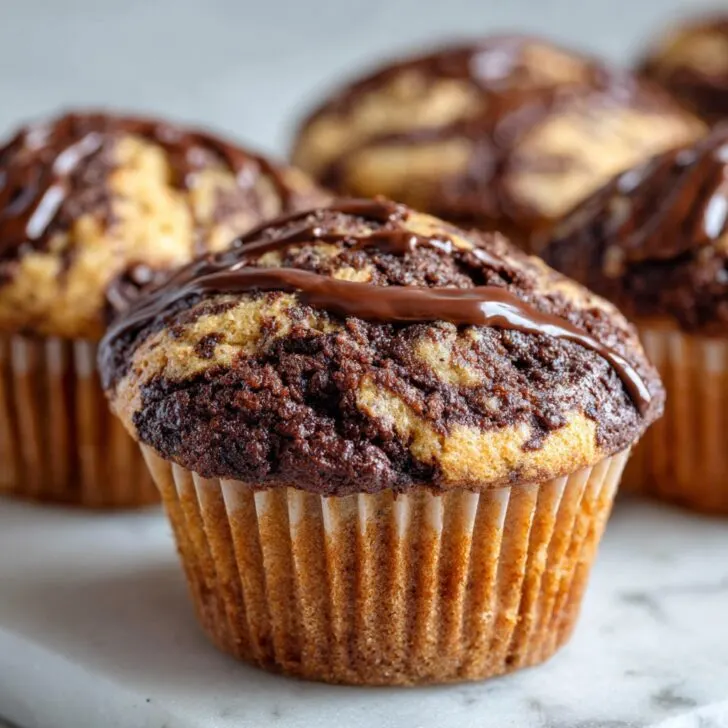
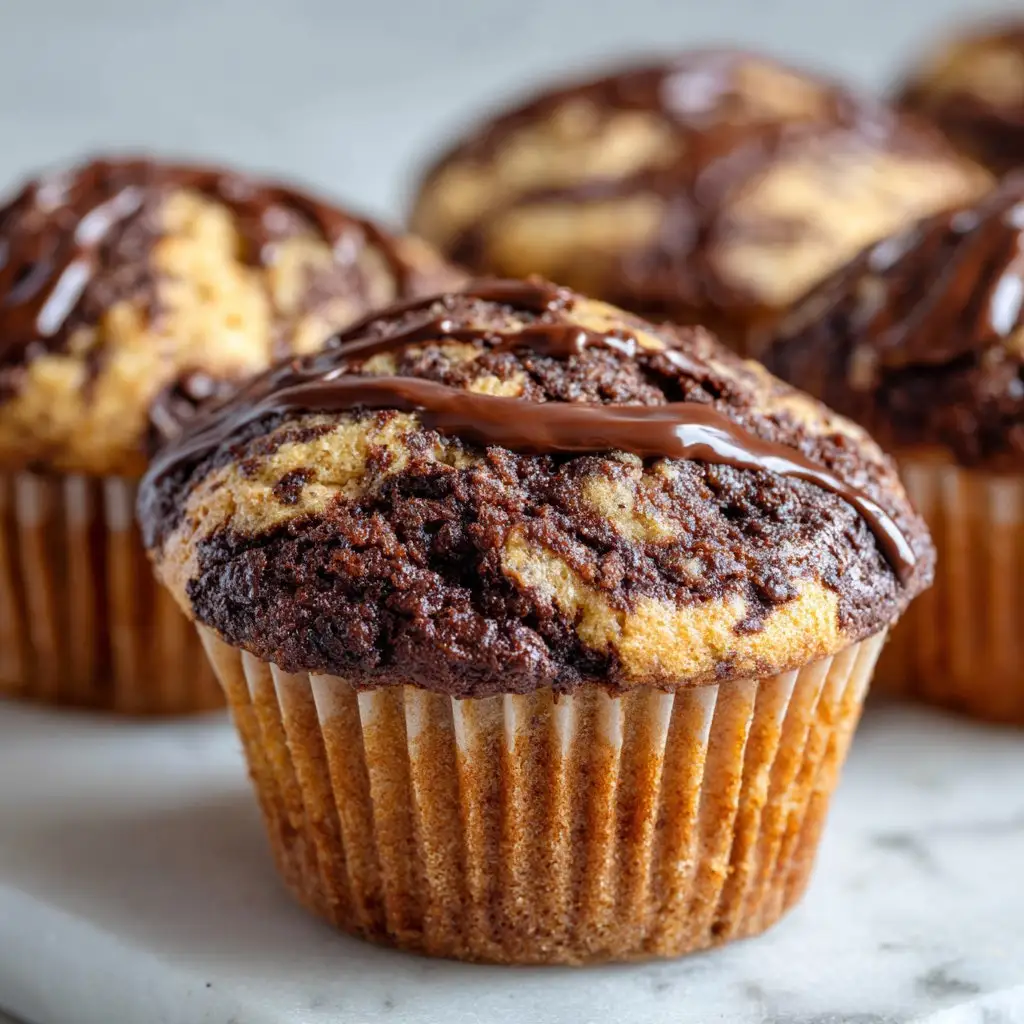
You ever have one of those days where only chocolate and peanut butter will do? Yeah, me too. I first made these Chocolate Peanut Butter Swirl Muffins on a sleepy Sunday morning ages ago, mostly because I couldn’t decide if I wanted a chocolate muffin or something with peanut butter (classic me, right?). So I just did both, swirled them together, and, well, they’ve been my go-to ever since. Just a heads-up: my nephew once called them 'messy cupcakes for breakfast'—which, honestly, is fair.
Why I Keep Coming Back to This Recipe
I make these whenever I’m craving something cozy but can’t be bothered with anything fancy. My family goes absolutely bananas for them (not literally, though maybe that’s an idea for next time). Sometimes I make a batch just to have leftovers for snack attacks—or at least, that’s the plan, but they rarely last long. Oh, and if you’re worried about the swirls getting all mixed up, don’t be; mine look different every single time, but they always taste great. Once I tried making them in a rush before work and, let’s just say, my kitchen looked like a chocolate crime scene. Worth it, though.
What You’ll Need (Plus a Few Shortcuts)
- 1 cup (125g) all-purpose flour (sometimes I swap in half whole wheat if I’m feeling, you know, virtuous—but you can’t really tell)
- ½ cup granulated sugar (brown sugar works if that’s all you have; it actually makes them a bit more fudgy)
- ¼ cup unsweetened cocoa powder (I’ve accidentally used hot chocolate mix, and it still worked… just sweeter!)
- 1 teaspoon baking powder
- ¼ teaspoon baking soda
- ¼ teaspoon salt (I just use a fat pinch, honestly)
- ½ cup milk (dairy or almond; even oat milk if that’s what’s in the fridge)
- ⅓ cup neutral oil (any mild oil, but I’ve used melted butter in a pinch—tastes richer)
- 1 large egg (sometimes I skip this and use a flax egg—turns out fine)
- ½ teaspoon vanilla extract (real, fake, or whatever you’ve got; my gran always insisted on Nielsen-Massey, but, eh, any will do)
- ⅓ cup creamy peanut butter (crunchy gives a different vibe, but still good)
- ¼ cup mini chocolate chips (or, let’s be honest, a handful of whatever chocolate you find hiding in the pantry)
How I Actually Make ‘Em (It’s Not Always Pretty)
- Preheat your oven to 375°F (190°C) and line a muffin tin with papers. Or just grease the cups if you’re out. I’ve done both—papers are less messy, but hey, YOLO.
- In one bowl, whisk together the flour, sugar, cocoa powder, baking powder, baking soda, and salt. If it gets a bit lumpy, don’t stress. It’ll work itself out.
- In another (smaller) bowl, mix the milk, oil, egg, and vanilla. Add the wet to the dry. Stir gently—overmixing just makes them tough, not that I haven’t done it anyway.
- Spoon about half the batter into another bowl, then mix the peanut butter into that half. (This is where I usually sneak a taste. Quality control, right?)
- Now, alternate dropping chocolate batter and peanut butter batter into each muffin cup. Doesn’t have to be perfect. Once they’re filled, use a toothpick or butter knife to give each a big, lazy swirl. Don’t go wild or you’ll lose the pretty swirls (but honestly, sometimes I get carried away and they’re still tasty).
- Sprinkle the tops with chocolate chips—or, if you’re feeling extra, a few chopped nuts. Or nothing. Or both. Life’s too short.
- Bake for 15–18 minutes, or until a toothpick comes out with just a crumb or two. Don’t sweat if they have a few cracks on top; means you did it right, in my (probably not expert) opinion.
- Let them cool for 10 minutes in the pan, then finish on a wire rack. If you eat one warm, I won’t judge. Actually, I encourage it.
Little Things I Learned the Hard Way
- If you use natural peanut butter, stir it really well first; trust me, I’ve ended up with oily muffins before.
- If you don’t have muffin papers, just grease every nook and cranny of the tin. Or use parchment squares (they look fancy but are less fuss than you’d think).
- Actually, letting them cool for at least 5 minutes helps them come out easier. Don’t try to rush them—yep, that’s from experience.
What Happens If You Mix Things Up?
- Once I tried adding a swirl of jam—it was… interesting. Not my best, but maybe you’ll have better luck.
- I sometimes use almond butter instead of peanut butter (pecan butter was a swing and a miss, though).
- If you’re feeling wild, toss a few marshmallows in the batter. They melt and make pockets of gooeyness; my niece loved it, but they kinda stuck to the papers, so fair warning.
- Chopped banana is decent, but then it’s basically a whole different muffin.
Do I Need Fancy Stuff? (Spoiler: Not Really)
- Muffin tin (if you don’t have one, you can use ramekins or even bake as a loaf, but it’ll take longer—keep an eye on it!)
- Mixing bowls
- Whisk or a fork (I’ve been known to improvise with a chopstick in a pinch)
- Toothpick or butter knife for swirling
- If you have a stand mixer, great, but honestly, it’s just more to wash. I use a bowl and a spoon.

How Long Do These Keep? (Real Talk)
In my house, they never last more than a day, so honestly, I’m guessing. But I’d say keep them in an airtight container for 2–3 days at room temp. You can freeze them too, but I rarely do. If you go that route, wrap them up tight. Oh, and here's a guide from Sally's Baking Addiction that's pretty handy if you want all the freezing details.
How I Like to Serve Them
My personal favorite? Warm, with a smear of extra peanut butter (or homemade chocolate spread if you’re feeling extra). Sometimes my family eats them with ice cream—don’t knock it till you try it. And if it’s a chilly morning, they’re perfect with a big mug of tea. Or coffee, if you’re more that way inclined. Honestly, any which way is good.
Things I Messed Up So You Don’t Have To
- I once tried to rush the swirling step and just ended up with muddy-looking muffins—take your time, swirl gently.
- Don’t overmix. Really. I know I said it before, but tough muffins are the worst, and I’ve made my fair share.
- If you use a dark pan, check them a couple minutes early. Mine got overdone once and basically turned into rocks. Okay, that’s an exaggeration, but still.
- Let them cool a bit before you try getting them out (I know, the aroma is killer, but patience is a virtue or whatever).
Questions Folks Have Actually Asked Me
- Can I make these gluten-free?
- Sure thing—just use a 1-to-1 gluten-free flour blend. I’ve tried Bob’s Red Mill with good results. The texture’s a smidge different, but still tasty.
- Is it okay to use crunchy peanut butter?
- Absolutely! You’ll get a nice little crunch—just be aware the swirl may look a bit more rustic (which I like, personally).
- Can I double the recipe?
- Yep. Just use two muffin tins or bake in batches. But watch your baking time; sometimes the bigger batches need a minute extra. Or not. Ovens are mysterious creatures.
- Do I have to use muffin liners?
- Nah, just grease the tin well. Or use parchment paper. Or, if you’re out of everything, just cross your fingers and hope for the best (kidding, sort of).
- How do I get the swirl to look nice?
- I find using a chopstick or skewer does the trick, but honestly, sometimes it just does its own thing. Embrace the chaos!
- Why does my peanut butter layer sink?
- Could be a bit heavy or maybe overmixed. Try a slightly thicker chocolate batter or just don’t overwork it. But if it sinks, it’s like a hidden surprise—bonus!
Side note: If you want to up your muffin game, check out this Muffin 101 guide from King Arthur Baking; I learned a couple things I never would’ve guessed!
So, that’s my not-so-perfect, very real guide to chocolate peanut butter swirl muffins. Next time you’re in the mood for something warm, chocolatey, and a little bit nutty (kinda like me, honestly), give these a go. And if you find an even better variation, send it my way!
Ingredients
- 1 ½ cups all-purpose flour
- ½ cup unsweetened cocoa powder
- ¾ cup granulated sugar
- 2 teaspoons baking powder
- ½ teaspoon baking soda
- ¼ teaspoon salt
- 2 large eggs
- ¾ cup milk
- ½ cup vegetable oil
- 1 teaspoon vanilla extract
- ½ cup creamy peanut butter
Instructions
-
1Preheat the oven to 375°F (190°C). Line a 12-cup muffin tin with paper liners.
-
2In a large bowl, whisk together the flour, cocoa powder, sugar, baking powder, baking soda, and salt.
-
3In another bowl, beat the eggs, milk, vegetable oil, and vanilla extract until well combined.
-
4Add the wet ingredients to the dry ingredients and mix until just combined. Do not overmix.
-
5Divide the batter evenly among the muffin cups. Drop about 1 teaspoon of peanut butter on top of each muffin and swirl gently with a toothpick.
-
6Bake for 18-20 minutes, or until a toothpick inserted into the center comes out clean. Let cool before serving.
Approximate Information for One Serving
Nutrition Disclaimers
Number of total servings shown is approximate. Actual number of servings will depend on your preferred portion sizes.
Nutritional values shown are general guidelines and reflect information for 1 serving using the ingredients listed, not including any optional ingredients. Actual macros may vary slightly depending on specific brands and types of ingredients used.
To determine the weight of one serving, prepare the recipe as instructed. Weigh the finished recipe, then divide the weight of the finished recipe (not including the weight of the container the food is in) by the desired number of servings. Result will be the weight of one serving.
Did you make this recipe?
Please consider Pinning it!!

