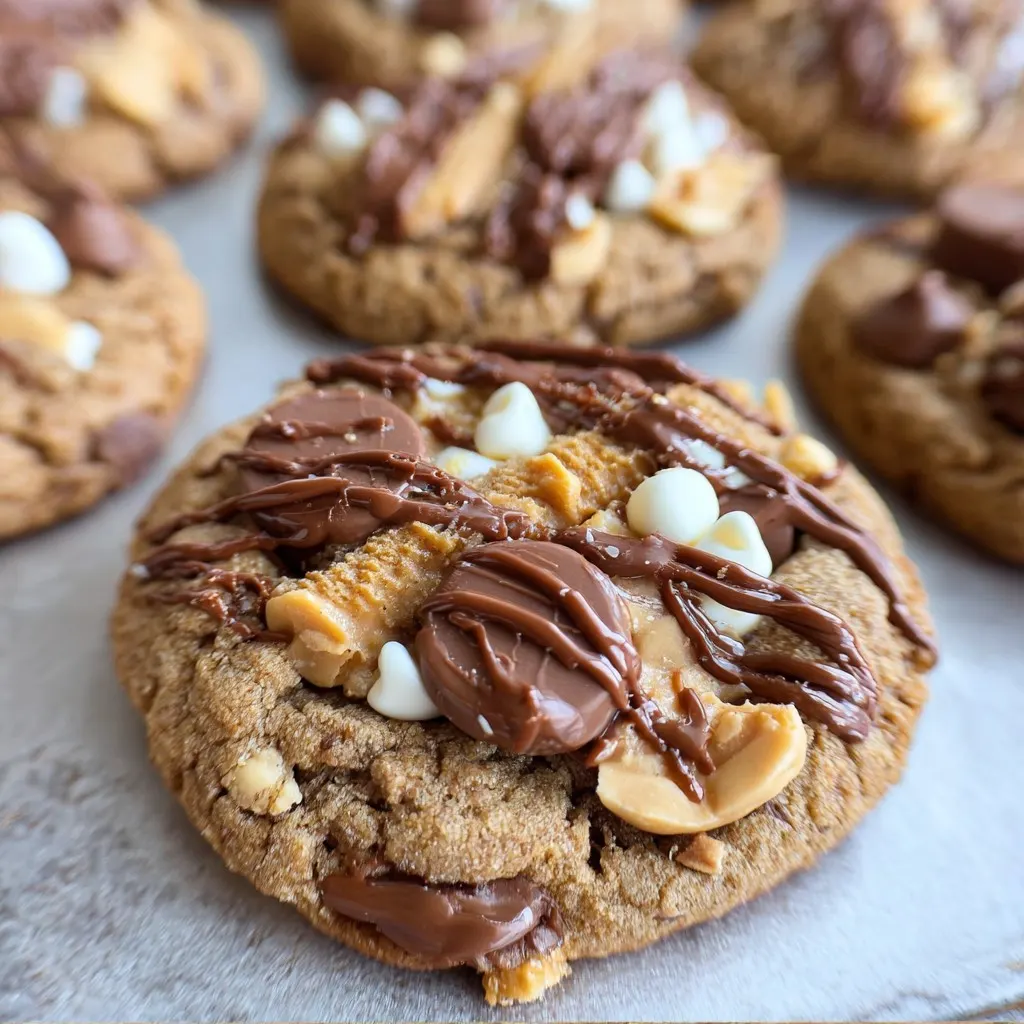
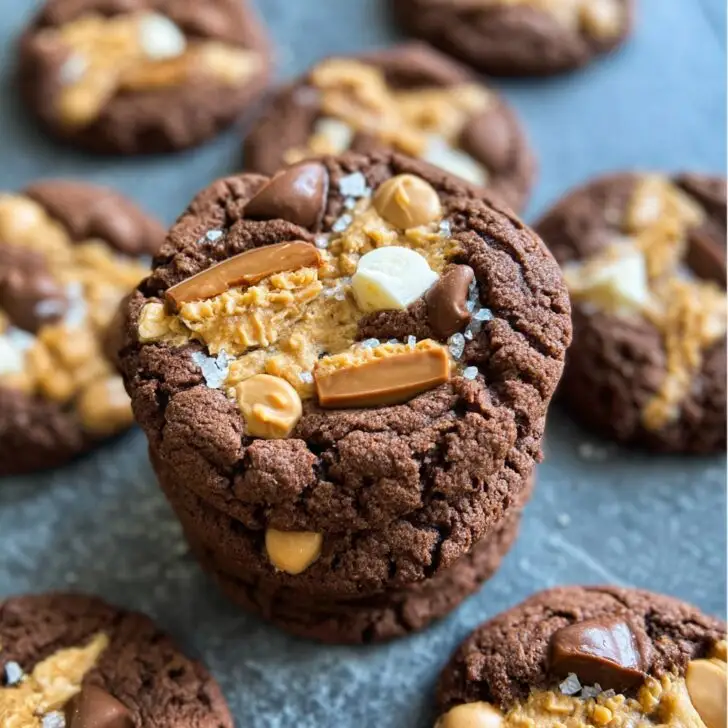
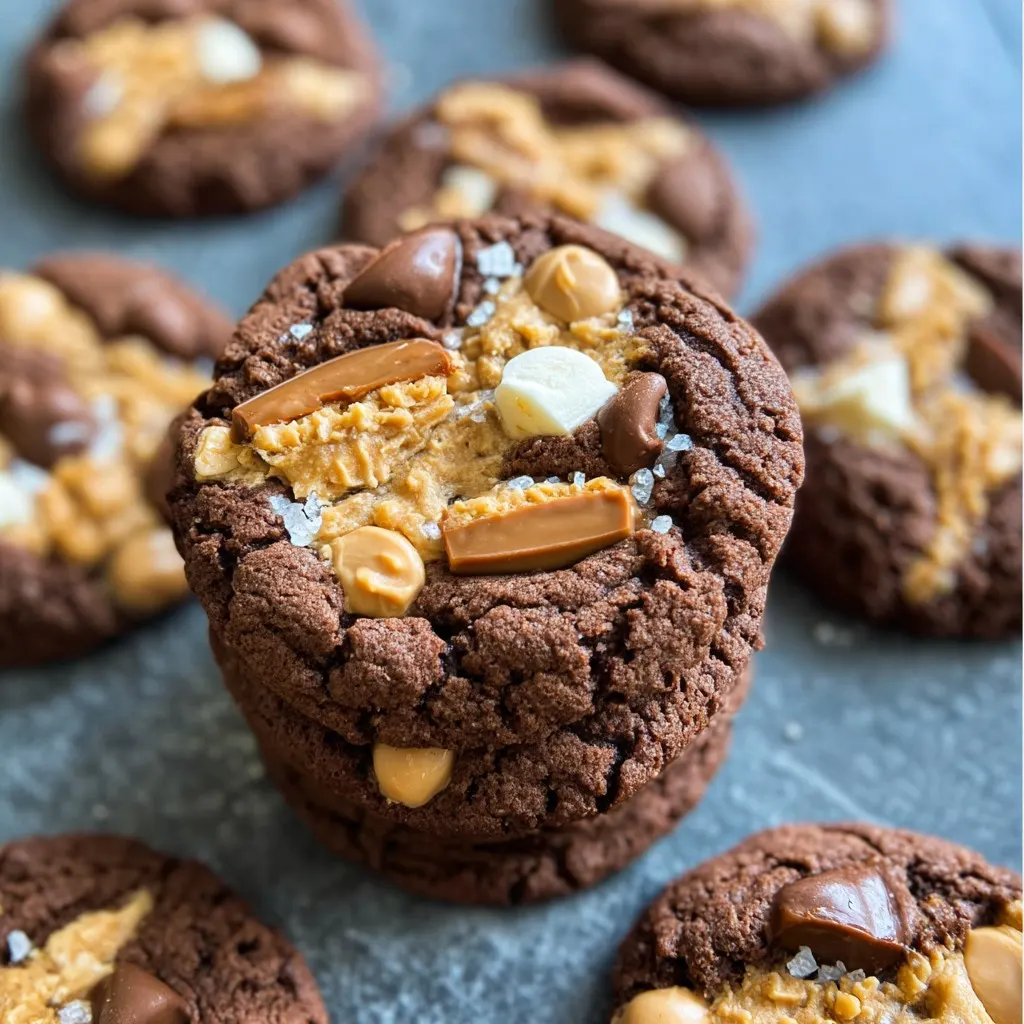
Let Me Tell You About These Chocolate Peanut Butter Ruckus Cookies
Okay, story time: The first time I made these, it was a rainy Tuesday night, and I was mostly just looking for an excuse to crank the oven on and dodge doing the laundry. You know how that goes, right? Anyway, I called them "Ruckus" Cookies after the total disaster that happened the first time around—some cookies melted into each other, peanut butter fingerprints everywhere, the works. (Dog got involved, my fault for not watching the counter.) But now, honestly? My roommate and I basically keep a secret stash going because we pretend they're too much work for weekday baking, but they come together in no time. Plus, they're like the cookie version of finding a fiver in your old jeans—unexpectedly awesome every single time.
Why You'll Love These (& Why I Keep Making Them)
I make these mostly when people are coming over and I want to seem like I've got it together (when in fact, the kitchen is usually a bit wild). My nephews go wild for them—probably because you get chocolate, peanut butter, and a bit of crunch all at once, no fancy decorating needed. There was a phase where I tried swapping the chocolate out for butterscotch chips—don't. Trust me on this. And if you're someone who can't stand making things too perfect, these are your jam. They're a bit rustic, a little messy, and that's the charm, right? Sometimes the dough sticks to my hands but I just call that extra flavor. (Kidding. Mostly.)
What You'll Need (Ingredients, with Options I Actually Use)
- ½ cup (about a stick) unsalted butter, softened—though I've used margarine on desperate Wednesdays and survived
- ½ cup creamy peanut butter—chunky works if you like the hidden surprise
- 1 cup good old brown sugar (light or dark, honestly whichever is in the cupboard)
- ¼ cup white sugar (granulated; I skip it sometimes if I'm feeling lazy, adds a little less crunch)
- 1 large egg (room temp if you remember, straight from the fridge if you don’t)
- 1 teaspoon vanilla extract (I once just used maple syrup in a pinch, it’s fine but not earth-shattering)
- 1 cup all-purpose flour (tried whole wheat once, came out weirdly dense but edible, if that’s your style)
- ½ teaspoon baking soda (yes, you need it; it does... science?)
- ¼ teaspoon salt (skip if your peanut butter is salty; my grandma insisted on Morton’s, but really any salt works)
- ¾ cup rolled oats (quick oats are fine; sometimes I do a half and half situation)
- 1 cup chocolate chips (milk, semi-sweet, or even dark; I throw in a handful extra if it’s been a long week)
- ½ cup chopped salted peanuts (optional, but I think it gives that extra wow or crunch—use walnuts if you want, but that’s not a ruckus, that’s a different party)
How I Actually Make These (Directions—Some Steps Precise, Others Not So Much)
- First, preheat your oven to 350°F (or about 175°C if that's your thing). Line a baking sheet with parchment, unless you've run out (hello, that’s me sometimes)—in a pinch, just grease the tray with whatever’s handy (butter, oil, sometimes I use the wrapper from the butter if I'm feeling thrifty).
- In a big bowl, cream together the butter and peanut butter until it looks whipped. I use a hand mixer, but a wooden spoon will do if you want the brownie points (or if you can’t be fussed with more dishes). The mixture should look light and fluffy-ish, but don't overthink it.
- Add both sugars. Mix again—I sneak a little taste here and, honestly, it's already pretty good at this stage.
- Crack in the egg, splash in that vanilla; mix until it's all combined. If your egg isn’t fully mixed, don’t panic, just keep going; nobody will notice a little streak anyway.
- Now dump in your dry stuff: flour, baking soda, and salt. Just sort of mound them on top and give them a gentle stir on the mound first, so you don’t get a weird baking soda clump (learned that one the hard way). Then mix the whole thing together until just combined—don’t over-mix, or your cookies might come out a bit tough (once made that mistake, still ate 'em).
- Time for the oats, chocolate chips, and peanuts. Fold them in with enthusiasm but don’t get too wild; the dough’s pretty thick at this point. I usually eat a few chocolate chips here by ‘accident’.
- Now, scoop out heaping tablespoons onto the tray. You can use your hands (they will get messy), or a cookie scoop if you’re fancy (or just a regular old spoon).
- Bake for about 10-12 minutes. The cookies are done when the edges look lightly brown (they will seem a bit soft in the middle still—do not wait for them to get totally firm, or you'll miss out on that chewy magic). They kind of set as they cool.
- Take them out and let 'em cool on the tray for a few minutes (this is the hardest part, not gonna lie). Then transfer to a wire rack—if you remember, otherwise, straight to your face is fine too.
Notes From My Many Attempts (Good, Bad, & Oops)
- The dough freezes pretty okay, but if you freeze pre-shaped balls, bake them from frozen and just add a minute or two (I always forget how long, so start checking early).
- Once, I subbed in almond butter. The flavor was good but the texture came out a bit crumbly, so just a heads up.
- If you over-bake, they’ll be a bit more like a biscuit than a cookie. Not tragic, still dunkable in tea.
- On second thought—don’t skip the peanuts unless allergies are involved. That salty crunch really is the kicker.
Stuff I’ve Tried (Variations That Sort of Work... Or Don’t)
- White chocolate chips? Actually really tasty. But, mini marshmallows? Huge mess, unless tiny, and even then, kind of sticky. Wouldn’t recommend unless you like scrubbing.
- Swapping in sunflower butter makes them nut-free for school snacks. They taste different, but kids didn’t complain (so, a win?).
- Pretzels in the mix for extra crunch is addictive. Warning: these get eaten even faster.
Equipment (And What To Use If You Don’t Have It)
- Large mixing bowl (or just use a pot, in a pinch—I’ve done it after finding every bowl dirty in the dishwasher, whoops)
- Electric mixer makes it easier, but a wooden spoon works if you channel some arm muscle
- Baking sheet (do yourself a favor: don’t try doing two layers at once, unless you like raw dough in the middle)
- Parchment paper’s ideal; foil will do, but you may need to watch for sticking
- Wire rack for cooling (if you don’t have one, just move them around the counter so they don’t steam too much on the tray)

How Do You Store These? (Though They Go Fast...)
Pop 'em in an airtight container for up to five days, but honestly, in my house they never make it past a day or two. You can also freeze the dough balls—sometimes I lay them on a tray, freeze, then bag them so I can bake six at a time and pretend I have self-control. (Here’s an excellent guide on freezing cookie dough I lean on.)
How I Love to Serve Them (Or Sneak Them...)
Most often, I just pile them on a slightly chipped plate and set them on the table. If it’s movie night, sometimes I’ll sandwich a scoop of vanilla ice cream between two of these—ultimate treat. My uncle swears he dunks them in his morning coffee (who am I to judge?).
Pro Tips I Learned the Hard Way
- I once tried baking them right after mixing while the butter was still too soft—it spread everywhere. So now, I chill the dough for 15 minutes while I clean up. Seriously helps.
- Don’t skip parchment unless you truly love stuck cookies or want to eat them straight off the pan (which, frankly, has its appeal... sometimes).
- Actually, I find it works better if you give them just a minute on the tray after baking before moving; otherwise, the bottoms sort of peel off. Learned that the messy way.
Questions Friends Always Ask Me (And My Not-Quite-Perfect Answers)
- Do these work for gluten-free folks? Sort of! If you use a cup-for-cup gluten-free flour and certified GF oats, they’re close. But I haven’t tried every possible brand, so it's a bit of a gamble.
- Can I double the recipe? I do it all the time! Just don’t crowd the pan. Oh, and you might want to lower the oven temp a smidge if you’re baking more than one tray at once. (Or rotate the trays halfway—you know the drill.)
- What’s the ruckus about, anyway? Honestly? It’s just what happens when these come out of the oven and there are friends or hungry teenagers nearby. You’ll get what I mean.
- Is natural peanut butter okay? I’ve found it makes the dough a bit looser, so you might want to chill it for 30 mins before baking. The flavor's top-notch though.
- Why do my cookies come out flat? Butter too soft, dough too warm, or just gremlins in the kitchen. Chilling helps. Or maybe use slightly more oats next time; it can depend on humidity or the universe’s mood, honestly.
- And if you want to learn more tricks about perfect cookies, I actually like this chewy cookie guide—it's got some good troubleshooting tips.
So, that's it—my slightly chaotic, always comforting Chocolate Peanut Butter Ruckus Cookies. If you whip these up, let me know what you think. Or just tell me your weirdest cookie moment. (I once dropped a whole tray upside down and still ate four. Would do again, no shame.)
Ingredients
- 1 cup creamy peanut butter
- ½ cup unsalted butter, softened
- 1 cup brown sugar, packed
- ½ cup granulated sugar
- 2 large eggs
- 1 teaspoon vanilla extract
- 1 ½ cups all-purpose flour
- 1 teaspoon baking soda
- ¼ teaspoon salt
- 1 cup semi-sweet chocolate chips
- ½ cup chopped peanuts
Instructions
-
1Preheat oven to 350°F (175°C) and line two baking sheets with parchment paper.
-
2In a large bowl, cream together the peanut butter, softened butter, brown sugar, and granulated sugar until smooth.
-
3Beat in the eggs one at a time, then stir in vanilla extract.
-
4In a separate bowl, whisk together the flour, baking soda, and salt. Gradually add dry ingredients to the wet mixture and mix until combined.
-
5Fold in chocolate chips and chopped peanuts.
-
6Scoop tablespoonfuls of dough onto prepared baking sheets, spacing 2 inches apart. Bake 10-12 minutes, or until edges are lightly golden. Cool on baking sheets for 5 minutes, then transfer to wire racks to cool completely.
Approximate Information for One Serving
Nutrition Disclaimers
Number of total servings shown is approximate. Actual number of servings will depend on your preferred portion sizes.
Nutritional values shown are general guidelines and reflect information for 1 serving using the ingredients listed, not including any optional ingredients. Actual macros may vary slightly depending on specific brands and types of ingredients used.
To determine the weight of one serving, prepare the recipe as instructed. Weigh the finished recipe, then divide the weight of the finished recipe (not including the weight of the container the food is in) by the desired number of servings. Result will be the weight of one serving.
Did you make this recipe?
Please consider Pinning it!!

