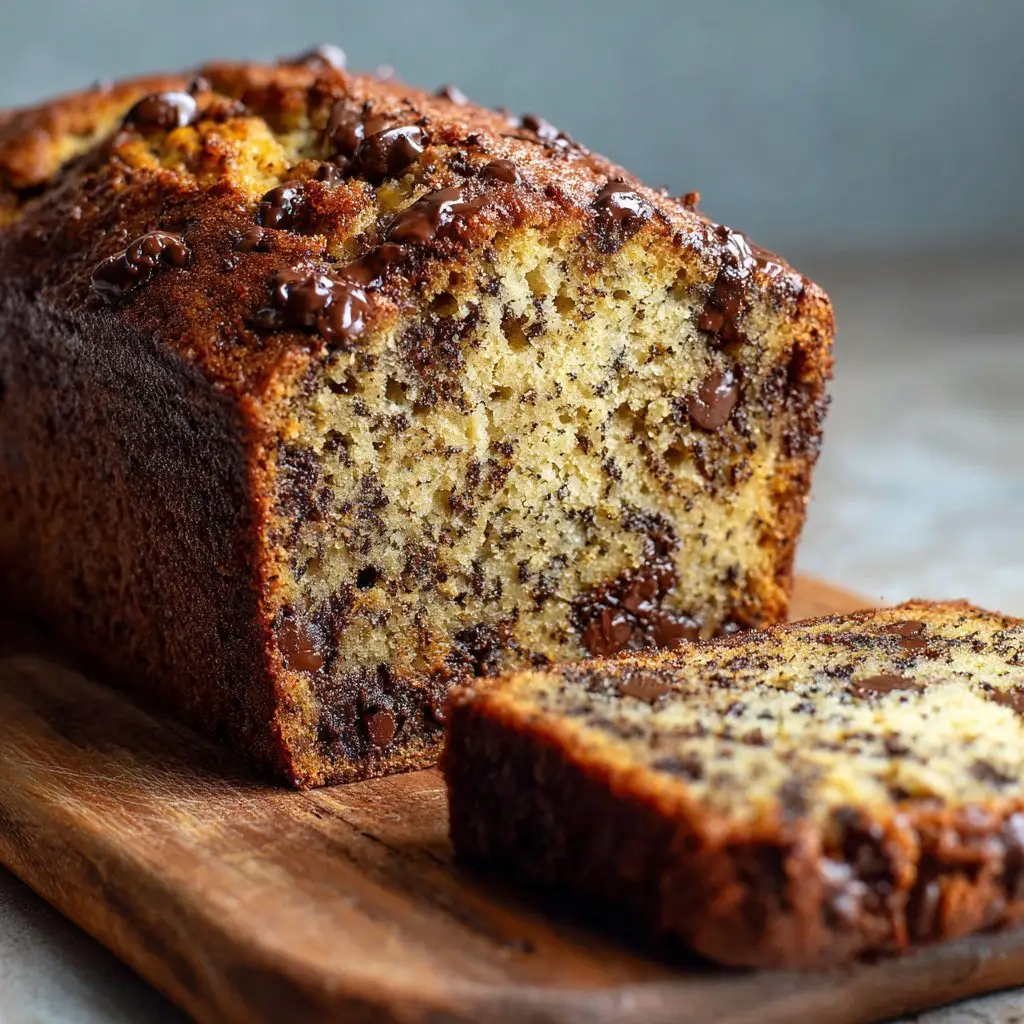
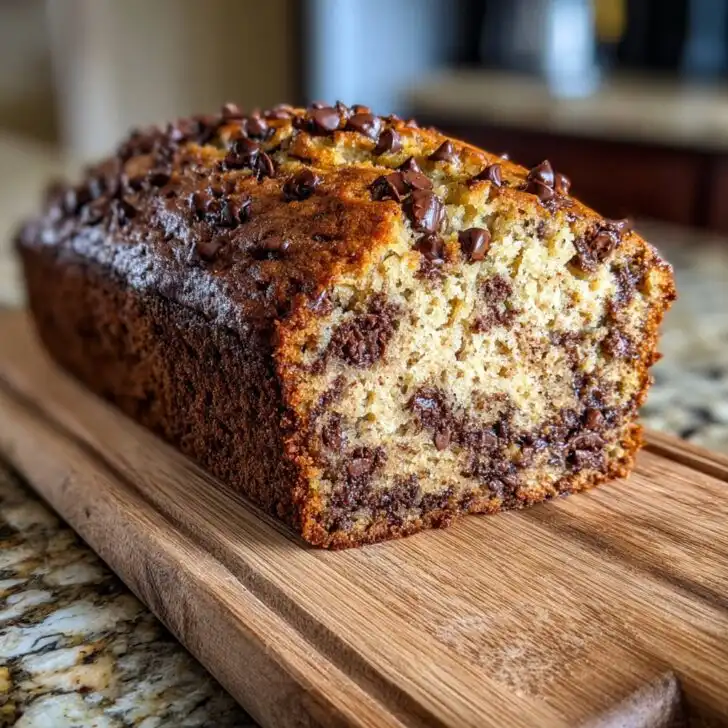
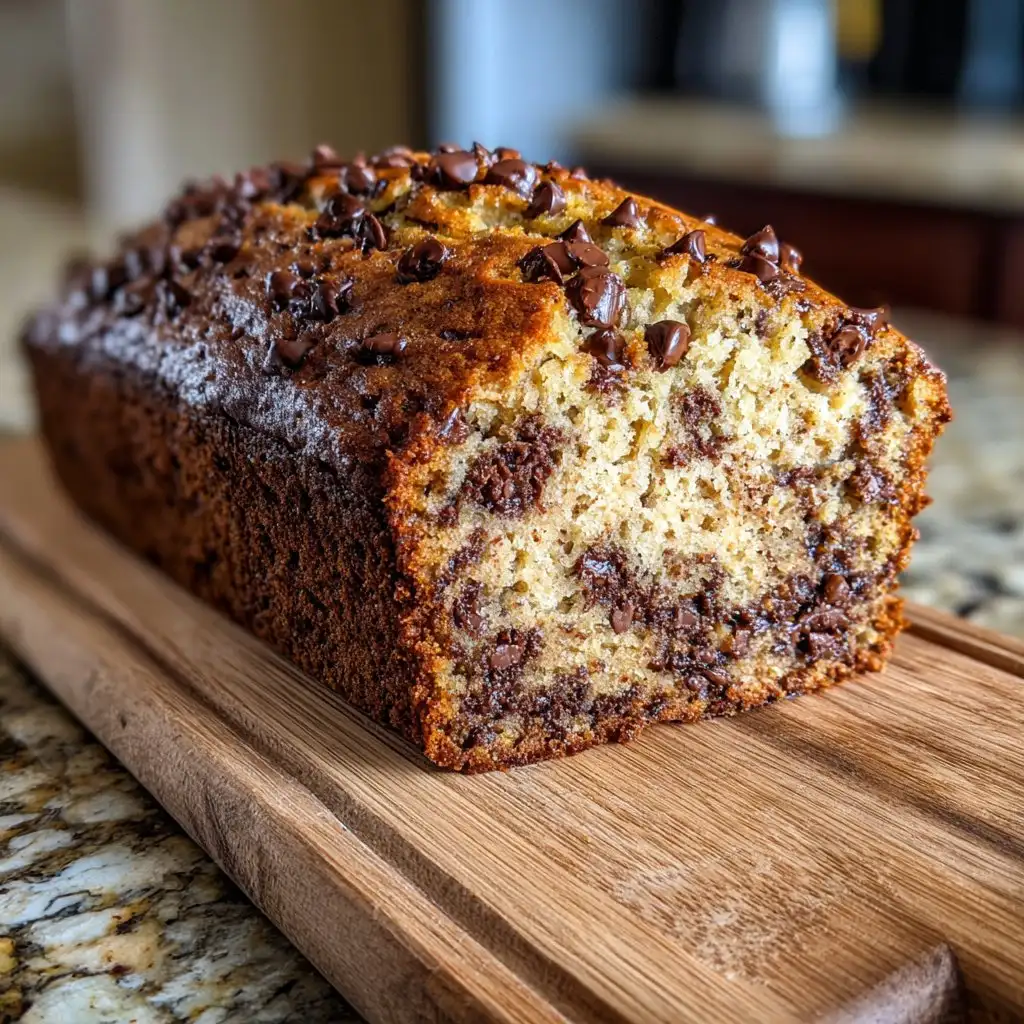
Let's Talk Banana Bread (Honestly, It's a Mood)
Alright, friend—here's the thing. Chocolate‑chip banana bread isn't just a recipe for me, it's a whole vibe. First started making it back in college when my flatmate would forget about bananas until, poof, they basically begged to be rescued from the fruit bowl. Now? I bake it when the weather gets gloomy, or when I've got a few bananas all mottled and tragic. Plus, my nephew always says it smells "like Saturday mornings." (I mean, who could resist that?)
True story—once, I tried doubling the chocolate chips "for science." My family still requests the "bathtub batch." And yes, sometimes I use more chocolate than banana, but let's not tell the fruit police.
Why You'll Want to Make This (Aka, Why I Do)
I make this when I've got, you know, those bananas that have gone past their prime and are basically pleading to be baked. My family goes nuts for this because it's just the right amount of sweet, and the chocolate chips make it feel like a treat without being over-the-top dessert-y. Plus, you don't need any fancy ingredients or, honestly, much patience. (I've baked it at 11pm more times than I'd like to admit.)
Seriously, even my picky cousin — who claims to hate all "fruit in cake" — always asks for a second slice. And if you end up with a middle that's a bit gooey? Just call it pudding, nobody minds. Actually, I find it works better if you slightly underbake it, but maybe that's just me.
What You’ll Need (And What You Can Swap Out)
- 3 overripe bananas (medium—though I once used two monster ones and it was fine)
- ⅓ cup melted butter (unsalted or salted, honestly I grab whatever's handy)
- ½ cup sugar (I've done half brown, half white if the jar looks low)
- 1 egg (room temp, or just run a cold one under warm water like I do when rushed)
- 1 teaspoon vanilla extract (sometimes I use maple syrup for a twist, but Nana would disagree)
- 1 teaspoon baking soda (my gran always swore by baking powder instead, but I can't taste the difference)
- Punch of salt (a fat pinch, not a measured thing)
- 1 ½ cups all-purpose flour (sometimes I sneak in a bit of whole wheat, maybe a quarter cup)
- ¾ cup chocolate chips (dark, milk, or whatever's in the cupboard—I've even chopped up a chocolate bar in a pinch)
- (Optional) A handful of walnuts—completely up to you
How I Actually Make It (Not Always by the Book)
- Preheat your oven to 350°F (180°C). Grease a loaf tin or, if you’re lazy like me sometimes, just line it with baking parchment so you barely have to wash up after.
- Mash the bananas in a big bowl with a fork. Don’t fuss if there’s a few lumps. That’s flavor. Add the melted butter and stir together. This is where I usually sneak a taste (no regrets).
- Mix in the sugar, egg, and vanilla. Use a whisk if you feel fancy, but a fork works. No stress.
- Sprinkle in the baking soda and salt. Stir again. If you’ve got a little baking anxiety, just toss it all in, it’ll be fine. Banana bread’s forgiving.
- Fold in the flour. Don’t overmix—unless you want a loaf that could double as a doorstop. At this stage, the batter looks a bit odd; that’s normal.
- Gently stir through the chocolate chips (and nuts, if using). Try not to eat too many as you go. Or do, I’m not the boss of you.
- Pour into your loaf tin. Level it out a bit. Sometimes I scatter a few extra chocolate chips on top, just for drama.
- Bake for about 50-60 minutes. But honestly, start checking at 50—poke the middle with a toothpick. If it comes out mostly clean (a bit gooey’s okay, it’ll set as it cools), you’re golden.
- Let it cool in the tin for 10 minutes, then turn out onto a rack. Unless you can’t wait, which, fair enough. Just don't burn your tongue like I do every time.
My Notes (Read These, Save Yourself Hassle)
- If your bananas aren’t ripe enough, you can microwave them for 30 seconds. Doesn’t taste as good, but needs must.
- Once tried using coconut oil instead of butter—didn’t love it, but some folks swear by it.
- If your loaf’s sinking in the middle, it probably needed another 5 minutes. Or maybe too much banana (been there).
- I think it tastes even better the next day. But that’s just my two cents.
Variations I’ve Messed Around With
- Made it once with peanut butter chips—yum. With raisins? Not so much. That was a weird vibe.
- Swap the chocolate chips for chopped pecans, or mix both if you’re feeling wild.
- Add a pinch of cinnamon or nutmeg, if you’re into that kind of thing.
- Did a gluten-free version with almond flour. Texture's a bit different, but not bad.
What You’ll Need (But Don’t Panic About Gadgets)
- Loaf tin (mine’s about 9x5 inches, but honestly, I’ve used a cake pan in a pinch)
- Mixing bowl
- Fork or whisk
- Spatula (or big spoon—just not your hands)
No electric mixer required, but if you have one and fancy less arm work, go for it. Once used a pint glass to mash bananas at a mate’s flat—desperate times.

Keeping It Fresh (If There’s Any Left!)
Wrap in foil or pop in an airtight tub. Room temp for 2-3 days, or fridge for 5. Freezes well, just slice first. Though honestly, in my house, it never lasts more than a day anyway. If you do freeze, King Arthur Baking has good tips.
Serving Up—How We (Usually) Eat It
Best warm, maybe with a pat of salted butter. (My sister likes it cold with a cuppa, but I think she’s odd.) Sometimes we toast thick slices under the grill for "banana bread toast"—a bit fancy, but great on rainy Sundays.
What I’ve Learned (Read This If You Want to Avoid My Mistakes)
- Don’t try to double the recipe in one tin. Overflow city; trust me.
- I once rushed the cooling step and ended up with a mashed loaf. Let it cool, even if it tests your patience.
- Actually, sifting flour does help with fluffiness, but I rarely bother—just don’t pack it in tight.
Chocolate‑Chip Banana Bread FAQ (Real Questions I’ve Gotten)
- "Can I make this vegan?" Yep! Swap the egg for a flax egg, use plant-based butter, and dairy-free chocolate chips. Turns out a bit denser, but not bad at all.
- "What if I only have two bananas?" It’ll still work, just a little less banana-y. Or add a spoon of plain yogurt to make up the moisture.
- "Mine never rises—what gives?" Probably old baking soda. Or maybe overmixed. Give it a gentle hand.
- "Can I add blueberries?" Sure! But coat them in a bit of flour first or they’ll all sink (learnt that from Sally’s Baking Addiction—her site’s ace).
- "How do I know when it's done?" Toothpick test, mate. Or, poke it and see if it springs back. Not scientific, but works for me.
Oh, and totally off-topic, but have you seen those banana bread memes? They crack me up every time. Anyway, whether you’re a baking pro or someone who just wants to make use of sad bananas, this one’s worth a go. Let me know if you try it (and especially if you double up the chocolate chips—solidarity!).
Ingredients
- 3 ripe bananas, mashed
- 2 cups all-purpose flour
- ½ cup unsalted butter, melted
- ¾ cup granulated sugar
- 2 large eggs
- 1 teaspoon vanilla extract
- 1 teaspoon baking soda
- ½ teaspoon salt
- 1 cup semisweet chocolate chips
Instructions
-
1Preheat the oven to 350°F (175°C). Grease a 9x5-inch loaf pan or line with parchment paper.
-
2In a large bowl, mash the ripe bananas. Add melted butter and mix until combined.
-
3Stir in the sugar, eggs, and vanilla extract until well blended.
-
4In a separate bowl, whisk together the flour, baking soda, and salt. Gradually add the dry ingredients to the banana mixture and mix until just combined.
-
5Fold in the chocolate chips. Pour the batter into the prepared loaf pan and smooth the top.
-
6Bake for 50-55 minutes, or until a toothpick inserted into the center comes out clean. Let cool before slicing and serving.
Approximate Information for One Serving
Nutrition Disclaimers
Number of total servings shown is approximate. Actual number of servings will depend on your preferred portion sizes.
Nutritional values shown are general guidelines and reflect information for 1 serving using the ingredients listed, not including any optional ingredients. Actual macros may vary slightly depending on specific brands and types of ingredients used.
To determine the weight of one serving, prepare the recipe as instructed. Weigh the finished recipe, then divide the weight of the finished recipe (not including the weight of the container the food is in) by the desired number of servings. Result will be the weight of one serving.
Did you make this recipe?
Please consider Pinning it!!

