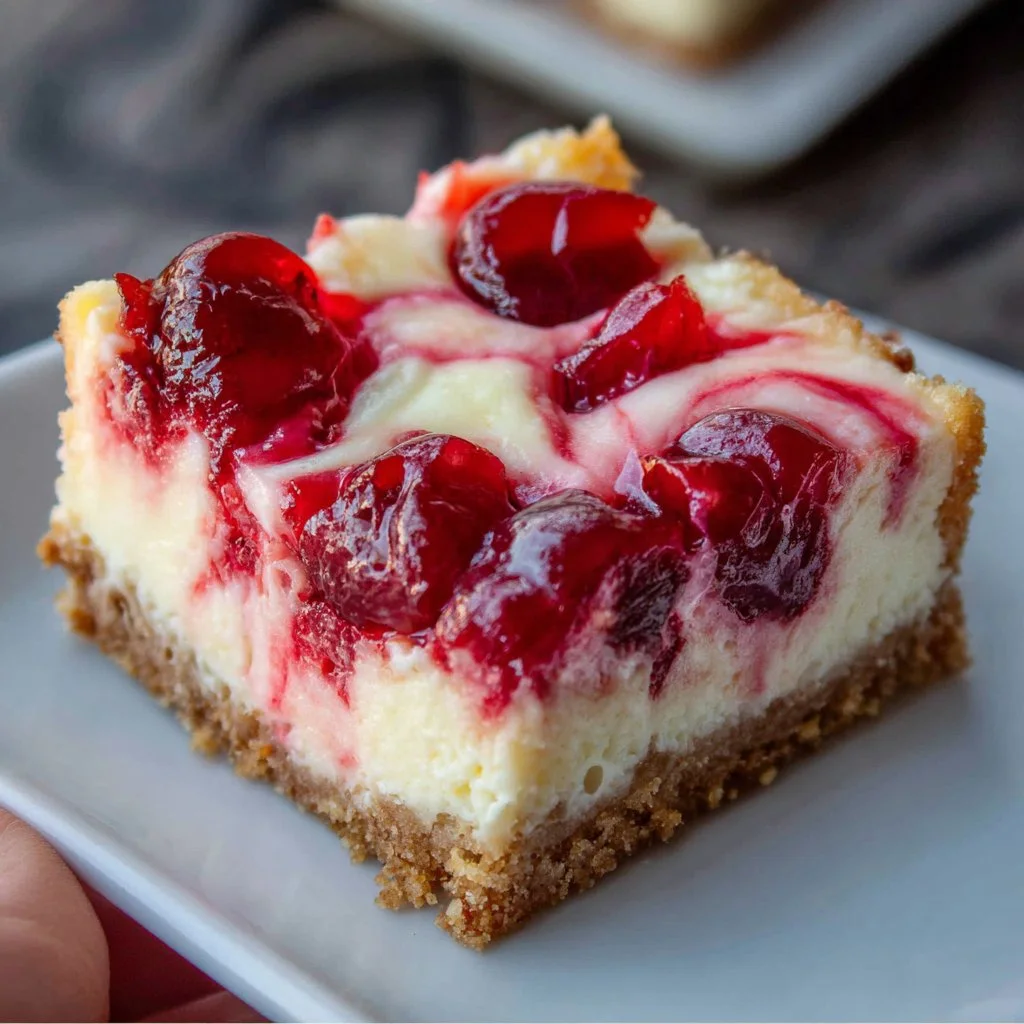
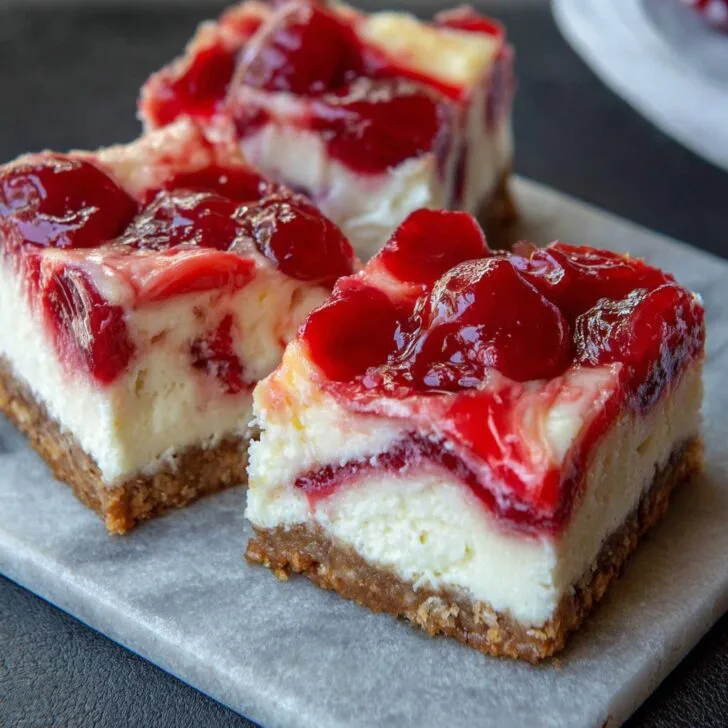
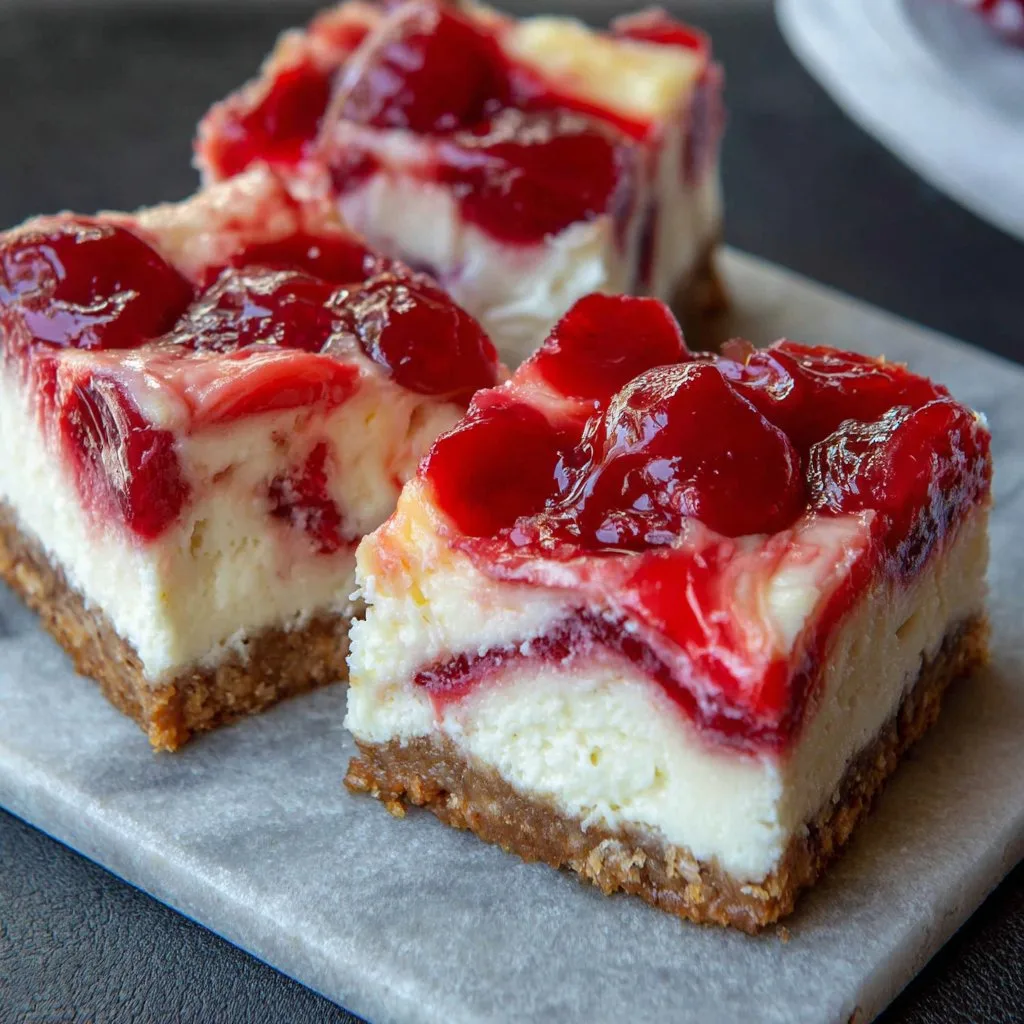
Let Me Tell You About Cherry Cheesecake Bars (And My Slight Obsession)
So here’s the thing: I make these Cherry Cheesecake Bars more than I probably should. Last time I showed up to my cousin’s barbecue with a tray, my aunt nearly wrestled me for the last piece (she’s 72, but honestly, don’t cross her when there’s dessert around). I started making these because, well, actual cheesecake seemed too intimidating and I have the patience of a squirrel on espresso. But these bars are a sweet spot—easy, gooey, no water bath drama, and you don’t even need a fancy pan. Plus, you can eat them with your hands (no fork required, unless you’re my dad, who insists on cutlery for everything, even pizza—don’t ask).
Why You'll Love This (Or, Why I Keep Making It Even When I Swear I Won't)
I make these Cherry Cheesecake Bars when I need something impressive but don’t want to risk a full cheesecake meltdown (been there, watched the whole thing collapse, not fun). My family goes bonkers for them, especially because of that buttery crust-to-cream cheese ratio. (I mean, who wants just a mouthful of cream cheese?) And I secretly love how the canned cherry pie filling gives nostalgia vibes, like those ’90s potluck desserts—though if you want to get all posh and make your own topping, be my guest! Honestly, I just like that it’s a one-bowl, minimal-mess affair. Except that one time I forgot to line the pan... but, live and learn.
Stuff You Need: The Ingredients (And What I've Swapped In a Pinch)
- 1 ½ cups graham cracker crumbs (sometimes I use digestive biscuits—British friends, you're welcome)
- ¼ cup white sugar (brown sugar works in a pinch, gives a little extra flavor)
- ½ cup melted butter (salted or unsalted – honestly, I never notice a difference)
- 2 packages (8 oz each) cream cheese, softened (full fat gives a richer bar, but I’ve used the light stuff too – it’s totally fine)
- ½ cup sugar (granulated, but if you only have caster sugar, go for it)
- 2 eggs (room temp is ideal, but I’ve pulled them straight from the fridge more times than I care to admit)
- 1 teaspoon vanilla extract (my grandmother swore by vanilla bean paste, but I’m not that organized)
- 1 can (21 oz) cherry pie filling (homemade works, but who has time?)
How to Pull it Together (Don’t Stress If It Looks Weird Halfway Through)
- Preheat your oven to 350°F (around 180°C). Line an 8x8 or 9x9 inch pan with parchment, or just grease it like mad if you forget (been there, done that, still tasty).
- Mix graham cracker crumbs, sugar, and melted butter in a bowl. Use your hands. Feels nice, kind of like squishing wet sand. Press into the bottom of your pan—really smush it down so it holds together.
- In another bowl, beat cream cheese with sugar until smooth and creamy. Don’t worry if it’s a little lumpy at first; it’ll work out. Add eggs one at a time, then toss in the vanilla. Mix until everything looks like a thick milkshake (don’t actually drink it though—raw eggs, y’know).
- Pour the cream cheese layer over your crust. I usually swirl the bowl around a bit to level it out—fancy!
- Dollop cherry pie filling all over the top. Use a butter knife or spoon to swirl it a bit if you’re feeling artsy, or just leave it in blobs. No one complains, ever.
- Bake for 35–40 minutes. The edges should look set but the middle can do a little jiggle—like a wobbly belly, but cute. If it’s browning too fast, loosely cover with foil for the last 10 minutes.
- Let cool completely (I know, this is the hardest bit). Chill in the fridge at least a couple hours, or overnight if you can stand it.
- Slice into bars. Sneak the first one, for quality control. Obviously.
Notes From My Many Mishaps
- Once I tried to rush the cooling and it turned into a creamy puddle. Just... wait, trust me. Or use the freezer for a quick fix, but set a timer—otherwise it’ll freeze solid (learned that the hard way).
- If your cream cheese isn’t softened, microwave it for 10 seconds at a time. Not 30. Unless you want cheesy soup.
- Leftover bars (ha, as if) actually taste better on the second day—flavors meld, crust gets even more delicious. But honestly, they’re usually gone in my house by breakfast.
Variations I’ve Tried (And One That Was a Total Flop)
- Blueberry swap: Sub in blueberry pie filling for cherries. My neighbor swears by it, and I won’t lie, it’s pretty tasty.
- Chocolate crust: I once used chocolate wafer cookies for the base and, oh my word, it was decadent (though a bit crumbly—add extra butter if you try this).
- No-bake version: I tried a no-bake version once but it came out more like cheesecake soup, so... maybe don’t do that, unless you love spoons?
Equipment (But Don't Worry If You're Missing Something)
- Square baking pan (8x8 or 9x9); I’ve used a round cake tin in a pinch, and just cut the bars into wedges. Still good!
- Hand mixer or sturdy whisk; my arm survived the old-school way. I mean, it’s a workout.
- Parchment paper for easy lifting. Or just butter the heck out of the pan if you forget (I do, a lot).

Where Do You Keep The Leftovers? (If You Even Have Any)
Fridge, tightly covered, for up to 4 days (supposedly). But let’s be real, in my house it never lasts past day one. If you want to stash some from hungry teenagers, hide behind the veggies—no one looks there.
How We Eat Them (Other Than Straight From the Pan)
Serve chilled, maybe with a little whipped cream if you’re feeling fancy. At family parties, we eat them with coffee and a round of cards—loser does the dishes. Someone once suggested ice cream on the side, which is a bit over-the-top, but hey, you do you.
Hard-Earned Pro Tips (I Messed Up So You Don’t Have To)
- Don’t skip the parchment paper if you want neat bars. I tried digging them out with a spatula. Let’s just say, it wasn’t pretty.
- Wait for the bars to cool—seriously. I once cut them warm and they oozed everywhere. Still tasty, but not exactly photogenic.
- If your crust feels dry, add a smidge more butter. Or just embrace the crumbliness. Rustic is in, right?
FAQ (Stuff People Actually Asked Me—And My Honest Answers)
- Can I use fresh cherries? Absolutely, but you’ll need to cook them down with sugar and maybe a splash of lemon—like this method from Sally’s Baking Addiction. I tried once, but got impatient. Tasted good though!
- Can I freeze them? You can, but the texture gets a bit weird. I do it anyway if we’re heading out of town (wrap tightly!).
- What if I don’t have graham crackers? Digestives, vanilla wafers, or those Lotus Biscoff cookies (yum) all work. I’ve seen folks use Oreos, but it gets pretty sweet—your call.
- Do I have to use a mixer? Nope, a wooden spoon and some elbow grease will get you there. Or a whisk, if you’re feeling energetic.
- This seems like a lot of sugar. Can I reduce it? Probably! I’ve cut the sugar by a quarter before; still great. Or try monkfruit sweetener if that’s your thing, though I haven’t myself.
- What’s the best drink to serve with these? Coffee is classic, but once I paired it with King Arthur’s hot chocolate and honestly, I might never go back.
And, ok, since you made it this far: once I tried to add a layer of chocolate ganache on top. Looked gorgeous, but made the whole thing nearly impossible to cut. If you want chocolate, better to just sprinkle a handful of chips into the crust instead. You live, you learn.
P.S. If you want to up your baking game, I get most of my baking pans and random gadgets here at Sur la Table—but my oldest pan is from a car boot sale in Brighton, and it’s still the best one I own. Go figure.
Ingredients
- 1 ½ cups graham cracker crumbs
- ⅓ cup unsalted butter, melted
- 2 packages (8 oz each) cream cheese, softened
- ⅔ cup granulated sugar
- 2 large eggs
- 1 teaspoon vanilla extract
- 1 can (21 oz) cherry pie filling
- ¼ cup sour cream
Instructions
-
1Preheat oven to 350°F (175°C). Line a 9x9-inch baking pan with parchment paper.
-
2In a medium bowl, combine graham cracker crumbs and melted butter. Press mixture firmly into the bottom of the prepared pan to form the crust.
-
3In a large bowl, beat cream cheese and sugar until smooth. Add eggs one at a time, then mix in vanilla extract and sour cream until well combined.
-
4Pour the cheesecake batter over the crust and spread evenly. Bake for 30-35 minutes, or until the center is set.
-
5Allow to cool completely, then spread cherry pie filling evenly over the cheesecake layer. Refrigerate for at least 2 hours before slicing into bars.
Approximate Information for One Serving
Nutrition Disclaimers
Number of total servings shown is approximate. Actual number of servings will depend on your preferred portion sizes.
Nutritional values shown are general guidelines and reflect information for 1 serving using the ingredients listed, not including any optional ingredients. Actual macros may vary slightly depending on specific brands and types of ingredients used.
To determine the weight of one serving, prepare the recipe as instructed. Weigh the finished recipe, then divide the weight of the finished recipe (not including the weight of the container the food is in) by the desired number of servings. Result will be the weight of one serving.
Did you make this recipe?
Please consider Pinning it!!

