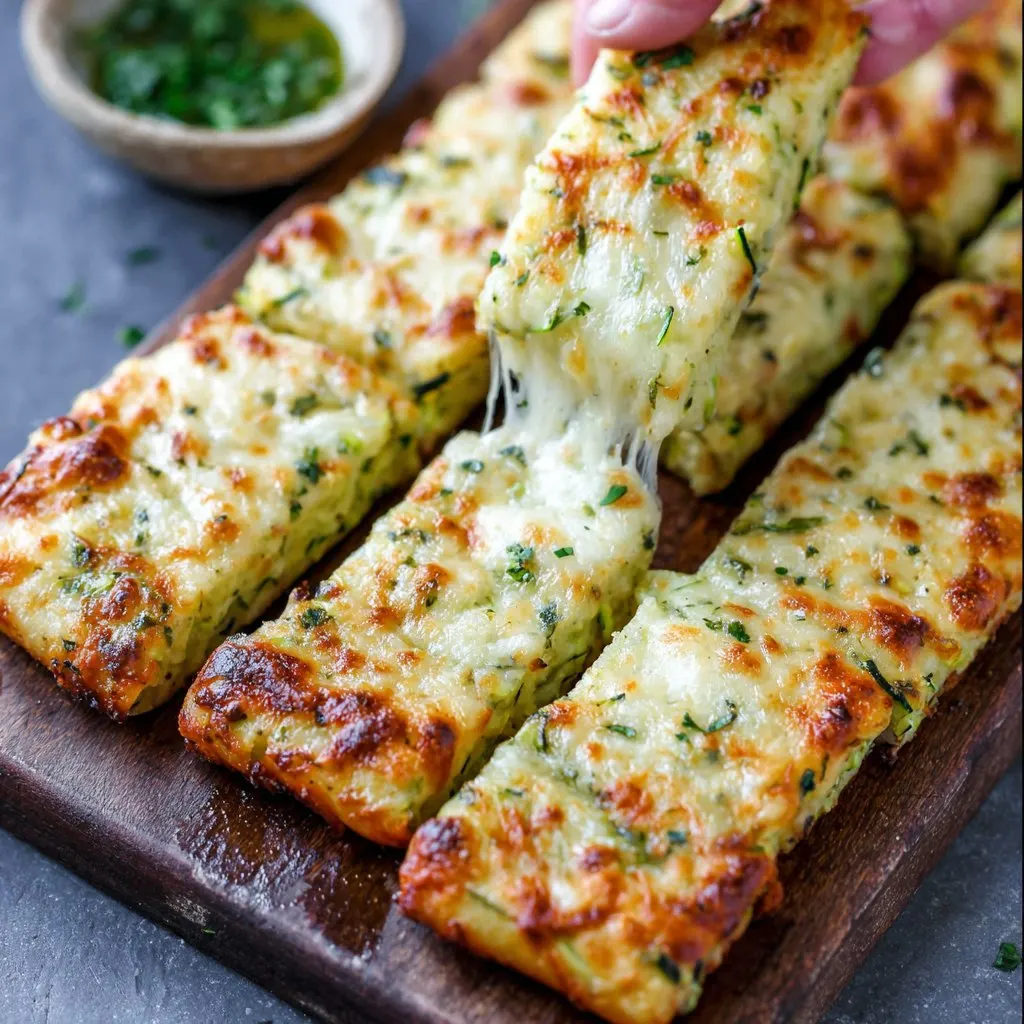
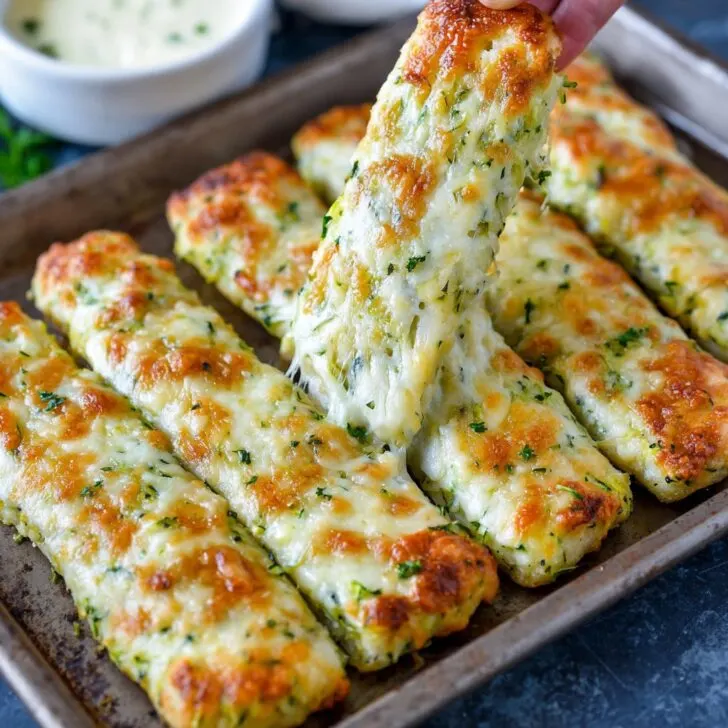
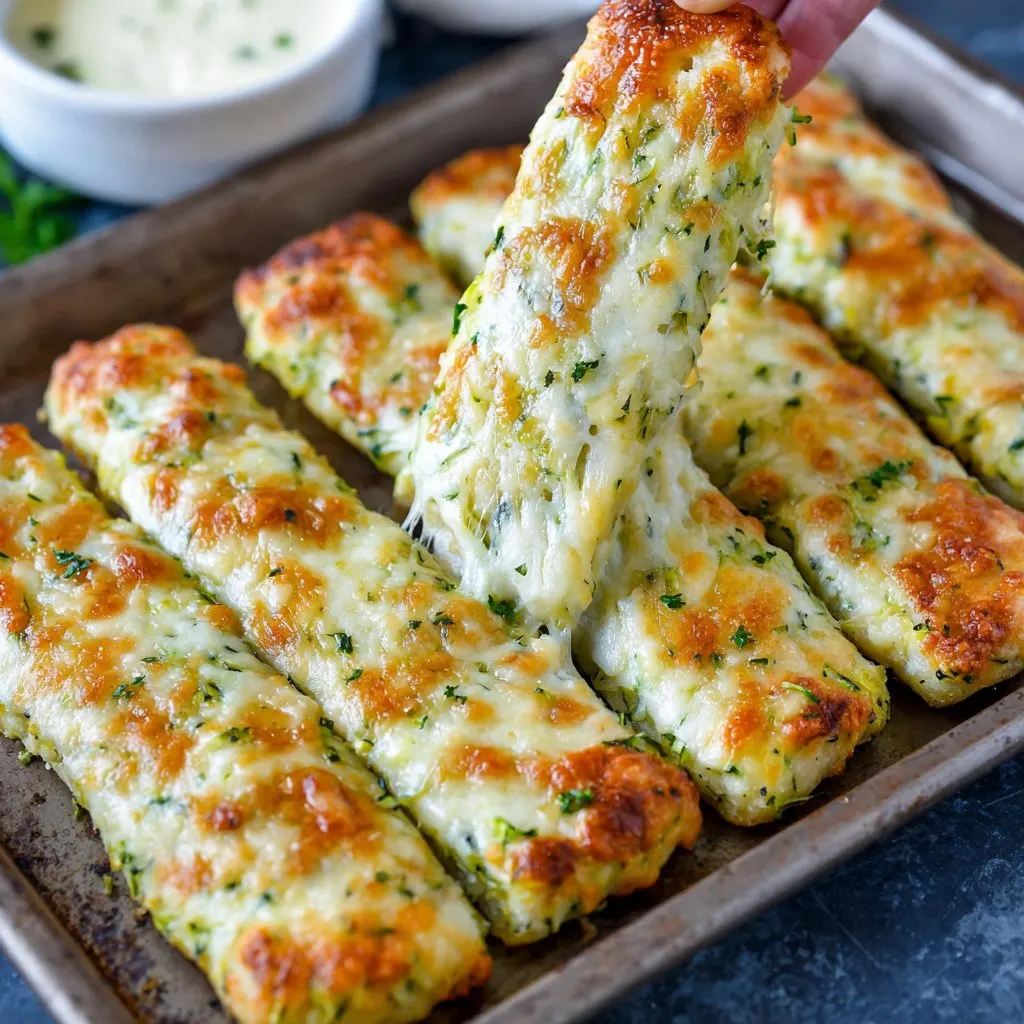
Let Me Tell You About These Zucchini Breadsticks...
Alright, so if you’re anything like me, you have that one veg in your fridge that turns up in basically every other dinner—zucchini, right? I swear sometimes I buy too many and then just…they haunt me from the veggie drawer (in a nice way). The first time I made these cheesy zucchini breadsticks, I was actually trying to get my picky nephew to eat something green without drama. Let's just say, I'd expected protests but got a silent kitchen moment as everyone scarfed them. Even my partner, who claims to hate zucchini, came back for seconds. And that's saying something. Oh, if you see flour footprints through the kitchen, yep, that's from me juggling between breadsticks and running out to rescue the cat from the neighbor's garden (again).
Why You’ll Actually Love This (Trust Me)
I make this when I’m too lazy to prep a complicated side, or when there’s just no bread left and I need something for soup dipping — which, let’s be honest, is half the appeal here. My family goes nuts for these (not kidding, there’s sometimes a run on the plate before I can even set it down), mostly because they taste like a cross between pizza and garlic bread. Sometimes I grumble about having to squeeze out zucchini (the wringing is real), but it’s, weirdly, worth it.
So, What Goes In This? Zucchini Plus Friends
- 2 medium zucchinis (about 2 to 2 ½ cups once shredded & wrung out—honestly, sometimes I just toss in what's left!)
- 1 large egg (I've used 2 small ones; works fine, promise)
- 1 cup shredded mozzarella (cheddar is also fun, or go half-and-half if you're indecisive like me)
- ½ cup grated Parmesan (I’ll use pecorino if that's all I have, although my grandmother would give me the look)
- ⅓ cup flour (Plain old all-purpose, but I once subbed in almond flour and it came out all right, just… nuttier)
- ½ teaspoon garlic powder (occasionally I go heavy-handed and don’t really regret it)
- ½ teaspoon dried Italian herbs (oregano, basil—whatever you can rummage up)
- Salt and black pepper, to taste
- Olive oil, for brushing (ehh, melted butter also works if you’re feeling decadent)
- Optional: Pinch of red pepper flakes, or a sprinkle of extra cheese for the top
How I Throw It All Together (With Occasional Distractions)
- First up: Preheat your oven to 220°C / 425°F. Trust me, a hot oven makes the crust work that magic.
- Grab your zucchinis and shred them. I just use a box grater—but if you’ve got a food processor, hey, save yourself some arm work! Once shredded, this is crucial (I learned the hard way): wrap the zucchini in a clean towel and really squeeze. Wring it out until it’s basically dry (I've skipped this before and ended up with soggy-not-so-breadsticks; will NOT repeat).
- In a big bowl, combine that wrung-out zucchini, egg, cheeses, flour, garlic powder, herbs, salt, and pepper. Stir it up. If it looks weird at this stage—lumpy and a bit messy—that's totally normal.
- Lump the mixture onto a parchment-lined baking tray. Now just spread it out with your hands (or a spatula, if you don't want your hands sticky), shaping it into a rough rectangle that's about a centimeter thick—or, like, a generous thumb's width. Nothing fussy.
- Brush the top with a bit of olive oil (sometimes I skip this if I'm distracted, to be honest) and maybe add a pop more cheese on top.
- Bake for 18-22 minutes, until gold and set. If you want yours a bit crunchy at the edges (yes please), leave it a few more minutes. This is where I usually sneak a piece off the corner—quality control, right?
- Pull it out, let it cool for 5 minutes, then use a pizza wheel or just a big knife to slice into sticks. I don't bother making them perfect, but you do you.
Notes I’ve Picked Up (Usually the Hard Way)
- If it seems too wet even after wringing, add a spoonful more flour! Conversely, if it’s too dry, a splash of milk fixes it.
- Sometimes I double the garlic, mostly to annoy my vampire friends (kidding, sorta).
- Seriously, let it sit for those few minutes before slicing; otherwise, you'll have a cheesy wreck—not the good kind.
Variations I’ve Experimented With (Plus A Flop)
I sometimes toss in chopped spinach if I’m feeling virtuous, or swap in feta for a Mediterranean spin (tangy!). One time, I tried using sweet potato instead of zucchini. Uh, don’t recommend (too soggy and just, I dunno, odd). But adding some fresh chives or parsley to the mix works rather well, especially for spring.
The Gear (And What To Do If You Don’t Have It)
- Box grater (or a food processor, or just beg a neighbor—it’s quicker)
- Baking tray
- Parchment paper (foil in a pinch, but it does stick a bit more)
- Clean kitchen towel for wringing (I've also used paper towels, but they always tear, so...)
Honestly, if you’re missing something, MacGyver it. Just did this on a camping trip using only a fork and a pan. Not perfect, but edible!

How Long Will This Last? (It Won’t, Honestly)
Technically, you can keep leftovers in an airtight container in the fridge for 2-3 days. But in my house, it never lasts past bedtime snack-time. To crisp them back up (if you have that kind of self-control), throw in the oven at 180°C for 5 minutes. Boom.
How I Serve ‘Em (Or Just Nibble While Cooking)
We’re a dip-household, so it’s usually served with warm marinara, ranch, or this garlicky yogurt sauce I stole from Serious Eats. Sometimes, for a movie night, we put out a platter with just breadsticks, sliced cucumbers, and whatever olives I can find—sort of a mezze, but Cheesy Zucchini style. Also amazing with soup, especially tomato or my (occasional) homemade minestrone (try Deb’s recipe from Smitten Kitchen if you’re feeling ambitious).
What I Learned (Sometimes The Hard Way)
- Don’t rush the zucchini squeezing or you’ll regret it with a watery bottom—that’s always such a letdown. I once thought I could shortcut and noped out of extra flour midway; wasn’t worth it.
- If you broil at the end for more browning, watch closely. I've toasted more than one batch into oblivion.
Frequently Asked, Randomly Received Questions
- Can I make this gluten-free? Oh, for sure. Almond flour, or those all-purpose gluten-free blends, swap in okay. It'll taste a bit nutty (which isn't bad at all).
- Can I use frozen shredded zucchini? Yes, but thaw and squeeze the daylights out of it—frozen stuff is wetter than you think.
- Why is mine so soft? That happened to me once! Probably too much moisture left in the zucchini; try squeezing more or add a spoonful extra flour next time.
- What cheeses work best? You can play around—mozzarella is classic (melty!) but provolone or fontina are nice for Italian flair. Cheese snobs might argue otherwise, but I say use up what’s in your fridge.
- Can I double the batch? Absolutely, but you’ll want to use two trays so things bake evenly; I once crowded everything and ended up with a pale limp mess. Never again.
- Do these reheat well? Yep. Best in the oven; microwave gets them a bit wobbly, but fine for midnight snacking (which, let's face it, is when I usually finish any leftovers).
So there it is: my go-to Cheesy Zucchini Breadsticks. Try not to eat the whole pan—and if you do, we’re definitely friends.
Ingredients
- 2 medium zucchinis, grated
- 1 cup shredded mozzarella cheese, divided
- ⅓ cup grated Parmesan cheese
- 1 large egg
- ½ teaspoon garlic powder
- ½ teaspoon dried Italian herbs
- ½ teaspoon salt
- ¼ teaspoon black pepper
- 1 tablespoon chopped fresh parsley (optional, for garnish)
Instructions
-
1Preheat the oven to 425°F (220°C) and line a baking sheet with parchment paper.
-
2Grate the zucchinis and squeeze out excess moisture using a clean kitchen towel.
-
3In a large bowl, combine the grated zucchini, ½ cup mozzarella cheese, Parmesan cheese, egg, garlic powder, Italian herbs, salt, and pepper. Mix well.
-
4Spread the zucchini mixture into a rectangle about ½-inch thick on the prepared baking sheet.
-
5Bake for 18-20 minutes or until set and golden. Remove from oven, sprinkle with the remaining ½ cup mozzarella, and bake for another 5 minutes or until cheese is melted and bubbly.
-
6Cool slightly, slice into breadsticks, and garnish with chopped parsley if desired. Serve warm.
Approximate Information for One Serving
Nutrition Disclaimers
Number of total servings shown is approximate. Actual number of servings will depend on your preferred portion sizes.
Nutritional values shown are general guidelines and reflect information for 1 serving using the ingredients listed, not including any optional ingredients. Actual macros may vary slightly depending on specific brands and types of ingredients used.
To determine the weight of one serving, prepare the recipe as instructed. Weigh the finished recipe, then divide the weight of the finished recipe (not including the weight of the container the food is in) by the desired number of servings. Result will be the weight of one serving.
Did you make this recipe?
Please consider Pinning it!!

