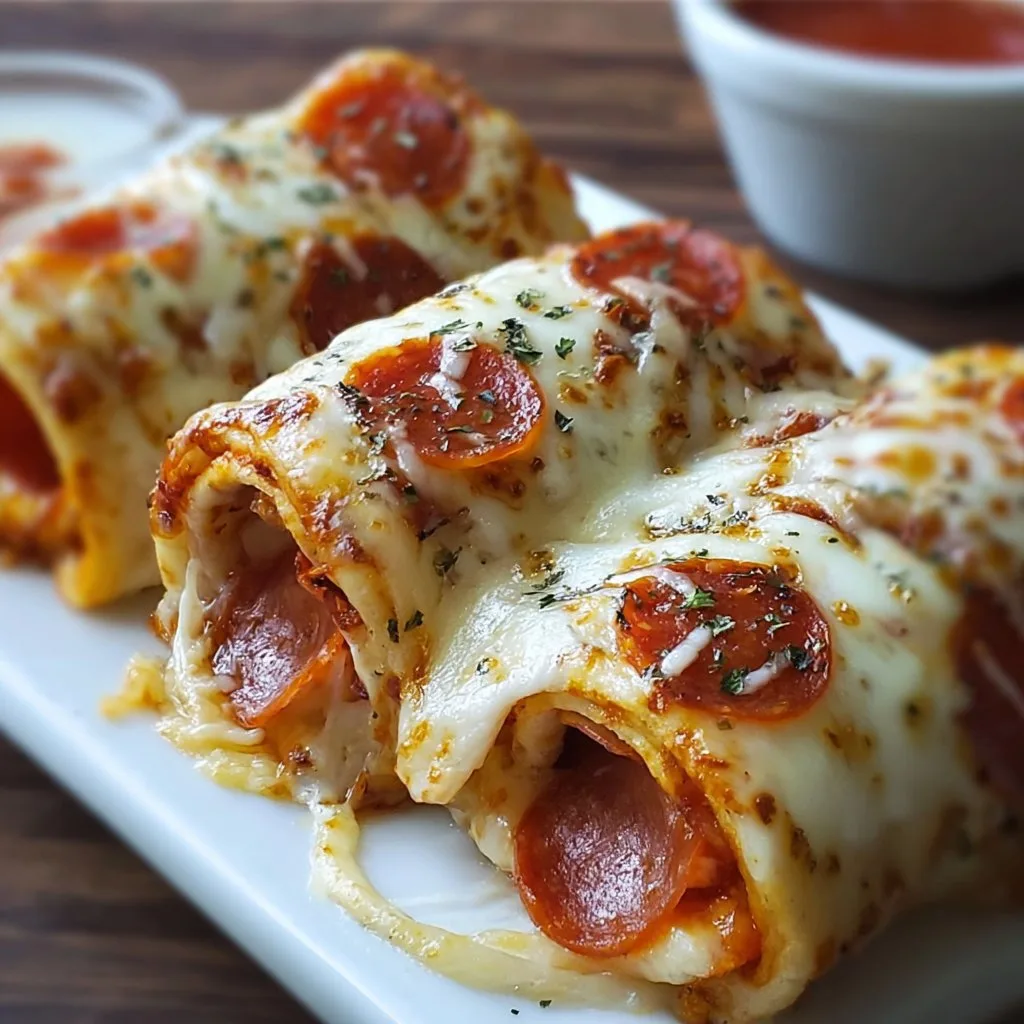
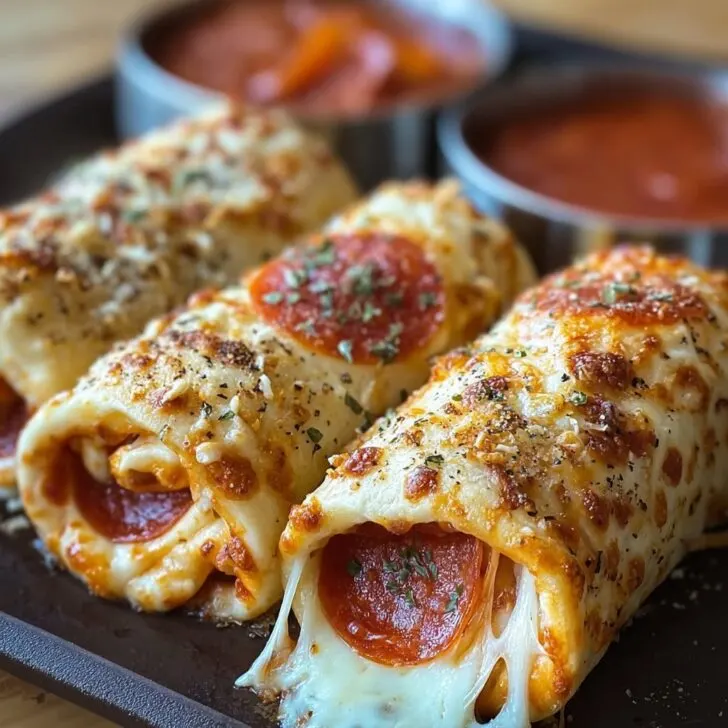
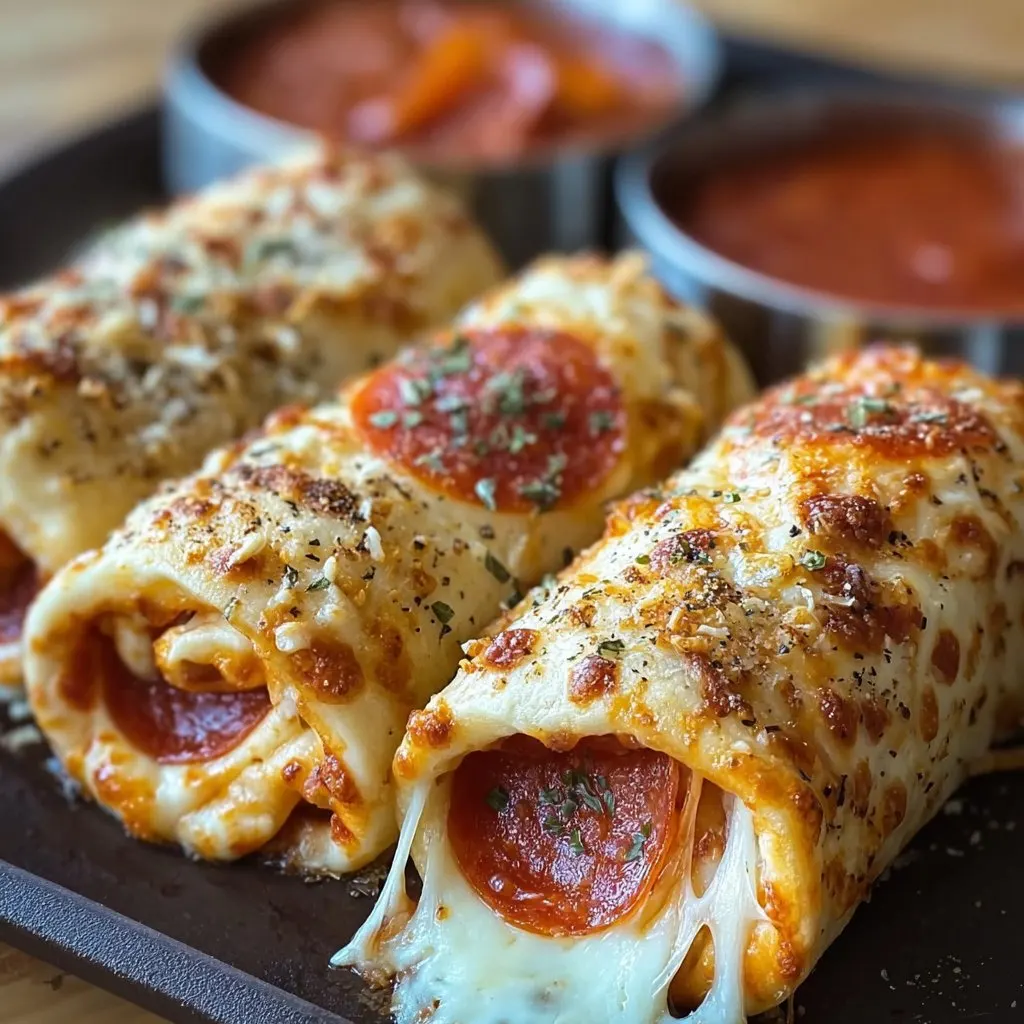
I made these Cheesy Pepperoni Roll-Ups for a snow day once, when the power flickered and the cat decided the pepperoni was a toy. Everyone was cranky, I was hungry, and I just thought, fine, we’re rolling everything in dough and calling it dinner. Turns out, that was a great call. Now I pull this out on weeknights when we want something warm and cheesy and not fussy, which is often; also when friends drop by and I pretend I planned appetizers.
They’re basically pizza’s easygoing cousin who shows up with a big smile and no drama. And yes, I always snag one form the tray while they’re still too hot. You will too.
Why you might love this, like I do
I make this when the day ran long and I want to feed folks without negotiating toppings. My family goes a bit bonkers for these because they’re gooey inside and crisp outside, and they dunk beautifully. Honestly, I used to overstuff them and the cheese would jailbreak. Then I realized less is more here, which is wildly against my usual cheese philosophy, but there we are. Also, they reheat well, though I think this tastes better the next day, which is funny because it almost never survives the night.
(If dough makes you nervous, same, but we are keeping it chill.)
What you’ll need, give or take
- 1 lb pizza dough, room temp for 30 minutes. Store bought is fine. If I have time, I make my own, but if not, no one complains. For flour nerds, this guide is handy: King Arthur on flour types.
- 180 to 250 g low moisture mozzarella, shredded. I sometimes use 6 to 8 mozzarella sticks when I’m in a hurry.
- 24 to 30 pepperoni slices. My grandmother insisted on the big deli style rounds, but honestly any version works fine.
- 2 tablespoon grated Parmesan, optional but lovely.
- 1 tablespoon olive oil, plus a drizzle for the pan.
- A small handful of chopped parsley or basil, optional.
- 1 egg, beaten with 1 teaspoon water, for brushing. Or a splash of milk if that’s what you have.
- Marinara for dipping. Store bought is great. If you want to go the extra mile, I like this simple method for stretching dough and then topping with sauce: The Kitchn dough stretching tips.
- Pinch of red pepper flakes, optional.
- Fine salt and black pepper, just a pinch or two.
Quick note before we roll
A rolling pin is essential here, or so I thought. Actually, I find it works better if you press the dough with your fingertips first to keep it relaxed, then finish with the pin. On second thought, if you do not have a rolling pin, a clean wine bottle works a charm.
How I do it, step by step
- Heat the oven to 400 F. Lightly oil a large sheet pan or line with parchment. I use a rimmed pan so any cheese drips do not escape.
- On a floured surface, gently press the dough into a rectangle, about 30 by 40 cm. If the dough springs back, let it rest 5 minutes. Do not fight it, the dough always wins.
- Brush the surface with olive oil. Sprinkle a light pinch of salt and pepper. Scatter the mozzarella evenly, leaving a 2 cm border on one long edge. This is where I usually sneak a taste.
- Layer the pepperoni over the cheese. Add Parmesan and red pepper flakes if you like a little zing.
- Starting at the long edge without the border, roll the dough up snugly into a log. Not too tight, not too loose, think friendly burrito. Pinch the seam to seal.
- Place the log seam side down. Using a sharp knife, slice into 12 to 14 pieces. If the knife sticks, dust the blade with flour and keep going.
- Arrange the pieces on the sheet pan, leaving room between each. Brush tops lightly with the egg wash. Sprinkle herbs if using.
- Bake for 18 to 22 minutes, until golden at the edges and bubbling in little happy spots. Do not worry if some cheese leaks; it becomes the crispy bit you’ll fight over.
- Cool for 5 minutes, then serve with warm marinara. Let the cheese do it’s thing and settle before the first bite, unless you like molten mouth, which, fair.
Notes I learned the not so glamorous way
- If your dough is cold, it shrinks and tears. Room temp dough behaves better. I set it near the oven while it preheats.
- Low moisture mozzarella melts neatly. Fresh mozzarella tastes great but can make the centers damp. If you must use it, pat it dry first.
- Parmesan on top browns fast. If it gets too dark, tent with foil for the last 5 minutes.
- Roll thickness matters, but also does not. Aim for about a 1 cm slice. If some are thicker, it is fine, just bake a minute or two more.
Variations I have tried, with mixed results
- Jalapeño and cheddar: replace half the mozzarella with sharp cheddar, add a few thin jalapeño slices. Big flavor, a little heat, we love it on game night.
- Veggie swirl: sautéed mushrooms and spinach with garlic, then cool and squeeze out moisture. Tasty, but if you skip the squeeze step, they go soggy. Ask me how I know.
- Hawaiianish: tiny pineapple bits with ham. It was fine, but the pineapple leaked juice and the bottoms got soft. I would not do that again without par drying the fruit.
- Extra cheesy: a mix of mozzarella and provolone. This one rules. Serious Eats has a solid read on melt friendly mozz if you like rabbit holes: best mozzarella for pizza.

Equipment, or what I actually used
- Rolling pin. Essential, except when I forget where I put it, then a wine bottle steps in like a champ.
- Rimmed baking sheet, 13 by 18 inches ish.
- Pastry brush for the egg wash. A spoon works if that brush has mysteriously vanished, which it will.
- Sharp knife. A bench scraper is helpful but not required.
Storing your roll-ups without losing the magic
Cool completely, then stash in an airtight container in the fridge for up to 3 days. Reheat in a 180 C oven for 6 to 8 minutes so they crisp back up. They freeze well for a month, wrapped individually, which is fancy planning for future you. Though honestly, in my house it never lasts more than a day.
How I like to serve these
Warm, with a bowl of marinara and a little cup of ranch because my kids are who they are. For a cheeky weekend lunch, I add a simple salad with lemon and olive oil and call it balanced. On game night, I set these out with pickled peppers and it gets messy in a good way.
Pro tips I learned the oops way
- I once tried rushing the dough rest and regretted it because the dough kept shrinking and the rolls twisted weirdly. Five minutes of patience saves twenty of drama.
- I piled on too much cheese once. It oozed out and burned fast. Sprinkle lightly inside and save extra for the top or the next batch.
- I sliced super thin once thinking it would be cute bite sized. They dried out. Thicker slices keep the centers tender.
- Egg wash is optional, but I skipped it and missed that shiny bakery finish. Tiny detail, big payoff.
FAQ, because y’all ask great questions
Can I use crescent roll dough instead of pizza dough
Yes, if you want a flakier vibe. Bake a little less, about 12 to 15 minutes. It won’t be exactly the same, but it’s tasty and fast.
What cheese melts best
Low moisture mozzarella for the win. Part skim is fine, whole milk melts creamier. If you only have cheddar, go half and half with mozzarella to avoid oiliness.
Do I need sauce inside
Nope. Sauce inside makes them slippery. Dip on the side instead. If you insist, use a very thin smear and seal the edge well.
Can I make these ahead
Yes. Assemble, cover, and chill up to 8 hours, then bake straight form the fridge, adding 2 to 3 minutes. Or bake, cool, and reheat later.
Air fryer timing
Works great. 180 C for 7 to 9 minutes. Check early, batches vary and some models run hot.
How do I keep the bottoms from getting soggy
Preheat the pan in the oven for 5 minutes, then arrange the slices on the hot pan. Or use a pizza stone if you have one. Also, go light on fillings with lots of moisture.
Is turkey pepperoni okay
Absolutely. It crisps a bit less, but it is still delicious.
One last little digression. If your oven light goes out mid bake, you will feel like you are cooking in a cave. Use your nose. When it smells toasty and a little nutty at the edges, that is your cue to peek. It is not science, it is vibes, and it works more often than not.
Ingredients
- 1 (8-ounce) tube refrigerated crescent roll dough (or pizza dough sheet)
- 24 slices pepperoni (about 3 per roll-up)
- 1 ½ cups shredded mozzarella cheese
- ¼ cup grated Parmesan cheese
- 3 tablespoons melted butter
- ½ teaspoon garlic powder
- 1 teaspoon Italian seasoning
- ½ cup marinara sauce for dipping
Instructions
-
1Preheat the oven to 375°F (190°C). Line a baking sheet with parchment paper or lightly grease it.
-
2Unroll the crescent dough and separate into 8 roughly equal rectangles (if using triangles, press seams together to form rectangles).
-
3On each piece of dough, layer 3 slices of pepperoni and about 2 tablespoons of shredded mozzarella. Roll the dough tightly around the filling and place seam-side down on the prepared baking sheet.
-
4Mix the melted butter with garlic powder and Italian seasoning. Brush the tops of each roll-up with the seasoned butter and sprinkle with grated Parmesan.
-
5Bake for 12–15 minutes, or until the roll-ups are golden brown and the cheese is melted and bubbly.
-
6Remove from the oven and let cool for 2–3 minutes. Serve warm with marinara sauce for dipping.
Approximate Information for One Serving
Nutrition Disclaimers
Number of total servings shown is approximate. Actual number of servings will depend on your preferred portion sizes.
Nutritional values shown are general guidelines and reflect information for 1 serving using the ingredients listed, not including any optional ingredients. Actual macros may vary slightly depending on specific brands and types of ingredients used.
To determine the weight of one serving, prepare the recipe as instructed. Weigh the finished recipe, then divide the weight of the finished recipe (not including the weight of the container the food is in) by the desired number of servings. Result will be the weight of one serving.
Did you make this recipe?
Please consider Pinning it!!

