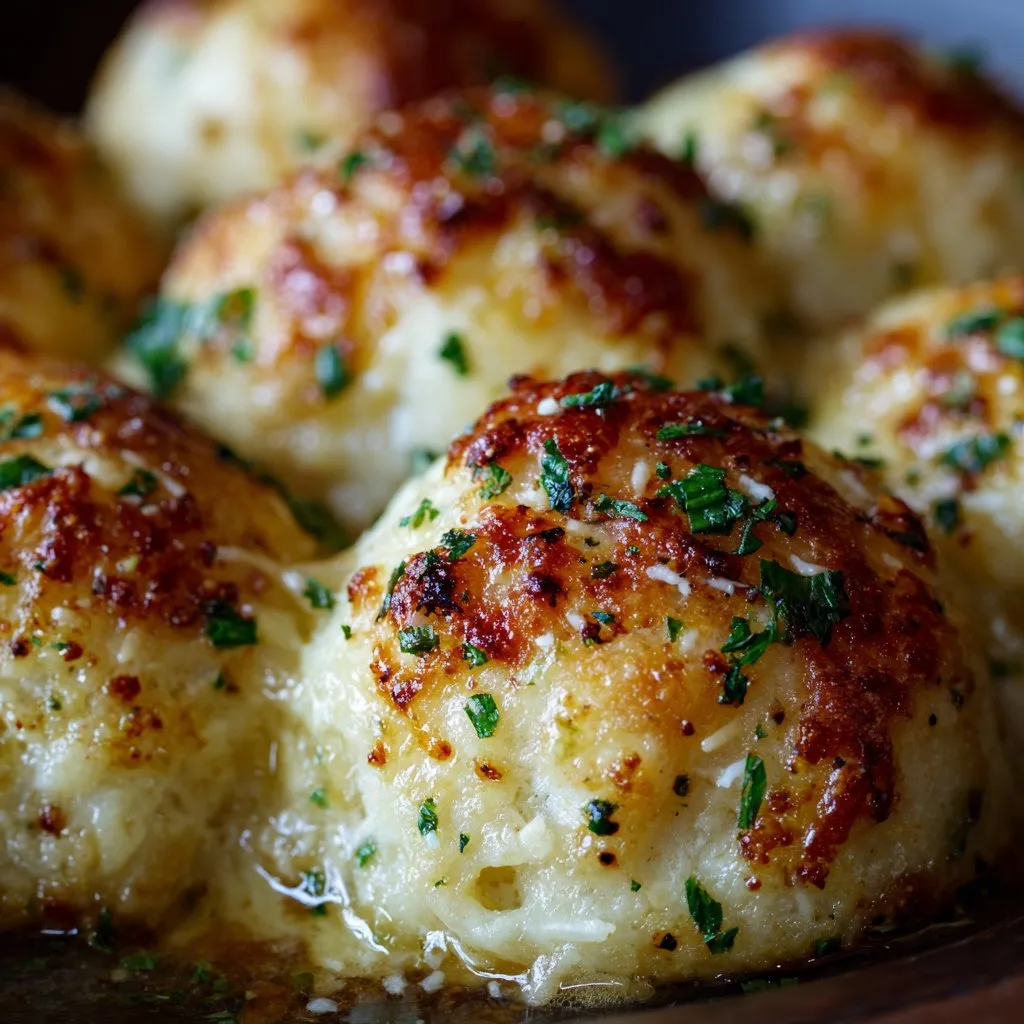
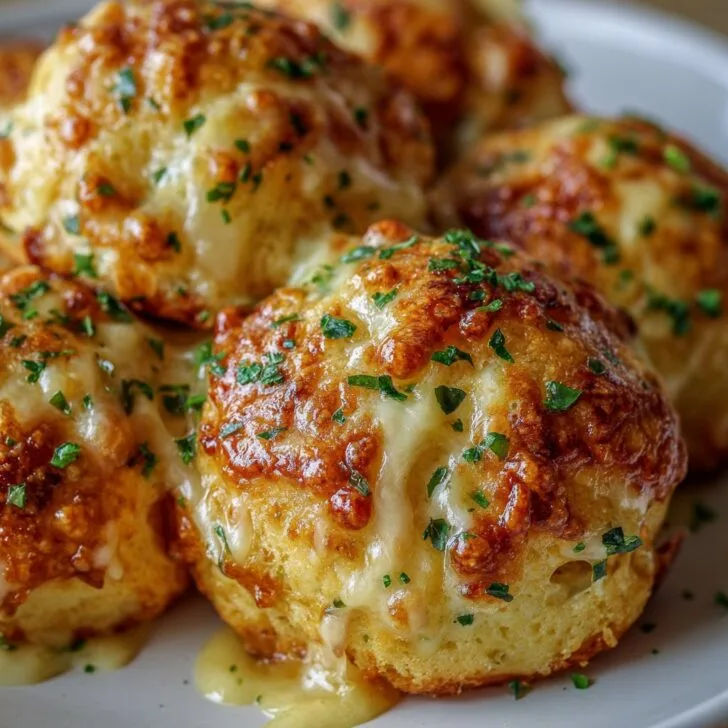
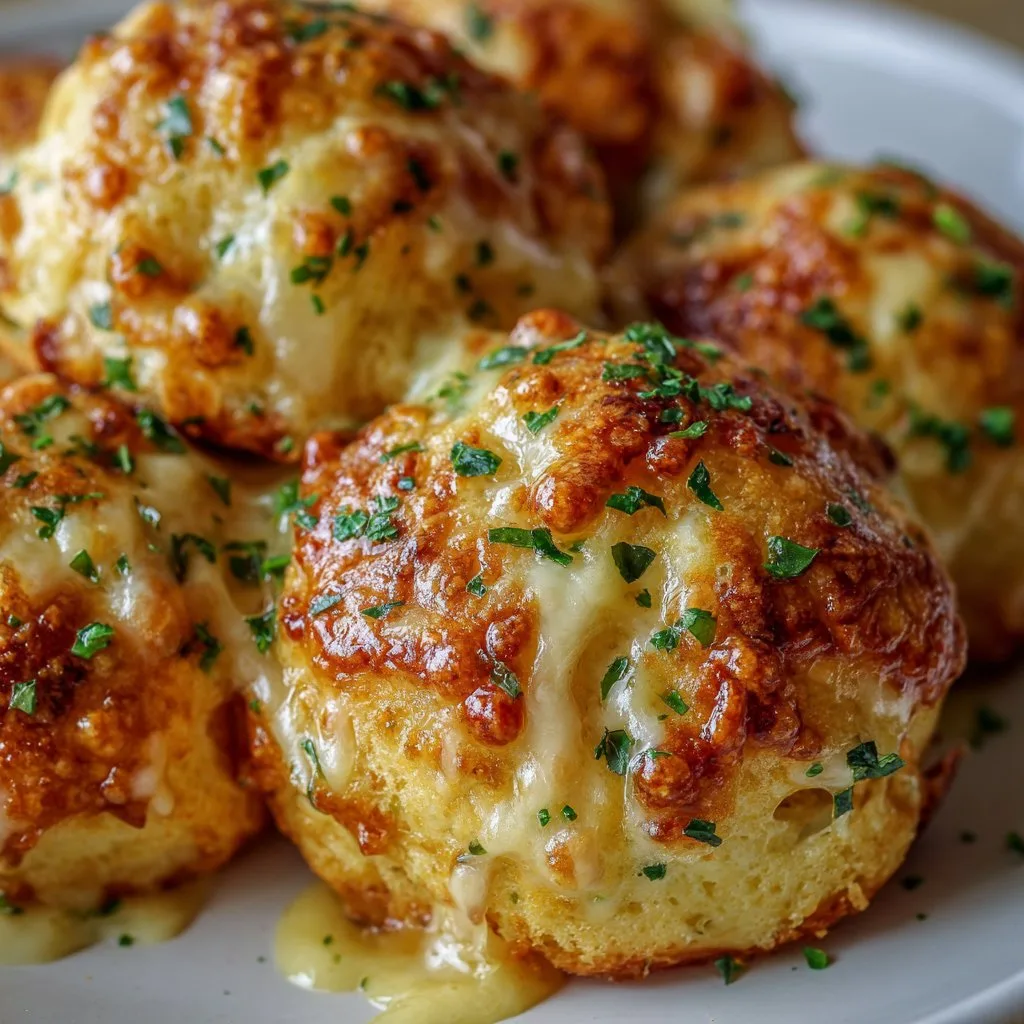
Let Me Tell You About These Cheesy Garlic Butter Bombs
Alright, so picture this: it’s Friday night, everyone’s a bit peckish, and you really don’t fancy making a full dinner (who does, honestly?). That’s when I always think, “Ah, cheesy garlic butter bombs!” True story, these little flavor grenades first happened in my kitchen on a whim, when I had leftover pizza dough and, well, a questionable amount of cheese. I burnt the first batch—rookie move—but now, not to brag, I’ve got it down to an art. Sometimes my sister swings by just to see if I’ve made them. (She claims it’s for the company. Not buying it.)
Why You’ll Love These (Or At Least Why I Do)
I whip these up when I want something that looks way fancier than it actually is. My family basically hovers around the oven waiting for them; even my cousin, who swears she doesn’t eat carbs, sneaks a few. They’re a proper lifesaver if you’ve got unexpected guests—just don’t tell anyone they start with store-bought dough half the time. (And about that garlic smell lingering in the house? I’ve made peace with it. The dog… less so.)
What You’ll Need (And What I Swap In When I’m Lazy)
- 1 can of refrigerated biscuit dough (sometimes I just use leftover pizza dough—works a treat but you’ll need to wrangle it a bit more)
- 1 cup shredded mozzarella (cheddar is fun too; my grandmother swore by a bit of feta, but that’s a strong move)
- 2 tablespoons salted butter, melted (unsalted plus a pinch more salt is fine, honestly)
- 2-3 garlic cloves, minced (jarred garlic is passable if you’re in a pinch, but fresh is king)
- 1 tablespoon chopped parsley (dried parsley in winter—who’s buying fresh in February?)
- Optional: pinch of chili flakes, or a sprinkle of parmesan for the top
How I Actually Make Them (Give or Take)
- Preheat your oven to 375°F (or 190°C, but I’ve been known to fudge it a bit—my oven’s got a mind of its own anyway).
- Crack open that biscuit dough. Separate the biscuits (or your weirdly shaped pizza dough bits) and flatten each one into little rounds—about the size of your palm. Don’t worry if they look wonky.
- Plop a healthy pinch of cheese in the middle of each round. Fold the dough up and around the cheese, pinching it closed at the top (sometimes I have to poke it closed twice because the cheese wants to escape—cheese is a rebel like that).
- Line them up, pinched side down, on a baking tray. This is where I usually sneak a bit of cheese from the leftovers. No regrets.
- Mix your melted butter, garlic, and parsley together. Brush it all over the tops, and if you’re feeling jazzy, hit it with those chili flakes or parmesan.
- Bake for about 13–15 minutes, until they’re golden and you can’t resist the smell any longer. If some leak cheese, it’s all part of the charm.
Notes from My Kitchen (AKA Things I’ve Messed Up So You Don’t Have To)
- If you overstuff with cheese, you’ll get a beautiful mess—but it’s still delicious. Just maybe use a baking tray with a rim.
- I used to skip the parsley, but actually, it makes them look a bit more put together. It’s all about the illusion, right?
- Don’t overthink the dough. I once tried making it from scratch and, honestly, store-bought is just easier most of the time.
Stuff I’ve Tried (And a Fail or Two)
- I once stuffed them with pepperoni slices—pretty good, bit greasy though.
- Tried blue cheese; let’s just say… not for me, but maybe you’re braver!
- Cooked them in my air fryer once—worked, but they browned too fast. Keep an eye out if you go that route.
Equipment (And How I Improvise)
You’ll want a baking tray and a pastry brush for that lovely butter. But if your brush has vanished (mine does, regularly), just drizzle the butter with a spoon and call it rustic. I’ve even used my hands in a pinch—messy, but effective.

Keeping Them Fresh (Spoiler: They Rarely Last)
If by some miracle you have leftovers, just chuck them in an airtight container. Fridge is fine for a day or two. But honestly, in my house, these cheesy garlic butter bombs disappear faster than socks in the laundry. I think they taste pretty good the next day, reheated in the oven for a couple of minutes, but I rarely get to find out.
How I Serve Them (And a Little Tradition)
I put them in a big bowl right in the centre of the table. My little niece insists on dipping hers in warm marinara sauce (I nicked this speedy marinara recipe last time—so good). Sometimes I make a garlicky yogurt dip if I’m feeling posh. Perfect for movie nights, game days, or, honestly, breakfast. No judgement here.
Things I’ve Learned (Usually the Hard Way)
- Don’t rush the baking just because you’re hungry; I once pulled them out too early and, well, raw dough is not a vibe.
- Actually, letting them cool for a few minutes before eating is a game changer (burned my tongue more times than I care to admit).
- If you use too much garlic, you’ll be tasting it for days. Sometimes more isn’t more.
FAQ (Yes, People Have Actually Asked Me These)
- Can I use crescent roll dough instead of biscuits? Sure thing! They’re a bit flakier, so just pinch the seams shut well or you’ll get cheese lava (which is actually not terrible).
- How do you stop the cheese escaping? Honestly, you probably can’t every time, but pinching the dough tightly and baking seam side down helps. Or just embrace the crispy cheese bits. I do.
- Can I make these ahead? You can, but they’re best fresh. I’ve prepped them and kept them in the fridge for a few hours before baking—worked fine (just add an extra minute or two in the oven).
- What cheese is best? Mozzarella melts super well, but honestly, try what you like! I found this guide on cheese melts handy when I was experimenting.
- Are these freezable? Haven’t tried it (yet) but I’d guess so—maybe freeze before baking, then bake straight from frozen adding a few minutes to the timer? If you try it before I do, let me know!
And, just because I’m easily distracted, did you know you can use leftover garlic butter on popcorn? I learned that from a friend in Leeds, and now I can’t stop doing it. Anyway, back to the recipe—let me know if you come up with a wild new filling. I’m always on the lookout for new snack ideas (my jeans, less so).
Ingredients
- 1 can (16 oz) refrigerated biscuit dough
- 8 cubes mozzarella cheese (about 1-inch each)
- 4 tablespoons unsalted butter, melted
- 3 cloves garlic, minced
- 2 tablespoons fresh parsley, chopped
- ½ teaspoon dried Italian seasoning
- ¼ teaspoon salt
- 2 tablespoons grated Parmesan cheese
Instructions
-
1Preheat the oven to 375°F (190°C). Line a baking sheet with parchment paper.
-
2Separate the biscuit dough into 8 pieces. Flatten each piece into a circle.
-
3Place a cube of mozzarella cheese in the center of each dough circle. Fold the dough around the cheese and pinch to seal, forming a ball.
-
4Arrange the dough balls seam-side down on the prepared baking sheet.
-
5In a small bowl, mix melted butter, minced garlic, parsley, Italian seasoning, and salt. Brush the tops of the dough balls generously with the garlic butter mixture.
-
6Bake for 13-15 minutes or until golden brown. Remove from oven, brush with remaining garlic butter, sprinkle with Parmesan cheese, and serve warm.
Approximate Information for One Serving
Nutrition Disclaimers
Number of total servings shown is approximate. Actual number of servings will depend on your preferred portion sizes.
Nutritional values shown are general guidelines and reflect information for 1 serving using the ingredients listed, not including any optional ingredients. Actual macros may vary slightly depending on specific brands and types of ingredients used.
To determine the weight of one serving, prepare the recipe as instructed. Weigh the finished recipe, then divide the weight of the finished recipe (not including the weight of the container the food is in) by the desired number of servings. Result will be the weight of one serving.
Did you make this recipe?
Please consider Pinning it!!

