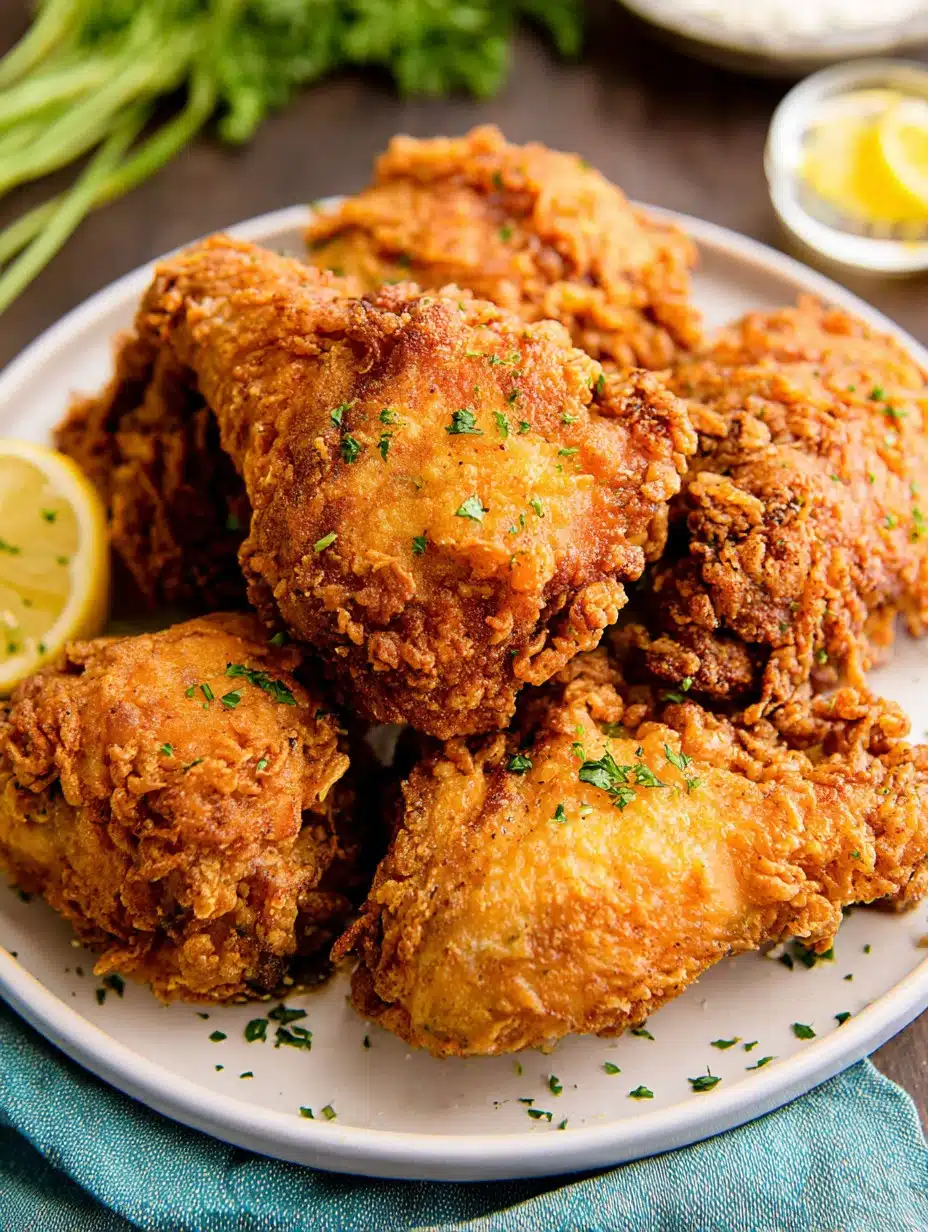
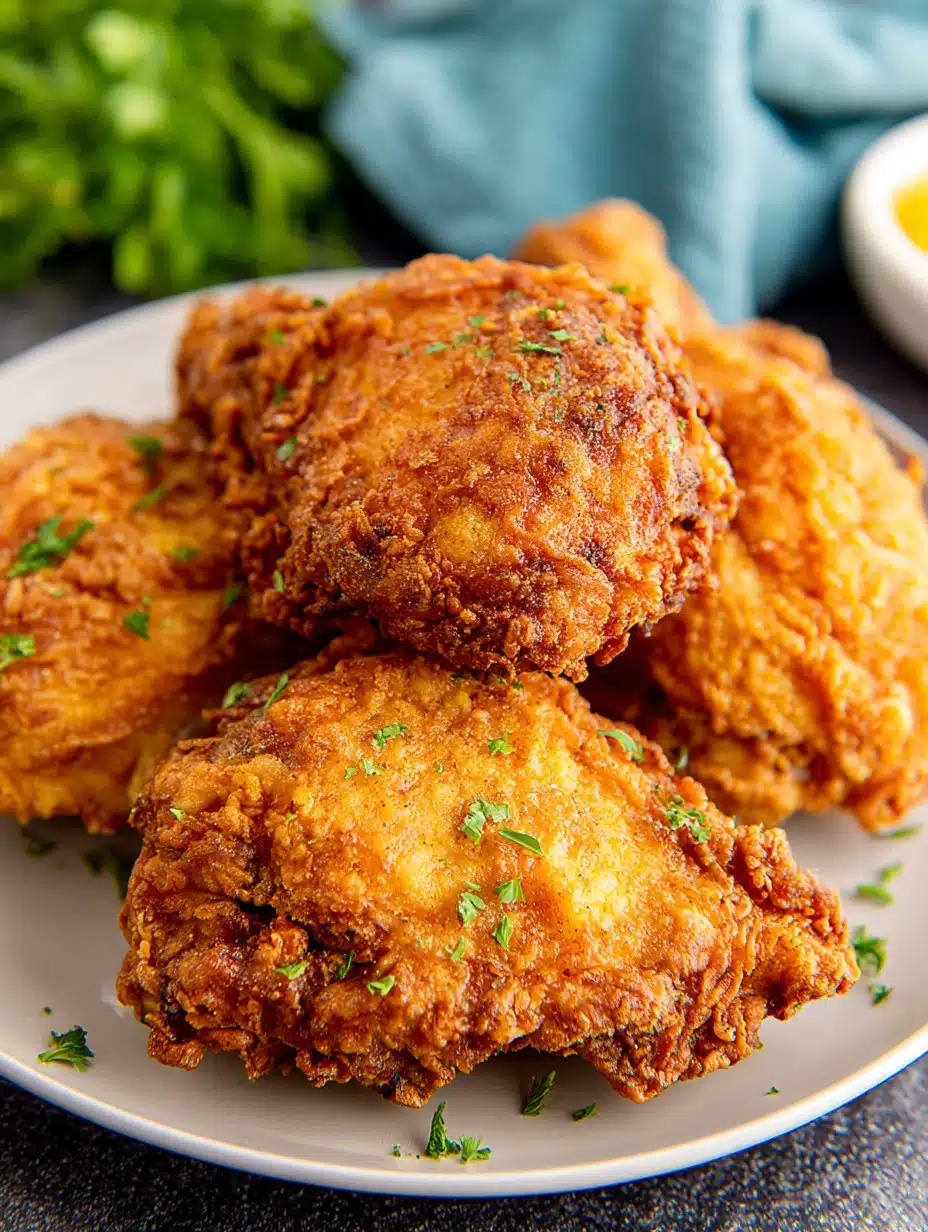
Well, Here's the Story: Why Buttermilk Fried Chicken?
You know how some recipes just stick around in your head forever—like that weird jingle you can't quite shake? For me, this buttermilk fried chicken is that catchy tune. First time I made it, I probably overcooked half the batch (rookie move), but even then, everyone hovered in the kitchen, trying to steal pieces before dinner was even close to done. My uncle actually pretended to “check the seasoning” and ended up eating, I dunno, three drumsticks? Anyway, this one’s a crowd pleaser, a “lick-your-fingers-and-don’t-apologize” kind of meal. I swear, the only way it wouldn’t bring people to the table is if you, I dunno, replaced the chicken with tofu or something. Which I tried once, actually... but hang on, we’ll get to that. For now, let’s talk about this glorious mess of crackly, tangy fried chicken.
Why I Keep Coming Back to This Chicken (and Maybe You Will Too)
I make this whenever I want to see those eyes light up—the "oh wow, are you really making that tonight?" look. My family basically turns into scavengers the second they hear oil heating (like, chill out, it'll be ready once the smoke detector isn’t screeching anymore). Honestly, it’s the buttermilk: it does some kind of magic, making the chicken extra juicy. With a crispy crust that, in my humble opinion, is way crunchier than anything you get at those big chicken chains. Also, if I’ve had, let’s say, a week where things didn’t go quite to plan, pounding some chicken while prepping gives me a weird sort of kitchen therapy. Seriously, give it a try next time you need to relieve some stress. Oh, accidentally using way too much cayenne once also taught me that ‘just a pinch’ is sometimes not negotiable.
Let’s Talk Ingredients (and Substitutes and a Little Cheating)
- 2 pounds chicken pieces (like drumsticks, thighs, breasts—whatever you’ve got handy or whatever was on sale; wings work too but they cook faster)
- 2 cups buttermilk (sometimes I’m out and just mix regular milk with a spoonful of lemon juice; works in a pinch—my grandma claims it’s not the same, but I honestly can’t tell the difference)
- 2 cups all-purpose flour (I’ve swapped in half-and-half with cornstarch for an extra-light crust—jury’s still out on if that’s really better)
- 2 teaspoon salt (sea salt, table salt, that super-expensive Himalayan stuff... up to you)
- 1.5 teaspoon black pepper
- 1 teaspoon paprika (smoked for a BBQ vibe, plain for old-school. Up to you)
- 1 teaspoon garlic powder (or just smash a garlic clove into the buttermilk if you’re feeling rustic)
- 1 teaspoon onion powder (sometimes I skip it—don’t tell anyone)
- ½ teaspoon cayenne pepper (feel free to go rogue here if you love heat, but you’ve been warned)
- Oil for frying (I always reach for peanut oil, but canola, veg, whatever you’ve got—just nothing fancy like olive oil, trust me)
So, Here's How I Do It (Give or Take)
- Marinate the Chicken: Chuck the chicken into a big bowl (or zip-bag, whatever’s clean), pour on the buttermilk, half the salt and pepper, and the garlic powder (or your smashed garlic if you went rogue). Toss it all around so it’s coated. Cover—foil, cling, or clean tea towel if you want to be old-school—and let it hang out in the fridge for at least 2 hours. Overnight’s better, but I never remember. Sometimes I leave it for 30 mins, no one’s died yet.
- Coat & Preheat: Mix the flour, rest of the salt and pepper, paprika, onion powder, and cayenne in a tray or shallow bowl. Take each piece out of the marinade, let the excess drip off (don’t rinse, obviously! That’s where the flavor is), roll it in the flour mix so it’s really caked on. Stack them up on a wire rack or plate. Sometimes I double-dip—back in buttermilk, then in flour again—for a crunchier bite.
- Get the Oil Hot: Pour two-ish inches of frying oil in a big heavy pot or deep skillet. Heat to about 350°F (or until a bit of flour sizzles when dropped in). Don’t walk away here unless you like cleaning stovetops for fun. Also, you totally don’t need a thermometer—sometimes I just go by look and sound. If the oil’s smoking, well, turn it down a bit!
- Fry, Baby, Fry: Gently lay in the chicken. Don’t crowd the pan (it’ll get soggy); maybe do batches. Fry each side for 7-8 minutes, depending on thickness. Flip once—it’s ok if the breading falls off a little. When golden and, honestly, sometimes a bit uneven, pull it out and stick it on a wire rack or paper towel mountain. Here’s where I usually sneak a taste (chef’s tax; it’s only right).
- Rest & Serve: Wait a couple minutes before eating so you don’t incinerate your tongue. I usually try one thinking I’ll just have a morsel, then, well, three pieces later... You get it.
Notes (Learned the Hard Way...)
- Chicken sometimes looks a bit pale when it comes out; it darkens as it rests, so don’t panic.
- If you accidentally overdo the flour, the crust can peel off, but, actually, those crunchy bits are weirdly the best part.
- I sometimes forget to season the flour enough. It matters! Just a friendly nudge.
- On second thought: letting the chicken rest on a rack instead of paper towels actually keeps it crispier. Who knew?
Variations I’ve Actually Attempted
- Spicy Korean-style: Add gochugaru instead of cayenne and brush the finished chicken with a mix of honey and gochujang. This is dangerously addictive.
- Herby Lemon: Zest a lemon into your flour and toss in some dried Italian herbs for a different twist.
- Gluten-free experiment: Swapped in rice flour and a little cornstarch; not bad, but a bit on the crumbly side.
- Once tried tofu: Let’s just say it didn’t really fool anyone, but if you’re feeling brave, I found this vegan chicken recipe from Serious Eats pretty interesting.
What You Actually Need (But Not Always)
- A heavy pot or big pan for frying (my old Dutch oven gets a workout—if you don’t have one, any deep skillet that holds heat well is fine)
- Tongs (hands work if you’re not afraid of a little oil splatter; I have the scars...)
- Wire rack (for draining, but, look, a stack of paper towels on a baking tray is also fine if you’re not aiming for restaurant presentation)
- Meat thermometer is handy but I never use one—poke the thickest piece; if the juices run clear, you’re in business (here’s a real guide if you want to get nerdy: USDA Food Safety)

Storing Leftovers (If Miraculously There Are Any)
Let the chicken cool off before tossing it into a container; it helps stop that soggy-sad crust. Once chilled, it’s good in the fridge for, say, 2-3 days, but honestly, in my house it never lasts more than a day! To reheat, just whack it in a hot oven for about 10-15 minutes instead of microwaving unless you want it to taste like a rubber slipper. Cold fried chicken the next day? Oddly satisfying if you ask me.
Serving It Up: How We Do It
Mashed potatoes, obviously (gravy on everything is mandatory in my house), or sometimes I just toss together a big crunchy coleslaw, which you can check out at Bon Appétit’s summer slaw. Sunday picnics, pile of biscuits, maybe a sneaky pickle on the side—whatever works. Oh, and a cold beer, if that’s your thing. Or lemonade for the kids—or me when I’m feeling Wild West.
A Few (Hard-Earned) Pro Tips
- Don’t crowd the pan. I once tried to smash in all the chicken at once and got a weird boiled effect, which is not the vibe we’re after.
- Let the chicken marinate longer if you can manage it. Rushed it once and it was just ok. Not bad, but just... fine. Totally missed its magic.
- Seriously, don’t freak out if it looks messy before frying. It smooths out in the oil, like life sometimes does.
Your Questions Answered (Mostly)
Do I have to use buttermilk?
Honestly, no; if you’re out (I almost always am), a mix of milk and lemon juice or plain yogurt “thinned out” with water does the trick. Tastes a teensy bit different but still tasty. But if you want the real stuff, go for it.
What’s the deal with oil temperature?
If you have a thermometer, aim for 350°F. If not, drop in a crumb. If it sizzles and bobs up, you’re golden—literally. Don’t stress over a degree or two (I never do...maybe I should, but who has time?)
Can I oven-bake this instead?
Sure, you can—it’s healthier, but it’s not quite the same. The crust is more, well, ‘breaded’ than ‘fried.’ Worth a shot, especially if you hate oil splatter, but don’t expect southern grandma results.
How do I know it’s done?
Juices clear when poked, crust golden, and chicken feels firm. Or, a thermometer reads 165°F. But you’ll learn to trust your eyes and your nose after a few tries.
Hungry yet? Because I’m already wishing I’d made extra—again.
Ingredients
- 1 whole chicken (about 3 lbs), cut into 8 pieces
- 2 cups buttermilk
- 2 cups all-purpose flour
- 2 teaspoons salt
- 1 teaspoon black pepper
- 1 teaspoon paprika
- ½ teaspoon garlic powder
- Vegetable oil, for frying
Instructions
-
1In a large bowl, combine chicken pieces with buttermilk. Cover and refrigerate for at least 2 hours or overnight for best flavor.
-
2In another bowl, mix flour, salt, black pepper, paprika, and garlic powder.
-
3Remove chicken from buttermilk and allow excess marinade to drip off. Dredge chicken pieces in the seasoned flour mixture, shaking off any excess.
-
4Heat about 2 inches of vegetable oil in a large, heavy skillet or Dutch oven to 350°F (175°C).
-
5Fry chicken in batches, turning occasionally, until golden brown and cooked through, about 12–15 minutes per batch. Internal temperature should reach 165°F (74°C).
-
6Drain fried chicken on a wire rack or paper towels. Serve hot.
Approximate Information for One Serving
Nutrition Disclaimers
Number of total servings shown is approximate. Actual number of servings will depend on your preferred portion sizes.
Nutritional values shown are general guidelines and reflect information for 1 serving using the ingredients listed, not including any optional ingredients. Actual macros may vary slightly depending on specific brands and types of ingredients used.
To determine the weight of one serving, prepare the recipe as instructed. Weigh the finished recipe, then divide the weight of the finished recipe (not including the weight of the container the food is in) by the desired number of servings. Result will be the weight of one serving.
Did you make this recipe?
Please consider Pinning it!!

