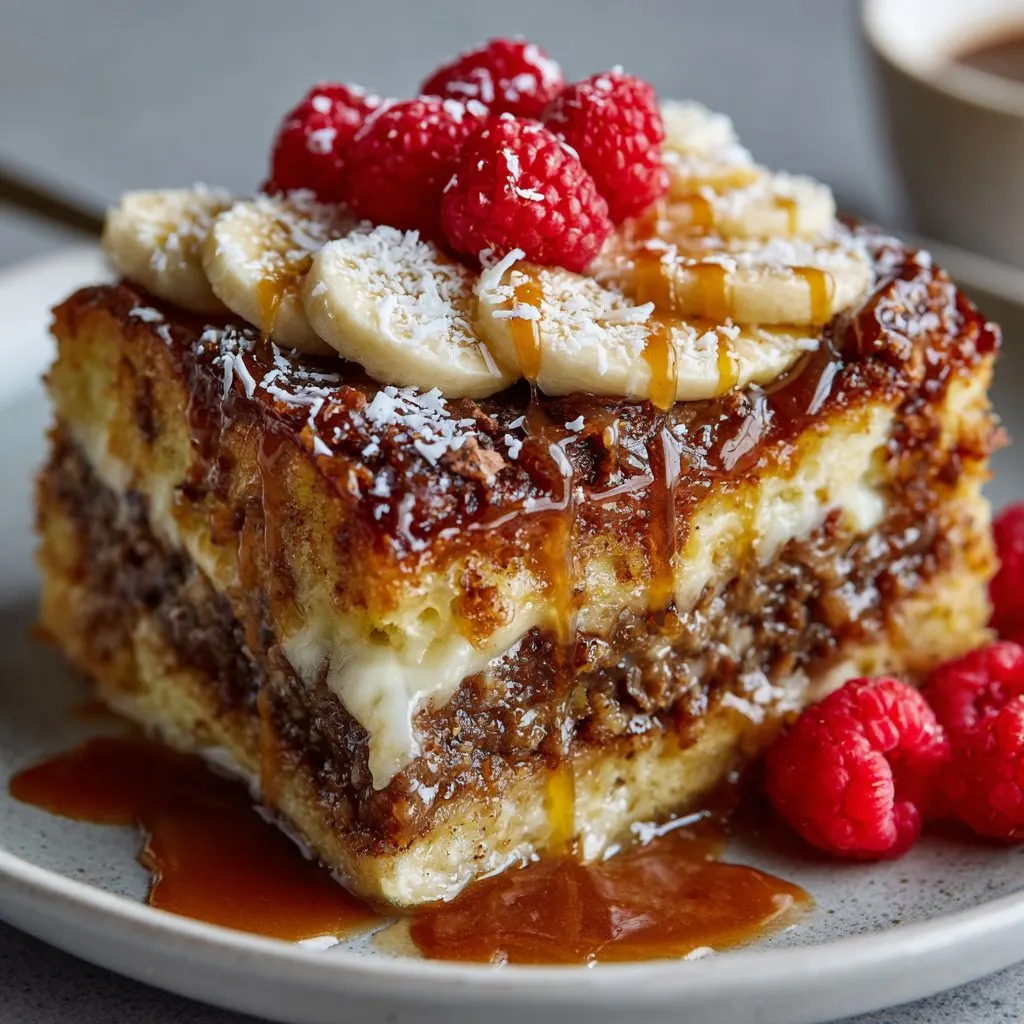
Let's Talk Pancake Casserole (My Most-Loved Brunch Trick)
Okay, so you know those mornings when you want pancakes but the idea of flipping them one by one makes you long for a second cup of coffee instead? Yeah, same here. That's actually how I landed on this pancake casserole—it was pure, glorious laziness. I remember the first time I made it for a big family brunch, my cousin thought I'd invented it (not even close, but I'll take the compliment). And I have to admit, there’s something a bit magical about pulling out one big, golden, fluffy casserole instead of standing over a frying pan for an hour. Anyway, welcome to my slightly-chaotic, always-comforting pancake casserole recipe adventure!
Why I Keep Making This (And, Honestly, Maybe Too Often)
I usually whip this up when I've got a house full of hungry people—like after a sleepover or when my brother drops by unannounced with his kids (which, by the way, is way too often, but I love them). My family goes crazy for this because it’s basically pancakes plus the ease of a casserole. Plus, you can chuck in berries, chocolate chips, or whatever’s lurking at the back of your fridge. Once, I forgot the vanilla and nobody noticed—well, except for me! And clean-up is so much better (less syrup on the counter, at least most of the time).
My Not-So-Strict Ingredients List
- 2 cups all-purpose flour (sometimes I use whole wheat if that’s what’s left)
- 3 tablespoon sugar (or honey, if you like)
- 2 teaspoon baking powder
- ½ teaspoon baking soda
- ½ teaspoon salt (honestly, I just do a little pinch if I’m feeling wild)
- 2 cups milk (almond milk works in a pinch—my neighbor swears by it)
- 2 large eggs
- ¼ cup melted butter (I sometimes sub vegetable oil, like when I forget to buy butter)
- 1 teaspoon vanilla extract (my grandma always insisted on the real stuff, but imitation is fine, really)
- Optional: a handful of blueberries, sliced bananas, or chocolate chips (go nuts—literally, you can use nuts too!)
How I Actually Make It (With Honest Commentary)
- Preheat your oven to 375°F (190°C). Sometimes I forget and have to wait around, but hey, more coffee time.
- Grab a decent-sized casserole dish (9x13-ish). Grease it—maybe with butter, spray, or whatever’s handy. Don't skip this or you'll regret it when cleaning.
- In a big bowl, mix your flour, sugar, baking powder, baking soda, and salt. I just use a fork. No need to be fancy.
- In another bowl (or honestly, a big measuring jug), whisk together milk, eggs, melted butter, and vanilla. I once did this all in one bowl and it worked fine, but it looked a bit odd at first.
- Pour the wet stuff into the dry stuff. Stir until just combined. This can look lumpy. That’s okay—trust me, it always does. Don't overmix or it'll be tough.
- Fold in any add-ins (like berries or chocolate chips). This is where I usually sneak a taste. You should too, just don’t tell anyone.
- Pour batter into your greased dish. Smooth it out a bit. If you want, scatter a few more berries or chips on top. Go wild.
- Bake for 23–28 minutes, or until puffed and golden. If the middle jiggles like a wobbly tooth, give it a couple more minutes.
- Let it sit for 5 mins before serving. Or, if you’re like me, slice it too soon and risk burning your tongue. (Worth it?)
Things I Learned The Hard Way (Notes)
- If the top looks pale, pop it under the broiler for a minute—but watch it. I once got distracted and ended up with "extra crispy" casserole.
- Whole wheat flour makes this denser, but in a comforting sort of way. My husband prefers it, but he’ll eat anything, honestly.
- If you add lots of fruit, maybe cut the milk back by a splash. (I only realized this after a couple of soggy batches.)
How I’ve Mixed It Up (Some Experiments… Good and Bad)
- Swapped the butter for coconut oil once—tasted great but, uh, a bit too tropical for my dad.
- Tried layering in apple slices and cinnamon. A+ autumn vibes!
- Went rogue and used pancake mix with extra eggs. Not bad, but a little rubbery. Wouldn’t recommend unless desperate.
Do You Need Fancy Gear? (Probably Not)
I use a basic glass baking dish. If you don't have one, honestly, any ovenproof pan works—one time I made it in a cast iron skillet and it was totally fine (a bit more rustic, maybe). Mixing bowls aren't essential either; I've used a big salad bowl in a pinch. If you want to check out some fun kitchen basics, Serious Eats has a great guide that’s saved me from a few kitchen disasters.

How To Store It (If There Are Leftovers… Rarely)
Technically, you should keep leftovers covered in the fridge for up to three days. But, honestly, in my house it never lasts more than a day! Sometimes I warm it up in the microwave for breakfast the next morning and actually, I think it tastes better the next day—maybe it’s just me?
How We Serve It (And A Small Family Quirk)
I always cut big squares and hand out maple syrup (real, fake, whatever’s in the fridge). My mom likes to add a dollop of Greek yogurt and a sprinkle of cinnamon sugar—which I used to think was weird, but now I do it too. If you want inspiration for homemade syrups, Bigger Bolder Baking has some wild ideas (the berry one is fab).
What I Wish I'd Known (Pro Tips Form My Own Goofs)
- Don’t rush the mixing. I tried to do it super fast once and the flour clumped up—ugh, not pleasant.
- If you use frozen fruit, toss it in a tiny bit of flour first—otherwise your casserole goes blue and weird. Learned that the messy way.
- Check your oven. Mine runs hot, so sometimes I take it out at 22 minutes. Trust your gut (and maybe your nose).
Real FAQ, Because People Actually Ask
Can I prep this the night before?
Totally! Just keep the wet and dry stuff separate, then mix in the morning. Or, honestly, I’ve mixed it all and baked straight from the fridge, and it was fine (a little denser, but nice if you’re into that).
Is this freezer-friendly?
Sort of. You can freeze it, but the texture gets a bit odd after thawing. Still, if you zap it in the toaster oven, it improves.
Can I make this gluten free?
Yep, just use a 1:1 gluten-free flour blend. I tried almond flour once and it turned out kinda crumbly—so maybe stick with the blends.
What if I don’t have baking powder?
Er, I’ve subbed in a bit more baking soda with a splash of vinegar, and it worked, but not perfectly. Wouldn’t serve it to my picky aunt, but for regular brunch? Go for it.
Does this work with pancake mix?
Yup, but add an extra egg so it’s not too dry. I sometimes do this when I’m in a rush—or when I just can’t be bothered. No shame!
Anyway, thanks for hanging out in my virtual kitchen. If you try this and put your own spin on it, let me know! (Unless you put raisins in. Just kidding. Sort of.)
Ingredients
- 2 cups all-purpose flour
- 2 tablespoons granulated sugar
- 2 teaspoons baking powder
- ½ teaspoon baking soda
- ½ teaspoon salt
- 2 large eggs
- 2 cups milk
- ¼ cup unsalted butter, melted
- 1 teaspoon vanilla extract
- ½ cup maple syrup (plus more for serving)
Instructions
-
1Preheat your oven to 350°F (175°C). Grease a 9x13-inch baking dish with butter or nonstick spray.
-
2In a large bowl, whisk together the flour, sugar, baking powder, baking soda, and salt.
-
3In another bowl, beat the eggs, then add milk, melted butter, and vanilla extract. Mix well.
-
4Pour the wet ingredients into the dry ingredients and stir until just combined. Do not overmix.
-
5Pour the batter into the prepared baking dish. Drizzle ½ cup maple syrup over the top.
-
6Bake for 35 minutes or until the casserole is golden and set. Let cool slightly before serving with extra maple syrup.
Approximate Information for One Serving
Nutrition Disclaimers
Number of total servings shown is approximate. Actual number of servings will depend on your preferred portion sizes.
Nutritional values shown are general guidelines and reflect information for 1 serving using the ingredients listed, not including any optional ingredients. Actual macros may vary slightly depending on specific brands and types of ingredients used.
To determine the weight of one serving, prepare the recipe as instructed. Weigh the finished recipe, then divide the weight of the finished recipe (not including the weight of the container the food is in) by the desired number of servings. Result will be the weight of one serving.
Did you make this recipe?
Please consider Pinning it!!

