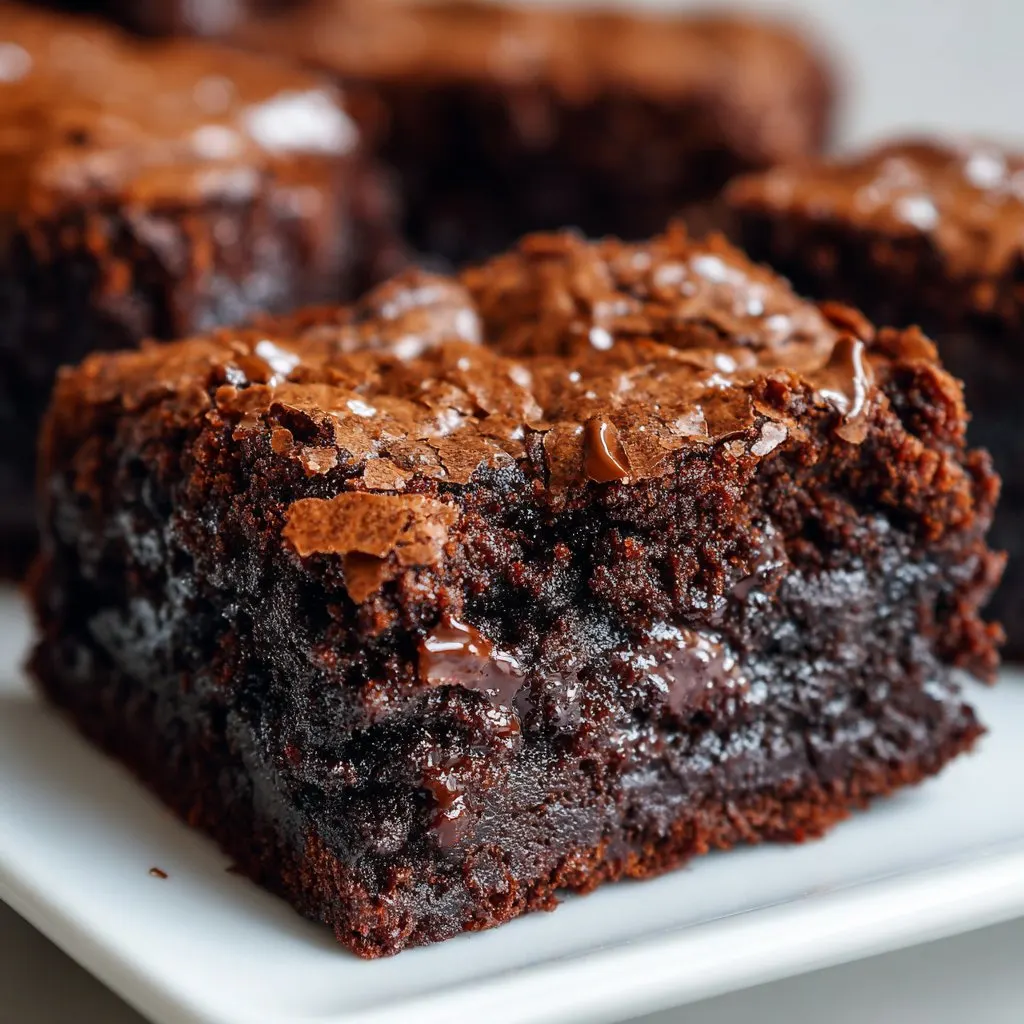
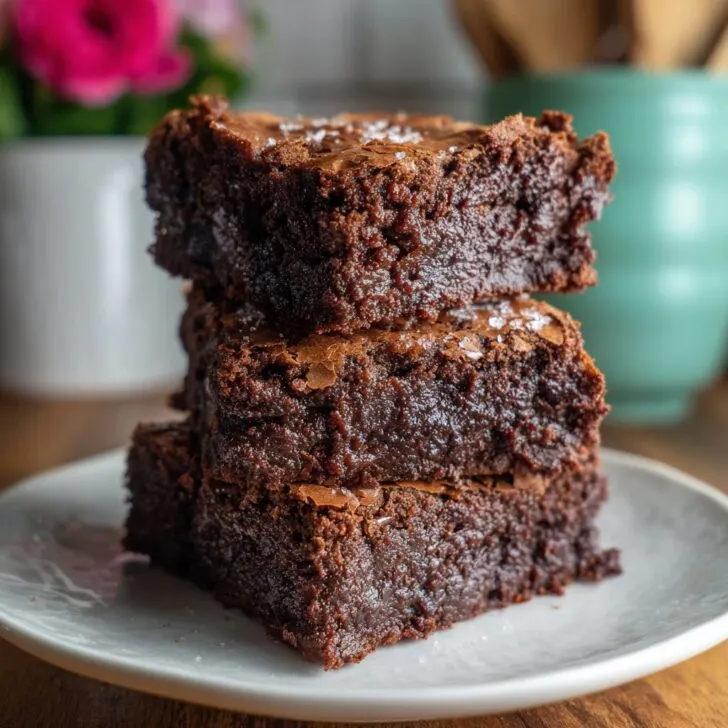
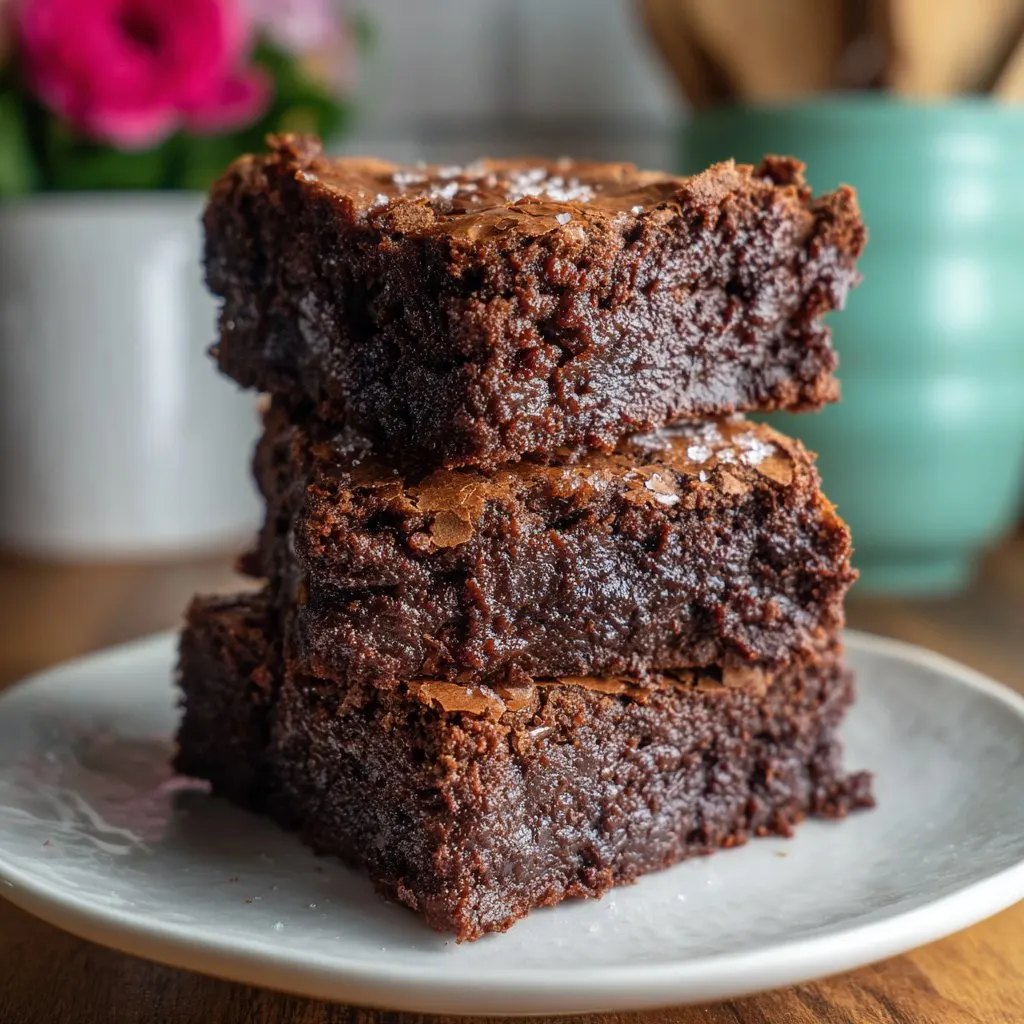
Let's Talk Brownies (And Why I Can't Stop Making These)
I’m almost embarrassed to say how many pans of these brownies I’ve made over the years. It's gotten to the point my cousin’s kids will message me (in all caps) if I show up to a family thing without them. The first time I made them, I nearly burned the butter because I got distracted watching reruns of QI—but you know, that slightly nutty smell actually turned out nice. Not recommending you burn your butter, but hey, sometimes mistakes are just new recipes in disguise!
Why I Keep Coming Back to This Recipe
I pull out this recipe when it’s been one of those days, or if I need to bribe my teenager into vacuuming the living room. My family goes absolutely bonkers for these, especially when they’re still a bit warm and oozy in the middle (I know, I know, you’re supposed to let them cool, but who has that kind of patience?). One time, I tried making a “healthier” batch—swapped half the butter for applesauce. Let’s just say… never again. I mean, if you’re gonna eat a brownie, eat the brownie!
What You'll Need (And What You Can Get Away With)
- 200g dark chocolate (I usually grab any supermarket bar—though my gran swore by Green & Black’s. Frankly, I use whatever’s on offer.)
- 120g unsalted butter (Salted works. Just skip the extra pinch of salt later.)
- 250g white sugar (I’ve used light brown sugar in a pinch; gives a lovely caramel undertone.)
- 2 large eggs
- 80g plain flour (That’s about a half-cup plus a bit. Whole wheat is… um, not ideal. Trust me.)
- 30g cocoa powder (Dutch processed is fancy, but normal works. Once I ran out and tried hot chocolate powder—tasted fine, just sweeter.)
- 1 teaspoon vanilla extract (Or skip it. I sometimes do, if I can’t be bothered to dig through the spice shelf.)
- A pinch of salt
- Optional: Handful of choc chips, walnuts, or swirl in peanut butter. Or don’t. Your brownies, your rules.
Okay, Here's How I Throw These Together
- Preheat your oven—180°C (350°F). Line an 8-inch (20cm) square pan with baking paper. No pan that size? I’ve used a loaf tin in a pinch; brownies just come out a bit taller, that’s all.
- Melt the chocolate and butter together. You can do the fancy double boiler thing, but honestly, I just zap it in the microwave in 20-second bursts, stirring between. Just don’t wander off, or you’ll end up with an actual science experiment.
- Whisk in your sugar—at this point, the mix will look gritty and a bit odd. Don’t stress, it all comes together. This is usually where I sneak a little taste (for science, obviously!).
- Beat in the eggs, one at a time. The batter will suddenly get all glossy and gorgeous. Add your vanilla and salt.
- Fold in the flour and cocoa powder. Gently. Don’t overthink it; a few streaks, no big deal. Stir in extras if you like (nuts, choc chips, whatever).
- Pour it into your lined pan. I smooth it out a bit, but not obsessively. Into the oven it goes—20 to 25 minutes, but keep an eye on it. You’re looking for a set edge and a slight jiggle in the center. If you like them super gooey (me!), err on the lower end.
- Let them cool. Or not. But be warned: cutting them while hot is a sticky mess. On the other hand, warm brownies and ice cream? Heaven.
Stuff I Learned the Hard Way (Notes)
- Don’t use baking powder or soda; I tried it once and ended up with weird puffy brownies. Not what we’re aiming for!
- If your brownies seem a bit dry, you probably baked them too long. Actually, I find it works better if I slightly underbake, then let them finish setting as they cool.
- These freeze surprisingly well—before I discovered this, I used to panic about leftovers (hah, as if there’s ever any left).
A Few Ways I’ve Messed Around With This
- Peppermint extract for holiday vibes—works a treat in December.
- Espresso powder for a grown-up kick. Just a teaspoon makes the chocolate pop.
- I once tried adding diced banana. Yeah, don’t… it made for a weird, soggy texture. Maybe just eat a banana on the side.
Do You Really Need That Fancy Equipment?
If you’ve got a mixing bowl and a wooden spoon, you’re sorted. No electric mixer needed. I’ll admit, I sometimes use a food processor if I’m feeling lazy, but it’s almost more hassle with the washing up, you know? Oh, and if you don’t have baking paper, butter the dish and cross your fingers—worked for my mum for years.

How Do I Store These? (Honestly, I Don’t)
Technically, if you store them in an airtight container, they’ll last 3-4 days at room temp. But let’s be real: in my house, they’re gone by the next morning. If you manage to hide a few, try freezing them (wrap well). They taste even fudgier after a quick zap in the microwave.
How We Eat Them at Mine (And Why It Never Gets Old)
I’m a purist—just warm brownies, maybe a scoop of vanilla ice cream. But my sister swears by a drizzle of salted caramel sauce. Once my neighbour brought over a berry compote, which was surprisingly good (I’d link to her recipe but she guards it like state secrets). I sometimes serve them with coffee for breakfast, which is probably not textbook but who’s checking?
Pro Tips I’ve Picked Up (Usually After Messing Up)
- Don’t rush the melting—if you scorch the chocolate, the brownies taste weirdly bitter. I once tried to speed things up and regretted it instantly.
- Let them cool (at least a bit) before cutting. I know, patience is hard. But otherwise you’ll just have a gooey mess and impossible slices.
- If you want neat squares, chill them in the fridge first. Or, just embrace the rustic look. Perfection’s overrated anyway.
Questions I Actually Get (And My Very Honest Answers)
- “Can I make these gluten-free?”
- Yep, swap the flour for a gluten-free plain blend. Results might be a bit crumblier, but honestly, still fab.
- “Do I have to use dark chocolate?”
- Nah, if you like milk chocolate, go wild. It’ll be sweeter, and less intense—my kids prefer it that way. I like a mix, myself.
- “How do I know when they’re done?”
- Look for set edges and a slight jiggle in the middle. A toothpick should come out with a few sticky crumbs, not totally clean. But if you overbake them, well, you just get a different (less gooey) treat.
- “Can I double the recipe?”
- Absolutely, but use a bigger pan and watch the baking time. Or, make two batches and stash one. (Good luck hiding them!)
- “What cocoa powder do you use?”
- Whatever’s in the cupboard, honestly. I like Green & Black’s, but Sainsbury’s own is just fine. You can read more about cocoa types at Serious Eats if you’re keen on the sciencey stuff.
- “Where do you get recipe inspiration?”
- Half the time it’s from Sally’s Baking Addiction, or just the back of chocolate wrappers. Actually, I find the comment sections more helpful than half the blogs these days!
Anyway, whether you’re a brownie newbie or a full-on tray-baking legend, I think these are worth your time. And if you mess up, just call it a deconstructed dessert—no one will know (or care).
Ingredients
- 1 cup (225g) unsalted butter, melted
- 2 cups (400g) granulated sugar
- 4 large eggs
- 1 teaspoon vanilla extract
- 1 cup (125g) all-purpose flour
- 1 cup (85g) unsweetened cocoa powder
- ½ teaspoon salt
- 1 cup (175g) semi-sweet chocolate chips
Instructions
-
1Preheat your oven to 350°F (175°C). Grease and line a 9x13-inch baking pan with parchment paper.
-
2In a large bowl, whisk together the melted butter and sugar until smooth and glossy.
-
3Add the eggs one at a time, beating well after each addition. Stir in the vanilla extract.
-
4Sift in the flour, cocoa powder, and salt. Gently fold the dry ingredients into the wet mixture until just combined.
-
5Fold in the chocolate chips, then pour the batter into the prepared pan and spread evenly.
-
6Bake for 28-32 minutes, or until the edges are set but the center is still slightly gooey. Cool completely before slicing and serving.
Approximate Information for One Serving
Nutrition Disclaimers
Number of total servings shown is approximate. Actual number of servings will depend on your preferred portion sizes.
Nutritional values shown are general guidelines and reflect information for 1 serving using the ingredients listed, not including any optional ingredients. Actual macros may vary slightly depending on specific brands and types of ingredients used.
To determine the weight of one serving, prepare the recipe as instructed. Weigh the finished recipe, then divide the weight of the finished recipe (not including the weight of the container the food is in) by the desired number of servings. Result will be the weight of one serving.
Did you make this recipe?
Please consider Pinning it!!

