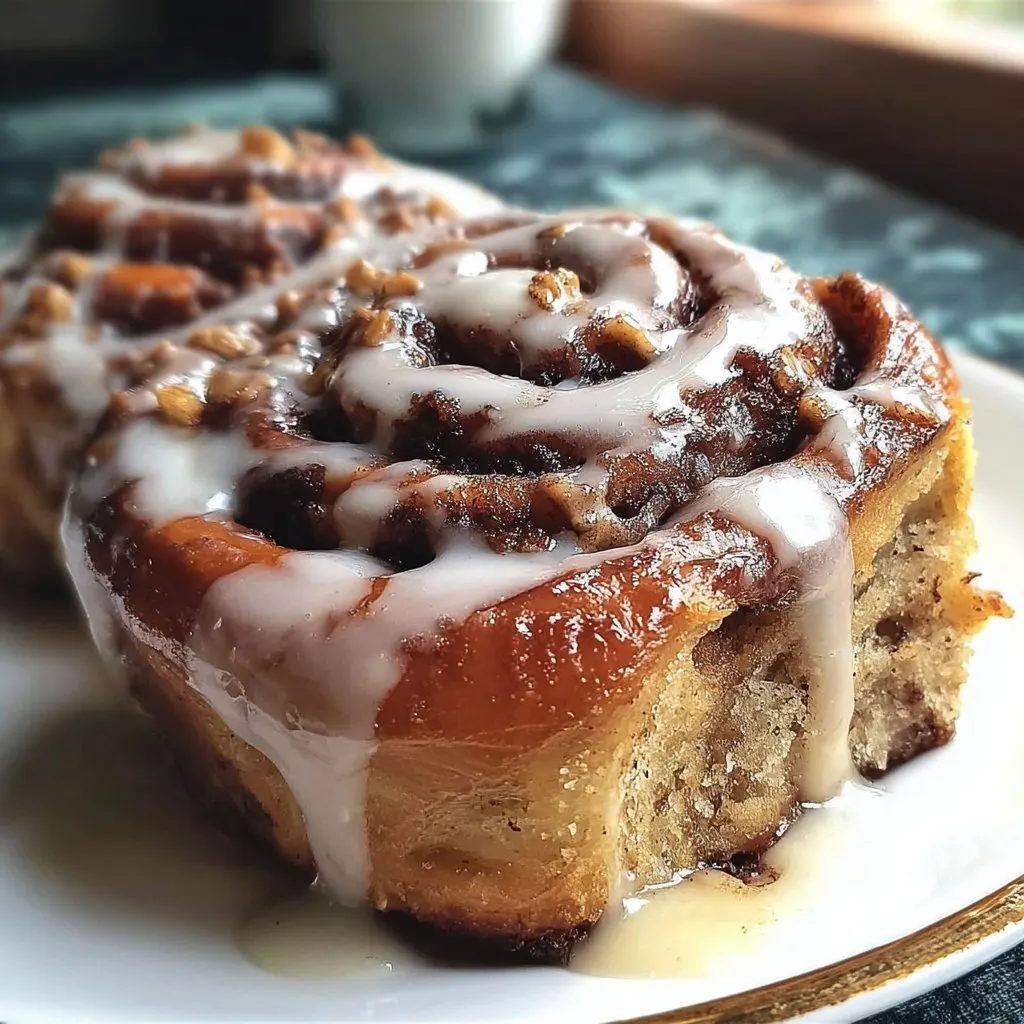
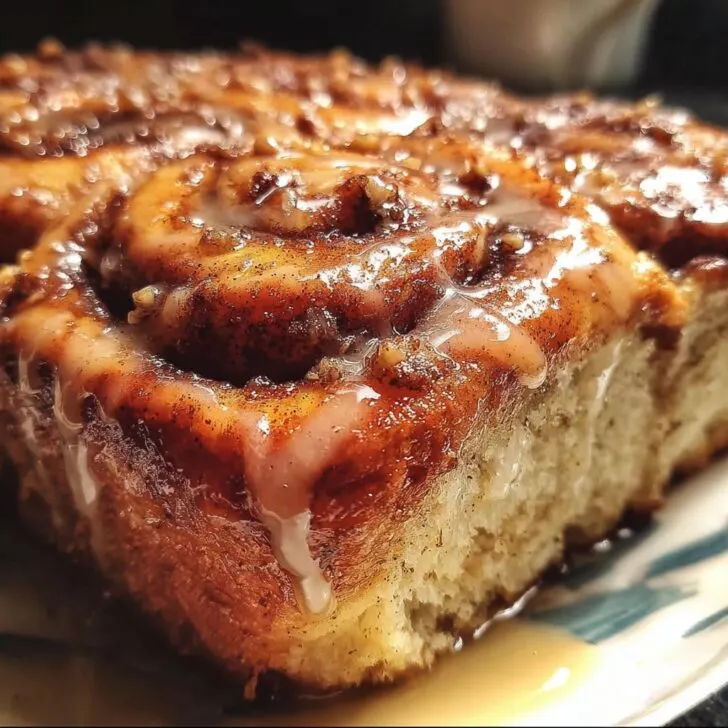
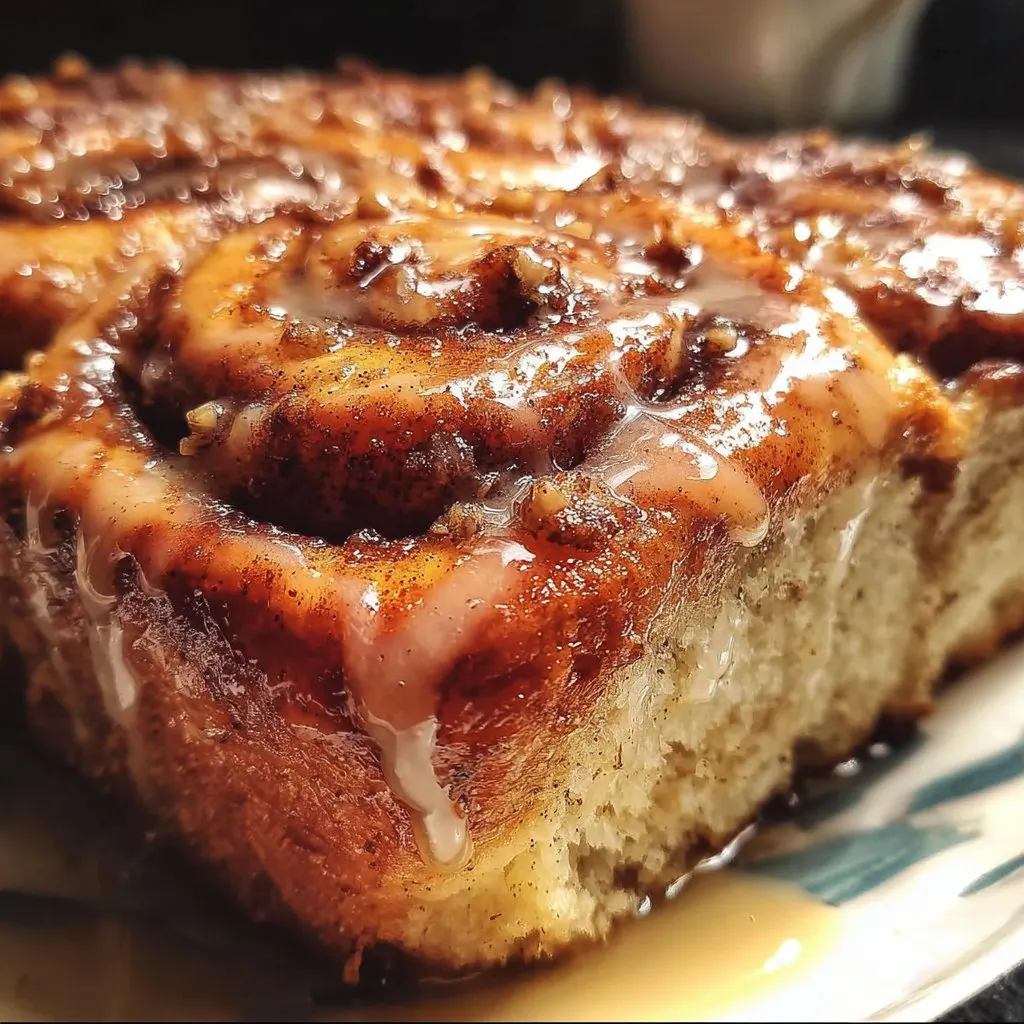
Let's Talk About My Banana Bread Cinnamon Rolls Obsession
So, you know those days when you can't decide between banana bread and cinnamon rolls? Well, this is what happens when you throw caution (and maybe a few overripe bananas) to the wind and just mash both together. Honestly, the first time I made these was mostly to use up some bananas that had gone well past their prime—like, they were basically sending out smoke signals for help. But now, these banana bread cinnamon rolls are my rainy Sunday tradition (unless I cave and just make banana pancakes instead). There was this one time my neighbor popped in mid-bake, and we basically sat on the kitchen floor eating scraps off the pan and laughing at my wonky spiral shapes. Ah well, nobody bakes for Instagram every day, right?
Why You'll Love This (Or, Why I Keep Making It Anyway)
I make this when my family is giving me those "banana bread again?" faces, but I still want the house to smell like a bakery. My kids lose their minds for the gooey middle pieces (fair warning, they're the first to go). Plus, if you ever wanted to eat banana bread for breakfast but dress it up just a teensy bit, this is the thing. I used to find rolling dough intimidating (and I'll admit, there's still flour on my ceiling fan from a particularly enthusiastic roll-out session), but this dough is forgiving. Actually, I find it works better if you don't fuss too much. Isn't that a relief?
What You’ll Need to Make Banana Bread Cinnamon Rolls
- 2 to 2 ¼ cups all-purpose flour (honestly, I wing it; sometimes I need more, sometimes less—humidity hates me)
- ¾ cup mashed very ripe bananas (about 2 bananas; more brown spots, the better, though my grandma always insisted on perfect yellow...hmm)
- ¼ cup milk (whole is best, but I’ve used oat milk in a pinch—still tasted great)
- 1 egg (room temp if you remember, but I've used fridge-cold and survived)
- 3 tablespoons unsalted butter, melted (I’ve swapped in coconut oil once, tasted OK but kinda weirdly tropical for my taste)
- 3 tablespoons granulated sugar (brown sugar also works—gives it more of that banana bread vibe)
- 2 ¼ teaspoons instant yeast (one packet; if you only have active dry, dissolve it in the warm milk first)
- ½ teaspoon salt
For the Filling:
- ¼ cup softened butter
- ½ cup brown sugar, packed
- 1 tablespoon ground cinnamon (I go heavy, but that’s me)
- Optional: a handful of chopped walnuts or pecans (or chocolate chips—don’t let the purists stop you)
For the Icing:
- 1 cup powdered sugar
- 2 tablespoons cream cheese, softened (skip if you want a simple glaze—just do milk and sugar)
- 1 tablespoon milk, or more as needed
- ½ teaspoon vanilla extract
How I Actually Make These (Real Directions)
1. Dough time! Grab a big bowl (or use a stand mixer if you’re feeling fancy). Mix mashed bananas, milk, egg, melted butter, sugar, yeast, and salt. Give it a stir. Start adding flour, ½ a cup at a time, until it forms a shaggy soft dough. Don’t fret if it’s sticky—it’s meant to be, like toddlers and peanut butter.
2. Knead the dough on a floured surface for 5–8 minutes (or, if you’re like me, until you remember you meant to preheat the oven—don’t worry, it’s forgiving). Place it back in the bowl, cover with a tea towel, and let it rise somewhere warm for about an hour. It should double, or almost. Sometimes I just throw it in the oven with the light on and cross my fingers.
3. Once it’s pillowy, punch the dough down (my favorite part), then roll it out on a floured countertop into a big rectangle, about ½ inch thick. No ruler? Eyeball it, who’s judging?
4. Slather on the softened butter. Sprinkle on brown sugar and cinnamon, then go crazy with nuts or chocolate if you like. I usually sneak a tiny taste here—just to, you know, check quality.
5. Roll it up from the long side (like making a big burrito), then slice into 8 to 10 rolls. Don’t stress if they look a bit wonky—it always sorts itself out in the oven.
6. Arrange rolls in a greased baking dish (I use a 9-inch round or 8x8 square, but I’ve also crammed them into a bread pan in a pinch; worked fine). Cover and let rise again for about 30–40 minutes. Or, if you’re impatient (like me), just give them 20 and bake anyway. They’ll be a bit denser but still delicious.
7. Bake at 350°F (180°C) for 22–28 minutes, until golden and puffy. If you overbake, they’ll still taste good but lose some gooey magic. Just saying.
8. While they bake, whip up that icing: mix powdered sugar, cream cheese, milk, and vanilla. Adjust the milk to get it pourable but not runny. (If you want, Sally's Baking Addiction has a killer cream cheese frosting recipe I’ve borrowed before.)
9. Drizzle icing over warm rolls. Eat immediately, because what’s the point in waiting?
Random Notes I’ve Picked Up
- If the dough’s sticking to your fingers, oil your hands instead of adding endless flour—it’s less messy (learned this the hard way).
- I once left out the sugar by accident. The rolls still worked, but they were a bit sad—don’t recommend it.
- Letting the rolls cool a few minutes makes slicing easier, but we rarely wait that long.
Experiments & Other Wild Ideas
I tried swapping half the flour for whole wheat once—made them kind of dense, but not in a bad way. Chocolate chips in the filling? Next level. I once added blueberries, and...well, let’s just say it was too much moisture and the result was more like pudding than bread. Worth a try, but maybe not when company’s coming.
Do You Really Need Special Equipment?
A stand mixer makes it easier, but I’ve made these plenty of times with just a big bowl and a wooden spoon. Rolling pin? Wine bottles work in a pinch (just clean it first, unless you like a hint of merlot in your dough, ha!). Oh, and if you don’t have a baking dish, a rimmed sheet pan works okay too, you just get more spread out rolls. For more equipment ideas, King Arthur Baking’s cinnamon roll guide helped me out of a jam once.

How I Store These (But They Hardly Ever Last)
Technically, you can keep these in an airtight container at room temp for up to 2 days. Or in the fridge for 4–5 days. But honestly, in my house, it never lasts more than a day! If by some miracle you have leftovers, pop a roll in the microwave for 10–15 seconds to revive the goo. Freezer? Sure, just wrap tightly and freeze for up to 2 months.
Serving Them Up—My (Possibly Odd) Family Traditions
My favorite way: warm, with a big mug of coffee. My kids like them with extra icing and a glass of cold milk. Sometimes for brunch, we top them with sliced bananas and a sprinkle of cinnamon sugar. For birthdays, I’ve even stuck a candle in one—can’t say it’s traditional, but it was fun.
Pro Tips, aka What I Learned the Hard Way
- I once tried rushing the second rise and regretted it because the rolls came out more like hockey pucks. Patience actually does taste better here.
- Don’t use bananas that are actually mushy and leaking—trust me, it gets weird. Soft is good, but not "banana soup" territory.
- If the icing seems too thin, just add more powdered sugar. Too thick? A splash of milk. It’s forgiving. (Unlike my last attempt at croissants, but that’s another story...)
FAQ — Real Questions People Have Actually Asked Me
- Can I make these vegan? You bet—swap in plant milk, vegan butter, and flax egg. I haven’t tried with aquafaba, but I’ve heard it works!
- What if I don’t have instant yeast? Just use active dry, but dissolve it in the warm milk first. It'll take a bit longer to rise (so go make tea or something in the meantime).
- Can I prep them the night before? Oh, for sure—assemble, cover, and stash in the fridge overnight. Bake straight from the fridge, maybe add 5 minutes. Actually, I think this makes the flavor even better.
- Help! My dough isn’t rising! It’s probably your yeast. Double-check the date. Or maybe it’s too cold in your kitchen. Plonk the bowl somewhere warmer, like on top of the fridge or in a barely warm oven with the door cracked.
- How ripe should the bananas be? I use them when they’re super spotty and kinda soft, but not, you know, liquid. Somewhere in between is perfect.
- Can I double this? Yes! Just use a bigger baking pan. Or make two pans and give one to a neighbor—learned form experience, this gets you invited to more barbecues.
Okay, that’s probably more than you ever wanted to know about Banana Bread Cinnamon Rolls. If you try these, let me know how your kitchen smells after! And if you find a way to keep flour off your ceiling fan, please, for the love of carbs, send me your secret.
Ingredients
- 2 ¼ cups all-purpose flour
- ¼ cup granulated sugar
- 2 teaspoons instant yeast
- ½ teaspoon salt
- ½ cup mashed ripe banana (about 1 large banana)
- ½ cup warm milk
- ¼ cup unsalted butter, melted
- 1 large egg
- ⅓ cup brown sugar
- 2 teaspoons ground cinnamon
- 2 tablespoons unsalted butter, softened (for filling)
- 1 cup powdered sugar (for glaze)
- 2 tablespoons milk (for glaze)
Instructions
-
1In a large bowl, combine flour, granulated sugar, instant yeast, and salt. Mix well.
-
2Add mashed banana, warm milk, melted butter, and egg to the dry ingredients. Mix until a soft dough forms.
-
3Knead the dough on a floured surface for 5-7 minutes until smooth. Place in a greased bowl, cover, and let rise for 1 hour or until doubled in size.
-
4Roll out the dough into a rectangle. Spread softened butter over the surface, then sprinkle with brown sugar and cinnamon.
-
5Roll up the dough tightly and slice into 12 rolls. Place in a greased baking dish, cover, and let rise for 20 minutes.
-
6Bake at 350°F (175°C) for 25 minutes or until golden brown. Mix powdered sugar and milk to make a glaze, then drizzle over warm rolls before serving.
Approximate Information for One Serving
Nutrition Disclaimers
Number of total servings shown is approximate. Actual number of servings will depend on your preferred portion sizes.
Nutritional values shown are general guidelines and reflect information for 1 serving using the ingredients listed, not including any optional ingredients. Actual macros may vary slightly depending on specific brands and types of ingredients used.
To determine the weight of one serving, prepare the recipe as instructed. Weigh the finished recipe, then divide the weight of the finished recipe (not including the weight of the container the food is in) by the desired number of servings. Result will be the weight of one serving.
Did you make this recipe?
Please consider Pinning it!!

