How I Fell in Love With Amish White Bread
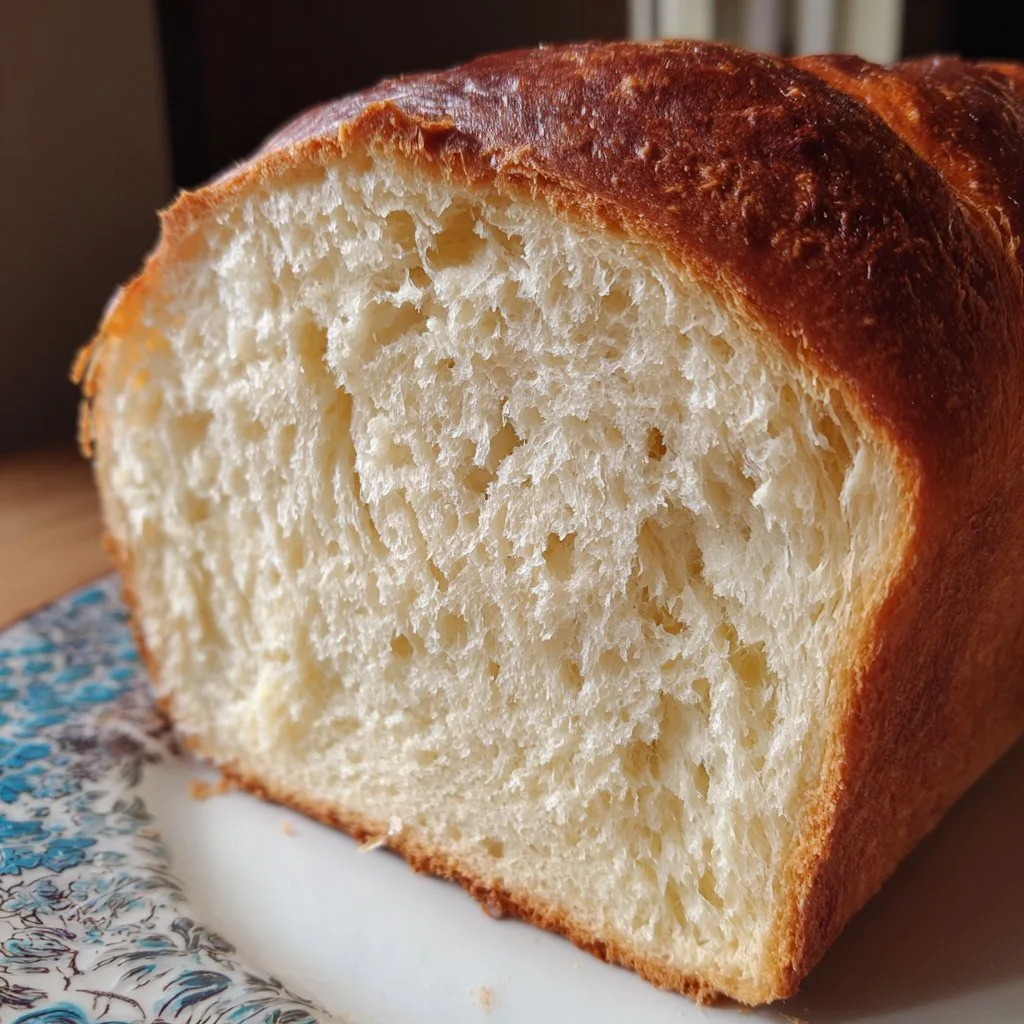
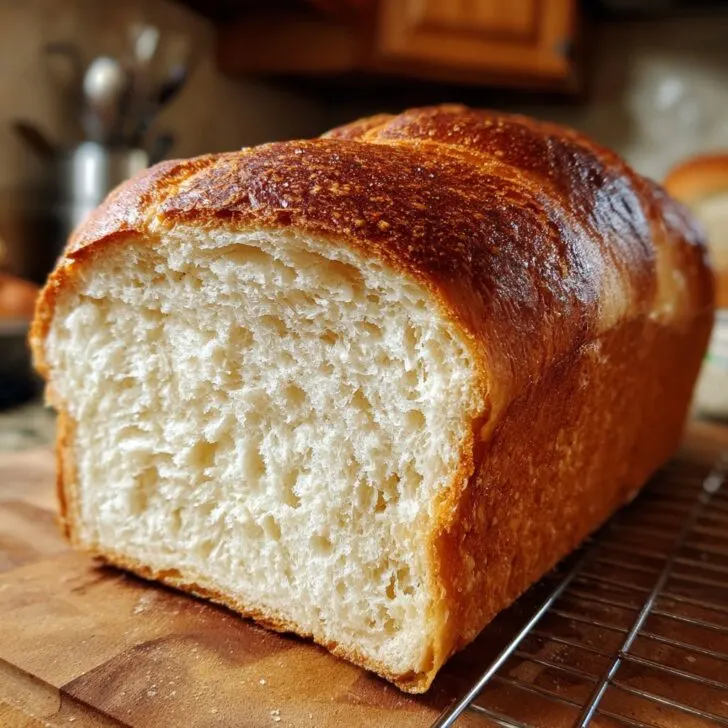
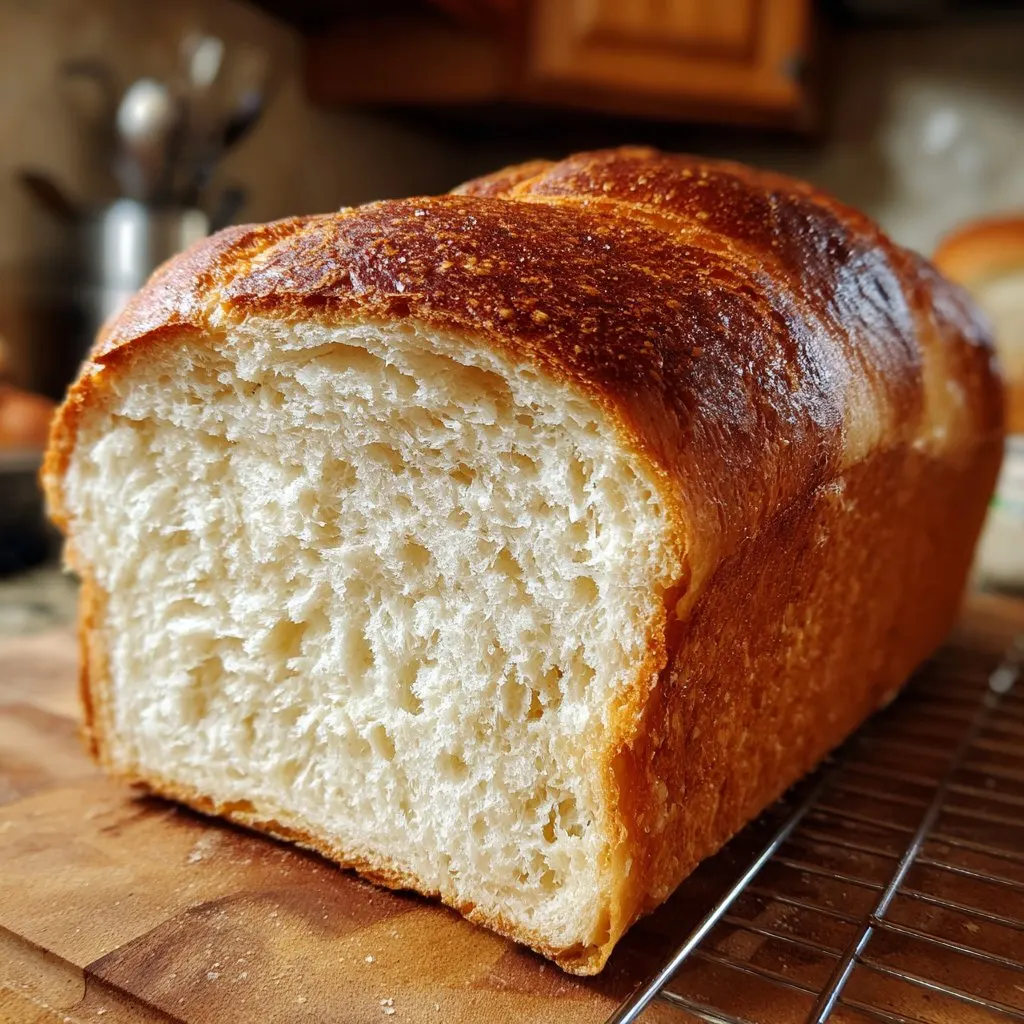
Alright, let me tell you—Amish White Bread is the bread that started it all for me. I mean, there’s something magical about pulling a fluffy, golden loaf out of the oven. Honestly, the first time I made this, I was just trying to impress my neighbor (who, by the way, can bake circles around me). Turns out, the bread was so good that my kids actually stopped picking the crusts off their sandwiches. That’s when I knew I had a winner on my hands. I’ve baked it for snow days, summer picnics, and even those “oops, we’re out of bread!” mornings. If you hear a dog barking in the background, that’s just my beagle, Gus, who loves snagging the heels when I’m not looking.
Why You’ll Love This (No, Seriously)
I make this bread whenever the weather looks gloomy or when I want to fill the house with that warm, yeasty smell (it’s basically an edible hug). My family goes berserk for it, especially on French toast days—or, let’s be honest, any day ending in ‘y’. Sometimes I get lazy and use my stand mixer, but kneading by hand kinda feels like a break from, you know, staring at screens all day. And hey, if you’ve ever been frustrated by bread that turns out heavy or weirdly doughy, join the club; I promise this recipe’s forgiving. Even if you miss a step, it usually turns out fine—trust me, I’ve forgotten the sugar more than once, and it was still eaten. Probably too fast.
What You’ll Need (Ingredients, With My Two Cents)
- 2 cups warm water (not hot—think ‘nice bath’ temp; too hot kills the yeast, too cold and nothing happens. Learned that the hard way.)
- ⅔ cup white sugar (I sometimes use honey when I’m feeling fancy, but my grandma swears by the classic Domino’s sugar. Any works, really.)
- 1 ½ tablespoons active dry yeast (Packets or loose—it’s all yeast. Don’t stress.)
- 1 ½ teaspoons salt (Table or sea salt. I’ve even used kosher salt in a pinch, but I wouldn’t overdo it.)
- ¼ cup vegetable oil (Canola is fine too; olive oil gives a different flavor, which I do like sometimes.)
- 6 cups all-purpose flour (Some days I use 5 ½ if the air’s humid. Bread flour works, but I honestly can’t tell much of a difference.)
Optional: Add a tablespoon of melted butter on top after baking for that extra shine. Or don’t. Up to you.
How I Make It (And Sometimes Mess Up)
- First, pour the warm water and sugar into a big mixing bowl. Give it a little stir and then just sprinkle the yeast on top. Wait about 10 minutes—come back when it’s looking kinda frothy and alive (if it’s not, your yeast might be, well, dead. It happens).
- Mix in the salt and oil. Then, add the flour one cup at a time. I tend to get impatient and dump half at once, but it’s easier to stir if you take it slow. Once it’s too thick for a spoon, use your hands. This is where things get gloriously messy. If you’re using a stand mixer, let it do the work, but the dough hook never gets the corners—just sayin’.
- Knead the dough on a floured surface for about 6 to 8 minutes. Or until it feels smooth and springy. Sometimes I stop early (because, arms), and it’s still fine. Pop it in a greased bowl and cover with a damp tea towel. I use whatever’s clean. Let it rise in a warm spot until doubled, about an hour. If my oven’s off, I sometimes stick it in there with just the oven light on.
- Punch the dough down. This is oddly satisfying. Split it in half, shape into two loaves, and plop into greased 9x5 inch loaf pans. Let rise again until just above the rim—about 30-40 minutes. If you forget and it grows a little too big, don’t panic; it still bakes up fine, maybe just taller than you expected.
- Bake at 350°F (175°C) for 28 to 30 minutes. The tops should be golden and the loaves sound hollow when tapped. Sometimes I brush them with melted butter right after baking, but if I forget, nobody complains.
Things I’ve Learned (Mostly The Hard Way)
- If your dough seems too sticky, just toss on a bit more flour. Don’t try to make it perfect. Honestly, it’s never the same texture twice at my house.
- Letting it rise too long? It can collapse a bit when baked, but it still tastes great—just a bit more like those rustic bakery loaves (or so I tell myself).
- One time I used bread flour exclusively and thought it would be mind-blowing. Actually, I find it works better if you just use regular old all-purpose.
What Happens If You Play Around (Variations I’ve Tried)
- Adding a handful of oats to the dough—gives it a nice chew. But my youngest picks them out, so maybe not for picky eaters.
- Swapped half the flour for whole wheat once. It was okay, but a bit denser than I expected. On second thought, maybe stick to one cup max if you’re going this route.
- I tried cinnamon swirl once. Looked beautiful but all the sugar leaked out the bottom. Oops. Maybe look up Sally’s Baking Addiction for a real cinnamon bread recipe—she knows her stuff.
What If I Don’t Have The Right Stuff? (Equipment Notes)
You’ll want loaf pans for the classic shape, but I’ve baked this in a round cake tin before when I couldn’t find mine. Turns out more like a giant, fluffy roll. Stand mixer is handy, but hands work just as well—just expect flour everywhere. If you’re missing a clean tea towel, a plate works for covering the bowl (done that plenty of times after laundry day got away from me).

How Do I Keep It Fresh? (Storage Stuff)
This bread stays soft for 2 to 3 days wrapped in a towel or an airtight bag. Let it cool before storing or the crust goes weird. You can freeze slices, too, but honestly, in my house it never lasts more than a day, so you might not need to worry about it!
What Do I Eat It With? (Serving Ideas)
Best warm with salted butter, in my opinion. My son loves it as PB&J, and I’ve been known to make garlic toast with the ends (I just rub a garlic clove on and slather with butter—so good). Sunday mornings, we make French toast with it—it soaks up the egg perfectly. Oh, and grilled cheese: next-level stuff here. Sometimes I even use it for soup—try it with classic tomato soup if you’re feeling a bit nostalgic.
Stuff I Wish I'd Known (Pro Tips)
- I once tried rushing the rising stage in a hurry—regretted it because the bread was heavy as a brick. Let it do its thing, even if you’re impatient (looking at myself here).
- If you add too much flour, the bread can turn out a bit dry. It’s tempting to keep flouring if the dough’s sticky, but it usually fixes itself after a few minutes of kneading.
- And for Pete’s sake, let it cool a little before slicing. I know, it smells amazing, but it falls apart if you cut too soon. Not that I haven’t done it anyway.
A Few Questions Folks Have Thrown My Way (FAQ)
- Can I use instant yeast instead of active dry? Sure can! Just skip the proofing step—mix it right in with the flour. I kinda like the extra rise from active dry, but whatever's in the cupboard.
- Is it sweet? It’s sweeter than grocery store sandwich bread, but not like cake. If you want it less sweet, just use half the sugar (I do this sometimes if I’m making it for savory sandwiches).
- Can I make this vegan? Yep. Just swap the sugar for a non-bone-char one and use your favorite plant-based oil.
- What if I don’t have loaf pans? Use a cake pan or a clean casserole dish, honestly. It’ll be a funny shape, but my neighbor says it’s the taste that counts.
- Why is my bread dense? Probably the yeast was old, or the dough didn’t rise long enough. Or maybe you added too much flour (been there!). Next time, try a smidge less.
- Any good videos? Oh, definitely—I like this YouTube guide from The Bread Code for visual learners (plus the guy’s always got flour on his shirt, so I trust him).
Ingredients
- 2 cups warm water (110°F/45°C)
- ⅔ cup white sugar
- 1 ½ tablespoons active dry yeast
- 1 ½ teaspoons salt
- ¼ cup vegetable oil
- 6 cups all-purpose flour
- Butter for brushing (optional)
Instructions
-
1In a large bowl, dissolve sugar in warm water and stir in yeast. Allow to proof until the mixture becomes foamy, about 5-10 minutes.
-
2Add salt and oil to the yeast mixture. Gradually mix in the flour, one cup at a time, until a soft dough forms.
-
3Turn the dough onto a lightly floured surface and knead for about 8 minutes, until smooth and elastic.
-
4Place the dough in a greased bowl, cover with a damp cloth, and let rise in a warm place until doubled in size, about 1 hour.
-
5Punch down the dough and divide it into two equal pieces. Shape into loaves and place into two greased 9x5-inch loaf pans. Cover and let rise for 30 minutes, or until dough has risen about 1 inch above the pans.
-
6Bake in a preheated oven at 350°F (175°C) for 30 minutes, or until the tops are golden brown. Remove from pans and brush with butter if desired. Cool on wire racks before slicing.
Approximate Information for One Serving
Nutrition Disclaimers
Number of total servings shown is approximate. Actual number of servings will depend on your preferred portion sizes.
Nutritional values shown are general guidelines and reflect information for 1 serving using the ingredients listed, not including any optional ingredients. Actual macros may vary slightly depending on specific brands and types of ingredients used.
To determine the weight of one serving, prepare the recipe as instructed. Weigh the finished recipe, then divide the weight of the finished recipe (not including the weight of the container the food is in) by the desired number of servings. Result will be the weight of one serving.
Did you make this recipe?
Please consider Pinning it!!

