
A Cookie That Feels Like Saturday Afternoons
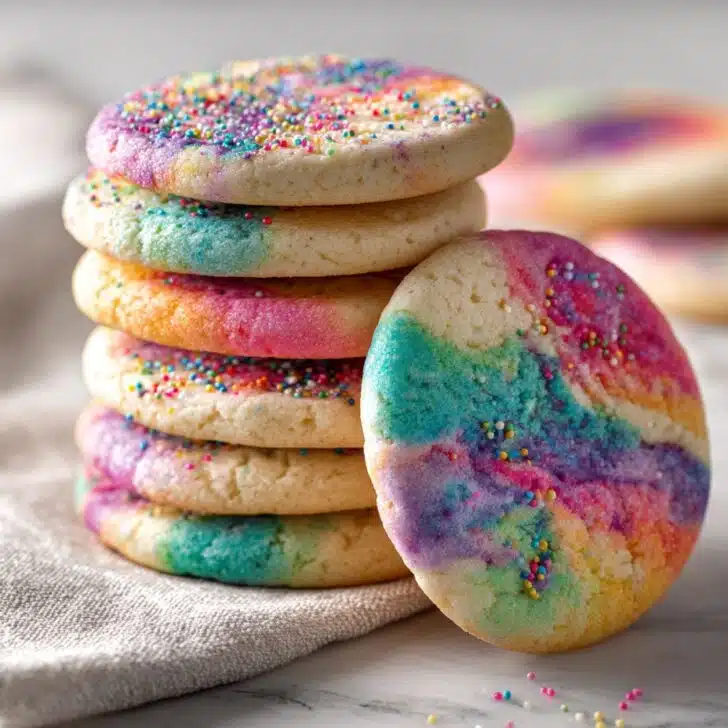
Alright, so picture this: I’m standing in my mum’s kitchen, elbow deep in flour, radio humming (slightly off-tune, kind of like me, honestly), and there’s a stack of watercolor sugar cookies drying on every available surface. My cousin used to always sneak the ones with the wonkiest designs—"they taste better," she’d say. These Vintage-Style Watercolor Sugar Cookies feel like childhood and rainy day art projects rolled in sugar. And sometimes, artfully smudged food coloring on my face because, well, I get way too into the painting part.


Why Even Make These?
I make these when I get that itch to do something a bit silly and hands-on (and let’s be real, the colors just make me happy). My family goes crazy for these because every cookie turns out super different—someone always claims the ugliest as their special one. If I’m feeling fancy (or have friends coming over who appreciate cookies that look like a Lisa Frank notebook threw up), I go all out on the watercolor effect. Oh, tiny warning: that step once drove me bonkers because I couldn't get the purple to show up. Actually, a touch more food coloring fixes it—lesson learned!
What You'll Need (But, You Do You)
- 2 and ¾ cups all-purpose flour (Sometimes I use half cake flour if I want a lighter bite. Nan always went heavy on Gold Medal, but honestly, whatever’s in the cabinet works!)
- 1 teaspoon baking powder
- ½ teaspoon salt (if using salted butter, I usually skip this, but forget all the time—it’s fine)
- 1 cup unsalted butter, room temp (or salted, just skip the extra salt above)
- 1 cup granulated sugar
- 1 large egg
- 2 teaspoons vanilla extract (I sometimes do half almond, half vanilla for a little mystery)
- 1 tablespoon milk (or a splash more if the dough’s dry—it happens)
- Royal icing for decorating (store-bought is totally fine in a pinch, but I’ll give my scratch version below)
- Gel food coloring (water-based makes it runny, so gel is best, but I’ve muddled through with liquid in a pinch)
- A splash of clear vodka or lemon extract for the watercolor mixing liquid (mine is the cheap stuff from the back of the cabinet)
Optional: Royal Icing From Scratch
- 2 cups powdered sugar
- 2 tablespoons meringue powder
- 3–4 tablespoons warm water
Let’s Bake—Instructions (And a Few Detours)
- Mix the flour, baking powder, and salt in a medium bowl (honestly, I just use a fork; life’s too short for extra bowls).
- In a bigger bowl, cream the butter and sugar until it looks kind of fluffy (I do this with a hand mixer, but a wooden spoon works if you’re patient and/or need a bicep workout).
- Add your egg and vanilla (and almond, if using)—sometimes I forget the milk at this stage, but just toss it in right after; no one notices.
- Dump in the dry stuff. Mix until it barely comes together. Too sticky? A smidge of flour. Too crumbly? Another splash of milk. The dough should be soft but not gluey.
- Pat into a disc, wrap in cling film (or a zip bag if you ran out, story of my life), and chill for at least 90 minutes. Skipping this step = regret city for me, but I’ve risked it in a pinch.
- Roll out on a lightly floured surface to about ¼ inch thick. I use a wine bottle to roll if my actual pin has disappeared (again).
- Cut into whatever shapes feel right—it’s your cookie canvas. Stars, hearts, dinosaurs; anything boring and round is actually my secret fave.
- Arrange on lined baking trays (I crowd them every time; it’s fine, they don’t spread much).
- Bake at 350°F (180°C) for 8–11 minutes. Edges should look set but not bronzed, unless you like that caramel hit (sometimes I do!).
- Cool completely before decorating. I mean it. The royal icing will run for its life if you rush.
- (Optional Royal Icing): Beat powdered sugar, meringue powder, and water until stiff peaks form. If it’s too thick, add water by the teaspoon. And if you’ve ever sneezed into a bowl of powdered sugar, well… you know.
- Flood cookies with icing and let dry until firm (about 2 hours, maybe longer if the cat decides to investigate… just saying).
- Now for the fun bit! Mix a dab of gel color with a splash of clear vodka or lemon extract in a palette (or, let’s be honest, a muffin tin). Using a (clean!) small paintbrush, swirl and dab the watercolor onto cookies however the spirit moves you. Splashes, stripes, blobs—it’s all good. If it gets too wet, blot with a paper towel and call it a modernist moment.
Handy Notes That Took Me Forever to Learn
- I used to overbake these—thinking pale meant raw—but they keep firming up as they cool.
- If your cookies puff up too much, try swapping a bit of baking powder for baking soda. Or accept them as extra-fluffy (good for dunking in tea!)
- Don’t use parchment with a silicone liner (I always forget which drawer mine is in anyway)—either works but you really only need one.


Cookie Experiments (And Misses)
- Once tried adding orange extract—tasted kinda soapy. Wouldn’t recommend.
- Sprinkled flaky salt on top post-bake. Actually loved that—might even call it a happy accident.
- Swirling edible glitter into the paint? Too much. The ‘80s called, and it wants its disco cookies back.
Don’t Sweat the Equipment
I swear by my little offset spatula for spreading icing, but a butter knife honestly does the job. I’ve used drinking glasses as rolling pins and cleaned up with old tea towels that have seen better days. No fancy paintbrush? Use a cleaned makeup brush—the world won’t end. Or your finger in a pinch, though things get delightfully wild at that point.
So, How Long Do These Last?
Technically, these keep well in an airtight tin for about a week. But, and I kid you not, mine are usually gone in 36 hours. They don’t get stale fast, but if you want to hide a stash, put them in the freezer—with parchment so they don’t stick.
Serving? Here’s What We Do
If I’m feeling extra (or have kids in the house), we set up a whole decorating bar and everyone watercolors their own. At holidays, I color-match the cookies to the napkins—nobody but me notices, but it makes me inexplicably pleased. Best with milky tea, if you ask me.


Lessons I Learned the Hard Way
- I once tried to rush chilling the dough in the freezer… ended up with rock-solid bricks and tears. Stick to the fridge if you can.
- Don’t stack iced cookies until totally set, unless you fancy interpretive cookie art and sticky fingers.
- Don’t spill food coloring on wood counters (or do, if you want a new kitchen accent).
Some Real Questions I’ve Gotten (No Lies)
- Can I use margarine instead of butter? You can, but the flavor isn’t quite the same. But if it’s all you have, don’t stress it.
- How long does the icing take to dry? It feels like forever. Usually 1–2 hours at room temp, or longer if your house is humid or you’re the impatient type (me).
- Can I use water instead of vodka for painting? You can, but it can make the icing a bit soft. Vodka evaporates so you don’t taste it—promise.
- Why did my colors bleed? Sounds like your icing wasn’t fully dry (or wanted to have a tie-dye moment). Next time, wait a bit longer before painting.
- Is this as complicated as it sounds? My honest answer: not really, just messy—and messy is half the fun. Plus, once you make them, you’ll feel like an artist even if your cookies look a little bonkers!
Well, if you made it this far—cheers! I hope your kitchen ends up just slightly less chaotic than mine during cookie season…but no promises. And if your cookies look like a five-year-old’s finger painting? Good. That means you did it right.
Ingredients
- 2 and ¾ cups all-purpose flour (Sometimes I use half cake flour if I want a lighter bite. Nan always went heavy on Gold Medal, but honestly, whatever’s in the cabinet works!)
- 1 teaspoon baking powder
- ½ teaspoon salt (if using salted butter, I usually skip this, but forget all the time—it’s fine)
- 1 cup unsalted butter, room temp (or salted, just skip the extra salt above)
- 1 cup granulated sugar
- 1 large egg
- 2 teaspoons vanilla extract (I sometimes do half almond, half vanilla for a little mystery)
- 1 tablespoon milk (or a splash more if the dough’s dry—it happens)
- Royal icing for decorating (store-bought is totally fine in a pinch, but I’ll give my scratch version below)
- Gel food coloring (water-based makes it runny, so gel is best, but I’ve muddled through with liquid in a pinch)
- A splash of clear vodka or lemon extract for the watercolor mixing liquid (mine is the cheap stuff from the back of the cabinet)
- 2 cups powdered sugar
- 2 tablespoons meringue powder
- 3–4 tablespoons warm water
Instructions
-
1Mix the flour, baking powder, and salt in a medium bowl (honestly, I just use a fork; life’s too short for extra bowls).
-
2In a bigger bowl, cream the butter and sugar until it looks kind of fluffy (I do this with a hand mixer, but a wooden spoon works if you’re patient and/or need a bicep workout).
-
3Add your egg and vanilla (and almond, if using)—sometimes I forget the milk at this stage, but just toss it in right after; no one notices.
-
4Dump in the dry stuff. Mix until it barely comes together. Too sticky? A smidge of flour. Too crumbly? Another splash of milk. The dough should be soft but not gluey.
-
5Pat into a disc, wrap in cling film (or a zip bag if you ran out, story of my life), and chill for at least 90 minutes. Skipping this step = regret city for me, but I’ve risked it in a pinch.
-
6Roll out on a lightly floured surface to about ¼ inch thick. I use a wine bottle to roll if my actual pin has disappeared (again).
-
7Cut into whatever shapes feel right—it’s your cookie canvas. Stars, hearts, dinosaurs; anything boring and round is actually my secret fave.
-
8Arrange on lined baking trays (I crowd them every time; it’s fine, they don’t spread much).
-
9Bake at 350°F (180°C) for 8–11 minutes. Edges should look set but not bronzed, unless you like that caramel hit (sometimes I do!).
-
10Cool completely before decorating. I mean it. The royal icing will run for its life if you rush.
-
11(Optional Royal Icing): Beat powdered sugar, meringue powder, and water until stiff peaks form. If it’s too thick, add water by the teaspoon. And if you’ve ever sneezed into a bowl of powdered sugar, well… you know.
-
12Flood cookies with icing and let dry until firm (about 2 hours, maybe longer if the cat decides to investigate… just saying).
-
13Now for the fun bit! Mix a dab of gel color with a splash of clear vodka or lemon extract in a palette (or, let’s be honest, a muffin tin). Using a (clean!) small paintbrush, swirl and dab the watercolor onto cookies however the spirit moves you. Splashes, stripes, blobs—it’s all good. If it gets too wet, blot with a paper towel and call it a modernist moment.
Approximate Information for One Serving
Nutrition Disclaimers
Number of total servings shown is approximate. Actual number of servings will depend on your preferred portion sizes.
Nutritional values shown are general guidelines and reflect information for 1 serving using the ingredients listed, not including any optional ingredients. Actual macros may vary slightly depending on specific brands and types of ingredients used.
To determine the weight of one serving, prepare the recipe as instructed. Weigh the finished recipe, then divide the weight of the finished recipe (not including the weight of the container the food is in) by the desired number of servings. Result will be the weight of one serving.
Did you make this recipe?
Please consider Pinning it!