Let Me Tell You About My Hummus Habit
So I started making hummus at home mostly by accident—I'd run out of the fancy store-bought stuff and had a can of chickpeas staring at me. I’ll be honest, my first batch was so garlicky my husband joked we could repel vampires for a week. (Lesson learned: garlic is not measured in 'heaps.') But really, this hummus has become my edible security blanket; it's what I whip up when folks drop in unexpectedly or when I just need a snack that isn’t, you know, potato chips. Plus, there’s something weirdly satisfying about scraping every last bit out of the food processor—almost like finding loose change in couch cushions, only tastier.
Why You’ll Love This (Or at Least, Why I Do)
I make this when I need something quick and healthy-ish (sometimes I dunk carrot sticks, sometimes it’s pita and, well, sometimes it’s a spoon). My family goes crazy for this because it tastes better than anything in a tub—maybe it’s just because they see me making it and assume it must be special? Also, the clean-up is stupidly easy. I used to hate recipes that have you stand at the stove forever, but this one? Ten minutes flat. Unless I get distracted by the cat, then maybe fifteen. Oh, and if you’ve ever found store-bought hummus a bit bland or weirdly tangy, you’ll appreciate how you can tweak this one exactly the way you want. (Sometimes I get it right the first try, sometimes it takes a little extra lemon. That’s just life, isn’t it?)
Here’s What You’ll Need (and What You Can Improvise)
- 1 can (about 400g) chickpeas, drained and rinsed (sometimes I use those fancy jarred ones if I'm feeling posh, but honest, any canned version is fine)
- 2 heaped tablespoons tahini (my grandmother always insisted on the Al Wadi brand, but any tahini seems to work for me)
- 1-2 cloves garlic, peeled (I started with 3 once, big mistake, but hey—if you like adventure...)
- Juice of half a lemon (or a big glug from the bottle if fresh lemons have disappeared from the fridge again)
- 2 tablespoons olive oil, plus more for drizzling (sometimes I use rapeseed oil if I’ve run out, but don’t tell the food snobs)
- ½ teaspoon salt (start here, you can always add more)
- 2-4 tablespoons water (just to loosen things up—see how it goes)
- Optional: pinch of ground cumin or smoked paprika (I sometimes throw these in for a twist; no rules!)
How I Actually Make It
- Throw the chickpeas, tahini, garlic, lemon juice, olive oil, and salt into your food processor or blender. No need to be too precious—just dump it all in.
- Start blending. At this point, you’ll probably find it looks like chunky wallpaper paste. Don’t freak out; this is totally normal. I usually scrape down the sides with a spatula, which is when I sneak a small taste (for science, obviously).
- Add a splash of water, blend again, and keep going until it gets smooth. Sometimes you need another splash—just don’t add too much at once unless you want hummus soup. Actually, on second thought, a little puddly is fine for dipping, just not runny.
- Once it’s smooth and creamy (or as close as your blender allows—mine’s a bit dodgy, honestly), give it another taste. More lemon? More salt? Cumin? It’s your rodeo.
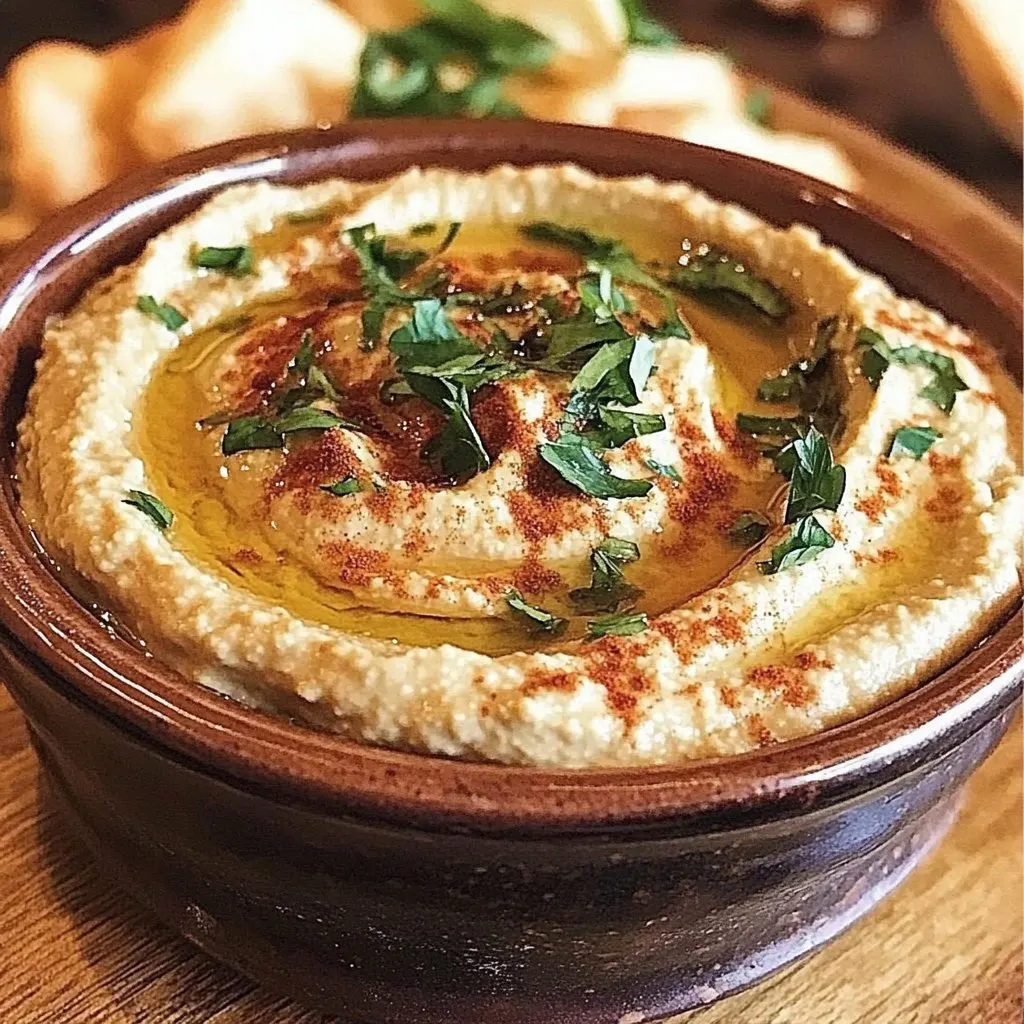
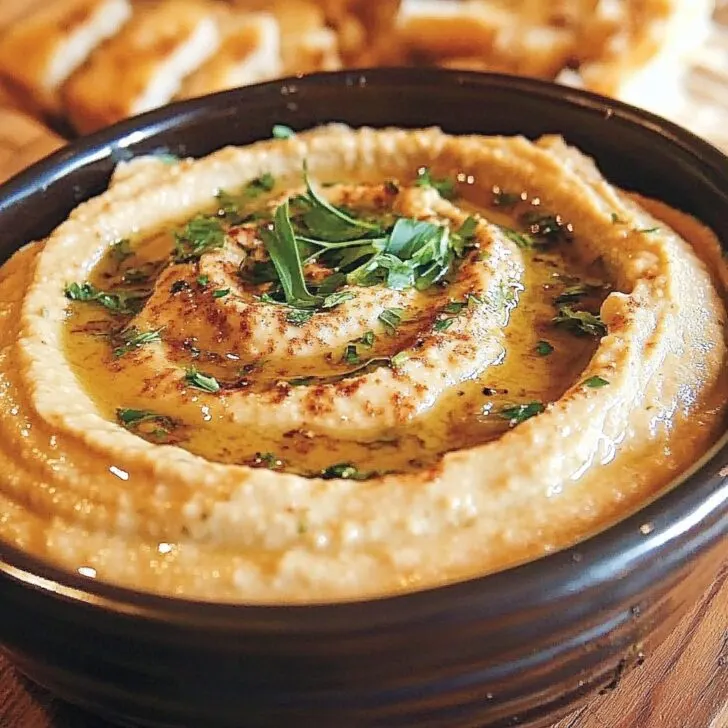
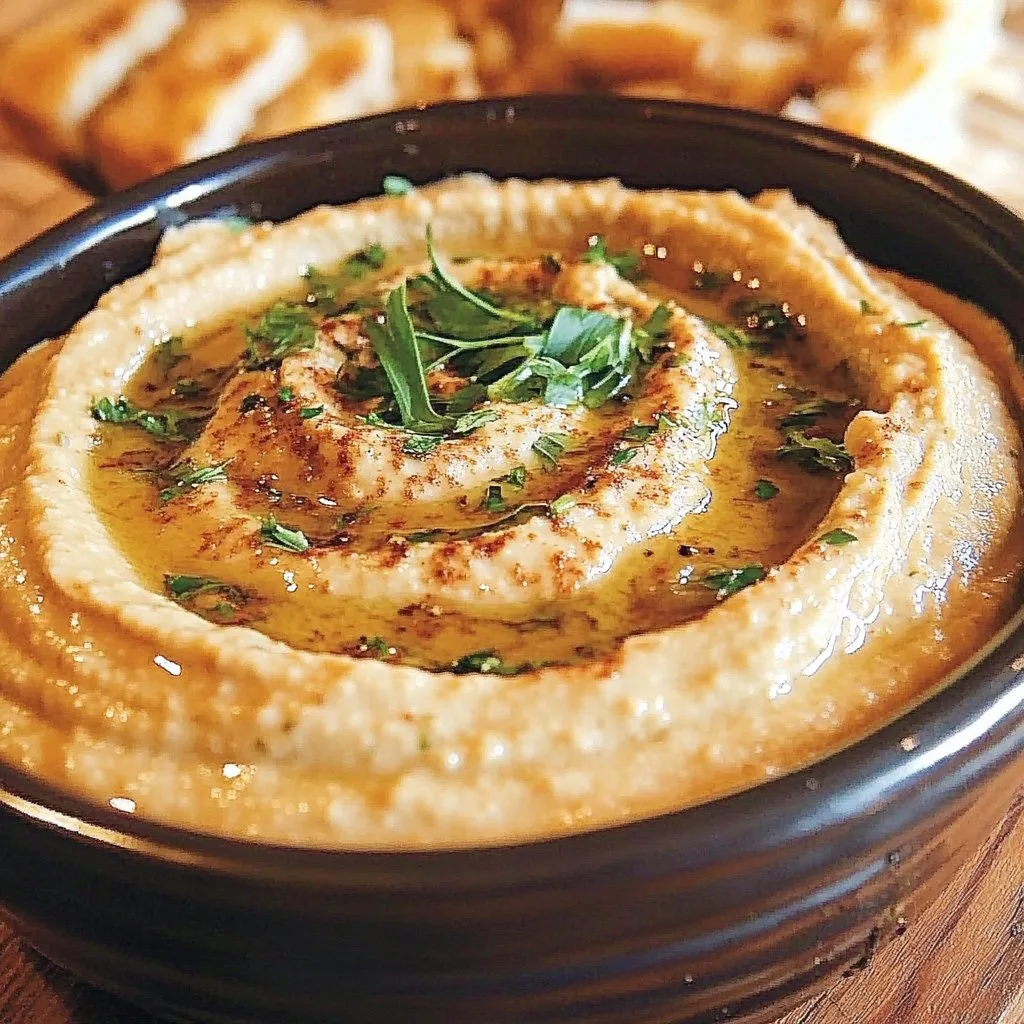
- Scoop into a bowl. Drizzle with more olive oil, maybe sprinkle a bit of paprika or chopped parsley if you’re feeling fancy, and you’re done. That’s it. No crazy steps or hidden tricks.
Things I’ve Learned the Hard Way
- If it seems way too thick, keep blending—sometimes it just needs a minute longer. Or a little more water.
- Using ice-cold water makes it lighter and fluffier. Didn’t believe it myself until I tried. Worth a shot!
- Peeled chickpeas make for silkier hummus, but honestly, who has the patience? I do it maybe once a year, tops.
Variations: My Experiments (Good and Bad)
- Roasted red pepper hummus: Just blend in half a roasted pepper. So good.
- Swap lemon for lime—gives it a slightly punchier flavor, but maybe not for everyone.
- Once tried adding sun-dried tomatoes; turned out sort of weird and tangy, not my finest hour.
- Paprika on top is classic, but za’atar is nice too if you’ve got some knocking about.
Do You Need Fancy Equipment?
A food processor is ideal, but I’ve mashed everything up with a potato masher before. Bit rustic, but it works if you’re in a pinch. Hand blenders are fine too—just go slow so it doesn’t end up on the ceiling. (Don’t ask.)

How to Store It (Not That It Lasts Long)
Keep in an airtight container in the fridge. It’ll last up to four days, I think, but honestly, in my house it never lasts even a day. If you do have leftovers, give it a quick stir—sometimes the oil separates a bit, but that’s totally normal.
How I Like to Serve It
Pile it onto a plate, make a little well in the middle for olive oil, and scatter some chopped parsley or toasted pine nuts if you’re feeling posh. We eat it with warm pita, crisp veggies, or sometimes even on toast (try it with sliced cucumber on top—so good with a cup of tea, actually). At family gatherings, I always end up guarding the bowl so I actually get some.
My Top Hummus Lessons (aka What Not to Do)
- I once tried rushing the blending because I was starving—totally regretted it, ended up with chunky hummus. Not pleasant.
- Don’t go wild with the garlic unless you want to scare off your neighbors. Trust me.
- Actually, I find it works better if you add the water slowly rather than all at once; otherwise it sometimes goes a bit too loose to scoop.
Real Questions I’ve Gotten (and My Real Answers)
- Can I use dried chickpeas? You can, and some say it’s better, but honestly, it takes forever. I just use canned. (If you want to try dried, this Serious Eats guide is brilliant.)
- What if I don’t have tahini? You can skip it, or maybe use unsweetened peanut butter in a pinch—it’s not the same, but it’s pretty tasty.
- Is it gluten-free? Yep, the hummus itself is, just watch what you dip.
- Why is my hummus grainy? Probably just needs longer blending. Or you can peel the chickpeas, but like I said, that’s a faff. Here’s a video if you’re curious: How to peel chickpeas.
- Can I freeze it? You can, but I think it tastes better fresh. It gets a bit weird once thawed, kind of wet. You do you, though!
Oh, before I forget—one time I tried making this while helping my kid with homework, and I added the salt twice. Still edible, but let's just say it was... bold. Anyway, if you give this a go, let me know how it turns out! You can always find more fun ideas on Bon Appetit’s hummus guide if you want to get creative.
Ingredients
- 1 can (15 oz) chickpeas, drained and rinsed
- 3 tablespoons tahini
- 2 tablespoons extra virgin olive oil
- 2 tablespoons fresh lemon juice
- 1 clove garlic, minced
- ½ teaspoon ground cumin
- ½ teaspoon salt
- 2-3 tablespoons water, as needed
- Paprika and chopped parsley, for garnish (optional)
Instructions
-
1Add the drained chickpeas, tahini, olive oil, lemon juice, minced garlic, cumin, and salt to a food processor.
-
2Blend until smooth, scraping down the sides as needed.
-
3If the hummus is too thick, add water 1 tablespoon at a time until desired consistency is reached.
-
4Taste and adjust seasoning if needed.
-
5Transfer to a serving bowl, drizzle with olive oil, and garnish with paprika and chopped parsley if desired.
Approximate Information for One Serving
Nutrition Disclaimers
Number of total servings shown is approximate. Actual number of servings will depend on your preferred portion sizes.
Nutritional values shown are general guidelines and reflect information for 1 serving using the ingredients listed, not including any optional ingredients. Actual macros may vary slightly depending on specific brands and types of ingredients used.
To determine the weight of one serving, prepare the recipe as instructed. Weigh the finished recipe, then divide the weight of the finished recipe (not including the weight of the container the food is in) by the desired number of servings. Result will be the weight of one serving.
Did you make this recipe?
Please consider Pinning it!!

