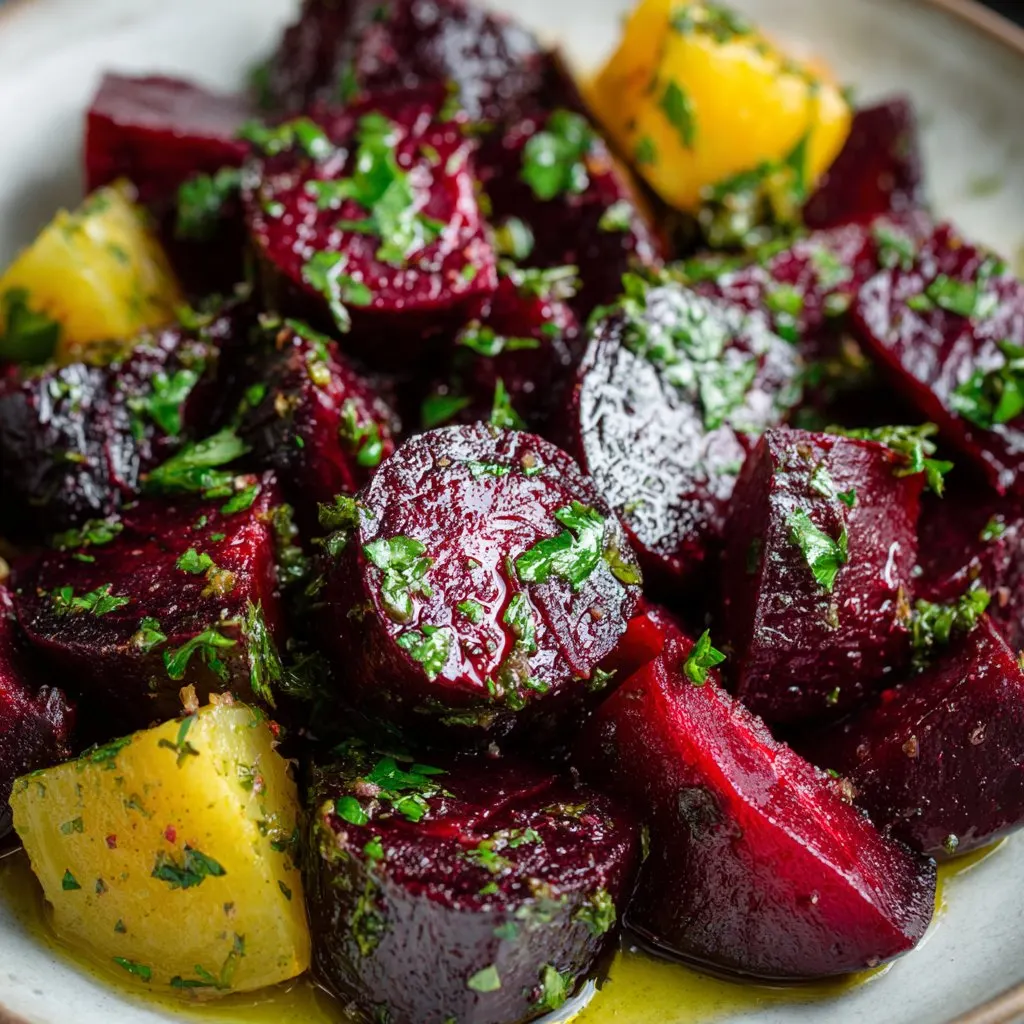
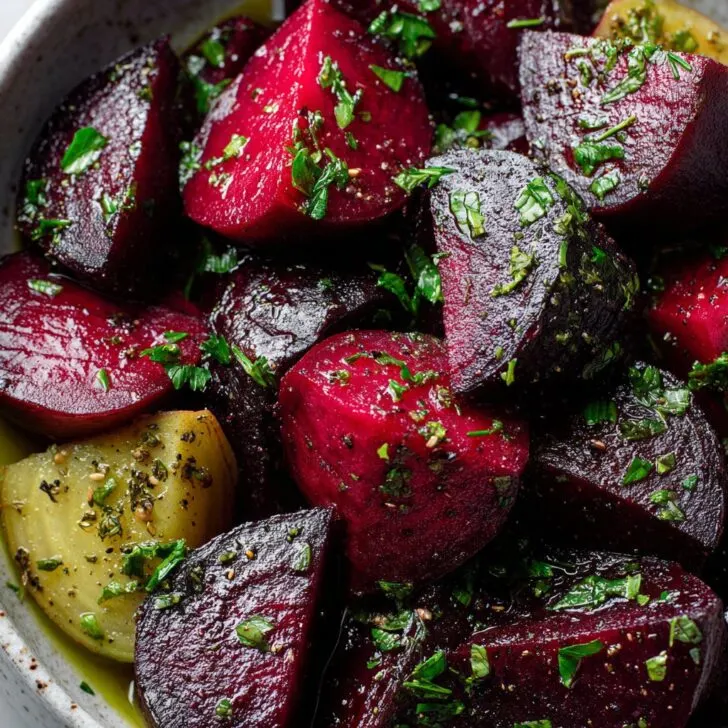
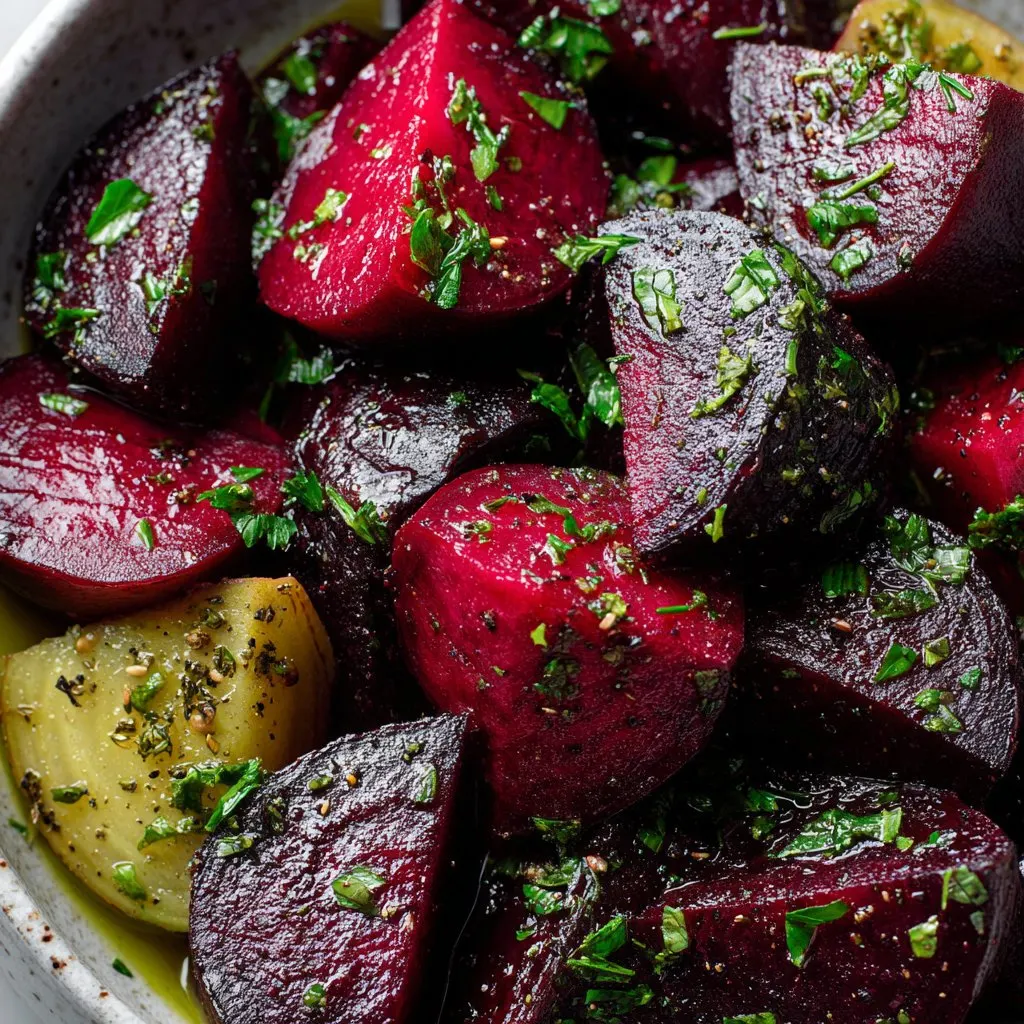
So, Here’s Why I Keep Coming Back to Roasted Beets
Alright, so let’s set the scene: I’m standing in my kitchen on a rainy Tuesday, absolutely starving, and the only veggies left in the fridge are a bunch of slightly wrinkly beets. I’ll be honest, I used to avoid beets (they stain everything except your will to live), but a few years ago, my neighbor brought over a plate of roasted beets with olive oil and herbs that changed my mind. Now, whenever I want something easy but fancy-ish, this is my go-to. Actually, I think I’ve made this more times than I’ve watched The Great British Bake Off reruns—and that’s saying something.
Oh, and quick digression: one time I accidentally used my hands instead of gloves to peel the beets and ended up looking like I’d lost a fight with a bottle of red ink. Just a heads up. Anyway…
Why You’ll Love This (Or at Least, Why I Do)
I make this when I want a no-fuss side that looks way more impressive than it actually is. My family goes a bit mad for these—though, full disclosure, my kiddo once called them “sweet potatoes that got lost.” There’s just something about the crispy edges and herby olive oil that makes people think you tried harder than you did. And if you’re like me and sometimes lose patience halfway through meal prepping, you’ll like how forgiving beets are. (Plus, if you ever need an excuse to use up that fancy olive oil Aunt Marge gave you last Christmas, this is it.)
Here’s the Stuff You’ll Need (Plus Some Substitutions)
- 4-5 medium beets (red, golden, or even those stripey ones—whatever you’ve got)
- 2-3 tablespoons olive oil (I sometimes go rogue and use avocado oil if I’m out—works fine)
- Big pinch of sea salt (table salt if you must, but the flaky stuff is pretty great)
- Fresh herbs: handful of thyme and parsley (or dill, or rosemary, or “whatever is not brown and wilted in the crisper,” as my gran used to say)
- Cracked black pepper, to taste
- Optional: a squeeze of lemon juice (I forget this half the time and it’s still tasty)
- Optional: a clove of garlic, minced (my partner says more garlic is always better—take that as you will)
How I Actually Make Roasted Beets (With a Few Detours)
- Preheat your oven to 400°F (200°C). Or 205 if your oven’s got that weird digital thing, but honestly, it’s forgiving.
- Give the beets a good scrub; they love to cling onto a bit of mud. You can peel ‘em now or after roasting—I prefer after because it’s easier and I’m lazy (but up to you).
- Chop the beets into bite-size chunks, or wedges, or whatever shape tickles your fancy. If they’re different sizes, just try to keep them more or less even. (This is where I usually sneak a bite of raw beet, and then remember it’s not very nice raw.)
- Toss the chopped beets with olive oil, salt, pepper, and half the herbs in a mixing bowl. Add garlic now if you’re using it. Give it all a good mix—don’t skimp with your hands, unless you’re worried about pink fingers. (Actually, gloves are a lifesaver. Trust me.)
- Spread the beets on a baking tray lined with parchment paper (I forget the paper sometimes and it just means more scrubbing later—so, up to you.)
- Roast for about 30–40 minutes, or until they’re tender and the edges get a bit crispy. Give them a shake about halfway through so they don’t stick (or just leave them be if you get distracted—no biggie).
- Once they’re done, toss with the rest of the fresh herbs and maybe a squeeze of lemon, if you remembered. Steal a piece while they’re hot; you’ll know if they need more salt or oil.
Notes from the Real World (i.e., My Kitchen)
- If you roast them with the skins on, it’s way less hassle. The skins just slip off when they’re done, and actually, some people (not me) like them left on.
- Forgot to preheat the oven once—beets still turned out fine, just took longer.
- Sometimes I add a drizzle of balsamic at the end, but honestly, I usually forget and then pretend it was intentional.
Variations I’ve Tried (And Not All Were Winners)
- Swapped in sweet potatoes once when I ran out of beets—not bad, but definitely not the same magic.
- Tried feta crumbled on top—oh wow, that’s a keeper (I found this idea here if you want more ideas).
- Once I tossed in orange zest on a whim. Tasted a bit odd, but you might like it! (I… don’t think I’ll do that again.)
What If I Don’t Have All the Equipment?
Baking tray is the main thing you need. If you don’t have parchment paper, just oil the tray a bit—it’ll stick more, but nothing a good soak can’t fix. I’ve even used a big cast iron skillet when my tray was MIA. Works fine.

How to Store Leftover Beets (Not That I Ever Have Any)
They keep in the fridge for up to 3 days in a sealed container—though honestly, in my house, it never lasts more than a day! Sometimes I think they taste even better cold, straight from the fridge. Never tried freezing them, but I bet they’d go a bit mushy.
Serving Suggestions—How We Do It Around Here
I usually serve these as a side with roast chicken or as the star of my "lazy lunch" over some greens and goat cheese. My friend swears by tossing them in pasta, which sounds odd, but actually isn’t half bad. Oh, and if you want to get all foodie, serve them with a dollop of Greek yogurt mixed with lemon and garlic. It’s a game changer.
Pro Tips, Learned the Hard Way
- I once tried rushing the roasting at a higher temp—ended up with blackened beet chips (not in a cool way).
- Don’t skimp on oil; they need a good coat to crisp up properly.
- If you cut the pieces too small, they’ll shrink to nothing. Learned that one after ending up with, basically, beet confetti.
FAQ—Real Questions I’ve Gotten (And My Real Answers)
- Do I really need to peel beets? Nah, not always. Roasting loosens the skins, and some folks just eat them as-is. But if that’s not your thing, peel after roasting—way easier.
- Can I use dried herbs? Sure, I’ve done it in a pinch. Use less, since dried herbs are stronger. But fresh is always a bit brighter.
- Why are my beets still hard after roasting? Two possibilities: oven temp was low or pieces were too big. Give them a bit longer, or just pop the tray back in for 10 more minutes—no harm done.
- Are beets really that healthy? Yeah, they’re packed with good stuff (there’s a great article about this on Healthline if you’re curious), but honestly, I just love the taste.
- Help! My hands are stained purple! Welcome to the club. Lemon juice and a bit of salt scrub helps, or just tell folks it’s your new look.
If you want even more beet inspiration, check out Love Beetroot’s recipes—some of them are a bit wild, but fun to try.
So that’s it—my real-life, warts-and-all guide to roasted beets with olive oil and herbs. If you try it, let me know how it goes (and whether you end up with pink hands, too).
Ingredients
- 4 medium beets, trimmed and scrubbed
- 2 tablespoons extra-virgin olive oil
- 1 teaspoon sea salt
- ½ teaspoon freshly ground black pepper
- 1 tablespoon fresh thyme leaves, chopped
- 1 tablespoon fresh parsley, chopped
- 1 teaspoon fresh rosemary, finely chopped
- 1 tablespoon balsamic vinegar (optional)
Instructions
-
1Preheat the oven to 400°F (200°C). Line a baking sheet with parchment paper.
-
2Peel the beets and cut them into 1-inch cubes.
-
3In a large bowl, toss the beet cubes with olive oil, salt, and black pepper until evenly coated.
-
4Spread the beets in a single layer on the prepared baking sheet.
-
5Roast for 40-45 minutes, stirring halfway through, until the beets are tender and slightly caramelized.
-
6Remove from the oven, toss with fresh herbs and balsamic vinegar if using, and serve warm.
Approximate Information for One Serving
Nutrition Disclaimers
Number of total servings shown is approximate. Actual number of servings will depend on your preferred portion sizes.
Nutritional values shown are general guidelines and reflect information for 1 serving using the ingredients listed, not including any optional ingredients. Actual macros may vary slightly depending on specific brands and types of ingredients used.
To determine the weight of one serving, prepare the recipe as instructed. Weigh the finished recipe, then divide the weight of the finished recipe (not including the weight of the container the food is in) by the desired number of servings. Result will be the weight of one serving.
Did you make this recipe?
Please consider Pinning it!!

