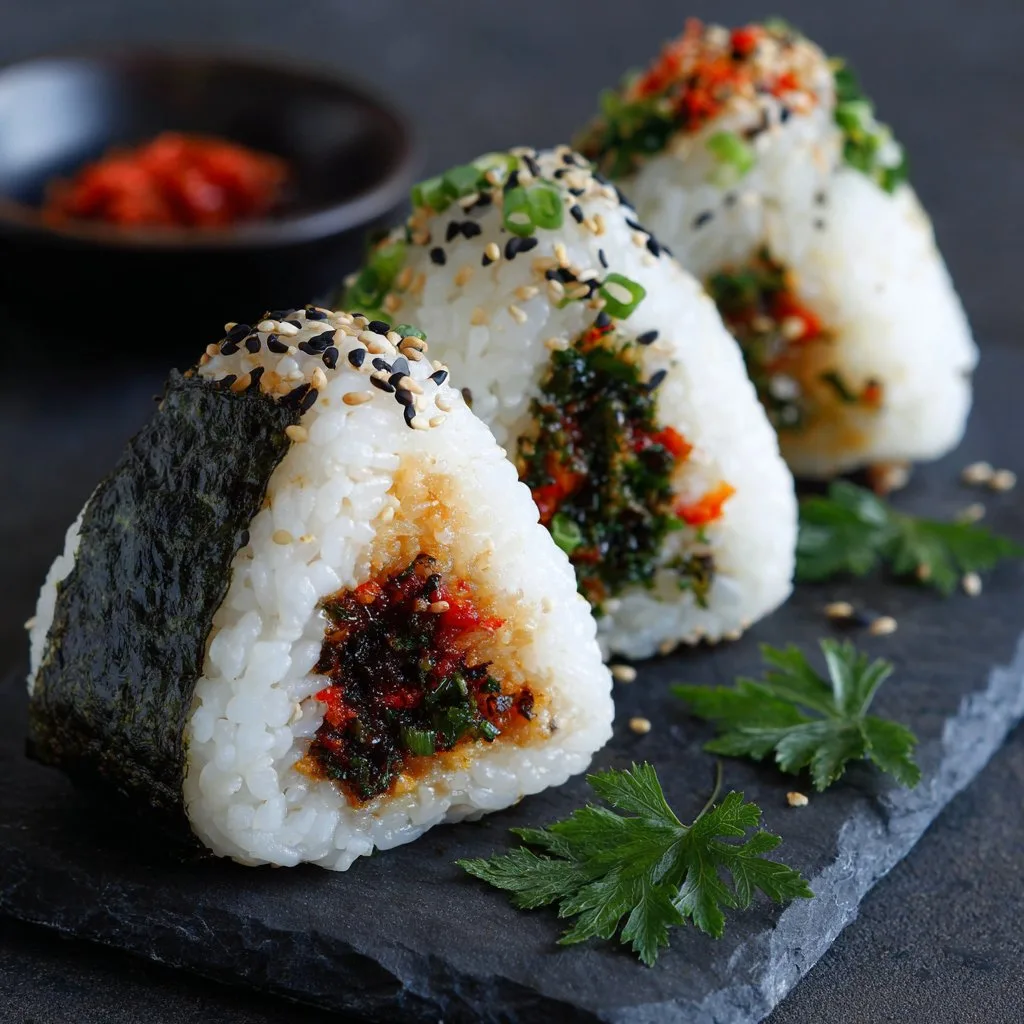
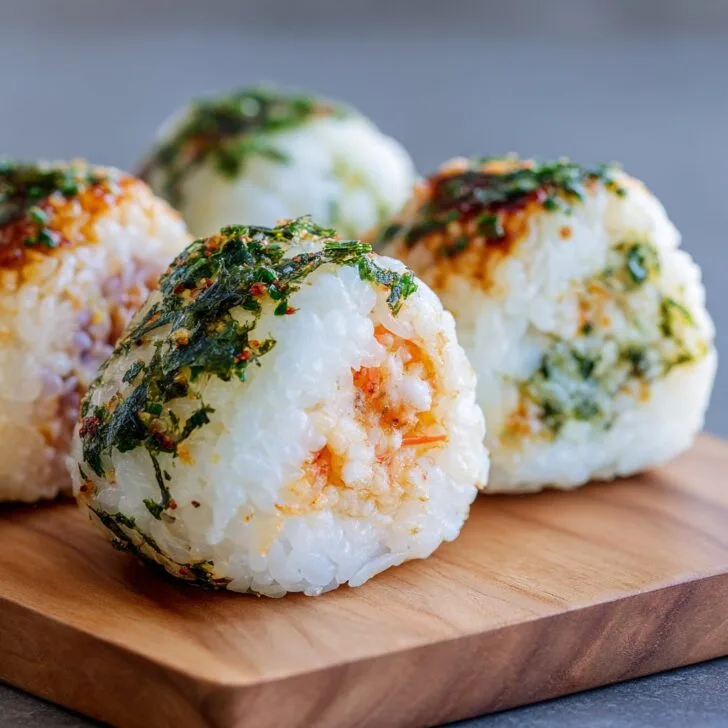
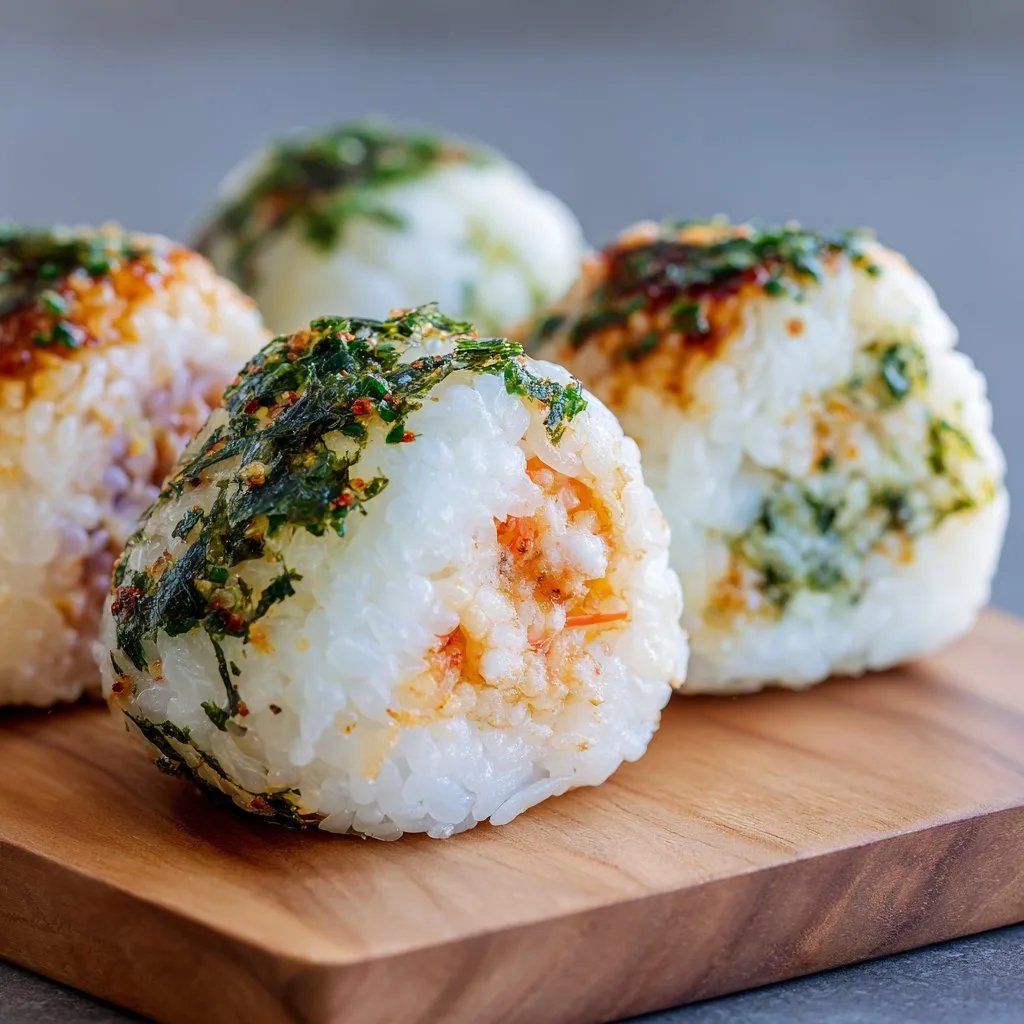
Hey there! So, I have this habit of making onigiri (Japanese rice balls) at midnight—don't ask, it's a comfort food thing. The first time I made these, I got rice everywhere (like, everywhere) and my cats thought it was a game. But after a few tries, I figured out my own little system, and now I make them without thinking. Onigiri are one of those snacks you can throw together with what you’ve got lying around, and I swear, every time I make them they disappear faster than you can say "nori." Also, these are the perfect excuse to eat with your hands (no judgment).
Why You'll Love This (or at least, why I do)
I make these when I have leftover rice, or when I can't decide if I want something salty or savory. My family goes bonkers for them (except for my cousin, who complains about the seaweed texture but gobbles them up anyway). They're portable, fun to customize, and honestly, if the rice isn't perfectly shaped, it's still delicious. I once tried making heart-shaped ones for Valentine’s; let's just say it looked more like abstract art. Still tasty though!
What You Need (plus subs and grandma’s advice)
- 2 cups cooked Japanese short-grain rice (I sometimes use sushi rice, but in a pinch, regular short-grain works. My grandmother swore by Koshihikari, but supermarket brands are totally fine.)
- Salt (just a pinch; or more if you’re like me and keep forgetting you already salted the rice)
- Nori (seaweed sheets) (full sheets or snack-size; you can even skip it if you’re not a fan, but it helps keep sticky fingers at bay)
- Water (for wetting your hands—trust me, or you’ll end up with rice gloves)
- Your choice of fillings:
- Salmon: 1 small fillet, grilled and flaked (sometimes I just use canned salmon, drained well—it’s nowhere near as fancy but works in a pinch)
- Umeboshi (pickled plum): 2-3 whole plums, pitted (or just a dab of any tangy pickle if you can't find these; my friend once used gherkins!)
- Tuna mayo: 1 can tuna + 2 tablespoon Japanese mayo (Kewpie is best, but regular mayo mixed with a pinch of sugar works fine)
- (Optional) Sesame seeds or furikake for sprinkling (I sometimes forget this step and nobody seems to care)
How To Make Onigiri (Or, How I Do It Anyway)
- First, make sure your rice is warm but not piping hot (unless you like burning your fingers, which I really don’t recommend). Fluff it up a bit.
- Set yourself up with a bowl of water and a pinch of salt nearby. Wet your hands, then rub a little salt between your palms. This stops the rice from sticking—mostly.
- Scoop up about a handful of rice (maybe a bit more if you’re hungry), flatten it gently in your palm. Make a little dent in the center with your thumb (this is where I sneak a taste of the filling, you know, for quality control).
- Add your chosen filling—don’t overdo it, or your rice ball will turn into a rice disaster. About a teaspoon or so.
- Close the rice around the filling, forming a ball or a triangle (or, if you’re me, a sort of rounded triangle; neatness is overrated). Squeeze gently but firmly. Don’t worry if it looks weird at this stage—it always does!
- Wrap a strip of nori around the onigiri or just slap it on the bottom (sometimes it sticks, sometimes not, but that’s half the fun).
- Repeat with the rest of the rice and fillings. If you want, sprinkle some sesame seeds or furikake on top—unless you forget, which I do about 50 percent of the time.
Little Notes I Learned the Hard Way
- Warm rice is way easier to shape, but too hot = ouch. I tried it with cold rice once and it just fell apart.
- If you make the balls too big, they’re hard to eat. I mean, unless you’re into unhinging your jaw like a snake.
- Salt is really important! I forgot it once and, well, never again.
What Else Can You Put In There? (Tried-and-Tested... Mostly)
- I tossed in leftover teriyaki chicken once—so good!
- Avocado as a filling? Not my best idea; got all mushy and weird. Maybe skip that one.
- Spicy kimchi is surprisingly nice if you want a kick
- My friend swears by chopped pickles and cheddar, but I say stick to classics, at least the first time.
What If You Don’t Have a Rice Mold?
A rice mold makes onigiri look tidy, but your hands work just fine. I once pressed them into a measuring cup for fun shapes. Actually, my favorite ones are a bit lopsided—makes them more homemade.

How Long Do These Last?
If you don’t eat them all straight away, you can wrap them in plastic wrap and keep in the fridge for a day or so. The nori gets soft though (which I actually like, but some people don’t). Honestly, in my house it never lasts more than a day!
Serving Ideas (My Go-To’s)
I love eating onigiri with a bowl of miso soup and some quick pickles—makes it feel like a mini picnic. Sometimes my nephew asks for ketchup (I know! Kids). Or, I just take them on a hike. They travel well if you wrap the seaweed separately. Oh, and they’re great tucked into a bento!
Things I’ve Learned (The Hard Way)
- I once tried rushing the shaping step, and they just crumbled—so take your time, it’s worth it.
- Don’t go crazy with the filling; too much and it’ll burst open (ask me how I know).
- If the rice is too wet, it won’t hold. Let it steam off a bit before starting.
Got Questions? (Here’s What Folks Ask Me All the Time)
- Can I use brown rice? Sort of—it doesn’t stick as well, but if you really want to, try mashing it a bit. The flavor’s nuttier, which is nice, but don’t expect perfect triangles.
- Is there a vegan filling? Totally! Try pickled veggies, seasoned mushrooms, or even mashed beans. Just don’t overfill or it gets messy (I learned that the hard way).
- How do I keep the nori crispy? Wrap it just before eating—otherwise, it’ll go soft. Some people like it that way, though. I’m on the fence, honestly.
- Can I freeze onigiri? Eh, you can, but the texture changes. I froze a batch once and it was a little sad. Fresh is best!
- Where do you get umeboshi? I buy mine at a local Asian supermarket, or sometimes order online here. Not cheap, but a little goes a long way.
- Do I need a fancy rice cooker? Nope! I use a basic stovetop pot half the time. This rice cooking guide helped me a ton when I first started.
Anyway, give these a try, and don’t stress about making them perfect—the best ones are always the ones you make when you’re hungry and not overthinking it. If you want some inspiration for other Japanese snacks, this blog has some wild ideas. And now, if you’ll excuse me, I hear the rice cooker singing its song again...
Ingredients
- 2 cups Japanese short-grain rice
- 2 ½ cups water
- ½ teaspoon salt
- 1 sheet nori (seaweed), cut into strips
- ¼ cup cooked salmon flakes
- 1 tablespoon umeboshi (pickled plum), pitted and chopped
- ¼ cup canned tuna, drained
- 2 tablespoons Japanese mayonnaise
Instructions
-
1Rinse the rice under cold water until the water runs clear. Combine rice and water in a rice cooker or pot and cook according to package instructions.
-
2Once cooked, let the rice cool slightly. While still warm, season with salt and gently fluff with a rice paddle.
-
3Prepare the fillings: mix tuna with mayonnaise for tuna mayo, chop umeboshi for the pickled plum filling, and flake the cooked salmon.
-
4Wet your hands with water and sprinkle with a little salt. Take a handful of rice, flatten it slightly, and place your desired filling (about 1 teaspoon) in the center.
-
5Mold the rice around the filling into a triangle or ball shape, pressing gently but firmly. Repeat with remaining rice and fillings.
-
6Wrap a strip of nori around each onigiri. Serve immediately or wrap tightly for later.
Approximate Information for One Serving
Nutrition Disclaimers
Number of total servings shown is approximate. Actual number of servings will depend on your preferred portion sizes.
Nutritional values shown are general guidelines and reflect information for 1 serving using the ingredients listed, not including any optional ingredients. Actual macros may vary slightly depending on specific brands and types of ingredients used.
To determine the weight of one serving, prepare the recipe as instructed. Weigh the finished recipe, then divide the weight of the finished recipe (not including the weight of the container the food is in) by the desired number of servings. Result will be the weight of one serving.
Did you make this recipe?
Please consider Pinning it!!

