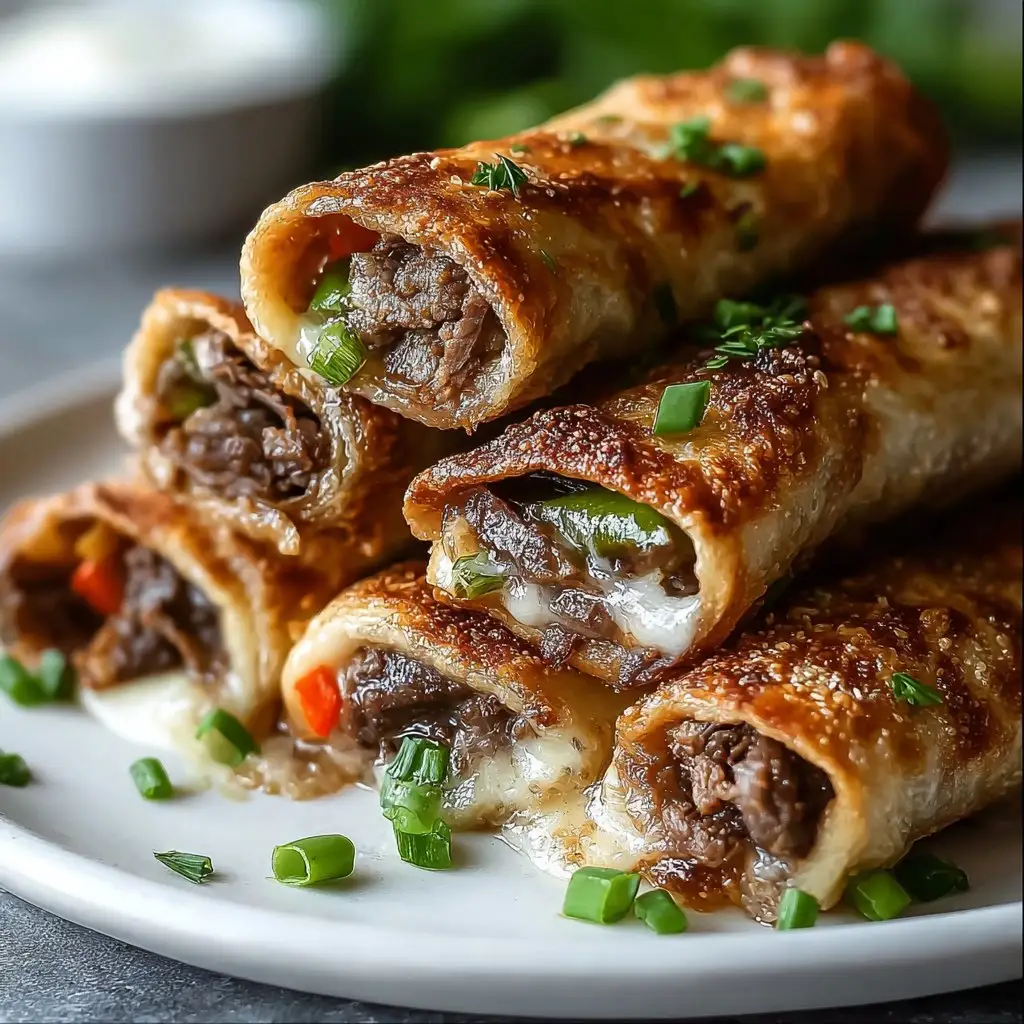
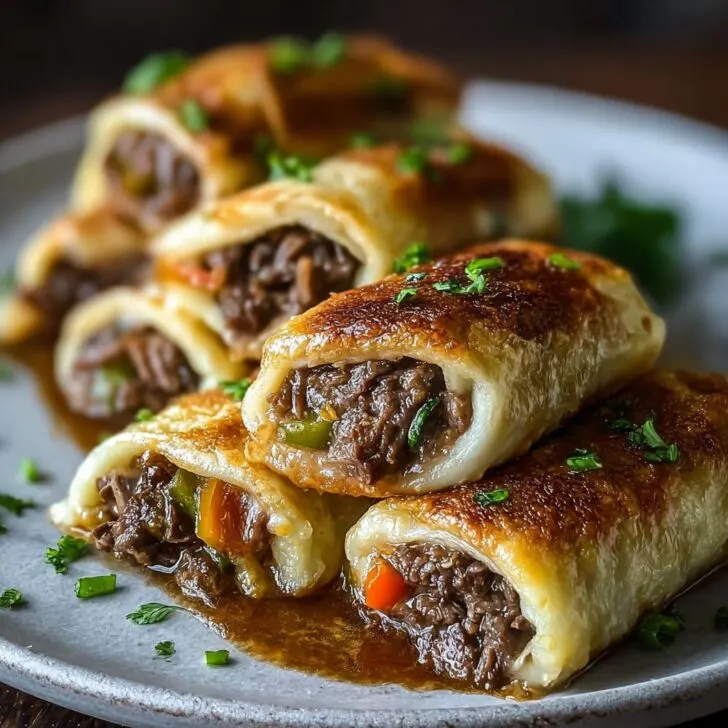
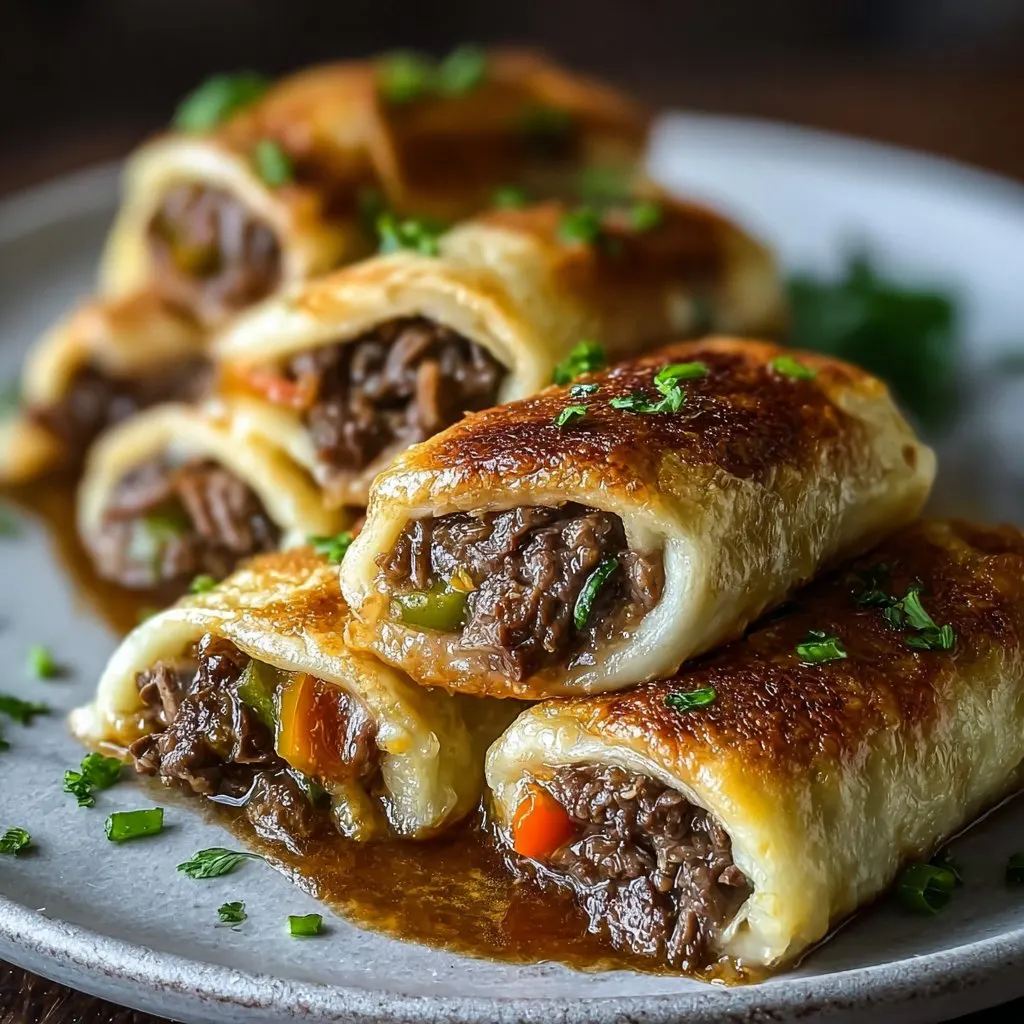
Let Me Tell You About These Roll Ups
Okay, so you know how sometimes you just want that cozy, melty, beefy Philly cheesesteak flavor, but without all the bready carb-commotion? That’s how these Keto Philly Cheesesteak Roll Ups crashed into my dinner rotation. The first time I tried these, I’d just gotten home late and was way too hungry to mess around with fancy keto dough (which, by the way, is never as simple as those YouTube videos make it look). So I grabbed some deli roast beef, a bell pepper I was pretending not to forget about in the fridge, and some cheese. Ten minutes later, I was literally eating with my hands over the sink. Not my proudest moment, but hey, sometimes you gotta do what you gotta do. Anyway, these have since become a family favorite, especially when my brother drops by outta nowhere—he can eat, I’ll tell you that much!
Why I Keep Making These (and You Probably Will Too)
I make this when I’m craving something hearty but don’t want to deal with carbs (or, honestly, a pile of dishes). My family goes crazy for this because it’s basically all the good bits of a cheesesteak, minus the guilt. And you can eat them with your hands—score! If I’m being real, making these is also my sneaky way of clearing out old peppers and onions before they turn. There was that one time I used jalapeños instead of bell peppers and, well, let’s just say my mouth was on fire. Lesson learned.
What You'll Need (with Some Substitutions Because Life Happens)
- About 8-10 slices of deli roast beef (I sometimes use leftover steak, too; honestly, anything thinly sliced and beefy will do)
- 1 bell pepper, thinly sliced (red’s my favorite, but green is good too; my grandma always said yellow was the best, but I can never find it when I want it)
- ½ onion, sliced (if you’re not an onion person, just skip it; I won’t tell anyone)
- 6-8 slices provolone cheese (some days I use cheddar, or even those cheese blend packs; it all melts, so who’s judging?)
- 1 tablespoon olive oil (butter works, or that mystery spray oil I occasionally find in the back of my cupboard)
- Salt and pepper (I also throw in a pinch of garlic powder, but that’s just me)
Alright, Here’s How You Do It
- Preheat your oven to 400°F (200°C). Or, if you’re feeling lazy, just crank it to whatever your oven does best. It’s forgiving.
- Heat up a skillet (medium-high is what I go for). Add the olive oil, then toss in your peppers and onions. Cook until they’re soft and a little browned, about 5-7 minutes. This is where I usually sneak a taste—just to, you know, check seasoning.
- Lay out your roast beef slices on a cutting board. Scoop some of that pepper-onion mixture onto the edge of each slice. Top with a slice of cheese. (Sometimes I rip the cheese to fit, because who actually cuts cheese to the perfect size?)
- Roll ‘em up. Just roll from one end to the other. If they look a bit messy, you’re doing it right. Place seam side down in a baking dish. I cram them in so they hold together, but don’t sweat it if they spread out a bit—still tasty.
- Bake for about 10 minutes, or until the cheese is bubbly and starting to brown. Don’t worry if they ooze a little; it’s all part of the charm. (Actually, I find it works better if you line the dish with parchment, but I always forget.)
Notes from Someone Who’s Made This Too Many Times
- If your beef slices are super thin, double them up. I learned the hard way—one time they stuck like crazy.
- Let them rest a minute before scooping them out. Otherwise, you’ll have a molten cheese slip-n-slide situation. Trust me.
- Leftover peppers and onions? Throw them on eggs the next morning. Or just eat them cold, I’m not judging.
Variations I’ve Tried (and One I Regret)
- Used turkey slices instead of beef. Decent, but it’s not the same. My husband’s not a fan.
- Added sautéed mushrooms—so good! Just don’t overdo it or things get soggy.
- I once tried stuffing with spinach. Look, I love spinach, but it just goes kinda weird and wet. Wouldn’t recommend.
- If you want it spicy, add a few jalapeño slices. Or don’t, if you’re like me and still remember the mouth-on-fire incident...
Don’t Sweat the Equipment
I always use my favorite old skillet (the one with the wobbly handle, ha), but I’ve managed with a nonstick pan or even a random saucepan in a pinch. If you don’t have a baking dish, just use a sheet pan—line it with foil for easier cleanup. And if you’re missing a spatula, tongs work fine, or clean hands if you’re feeling rustic (I’ve been there). If you want to see the kind of skillet I drool over, Serious Eats has a solid rundown.

Storing the Leftovers (but Good Luck with That)
Supposedly, you can keep these in the fridge for 2-3 days, just covered or in a container. I reheat in the oven, but a microwave will do when hunger strikes. But honestly, in my house it never lasts more than a day! If you want more meal-prep ideas, Eat This, Not That! has some fun ones.
How I Like to Serve ‘Em
I love these with a side of crispy pickles and maybe a little spicy mustard for dipping. My sister dunks hers in ranch, which, I’ll admit, is a pretty decent move. When we have people over, I cut them in half and stack ‘em up like a pile of cheesy meat cigars—fancy, right?
Things I Learned the Hard Way (My Pro-ish Tips)
- Don’t try to roll these when the filling is straight off the pan. Burned fingers—ouch! Wait a minute or two.
- Don’t skimp on the cheese. I once tried being healthy and went light and, well, it just wasn’t the same.
- Rushing the baking? Regretted it every time. Wait for bubbly cheese—worth it.
Questions I’ve Actually Been Asked (and My Honest Answers!)
- Can I make these ahead? Yep. They’re good the next day, maybe even better (or is that just me?)
- Can I freeze these? I have, but the texture goes a bit weird when you thaw—still edible, but not as nice as fresh.
- Is it okay to use a different cheese? Absolutely. I’ve used everything from Swiss to mozzarella; it’s hard to mess up melty cheese and beef.
- What if I don’t eat beef? Try turkey or chicken. It’s not classic, but it works. Or, you know, make something else? (Kidding... kind of.)
- Why are my roll ups falling apart? Sometimes the beef is sliced too thin or there’s too much filling. Next time, double the beef or fill less. Or just embrace the mess!
Anyway, if you make these Keto Philly Cheesesteak Roll Ups, let me know how it goes—or don’t, but I hope you enjoy them as much as I do. And if you find a way to keep leftovers longer than a day, I want your secrets.
Oh, and if you’re ever in Philly, try the real thing—it’s worth the carbs at least once. Just don’t tell my keto friends I said that.
Ingredients
- 1 lb thinly sliced beef steak (such as ribeye or sirloin)
- 8 slices provolone cheese
- 1 medium green bell pepper, thinly sliced
- 1 medium onion, thinly sliced
- 2 tablespoon olive oil
- 1 teaspoon garlic powder
- Salt and black pepper to taste
- 1 tablespoon Worcestershire sauce
Instructions
-
1Preheat oven to 375°F (190°C). Line a baking sheet with parchment paper.
-
2Heat olive oil in a large skillet over medium heat. Add sliced onions and bell peppers, sautéing until softened, about 5 minutes.
-
3Add the thinly sliced beef to the skillet. Season with garlic powder, salt, black pepper, and Worcestershire sauce. Cook until beef is browned and cooked through, about 5-7 minutes.
-
4Lay out the provolone cheese slices on the prepared baking sheet. Place a portion of the beef and vegetable mixture onto each cheese slice.
-
5Carefully roll up each cheese slice around the filling to form roll ups. Bake in the preheated oven for 8-10 minutes, or until the cheese is melted and slightly golden.
-
6Remove from oven and let cool slightly before serving. Enjoy warm.
Approximate Information for One Serving
Nutrition Disclaimers
Number of total servings shown is approximate. Actual number of servings will depend on your preferred portion sizes.
Nutritional values shown are general guidelines and reflect information for 1 serving using the ingredients listed, not including any optional ingredients. Actual macros may vary slightly depending on specific brands and types of ingredients used.
To determine the weight of one serving, prepare the recipe as instructed. Weigh the finished recipe, then divide the weight of the finished recipe (not including the weight of the container the food is in) by the desired number of servings. Result will be the weight of one serving.
Did you make this recipe?
Please consider Pinning it!!

