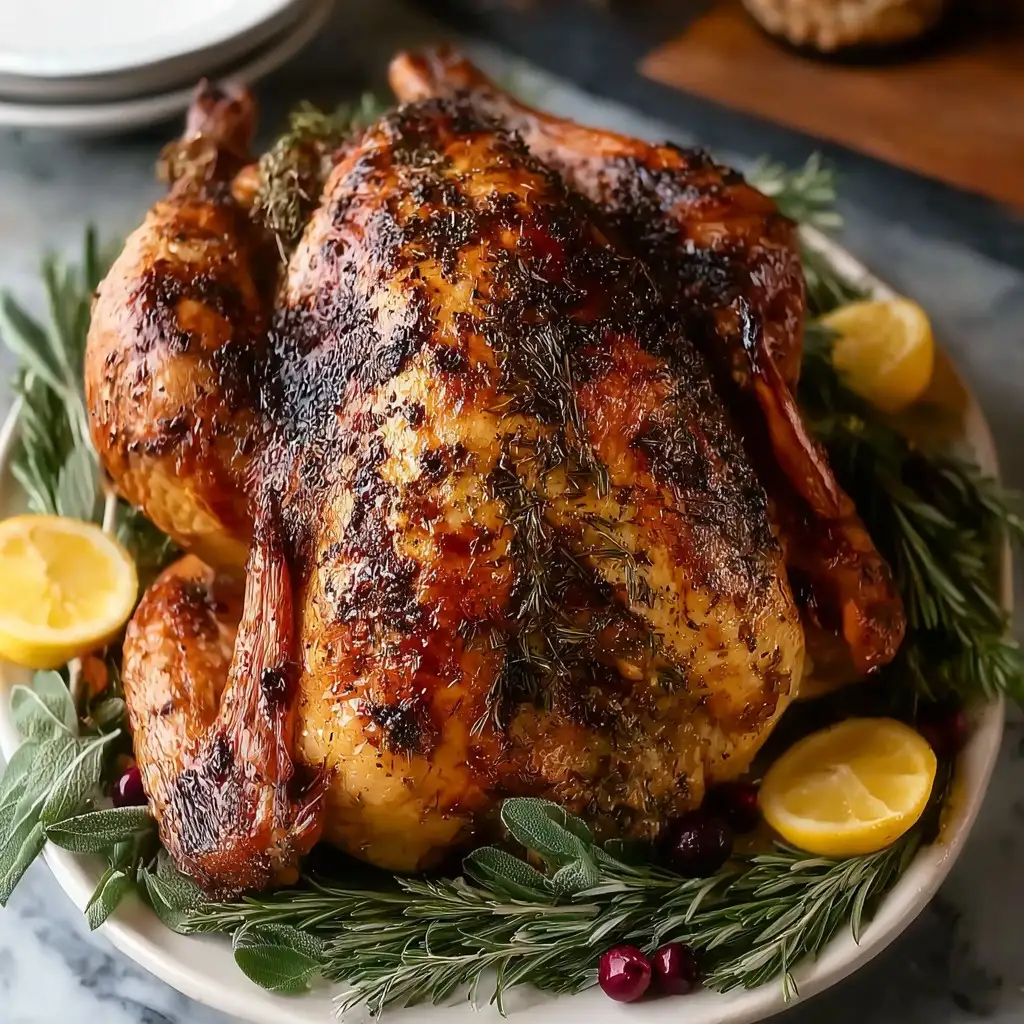
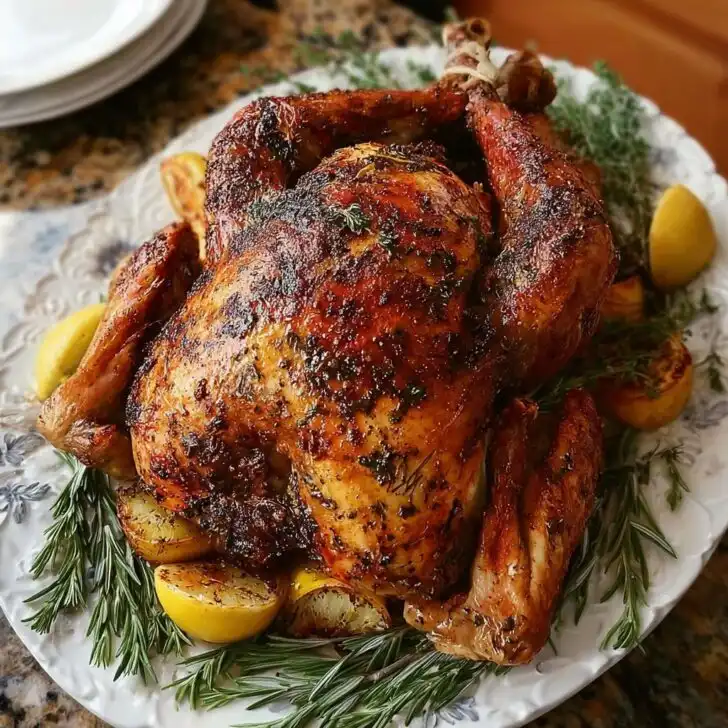
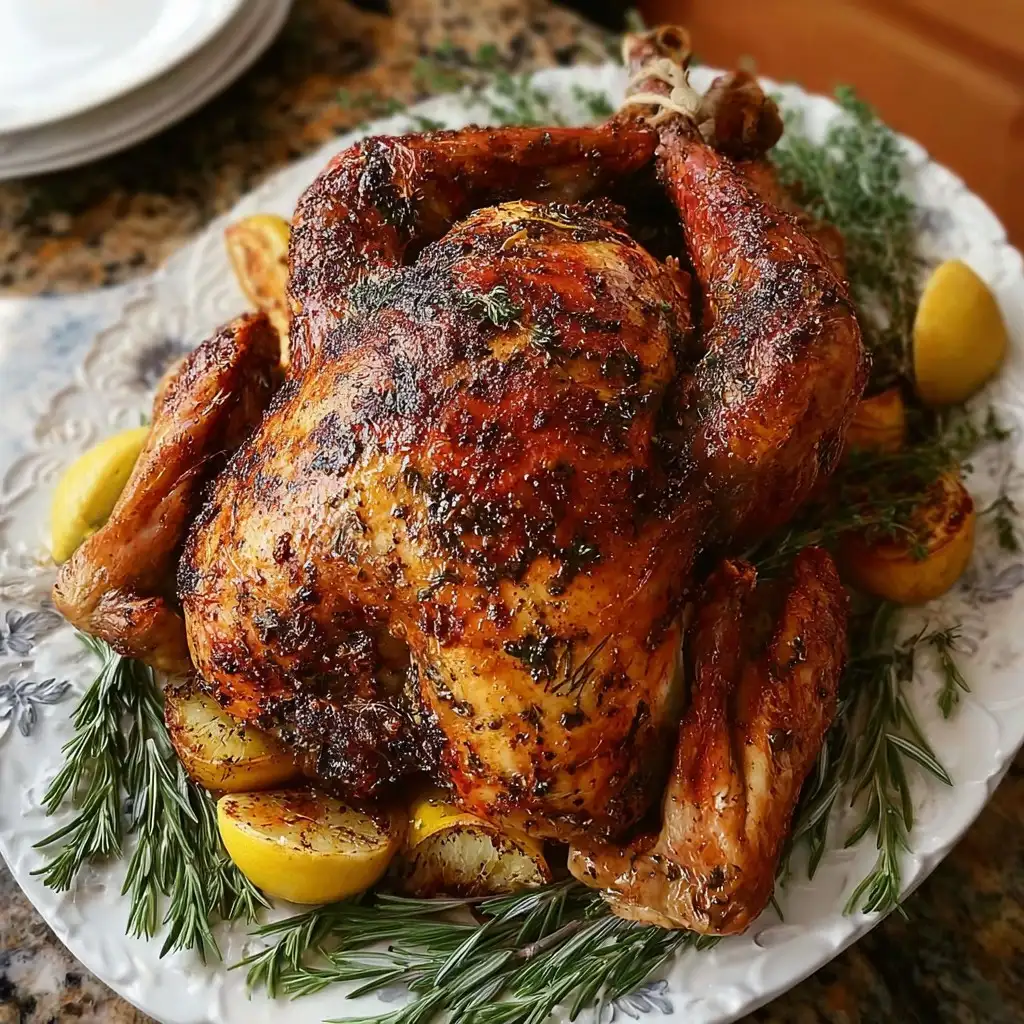
What Even Is a "Garlic Thanksgiving Turkey"? (And Why I Keep Making It)
I’ll tell you what, the first time I made this garlic Thanksgiving turkey, I was pretty sure I was going to set my oven on fire — picture me, apron half tied, juggling about five cloves of garlic and dropping half of them on the kitchen floor while my dog tries to lick them up (not recommended, by the way). But something about that garlicky-smelling kitchen? Honestly, it made Thanksgiving feel warmer… even if my uncle took one look and asked, "Did you mean to use THAT much garlic?" Oh, I meant it all right. Now it’s kind of a running joke — “Is there even a turkey under all that garlic?” There always is, and spoiler: it is delicious.
Why I Keep Coming Back to This (Even When My Family Grumbles…a Little)
I make this whenever I want the kitchen to smell like absolute heaven — or a French bistro, depending on who you ask. My family goes a bit wild for it (except my cousin, who claims she hates garlic, but guess who takes seconds?). The best part might just be how the turkey turns out: juicy, flavorful, and never, ever bland. Plus, and this is important, it’s not fussy. I used to get so stressed about the whole “turkey must be perfect or Thanksgiving is ruined” thing, but this recipe’s somehow forgiving. If you’ve ever ruined gravy or forgotten giblets, welcome, friend, you’re in good company.
Here’s What You’ll Need (But Don’t Panic)
- 1 whole turkey (I’ve used both fresh and frozen — frozen just takes longer to thaw, and yes, I have forgotten this once. Oops.)
- 2 heads of garlic, peeled (sometimes I use pre-peeled cloves because, honestly, who has time?)
- 1 big handful of fresh thyme or 2 tablespoon dried (honestly, any fresh herb works — I grabbed parsley when I ran out once)
- 1 lemon, quartered (but if you only have oranges, try them — it’s not traditional, but it’s tasty)
- ½ cup (1 stick) unsalted butter, softened (my grandmother was loyal to Land O’Lakes, but any brand will do — and I’ve even melted it in a pinch)
- Salt & pepper, to taste (I love flaky sea salt, but whatever’s in the cupboard!)
- Optional: 1 onion, quartered; 1 apple, sliced (these go inside the bird sometimes if I have them hanging around)
- Olive oil, a drizzle (I almost always forget to measure — just eyeball it!)
Let’s Get Cooking (But Don’t Aim for Perfection)
- First, if your turkey’s frozen, give it time to thaw. In the fridge usually takes like… forever? Okay, it depends — here's a decent thawing chart if you want actual numbers. I’ve tried defrosting in water once, but patience is the safer bet (unless you like living dangerously).
- Preheat your oven to 325°F (or about 160°C, if you’re across the pond). Take the turkey out of its plastic wrapper (this seems obvious but I forgot once, so…yeah), and pat it dry with paper towels.
- Salt and pepper the turkey’s outside and inside (get in all the nooks and crannies — it matters). Then, gently loosen the skin over the breast. No need for surgical precision here, just try not to rip it entirely. Smear about half the butter underneath — use your fingers, if you’re brave! The rest goes on top. Don't forget the drumsticks, they love a bit of garlic, too.
- Stuff the cavity with your lemon quarters, most of the garlic cloves (just toss them in, don’t be fancy), and whatever herbs you have. Onion? Apple? Go for it. Some folks tie the legs together, but to be honest, I only bother if I remember.
- Drizzle olive oil over the bird, toss on a few more bits of garlic, and sprinkle extra herbs and flaky salt if you’ve got that culinary itch.
- Set the turkey breast side up in a roasting pan. (Or whatever oven-safe thing fits — I once used a big cast iron pan. It works!) Pour a cup or so of water or broth in the bottom to keep things juicy. Cover loosely with foil, and in it goes.
- Roast for about 13 minutes per pound; but honestly, I start checking at the 2-hour mark for my average 12-pounder. Take the foil off in the last hour so the skin gets crisp. If the top gets too brown, pop it back on.
- Turkey’s done when a thermometer stuck in the thigh hits 165°F. Or, when the juices run clear and it looks golden (I’ve survived one year with no thermometer, just poked and hoped — worked out fine).
- Let it rest — very important, don’t skip this or your turkey will be sad and dry. Fifteen to thirty minutes, grab a glass of something and resist the urge to pick at the crispy skin (I fail at this every time).
- Carve, serve, and wait for the inevitable "Is there any left?" question.
What I Wish I’d Known (So You Don’t Make My Mistakes)
- If you overstuff the cavity, the turkey can cook slower — ask me how I know… Actually, don’t. Just don’t pack it tight.
- The butter under the skin is everything. If you forget, your turkey will still taste good, but it’ll be missing that wow thing. Trust me.
- If the drippings seem to scorch, just splash a little broth or even water in — no shame. Happened to me last year, and the gravy still rocked.
Experiments (The Good, the Weird, and the Not-Awesome)
- I once swapped out half the garlic for roasted shallots. Actually, it was kinda lovely (shallots mellow things out).
- Tried rosemary instead of thyme — the turkey tasted good but the flavor was, I dunno, almost like a pine tree. Not my thing, but maybe yours?
- Whole cloves of black garlic? It turned the gravy a wild purple, but my cousin called it “Instagrammable.” Not sure I’d repeat that one.
Equipment (And What to Do If You Don’t Have It)
- Roasting pan (but hey, a big baking dish or Dutch oven will totally work — I’ve even used a disposable foil pan in my college days)
- Meat thermometer — super handy; if you don’t have one, trust your nose and the juices test
- Baster or big spoon — optional, sometimes I forget and just use a mug to scoop the juices!

Storing Leftovers (Though…They Rarely Survive Here)
Keep leftovers in the fridge (airtight container is best) for up to 3 days. It probably tastes better the next day, honestly. I freeze the bones and bits for soup — check out this turkey stock recipe at Serious Eats if you never know what to do with them like me.
How I Like To Serve It (Cranberry Sauce Optional, But Almost Mandatory)
I usually set the turkey out on a big wooden board, surrounded by whatever I remembered to make for sides (mashed potatoes are non-negotiable). My little UK hack? Gravy with a splash of cider in it. Oh, and we always serve with garlicky green beans — mostly because they’re easy and there’s already garlic everywhere anyway. My uncle insists on toast for turkey sandwiches at midnight; it’s tradition now, for better or for worse.
Pro Tips I Learned the Hard Way (Save Yourself Some Trouble)
- Don’t rush the resting. I once carved five minutes after roasting; the juice ran everywhere and, well, I regret it every year since.
- Buy more garlic than you think you need. I always think I have enough and then… whoops, not quite.
- Actually, if you use salted butter, maybe skip extra salt — I learned that form a too-salty bird one year.
Your Questions Answered (Mostly Things People Text Me in a Panic)
- What’s the best way to thaw a turkey? In the fridge, on a tray — but I’ve had folks do a cold water bath (sealed, changed often!), too. Don’t just toss it on the counter overnight; that’s a fast track to bacteria-town.
- Can I make this gluten free? Yep! It already is, so that’s a win. Unless you start stuffing with bread, then, well, it isn’t anymore.
- Is that much garlic really not too much? Nope. But if you’re worried, just use less. You can always add more next time (and there will probably be a next time), right?
- Does it matter if I don’t have fresh herbs? Not really. Dried work fine, just use a little less. One time I even used herbes de Provence and, honestly, it was good.
Okay, if you’ve made it this far, you deserve a medal – or at least a drumstick. If you try this, let me know; just don’t blame me if every Thanksgiving dinner you ever host from now on smells like a (very tasty) vampire deterrent zone. For more holiday ideas, the Bon Appetit holiday archives are a goldmine — I totally get recipe envy reading through them. Happy cooking!
Ingredients
- 1 whole turkey (12-14 lbs)
- ½ cup unsalted butter, softened
- 10 cloves garlic, minced
- 2 tablespoons fresh rosemary, chopped
- 2 tablespoons fresh thyme, chopped
- 1 tablespoon salt
- 1 teaspoon black pepper
- 1 lemon, quartered
- 1 large onion, quartered
- 2 cups low-sodium chicken broth
Instructions
-
1Preheat the oven to 325°F (163°C). Remove the giblets from the turkey and pat the turkey dry with paper towels.
-
2In a small bowl, mix the softened butter with minced garlic, chopped rosemary, chopped thyme, salt, and black pepper.
-
3Carefully loosen the skin of the turkey breast and rub half of the garlic-herb butter under the skin and the remainder over the turkey.
-
4Stuff the turkey cavity with the lemon and onion quarters. Place the turkey breast-side up on a rack in a large roasting pan. Pour chicken broth into the bottom of the pan.
-
5Roast the turkey for about 3 ½ hours, or until a thermometer inserted into the thickest part of the thigh reads 165°F (74°C). Baste the turkey with pan juices every 45 minutes.
-
6Transfer the turkey to a platter, tent loosely with foil, and let rest for at least 20 minutes before carving. Serve warm.
Approximate Information for One Serving
Nutrition Disclaimers
Number of total servings shown is approximate. Actual number of servings will depend on your preferred portion sizes.
Nutritional values shown are general guidelines and reflect information for 1 serving using the ingredients listed, not including any optional ingredients. Actual macros may vary slightly depending on specific brands and types of ingredients used.
To determine the weight of one serving, prepare the recipe as instructed. Weigh the finished recipe, then divide the weight of the finished recipe (not including the weight of the container the food is in) by the desired number of servings. Result will be the weight of one serving.
Did you make this recipe?
Please consider Pinning it!!

