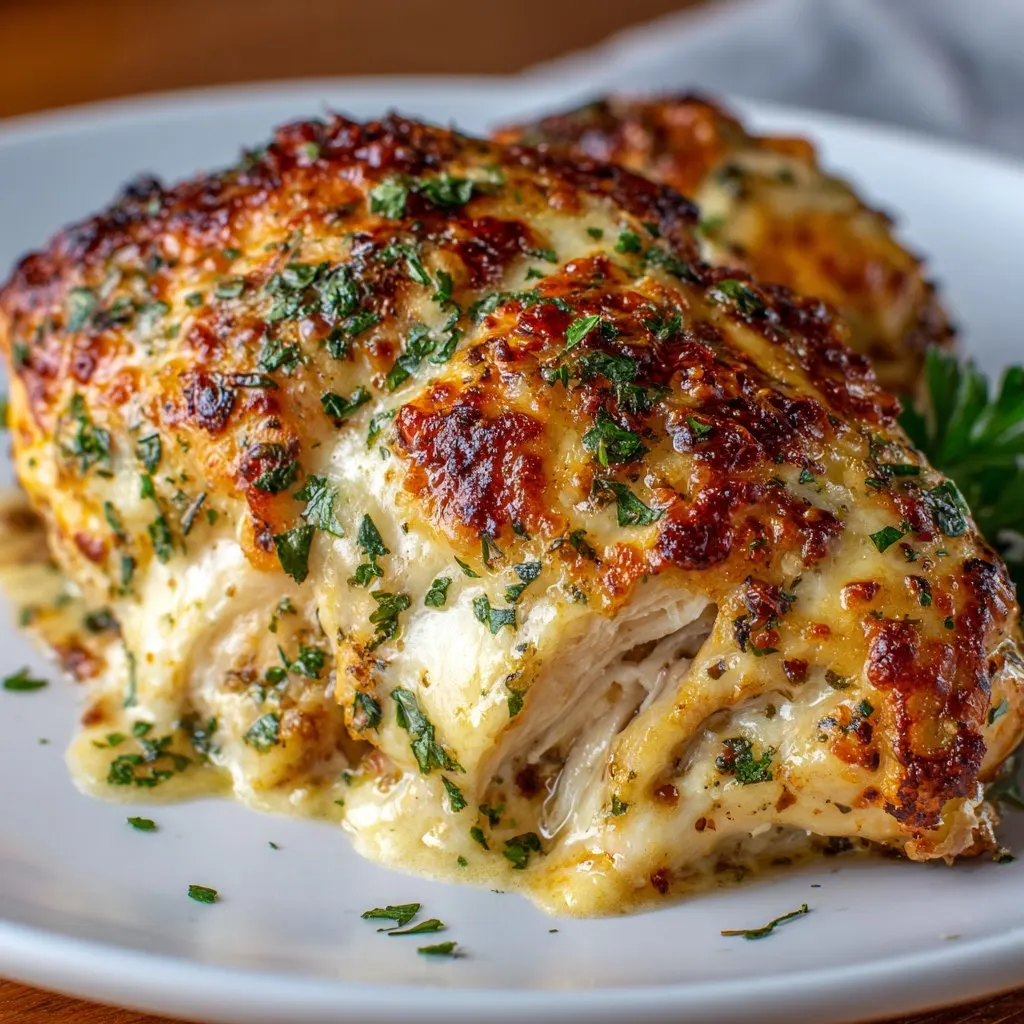
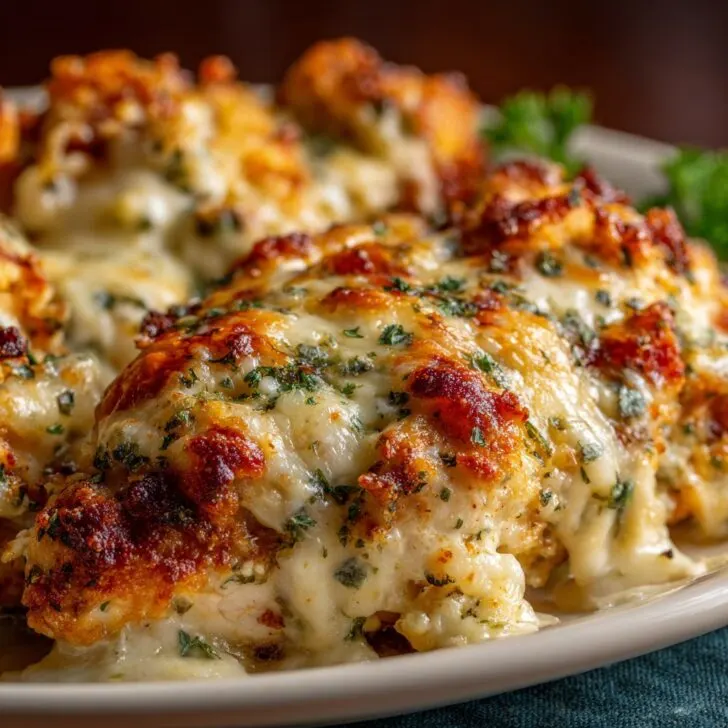
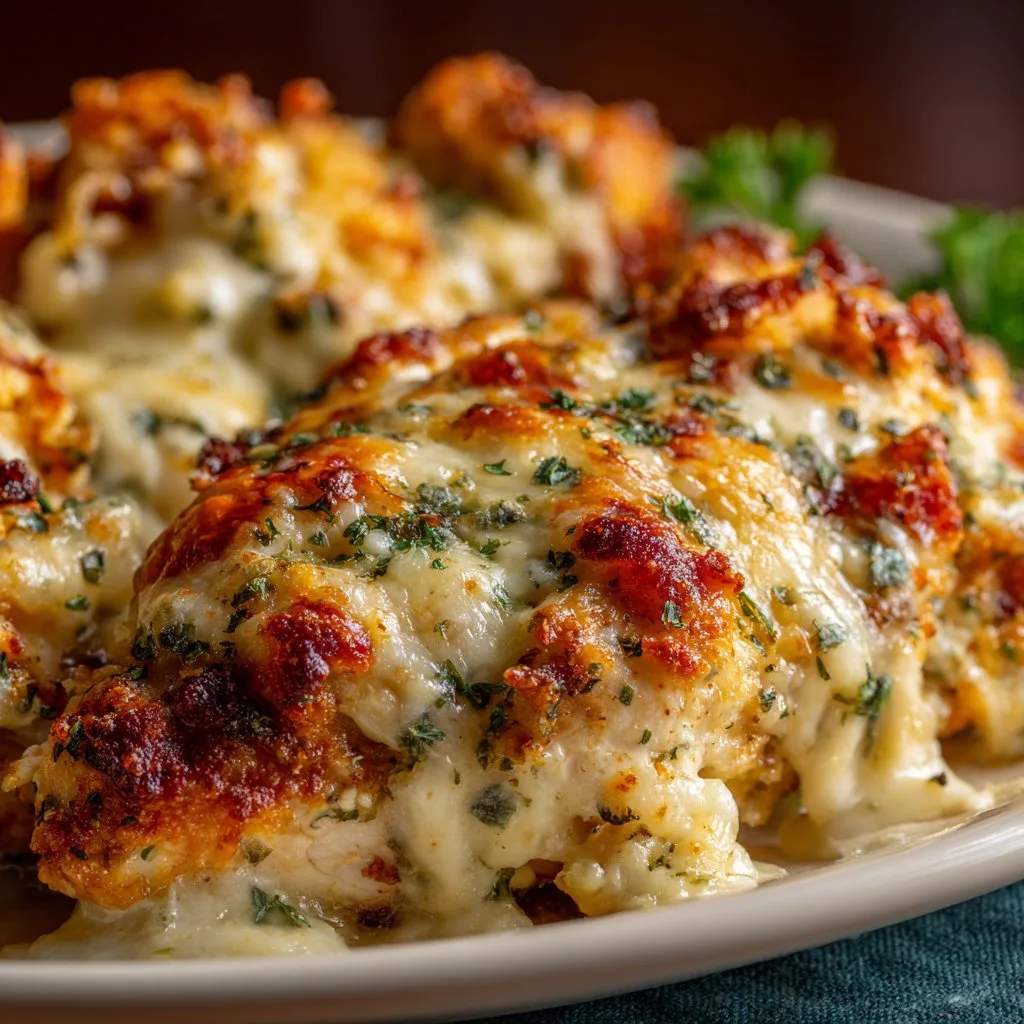
Let Me Tell You About My Garlic Parmesan Chicken Bake
You know how there's always that one recipe you end up making way more than you planned? Honestly, this Garlic Parmesan Chicken Bake Recipe is the one for me. I still remember the first time I threw it together; my brother barged into the kitchen, sniffed the air, and asked if I was hiding pizza somewhere. (Not quite, but the scent is that good.) Sometimes I make it just for the smell, not even kidding. And if I'm being honest, I've totally forgotten to buy breadcrumbs before and just crushed up some old crackers–worked like a charm. Anyway, let’s get into it before my stomach starts rumbling too loudly.
Why You'll Love This Chicken Bake
I make this when I've got zero energy but still want something that tastes like I put in way more work than I actually did. My family goes absolutely bonkers for this (even my picky cousin who claims she hates garlic, but somehow always asks for seconds). Plus, cleanup's a breeze unless you accidentally flip the baking dish, which I did once–not recommended. It's the perfect dinner for those "Oops, it's already 6 PM?" nights. And it reheats pretty well, though, to be fair, leftovers are rare around here.
The Not-So-Secret Ingredients
- 4 boneless, skinless chicken breasts (about 1 ½ lbs, or just whatever's in the fridge, honestly)
- ½ cup grated Parmesan cheese (I use the pre-grated stuff when I'm feeling lazy, but fresh is nicer if you have the energy)
- 1 cup Italian-style breadcrumbs (or panko, or those aforementioned smashed crackers; my grandmother swore by Progresso, but any brand works fine)
- 3-4 garlic cloves, minced (or cheat with garlic powder if you must)
- ¼ cup melted butter (sometimes I do olive oil if I'm feeling "healthy")
- Salt and pepper to taste (I always overdo the pepper because, well, I like it spicy!)
- 1 teaspoon dried Italian herbs (or just a sprinkle of basil, oregano, or whatever dried green things you find in the cupboard)
- Optional: fresh parsley for garnish, a handful of mozzarella for extra cheesiness
How I Actually Make This Chicken Bake
- Preheat your oven to 400°F (that’s about 200°C if you’re on metric time). I forget this step probably half the time, so if you do too, no worries.
- Lightly grease a baking dish. Doesn’t matter if it’s glass or metal. I use whatever’s clean. (Once I even used a cast iron pan. Worked fine!)
- Mix the breadcrumbs, Parmesan, Italian herbs, salt, pepper, and garlic in a bowl. Melt the butter (or oil) in another small dish. If you’re feeling wild, add a pinch of chili flakes here - it's not traditional but it adds some heat.
- Pat the chicken breasts dry. This is where I always get bored and start thinking about dessert. Dip the chicken into the butter, then coat each breast with the breadcrumb mixture. Coat it well, like you're tucking it into a crunchy blanket.
- Arrange the chicken in the baking dish. Any extra topping, just pile it on top–don’t let it go to waste. Sometimes it looks a bit clumpy at this stage. Don't panic, it always bakes up golden.
- Bake uncovered for about 25-30 minutes, or until the chicken is cooked through and the top is golden brown. This is where I sneak a taste; if you do too, just try not to burn your tongue (I speak from experience).
- Let it rest for 5 minutes. Or don't; I've sliced it straight from the oven (messier, but who waits?). Sprinkle some fresh parsley on top if you’re feeling fancy (I rarely am, but it looks nice!)
What I’ve Figured Out (Mostly By Accident)
- If your breadcrumbs aren’t sticking, try patting the chicken dryer (I always forget, but it matters).
- Don’t overbake or the chicken gets a bit tough; I once lost track of time and it turned out chewy. Still edible, just not ideal.
- Actually, I find it works better if you slice thicker chicken breasts in half lengthwise so they cook more evenly. But sometimes I can't be bothered.
- And if you add too much butter, the top gets a bit soggy. It's still tasty though! Not a disaster.
Some Variations I’ve Tried (For Better or Worse)
- Swapped out Parmesan for pecorino once–pretty sharp, but delicious.
- Added a thin layer of marinara under the chicken (sort of like chicken parm, but lazier). My family loved it; purists might cringe.
- Tried gluten-free breadcrumbs for a friend, and honestly, it worked fine.
- Once tried to add a honey drizzle at the end. Not my best idea. Didn’t clash, but I wouldn’t repeat it.
What Gear Do You Need?
- Baking dish or tray (I've used a cookie sheet in a pinch; just line with foil or baking paper and you'll be grand)
- Mixing bowls (honestly, you could mix the coating in a big ziplock bag for less washing up)
- Tongs or just your hands (I sometimes just use a big fork)

How to Store (If You Have Leftovers, Ha!)
Pop leftovers in an airtight container in the fridge–they should be good for up to 3 days. Reheat in the oven for best crunchiness (microwave works but gets a bit soggy). Though honestly, in my house it never lasts more than a day! If you want to freeze, wrap tightly, but I think it tastes better fresh.
How I Serve Garlic Parmesan Chicken Bake
We usually serve it with a heap of garlicky mashed potatoes and some green beans (sometimes straight from the freezer; don’t judge). My dad likes his with pasta and a drizzle of good olive oil (I like this guide for picking a good one if you care). Or just with a simple salad and a chunk of crusty bread for mopping up all the crunchy bits. Oh! Once I tried it in a sandwich–not bad at all.
If I Had to Give You One Pro Tip…
Don’t try to rush the baking. I once tried blasting it at a higher temperature to get dinner on the table faster; disaster. The coating got weird and the chicken was raw in the middle. Slow and steady wins this race, trust me. And don’t skip the butter (unless you must)–that’s where the magic happens.
Frequently Asked Questions From My Friends (and Aunt Mary)
- Can I use chicken thighs? Oh, definitely! Just adjust the bake time, they might need a little longer. Thighs are juicier too if you ask me.
- Is there a way to make it dairy-free? Sort of! Use olive oil instead of butter and try a vegan cheese (I like the ones recommended here). It’s not exactly the same, but still tasty.
- Can I prep this ahead of time? Yes! Coat the chicken in advance and keep it in the fridge for a few hours. I wouldn’t leave it overnight though–the coating goes a bit mushy.
- What if I don’t have breadcrumbs? Smashed-up crackers, cornflakes, or even stale bread pulsed in the blender. Improvise!
- Can I make it spicy? Oh, go for it. Add chili flakes or cayenne to the coating like I sometimes do. Or don’t, if you’re feeding little ones–my nephew is not a fan.
- Is this good for a potluck? Absolutely. Just slice it up before you go and maybe bring extra napkins. Actually, it disappears fast at potlucks (personal experience), so make double if you can.
And there you have it! If you end up making this and it becomes your new go-to, I’ll take the credit–or the blame. Anyway, try it your way and let me know how it goes. Happy eating!
Ingredients
- 4 boneless skinless chicken breasts
- 3 tablespoons olive oil
- 4 cloves garlic, minced
- 1 cup grated Parmesan cheese
- ½ cup breadcrumbs
- 1 teaspoon dried Italian herbs
- ½ teaspoon salt
- ¼ teaspoon black pepper
- 2 tablespoons chopped fresh parsley (optional, for garnish)
Instructions
-
1Preheat the oven to 400°F (200°C). Lightly grease a baking dish.
-
2In a small bowl, mix together olive oil and minced garlic. Brush the mixture evenly over both sides of the chicken breasts.
-
3In another bowl, combine Parmesan cheese, breadcrumbs, Italian herbs, salt, and black pepper.
-
4Coat each chicken breast in the Parmesan breadcrumb mixture, pressing lightly to adhere. Place the coated chicken breasts in the prepared baking dish.
-
5Bake for 25-30 minutes, or until the chicken is cooked through and the topping is golden brown.
-
6Garnish with chopped fresh parsley before serving, if desired.
Approximate Information for One Serving
Nutrition Disclaimers
Number of total servings shown is approximate. Actual number of servings will depend on your preferred portion sizes.
Nutritional values shown are general guidelines and reflect information for 1 serving using the ingredients listed, not including any optional ingredients. Actual macros may vary slightly depending on specific brands and types of ingredients used.
To determine the weight of one serving, prepare the recipe as instructed. Weigh the finished recipe, then divide the weight of the finished recipe (not including the weight of the container the food is in) by the desired number of servings. Result will be the weight of one serving.
Did you make this recipe?
Please consider Pinning it!!

