Okay, Story Time: Why I Love This Bark
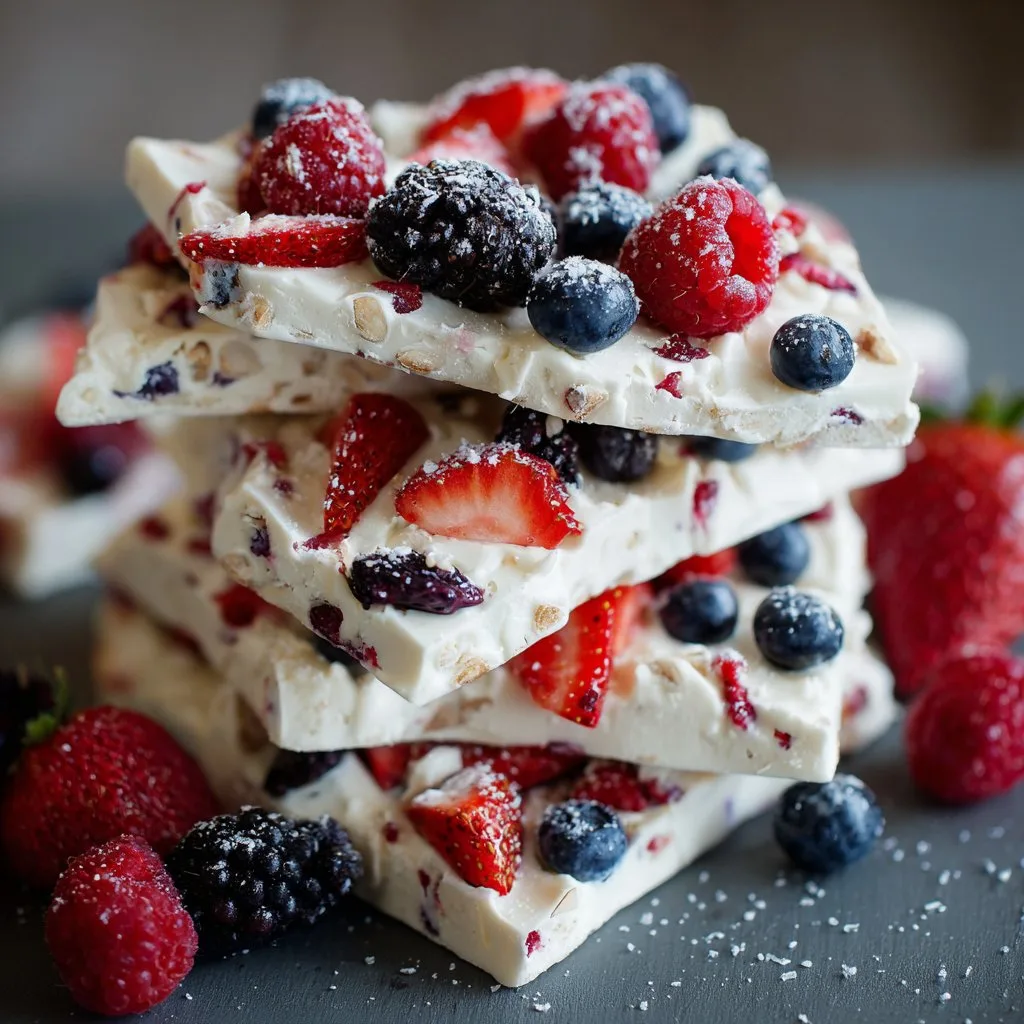
You know those recipes you stumble on by accident? That’s basically how I found frozen yogurt bark with berries. It was a Saturday, hotter than a jalapeño, and I had a fridge full of half-eaten yogurt cups (no one ever finishes them) and berries that were just a bit too squishy for polite company but not yet headed for the compost bin. So, anyway, I remembered seeing a photo somewhere—Pinterest maybe, or was it that old foodie mag with the weirdly perfect kitchens? Doesn't matter. I slapped it all together, froze it, and surprise, surprise—my kids thought I was some sort of magician.
Honestly, this stuff is so easy you’ll feel like you’re getting away with something. Plus, if you’re like me and sometimes forget a tray in the freezer until the next morning, that’s totally fine here. Actually, better.
Why You’ll Love This (Or At Least Why I Do)
I make this frozen yogurt bark with berries when I need a snack that’s both healthy-ish (let’s not kid ourselves, there’s chocolate sometimes) and super simple. My family goes crazy for this because there are no rules, and they can pile on whatever toppings they want (sprinkles? Sure, why not). I mean, the kids are actually excited to eat yogurt, which never happens unless there’s sugar involved.
(Here’s a confession: the first time I tried it, I poured the yogurt way too thick and it took three days to freeze. But hey, we live and learn.)
What You’ll Need (And Some Cheeky Substitutions)
- 2 cups plain Greek yogurt (I sometimes use vanilla if I’m feeling sweet-toothy. My grandma swore by the nonfat stuff, but full-fat is creamier. Totally your call!)
- 3-4 tablespoons honey or maple syrup (I've used agave, and once, when I was out of everything, I just threw in brown sugar. Worked fine.)
- 1 teaspoon vanilla extract (skip it if you’re in a rush, or swap with almond for a nuttier vibe)
- 1-2 cups mixed berries—strawberries, blueberries, raspberries, blackberries (frozen or fresh both work, though frozen gets a bit icy, but in a good way)
- A handful of chopped nuts or seeds (I like pistachios, but pumpkin seeds give it a nice crunch too)
- Dark chocolate chips, coconut flakes, or even some granola for extra pizzazz
- Pinch of flaky sea salt (don’t skip this, unless you hate salt, then, obviously… skip it)
Let’s Make It: My Not-So-Precise Directions
- Line a baking sheet (the kind that fits in your freezer—trust me, check first) with parchment paper. No parchment? Wax paper works okay, but it sticks a bit. If you’ve got silicone mats, even better.
- In a bowl, mix together the yogurt, honey (or whatever sweetener you grabbed), and vanilla. Give it a good stir. This is where I usually sneak a taste, you know, for ‘quality control’.
- Spread the yogurt mixture onto your prepared sheet. You’re aiming for about ⅓ inch thick, but I’ve gone thinner and thicker—both work. Don’t worry if it looks a bit lumpy at this stage—it always does!
- Sprinkle your berries on top. Go wild! Sometimes I press them in a bit so they don’t fall off later, but honestly, it all evens out.
- Add nuts, seeds, chocolate chips, or whatever else you’re using. A little sea salt on top makes it pop (I was skeptical too, but it’s a game changer).
- Pop the tray in the freezer for at least 3-4 hours, or until totally solid. Overnight is easier if you’re forgetful like me.
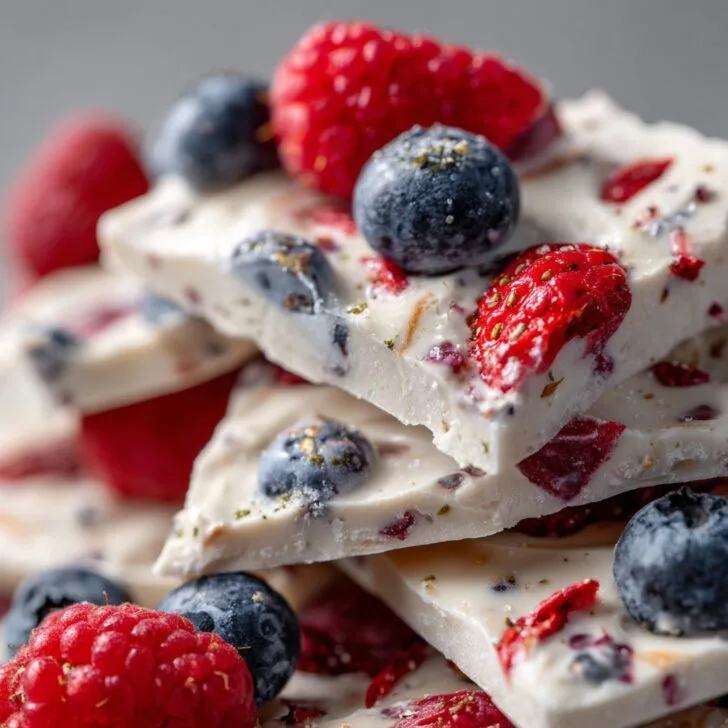
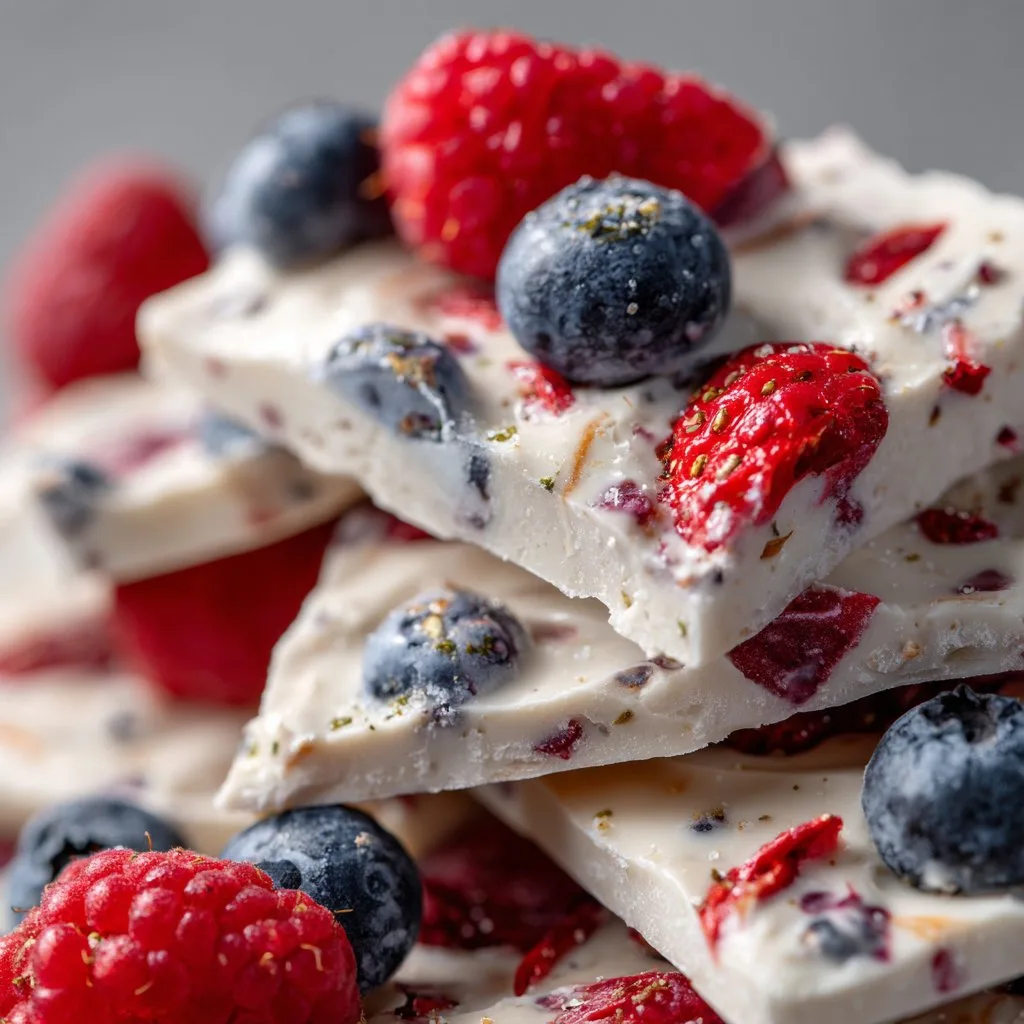
- When it’s frozen, break or cut it into pieces. Weird shapes are part of the charm. If it sticks, let it sit for a minute—don’t try to pry it with a knife unless you want yogurt shrapnel all over your kitchen (ask me how I know).
Notes from the School of Hard Knocks
- If you use nonfat yogurt, it can get a tad icy, but I think it’s still tasty. Full-fat stays creamier after freezing.
- Some yogurts are tangier than others—if you taste your mix and it’s too sour, just add another spoon of honey. No shame.
- Let the bark sit for a minute or two after pulling from the freezer. Otherwise, you’ll break a tooth. (Not speaking from experience, but, you know... maybe I am.)
Variations I’ve Tried (And One Dud)
- Swapping berries for sliced kiwi and mango—super fresh! (Though the kiwi gets a little weirdly icy.)
- Chocolate yogurt with banana slices—my attempt at being fancy. Tastes like frozen banana pops but looks like a mud puddle.
- I once tried adding marshmallows. They froze like tiny rocks. Wouldn’t recommend, unless you like dental adventures.
Equipment (But Don’t Sweat It If You Don’t Have Everything)
- Baking sheet (if you only have a small freezer, use any shallow container—even a cake tin. I once used a takeaway box lid. It worked, mostly.)
- Parchment paper or silicone mat (honestly, I’ve used the inside of a cereal box before in a pinch—don’t judge me)
- Mixing bowl and spoon (forks work too; I’ve even used a coffee mug in desperation)

How to Store It (If There’s Any Left)
Keep your frozen yogurt bark in an airtight container in the freezer. In theory, it’ll last a couple weeks (maybe longer), but honestly, it never makes it more than a day or two in my house. If it gets frost on top, just brush it off—still tastes fine.
How We Like to Eat It (And a Weird Family Tradition)
I like to serve pieces straight from the freezer on a hot afternoon, sometimes with a drizzle of extra honey or a little squeeze of lemon juice. My youngest insists on dipping hers in peanut butter, which sounds weird but actually works. We once brought a batch on a picnic in July—bad idea. Don’t do that unless you like yogurt soup.
Things I Wish I’d Known (AKA: Pro Tips)
- Don’t rush the freezing step. I once tried serving this after just two hours, and it was a mess—more like yogurt mousse than bark. Just wait, trust me.
- If you spread the yogurt too thick, it takes ages to freeze and gets too chewy. Thinner is better. (Actually, I find it works better if you go thinner than you think you should.)
- Chop big berries so they don’t fall off—unless you want a game of “find the berry under the fridge”.
FAQ (Yes, I Really Get Asked These)
- Can I use flavored yogurt?
- Absolutely! Just watch the sweetness—some are already pretty sugary. But hey, if you’re in a treat-yourself mood, go wild.
- Will this work with dairy-free yogurt?
- Yep, coconut yogurt is lovely (if a bit softer when frozen). Soy and almond yogurts work too. Just make sure they’re thick, or you’ll end up with a sad, icy mess.
- Does it melt quickly?
- Short answer: yep. Eat it straight from the freezer. If you leave it out, it starts to wilt like lettuce in the sun.
- Can I add protein powder?
- You can, but it sometimes makes the bark grainy. I tried once with vanilla whey; wasn’t my favorite, but it was edible. Maybe try half a scoop to start?
Oh, and if you want more snack ideas, I love Sally’s Baking Addiction for fun twists, or if you’re curious about yogurt science, check out this Serious Eats breakdown. Both are worth a browse when you’re in the mood for a little food nerdery.
Anyway, that’s my frozen yogurt bark with berries—go make a batch and let me know if you discover something wild (or disastrous). It happens to the best of us!
Ingredients
- 2 cups plain Greek yogurt
- 2 tablespoons honey or maple syrup
- 1 teaspoon vanilla extract
- ½ cup fresh strawberries, sliced
- ½ cup fresh blueberries
- ¼ cup fresh raspberries
- ¼ cup granola
- 2 tablespoons chopped almonds or pistachios
Instructions
-
1Line a baking sheet with parchment paper.
-
2In a medium bowl, mix the Greek yogurt, honey or maple syrup, and vanilla extract until well combined.
-
3Spread the yogurt mixture evenly onto the prepared baking sheet, about ¼ inch thick.
-
4Scatter the sliced strawberries, blueberries, raspberries, granola, and chopped nuts evenly over the yogurt.
-
5Freeze for at least 4 hours or until completely firm.
-
6Break the frozen yogurt bark into pieces and serve immediately. Store leftovers in an airtight container in the freezer.
Approximate Information for One Serving
Nutrition Disclaimers
Number of total servings shown is approximate. Actual number of servings will depend on your preferred portion sizes.
Nutritional values shown are general guidelines and reflect information for 1 serving using the ingredients listed, not including any optional ingredients. Actual macros may vary slightly depending on specific brands and types of ingredients used.
To determine the weight of one serving, prepare the recipe as instructed. Weigh the finished recipe, then divide the weight of the finished recipe (not including the weight of the container the food is in) by the desired number of servings. Result will be the weight of one serving.
Did you make this recipe?
Please consider Pinning it!!

