How This Crispy Chicken Became a Family Legend
So, my mum used to make the most golden crispy chicken ever—only she did it in a battered old skillet and there was always a bit of chaos (plus at least one tiny burn per Sunday dinner). I don't think I've ever managed to fully recreate hers, but when I discovered this oven-fried twist, it was like winning the lottery... only with less paperwork. And let me tell you, I’m convinced even Saint Patrick himself would’ve approved if he’d tried it. Oh, and I once accidentally used salt instead of sugar in the dredge mix—let’s not talk about that disaster.
Why I Keep Making This (And Why You Might Too)
I whip this up when we're short on time but still want that cozy, crunchy vibe you usually get from deep-frying in oil. My family basically hovers around the oven whining as the smell wafts out (my youngest once tried to eat it before it hit the table, but that's another saga). Plus, there's no wrestling with hot oil or cleaning up sticky splatters—just a baking tray and a bit of patience. If you survive the wait, you're golden. And if you don’t have buttermilk—it's fine! More on that below.
What You’ll Need – And What I Sometimes Swap
- 8 chicken thighs (skin-on, bone-in is my go-to, but I'll confess to using boneless once out of sheer laziness. It's good, but skin-on has more drama.)
- 1 cup buttermilk (Don't panic if you don't have it—just mix milk with a squeeze of lemon juice or a splash of white vinegar and call it a day.)
- 2 cups plain flour (Granny says Odlums flour is best, but I’ve tried store brands—didn’t scandalize anyone.)
- ½ cup cornflour (cornstarch)
- 2 teaspoons sea salt
- 1 teaspoon cracked black pepper
- 2 teaspoons paprika (smoked or sweet—take your pick)
- 1 teaspoon garlic powder (or a bit more, if your lot likes it garlicky)
- 1 teaspoon dried thyme (fresh is nicer, but only if I’ve remembered to water the windowsill herb)
- 3 tablespoons melted butter or neutral oil (sunflower is grand, olive oil is alright, though it does taste a bit more 'dinner party' than 'comfort food')
- Optional: pinch of cayenne for those who like a kick
How I Put It Together (With the Occasional Detour)
- First off, marinate your chicken thighs in the buttermilk (or that vinegar-milk stuff). At least an hour in the fridge—overnight if you’re the patient type. I rarely am. The longer, the juicier, though!
- Preheat the oven to 220°C (430°F – or as hot as your oven will go if it’s grumpy, like mine can be). Line your tray with parchment paper; trust me, it helps the clean-up.
- Mix your flour, cornflour, salt, pepper, spices, and thyme in a big-ish bowl. Kind of like making sand castles—but savory.
- One by one, coat your chicken thighs in the flour mix. Press the flour on gently, don’t be shy. This is where I sneak a little taste of the spices to see if I was heavy handed with the cayenne (learned the hard way not to taste the raw flour. Oops).
- Lay the coated chicken thighs out on the baking tray. Drizzle with melted butter or oil. Sometimes I just dot bits of butter on top—lazy, but it works.
- Bake for about 25 minutes. Then, flip each thigh carefully. They can stick, so use a spatula to scrape underneath (I’ve had a few casualties here—don’t worry, the scraggly bits are the best part!). Drizzle with a wee bit more oil if they look dry—honestly, it’s never hurt anyone.
- Bake another 15-20 minutes until your kitchen smells like heaven and the skin is cracklingly crisp. If in doubt, prod with a fork—juices should run clear. Or try a meat thermometer if you’re feeling professional (74°C, by the way).
Some Notes (Things I Wish I’d Known)
- If you stack the chicken too close, it gets more steamy than crispy. Spread ‘em out. I learned the hard way—chicken sauna, anyone?
- Melted butter on top is the secret. I once skipped it thinking it’d be healthier. It wasn’t bad, just kind of sad.
- If you run out of parchment, foil works—but chicken does stick more. Or so says the mysterious sticky residue on my old pans.
Variations (And a Dodgy One)
- Spicy Version: Sometimes I add a heap of hot sauce to the buttermilk. It’s great—unless (like me) you accidentally use extra-hot. My cousin still teases me over that one.
- Gluten-Free: Rice flour and cornstarch combo works pretty well. Not quite the same crunch, but if you’ve folks with coeliac, it’s a worthy swap.
- Herby: Toss in chopped rosemary or sage. Sometimes I go rogue and do both. That was a flavour adventure!
- Grilled: On second thought, grilling these just doesn’t work—tried once, came out floppy and sad. So, yeah, stick with the oven!
What You Need (And Clever Workarounds)
- Baking tray / sheet – I say oven tray, but I’ve done these in a roasting tin too. Results are pretty much the same.
- Mixing bowl (or a plastic tub with a lid if you want less mess—just shake the chicken in the flour mix)
- Parchment paper (or foil, or even just well-oiled tin if you must)
- Tongs or spatula - but I’ve fumbled along with a fork more than once


What To Do With Leftovers
Pop any leftovers in the fridge in an airtight tub—they’ll keep 2-3 days (though, honestly, in my house they rarely last that long, and if they do it's usually because I've hidden a piece behind the salad for a midnight snack). For reheating, the oven is best to revive the crunch, but if you zap 'em in the microwave they’re not the end of the world. Actually, I think this tastes better the next day (is that weird?).
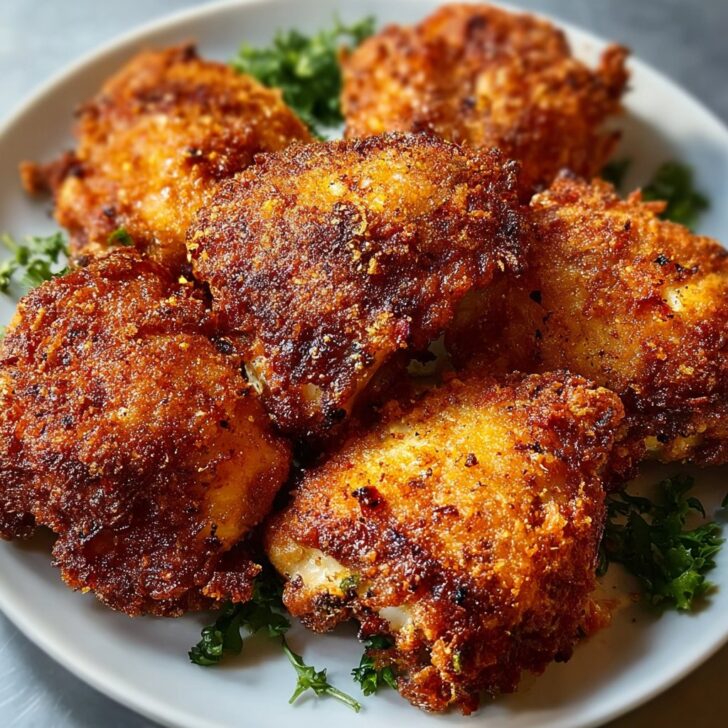
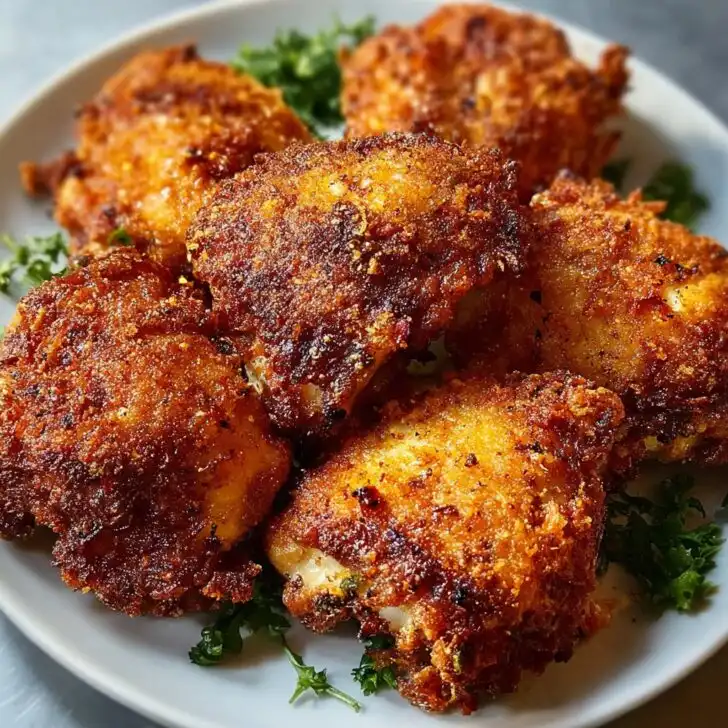
How We Serve 'Em Up At Home
Most often, I just pile the crisp chicken onto a big platter with baby potatoes—boiled, buttery, with lots of chopped parsley. But sometimes we go the whole nine yards: coleslaw, a chunky salad, maybe even soda bread, which if you want to try there’s a lovely recipe here at BBC Good Food that I follow loosely (read: I wing it). On St. Patrick’s Day, there’s usually Guinness at the table, too. Kids get orange squash, which they think is just as fancy. Sometimes we serve onion gravy alongside—totally optional, but worth a taste.
What I Wish I Knew (Pro Tips From the Trenches)
- Don’t rush the marinating. I once gave it ten minutes—came out a bit rubbery (or as we say, like chewing a boot).
- If the top isn’t crisping, put the tray higher in the oven for the last 10 minutes. Or switch on the grill for 2—but you must watch it like a hawk, or you’ll get burnt bits.
- Wet coating makes the crunch. Leaving the chicken in flour for a few mins before baking helps set that crust.
- Ready-made spice mixes work in a pinch, but the homemade blend above is leagues tastier. Not knocking the packets, just sayin’.
- Oh—and if you want to deep dive into Irish food history, check out this Irish Times article. It’s a bit of a nerd-out, but fascinating.
Real-life Questions I've Actually Gotten (Or Imagined)
- Can I use chicken breasts instead of thighs?
- You can! But they’re not as juicy, so watch your timing—maybe cut 5 minutes off the bake. I still say thighs win, though.
- What if my coating falls off?
- Sometimes mine does too—don’t stress. Press that flour in well, and make sure your chicken’s not too wet coming out of the buttermilk. But, a few rogue crumbs are part of the fun.
- Can I make these ahead of time?
- Sure, and I swear the flavors get better overnight. Reheat in the oven for crispiness. Honestly, cold the next day isn’t bad either (I may have eaten a few for breakfast).
- Will this work with drumsticks or wings?
- Definitely! I did wings for a party once and they vanished in ten minutes flat. Just shorten the baking time a smidge—say 25–30 minutes total for wings.
- Can I freeze these?
- Yep. Freeze cooked thighs, then re-crisp in the oven at 180°C for 20 minutes or so from frozen.
And, if you want to glimpse even more crispy chicken dreams, I occasionally drool over the photos at Serious Eats—I've pinched a few tips there myself.
Right, that's it. If you give this Extra Crispy Irish Oven-Fried Chicken Thighs Recipe a go, let me know how it turns out (unless you hate it, in which case, let's never speak of it again). Cheers, and happy baking!


Ingredients
- 8 bone-in, skin-on chicken thighs
- 1 cup buttermilk
- 2 cups panko breadcrumbs
- 1 cup all-purpose flour
- 2 teaspoons dried thyme
- 1 teaspoon ground black pepper
- 1 teaspoon sea salt
- ½ teaspoon smoked paprika
- 2 tablespoons Irish butter, melted
- 1 teaspoon garlic powder
Instructions
-
1Preheat the oven to 425°F (220°C). Line a baking sheet with parchment paper and set a wire rack on top.
-
2In a large bowl, marinate the chicken thighs in buttermilk for at least 15 minutes to tenderize and infuse flavor.
-
3In a separate shallow dish, mix together the flour, panko breadcrumbs, thyme, black pepper, salt, smoked paprika, and garlic powder.
-
4Remove each chicken thigh from the buttermilk, allowing excess to drip off, then dredge thoroughly in the breadcrumb mixture.
-
5Arrange breaded chicken thighs on the prepared rack. Brush tops with melted Irish butter for added crispiness and flavor.
-
6Bake for 40 minutes, or until the chicken is cooked through, juices run clear, and the coating is golden and extra crispy. Serve hot.
Approximate Information for One Serving
Nutrition Disclaimers
Number of total servings shown is approximate. Actual number of servings will depend on your preferred portion sizes.
Nutritional values shown are general guidelines and reflect information for 1 serving using the ingredients listed, not including any optional ingredients. Actual macros may vary slightly depending on specific brands and types of ingredients used.
To determine the weight of one serving, prepare the recipe as instructed. Weigh the finished recipe, then divide the weight of the finished recipe (not including the weight of the container the food is in) by the desired number of servings. Result will be the weight of one serving.
Did you make this recipe?
Please consider Pinning it!!